Throwback Thursday- Christmas Yarn-Wrapped Letters! ( from 2014)
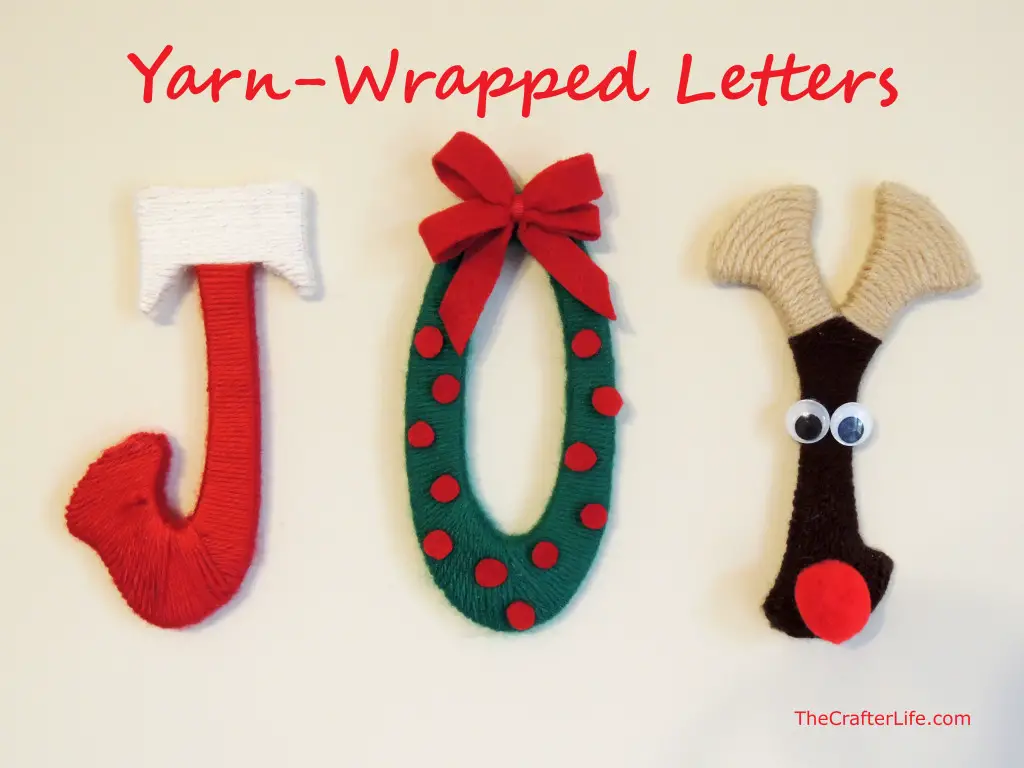
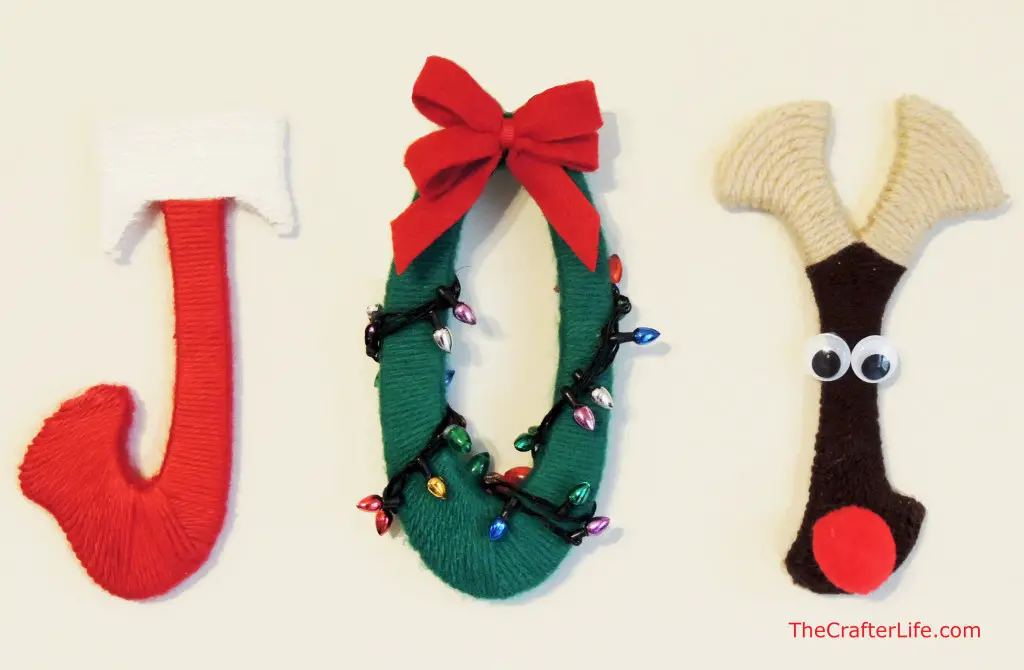
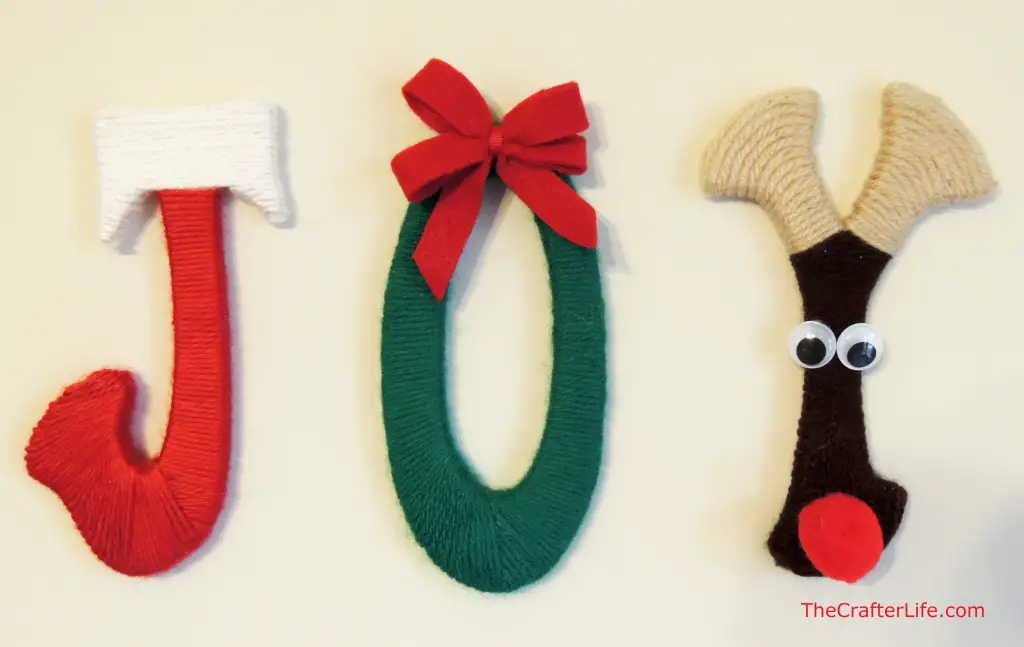
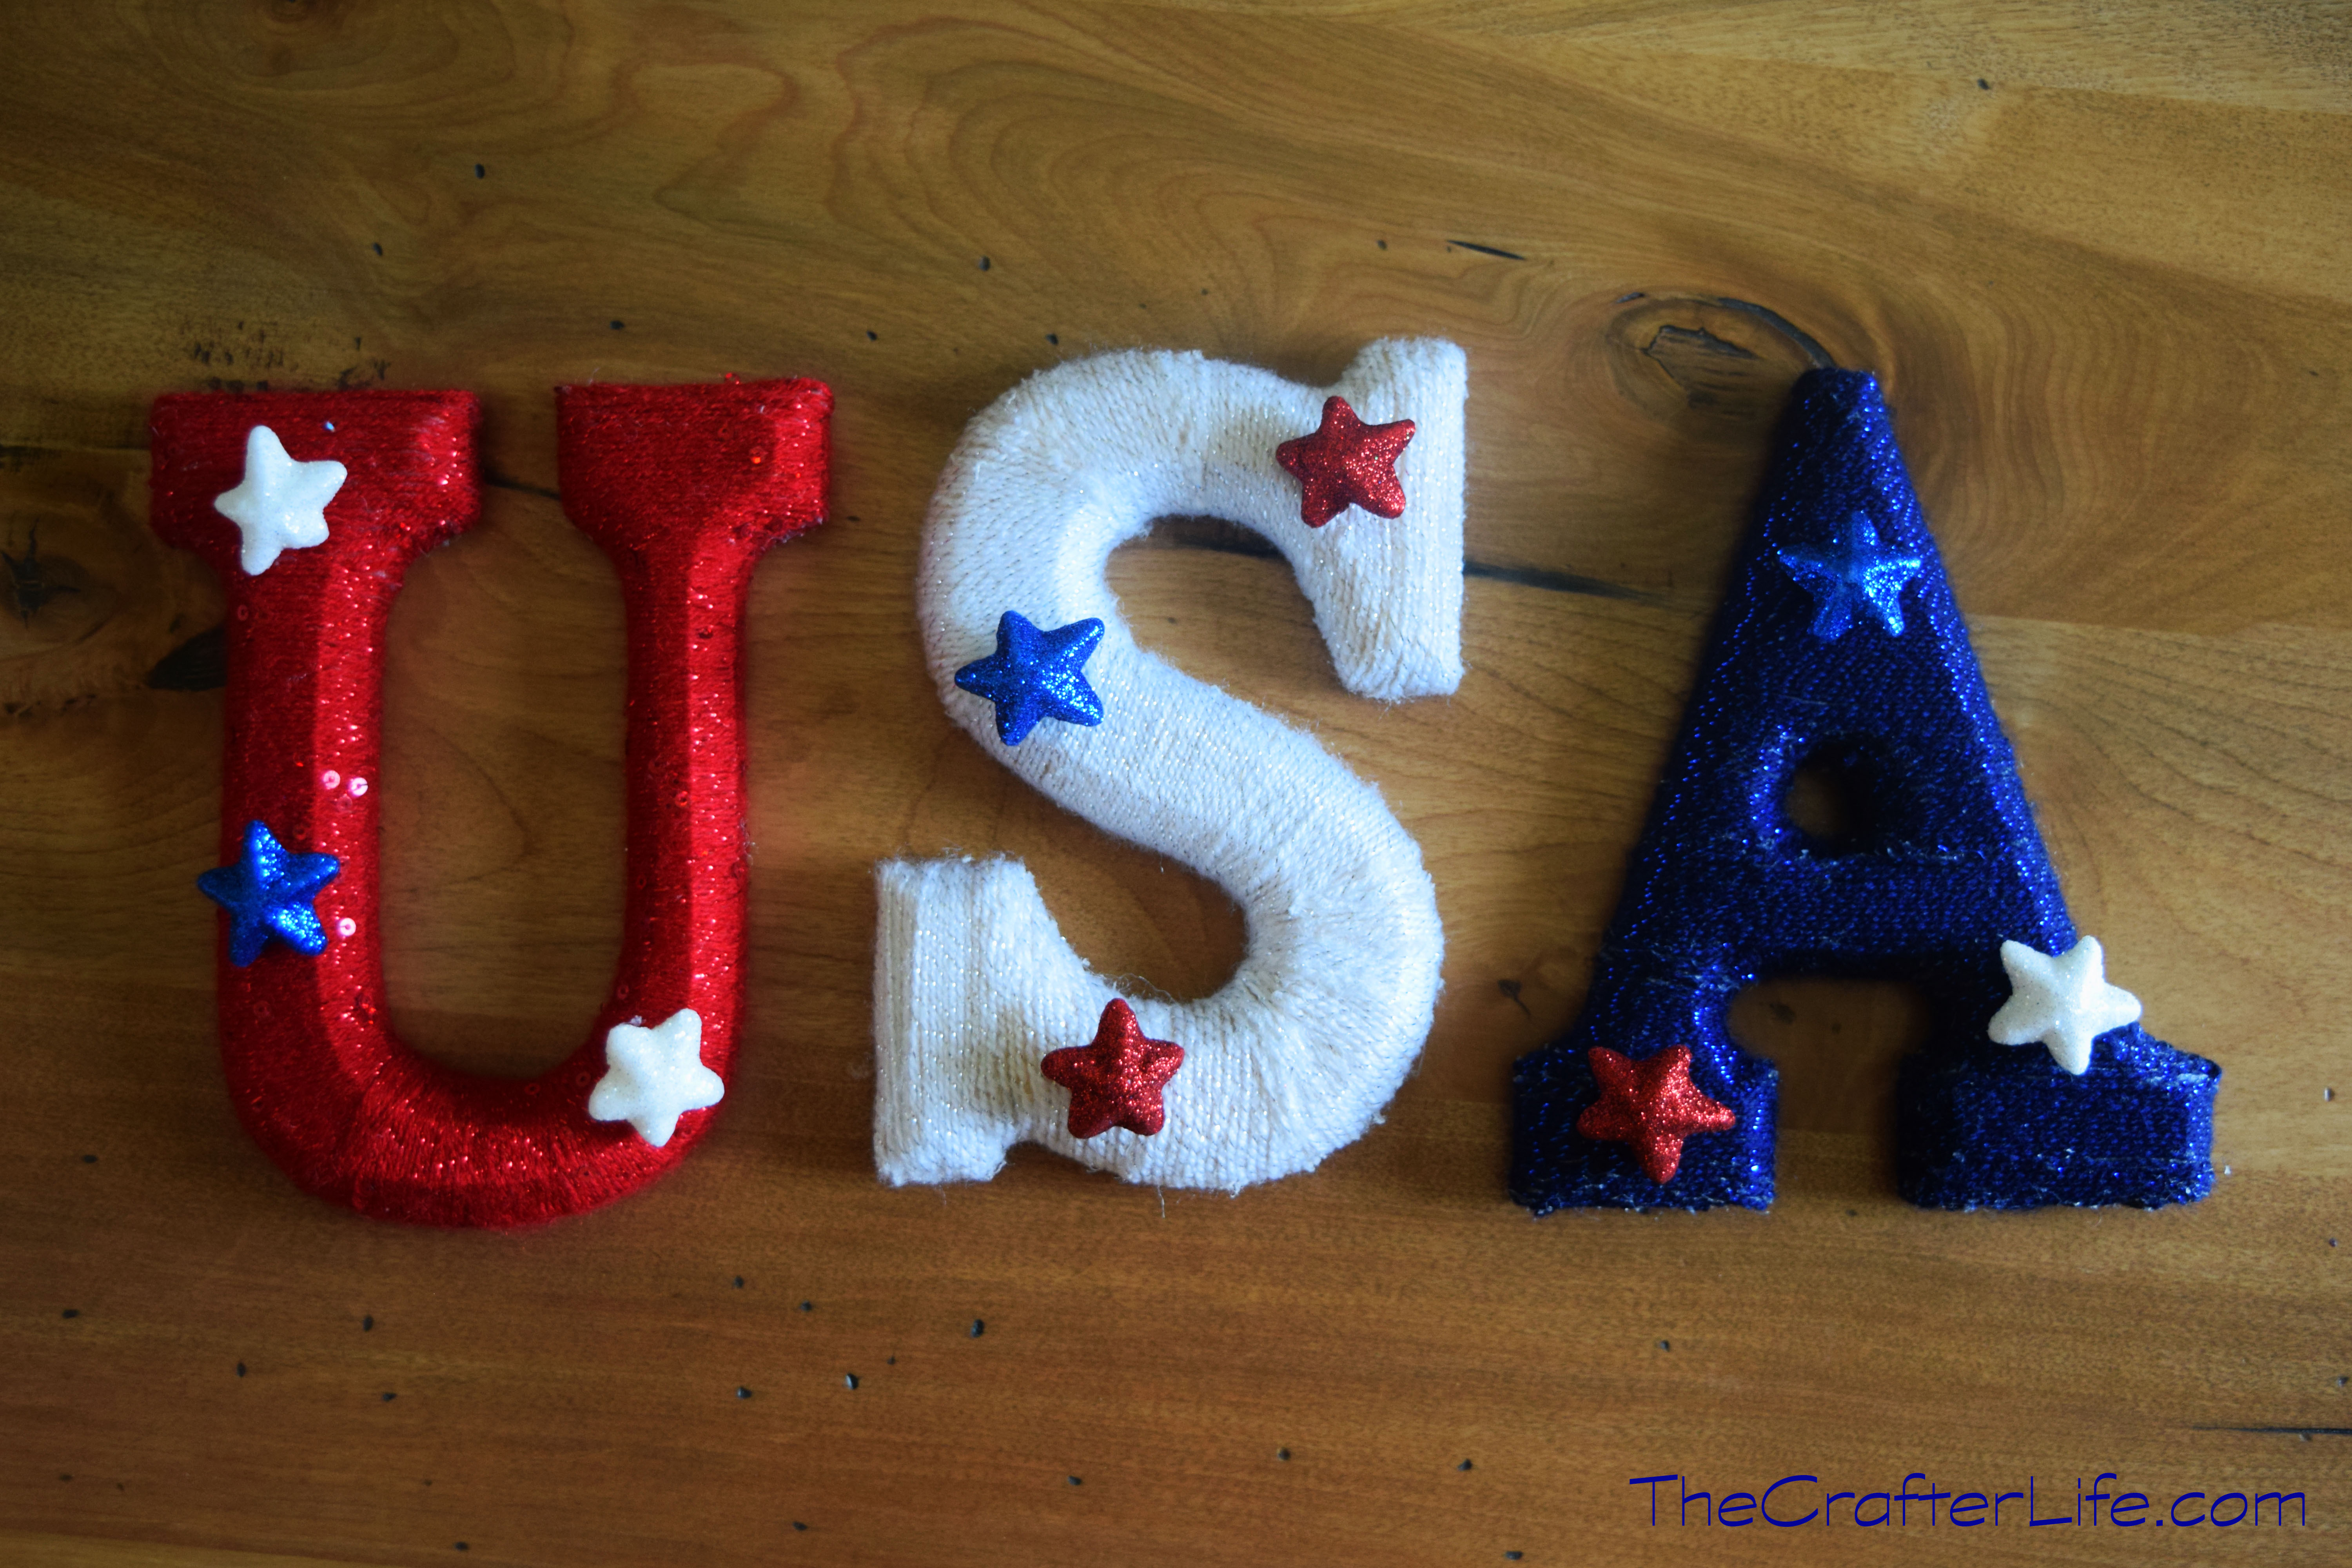
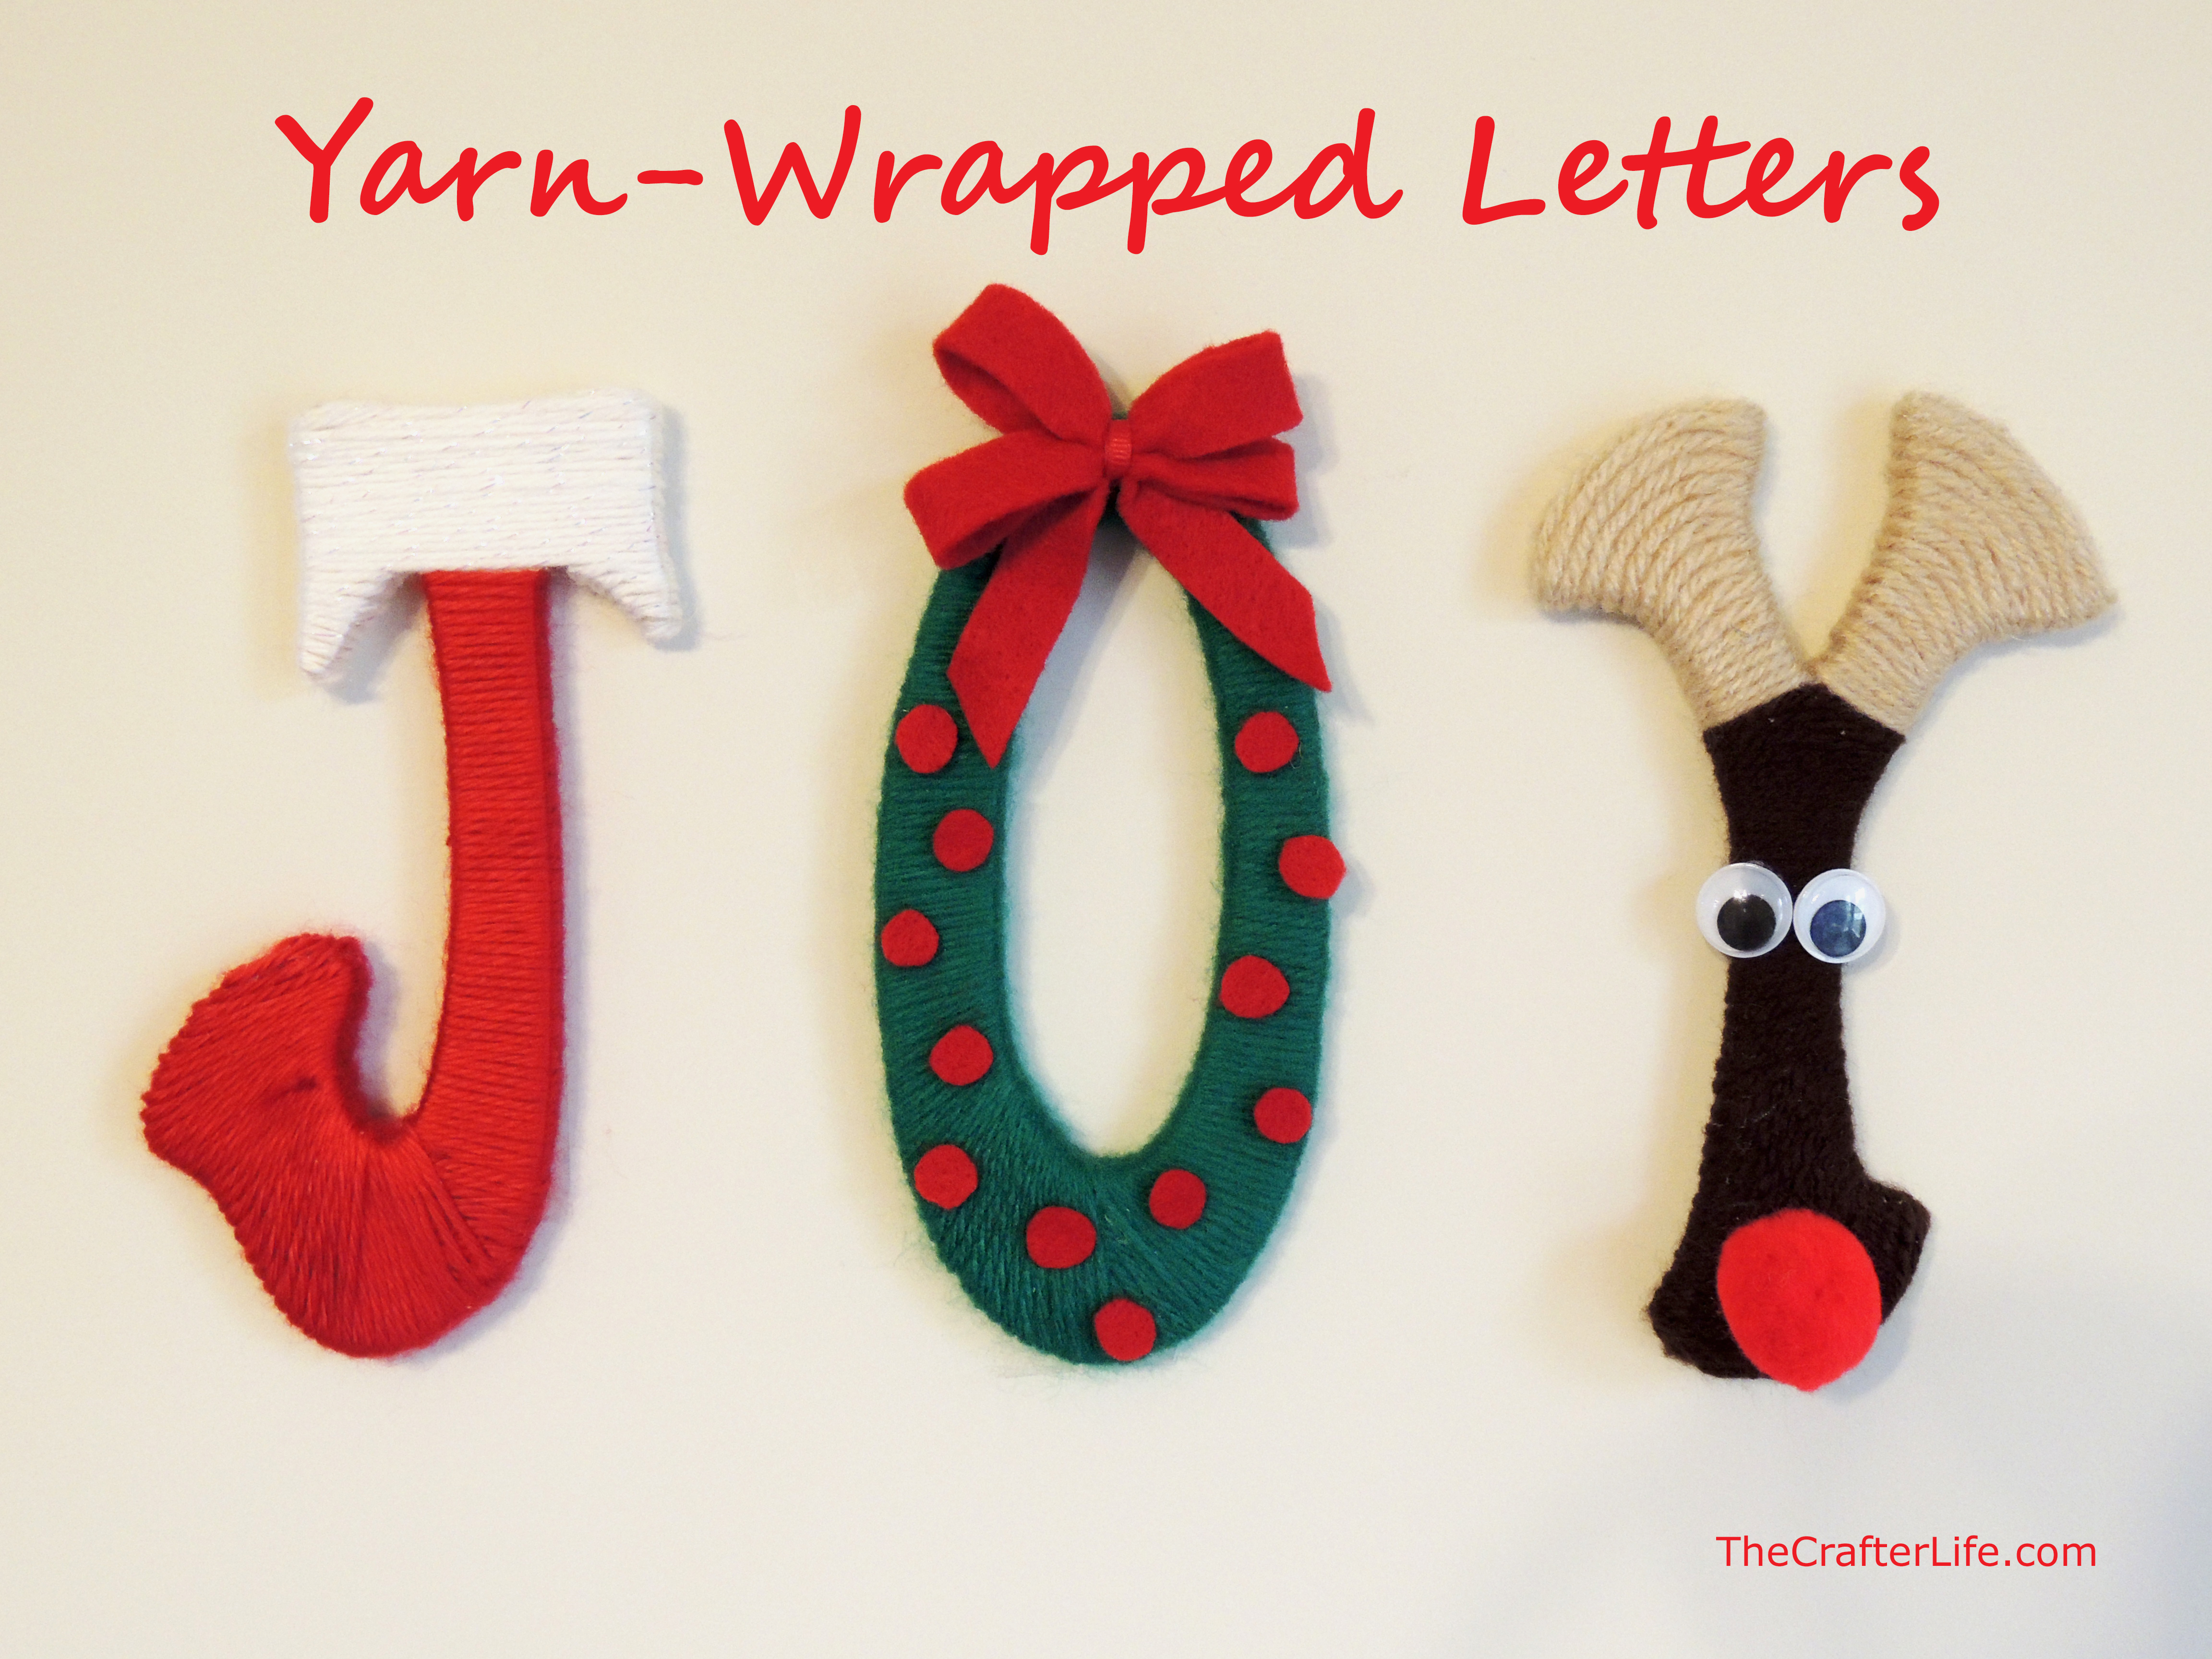
Merry Christmas Eve! Similar to my Halloween Yarn-Wrapped Letters, I made Christmas yarn-wrapped letters into objects related to Christmas. I made two different variations for the word “JOY”. Read below if you are interested in making some of your own!
General Materials:
– Wood Craft Letters J, O, Y
– Hot glue gun/glue***
– Scissors
– Yarn in various colors
***You will need a lot of glue for this! I did not expect to use as much glue as I did.
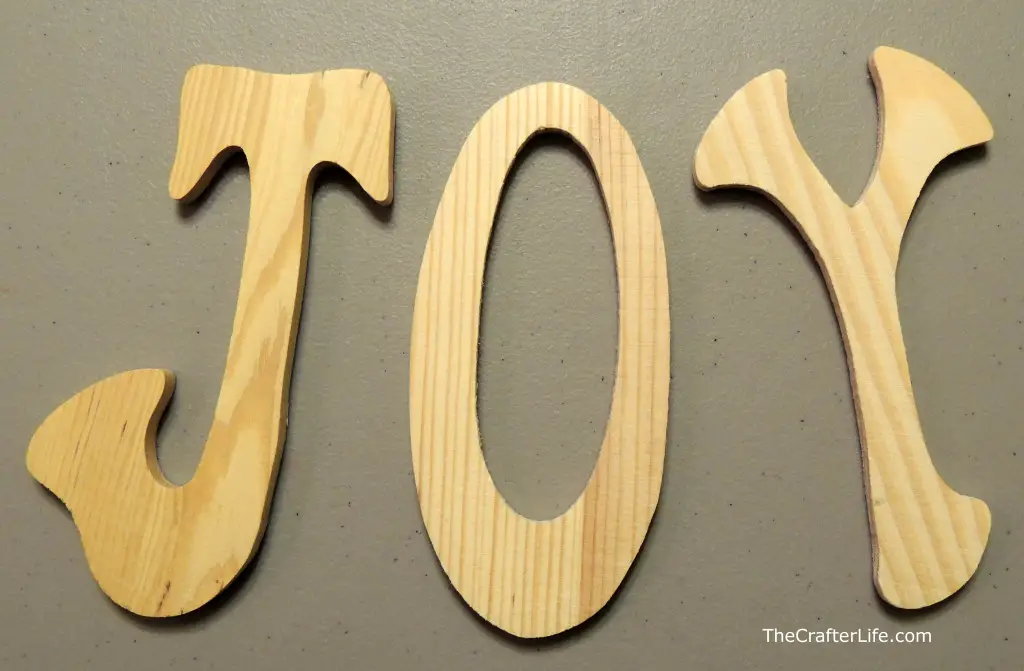
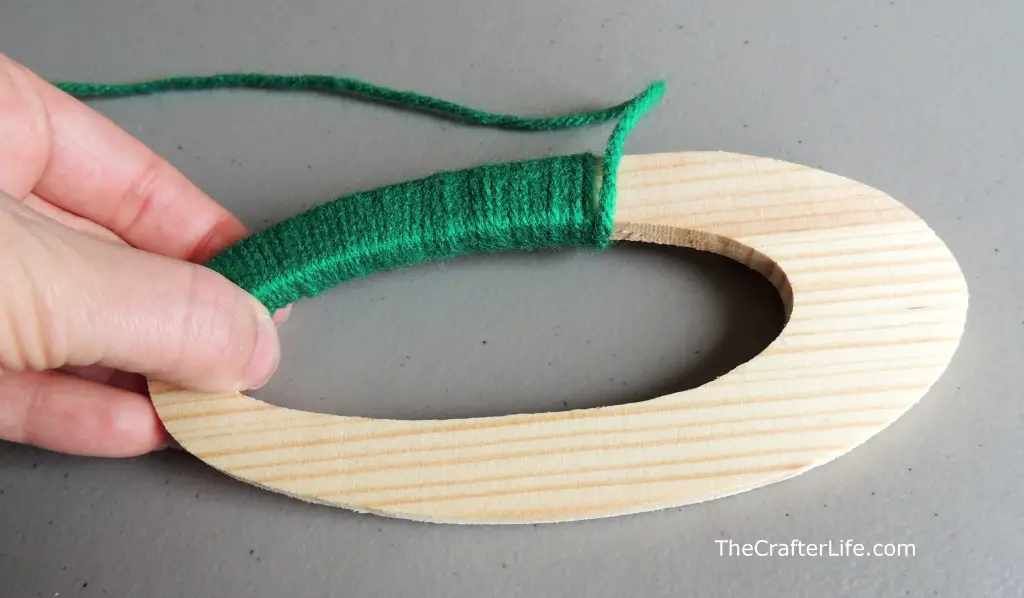
For the letters shown in the top picture, I started with the wooden letters below that I picked up from Michaels.
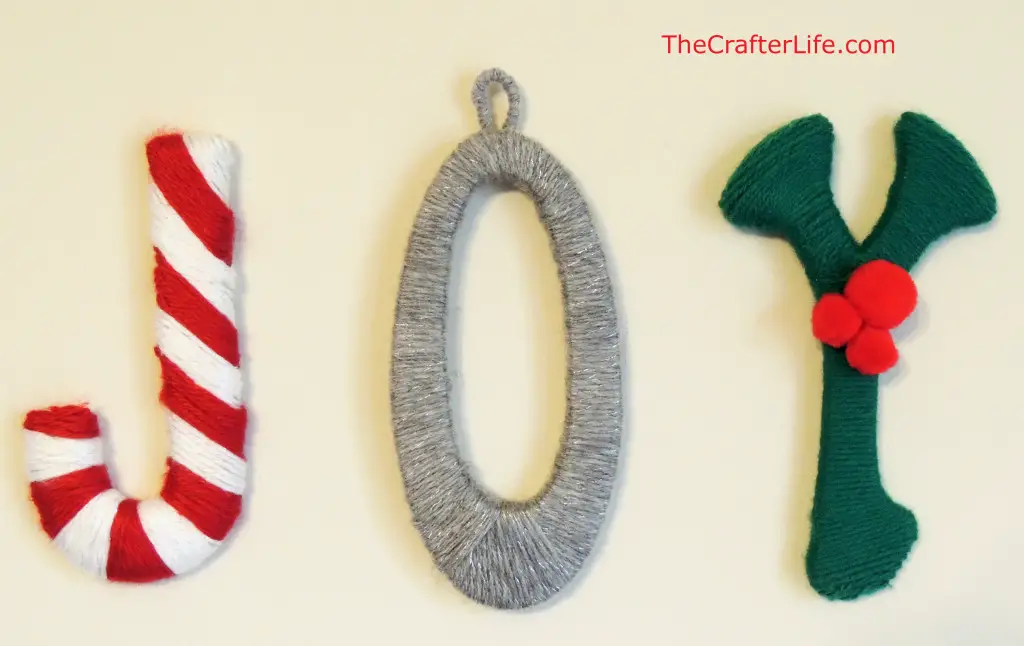
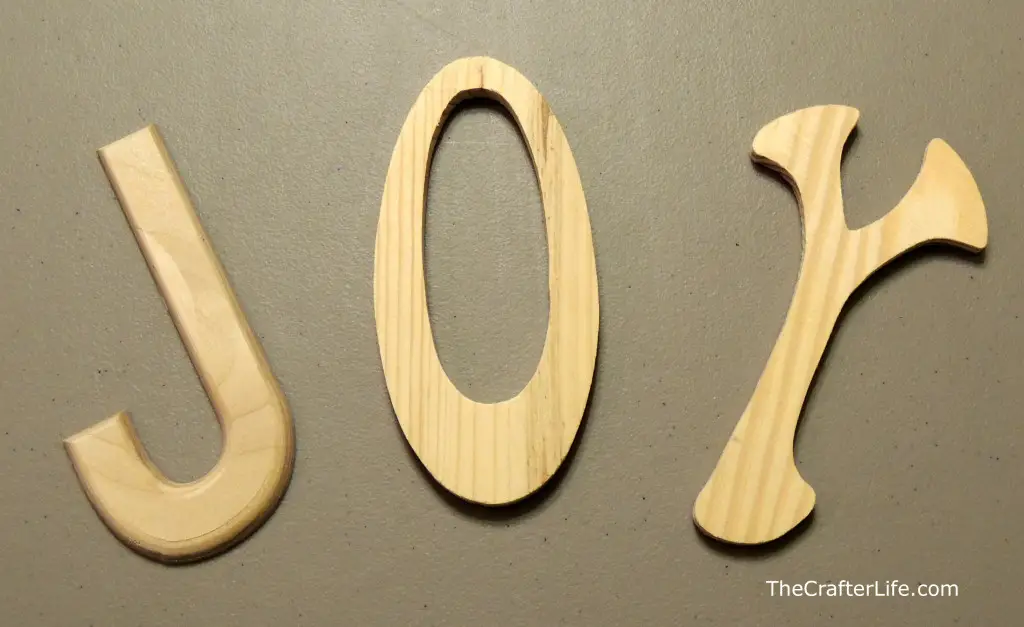
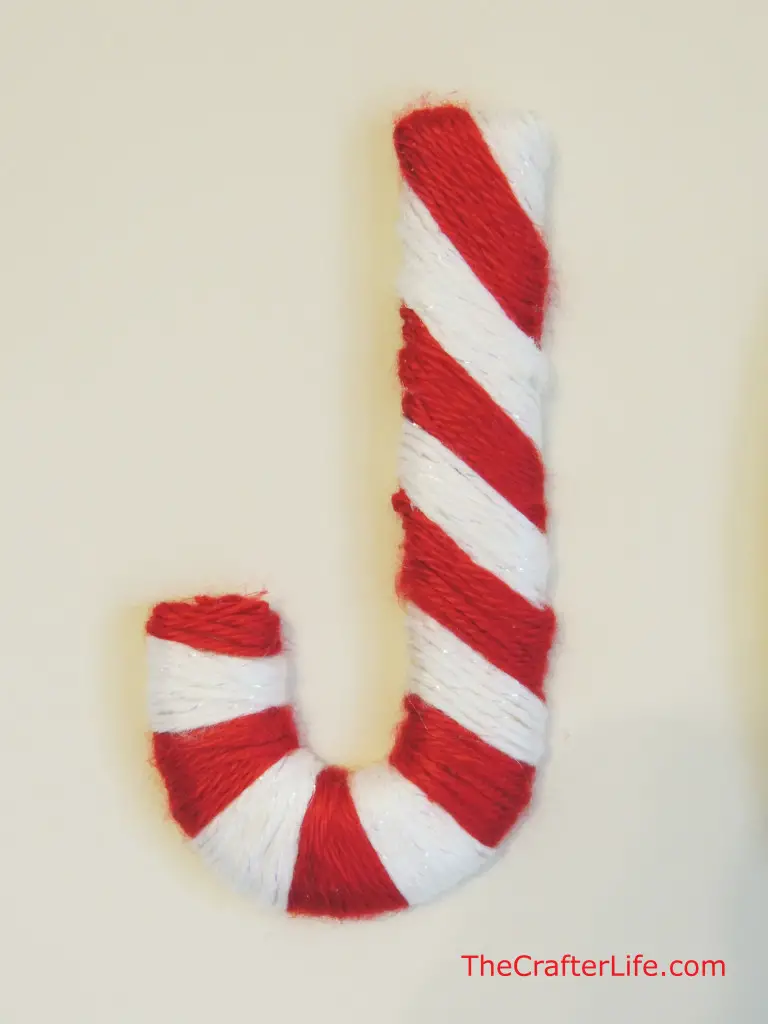
For the letters shown in the second picture, I started with the wooden letters below that I picked up from Michaels. The only difference is the J which I picked to look like a candy cane.
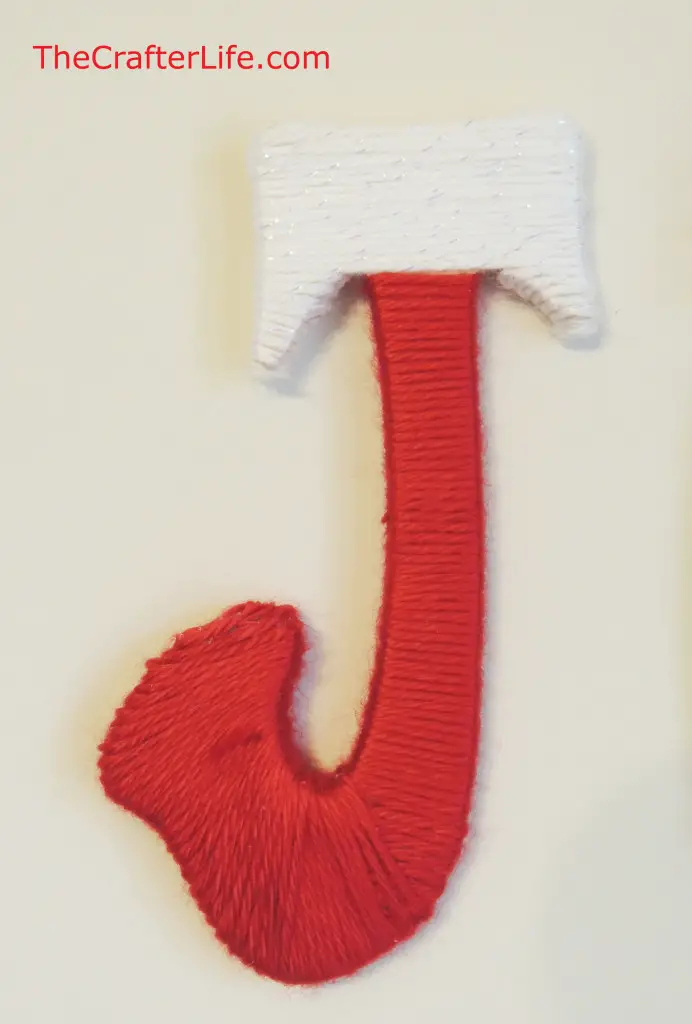
“Stocking” J Letter
Materials:
– White yarn (I used Loops & Threads Impeccable Glitter yarn in Ice Queen)
– Red yarn (I used Caron Simply Soft yarn in Red)
Directions:
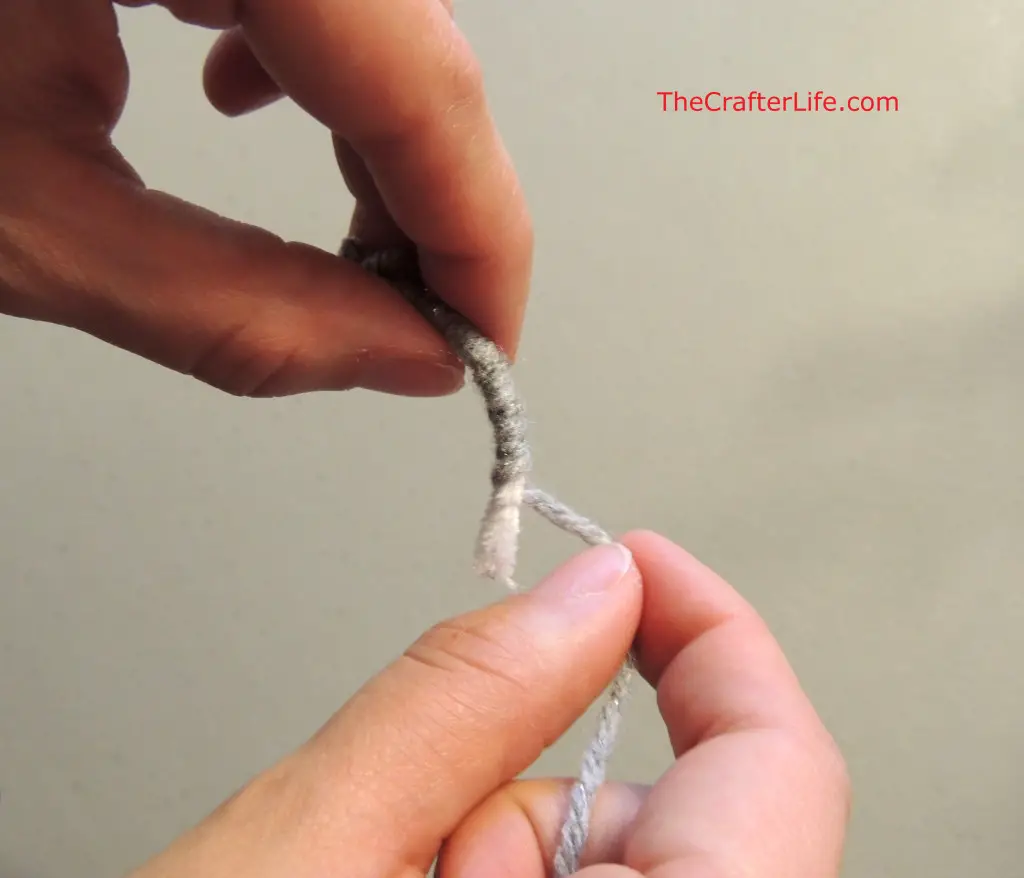
1. Wrap the top of the J with white yarn. Use hot glue to help hold the yarn in place as you wrap. It may even help to cut small strips to fill in areas that are missed by wrapping.
2. Wrap the rest of the J in the red yarn.
“Candy Cane” J Letter
Materials:
– White yarn (I used Loops & Threads Impeccable Glitter yarn in Ice Queen)
– Red yarn (I used Caron Simply Soft yarn in Red)
Directions:
1. Use a pencil to draw candy cane stripes on the J.
2. Alternate wrapping the stripes with the white and red yarn. Use hot glue to help keep the yarn in place. It may even help to cut small strips to fill in areas that are missed by wrapping.
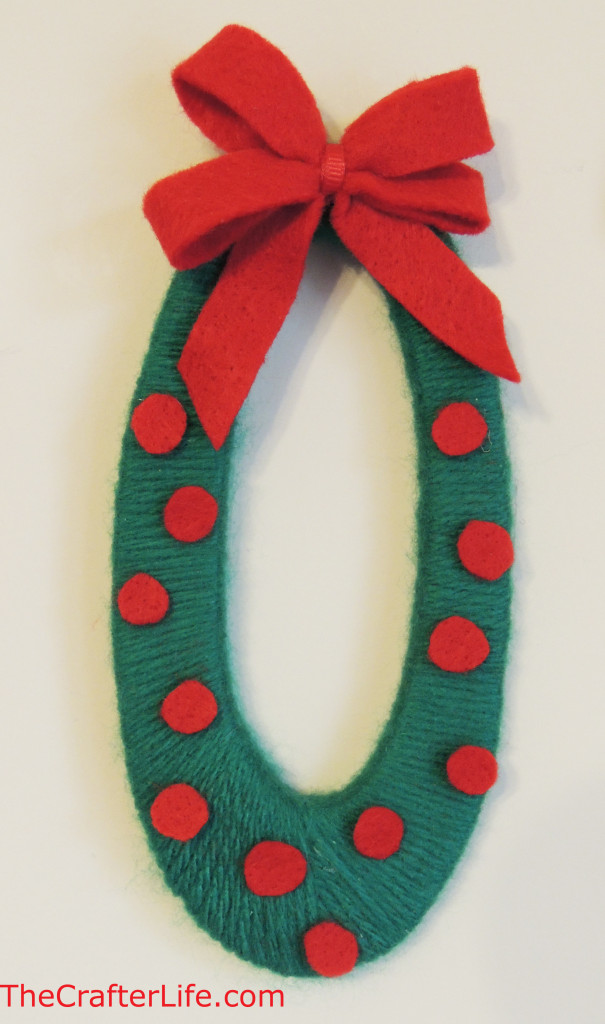
“Wreath” O Letter
Materials:
– Green yarn (I used Loops & Threads Impeccable yarn in Kelly Green)
– Red felt
– Thin red ribbon
– Optional: Mini decorative lights
Directions:
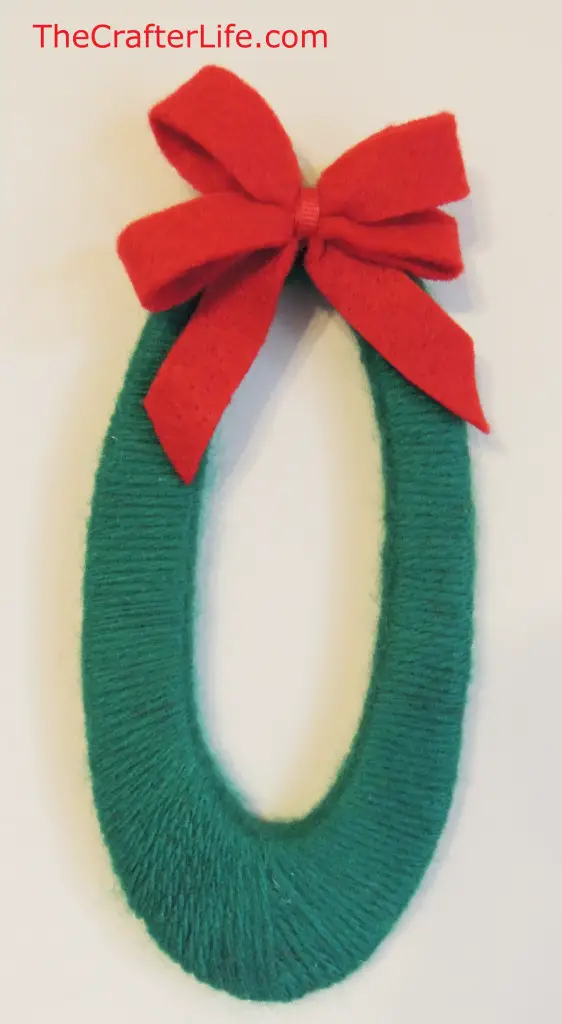
1. Wrap the O with the green yarn. You may need to use hot glue to help keep the yarn in place in certain areas. It may even help to cut small strips to fill in areas that are missed by wrapping.
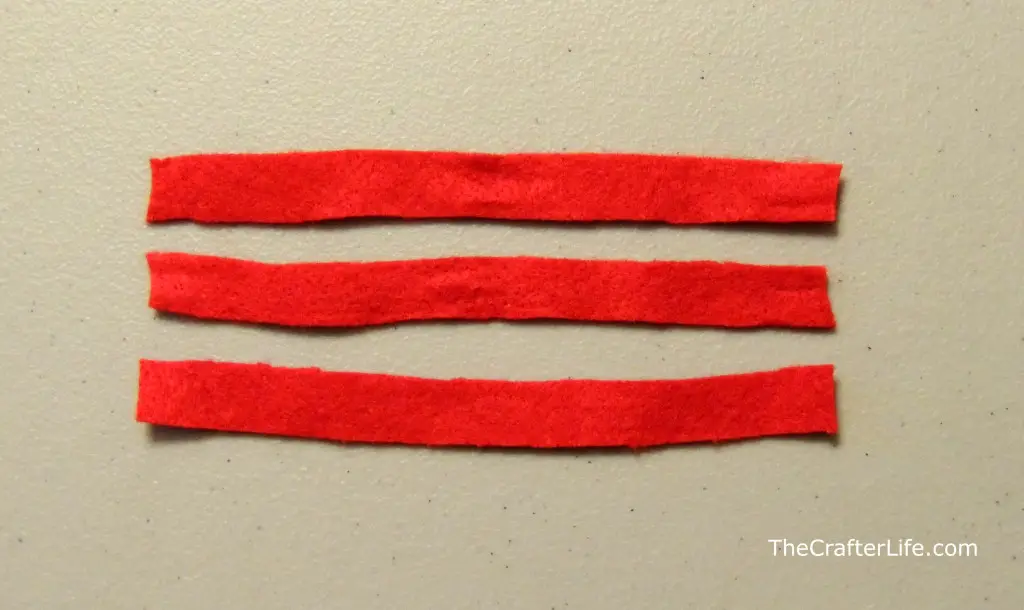
2. In order to make the bow, cut three rectangular strips from red felt like shown in the picture below.
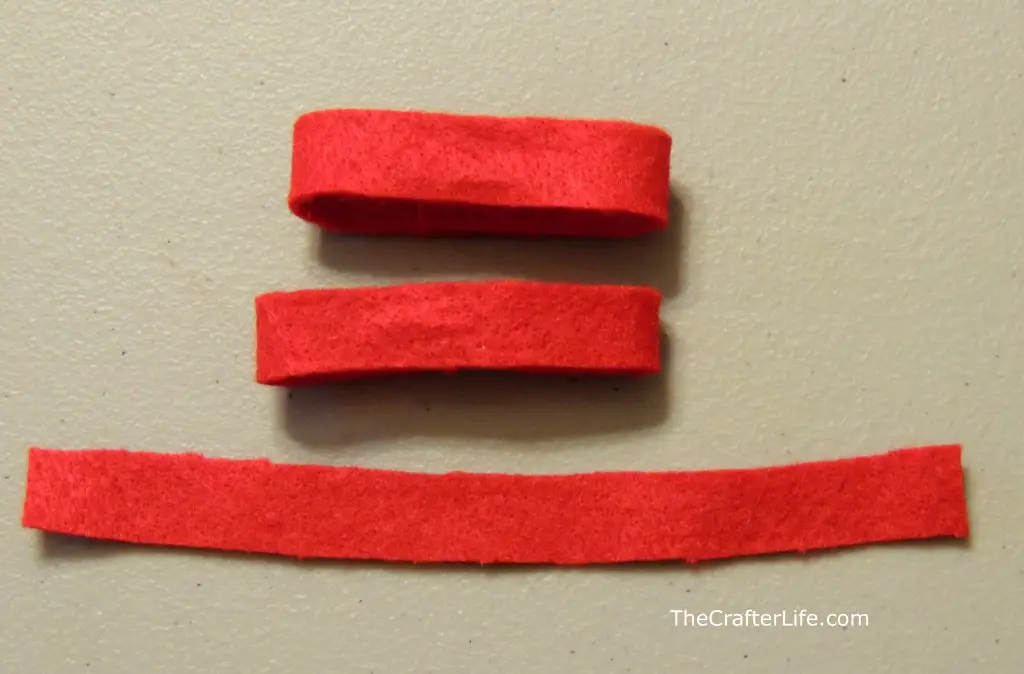
3. Hot glue the ends of two of the rectangular strips together as shown in the picture below.
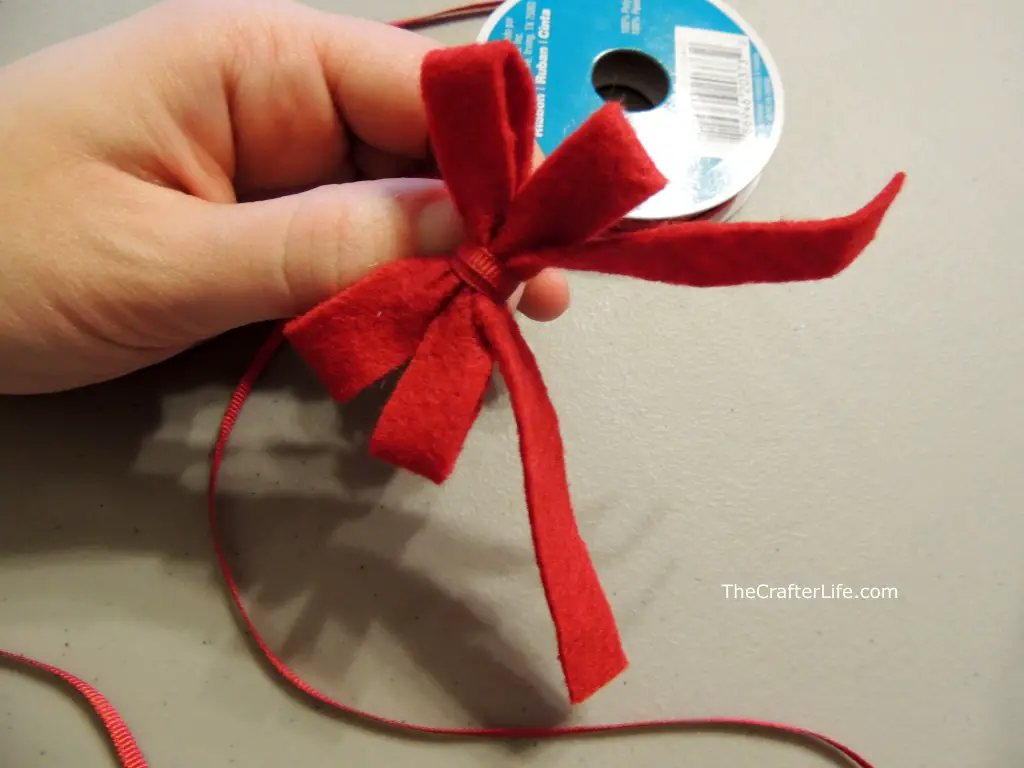
4. Take the thin red ribbon and wrap it tightly around the middle of the three pieces of felt so it pinches them together as shown in the picture below.
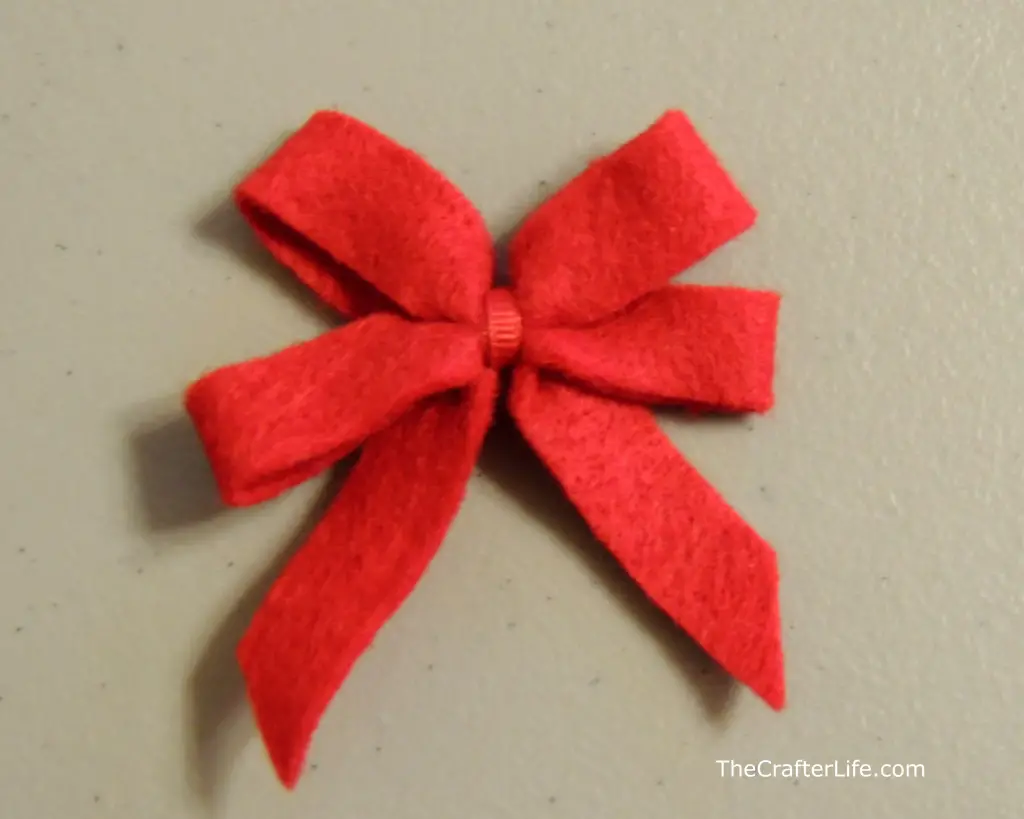
5. Tie the ribbon tightly in the back of the bow to keep it together and cut off the loose ends. Then cut the ends of the bottom piece of felt at a diagonal to resemble the ends of a real ribbon.
6. Hot glue the bow to the top of the O.
7. If you want to add the red “berries” to your wreath (as shown in the top main picture of this post), simply cut small circles from the red felt and hot glue them onto the O. I also found a cute necklace with small Christmas lights that looked neat wrapped around the O. The wreath is also nice when left plain as well. The first picture below shows the wreath with the light necklace and the second picture shows it plain.
“Ornament” O Letter
Materials:
– Silver yarn (I used Loops & Threads Impeccable Glitter yarn in Sterling)
– Pipe cleaner
Directions:
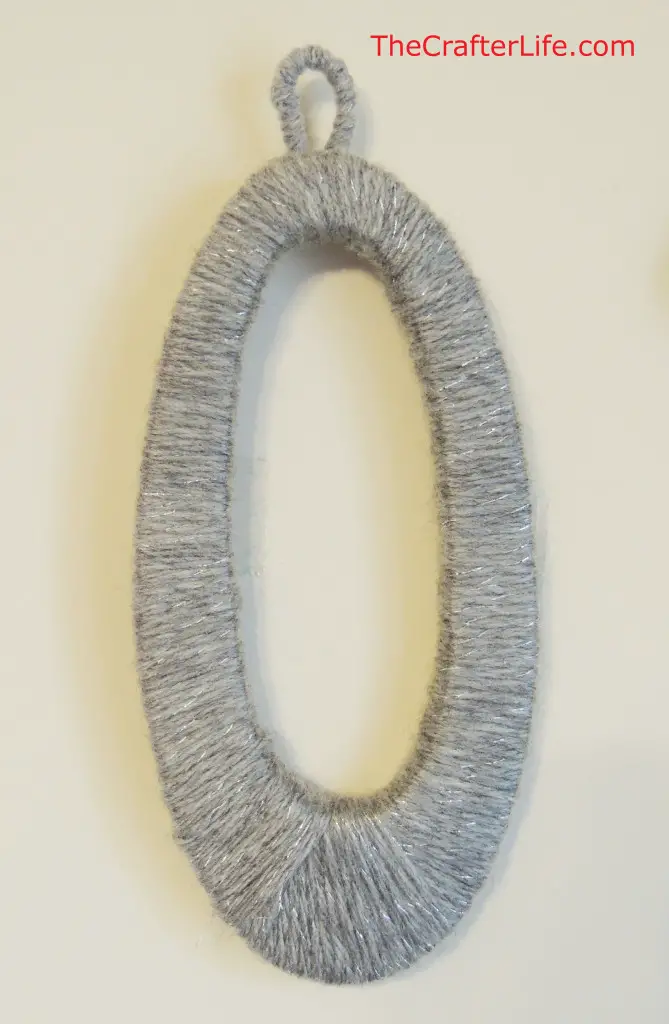
1. Wrap the O with the silver yarn. You may need to use hot glue to hold the yarn in place in some areas. It may even help to cut small strips to fill in areas that are missed by wrapping.
2. Cut and bend a pipe cleaner to form a loop to represent the top of the ornament.
3. Wrap the pipe cleaner with the silver yarn and hot glue the ends in place.
4. Hot glue the pipe cleaner to the top of the O.
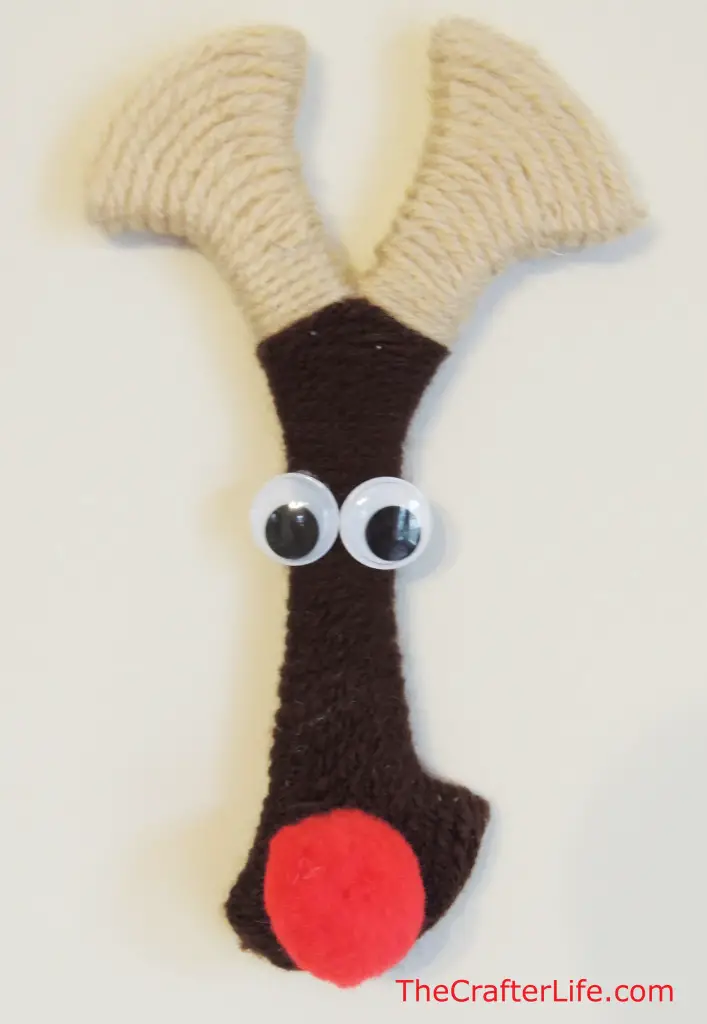
“Reindeer” Y Letter
Materials:
– Brown yarn (I used Red Heart Super Saver yarn in Coffee)
– Beige yarn (I used Red Heart Super Saver yarn in Buff)
– Two googly eyes
– Red pom pom (medium size)
Directions:
1. Wrap the two top short sections of the Y with the beige yarn. Wrap the bottom long portion of the Y with the dark brown yarn. Use hot glue to hold the yarn in place when needed. It may even help to cut small strips to fill in areas that are missed by wrapping.
2. Glue two googly eyes about two-thirds of the way up on the dark brown section.
3. Glue the red pom pom at the bottom of the Y.
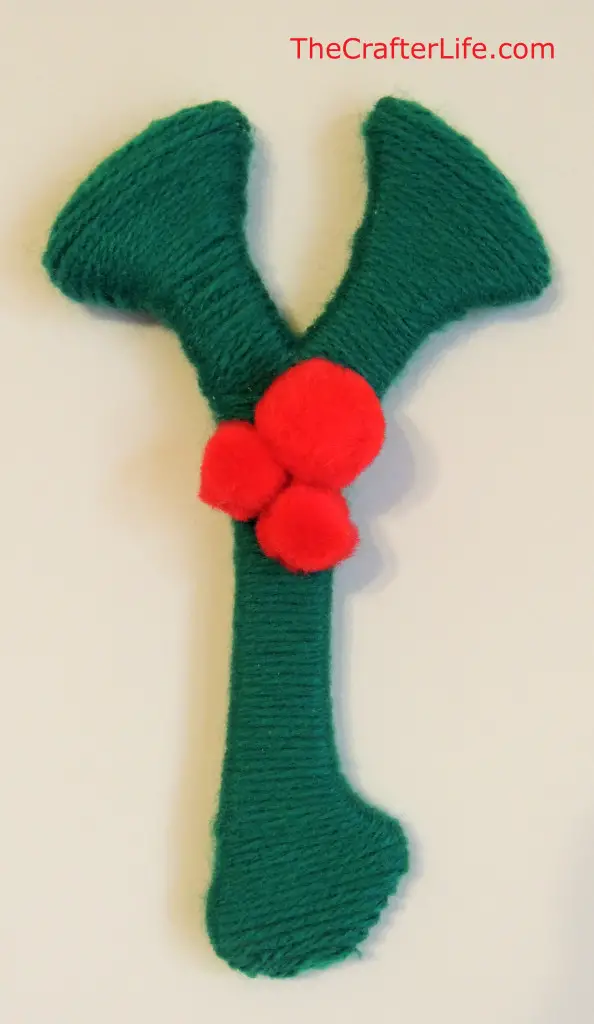
“Holly” Y Letter
Materials:
– Green yarn (I used Loops & Threads Impeccable yarn in Kelly Green)
– Three red pom poms (small & medium size)
Directions:
1. Wrap the Y with the green yarn. Use hot glue to hold the yarn in place when needed. It may even help to cut small strips to fill in areas that are missed by wrapping.
2. Glue the three red pom poms in place where the top two sections of the Y meet the long bottom section of the Y to form the holly berries.
Share your yarn-wrapped letters here or on my facebook page!
**If you like what you see, feel free to pin, share, and link back to my site. Thank you for visiting!

