Mickey Mouse Clubhouse Hot Air Balloon
My daughter is totally obsessed with Mickey Mouse Clubhouse so naturally I decided that would be the theme of her second birthday party. I made a hot air balloon decoration for the party to emulate the hot air balloon shown in the show. The hot air balloon decoration also doubled as a gift since I gave my daughter the plush character figures that I used inside the bucket. The hot air balloon decoration is really easy to make and only requires a few supplies. I actually used the same bucket I used for my son’s Mickey Halloween trick-or-treat candy bucket several years ago. If you are interested in making a hot air balloon party decoration, see below for the directions.
MATERIALS NEEDED:
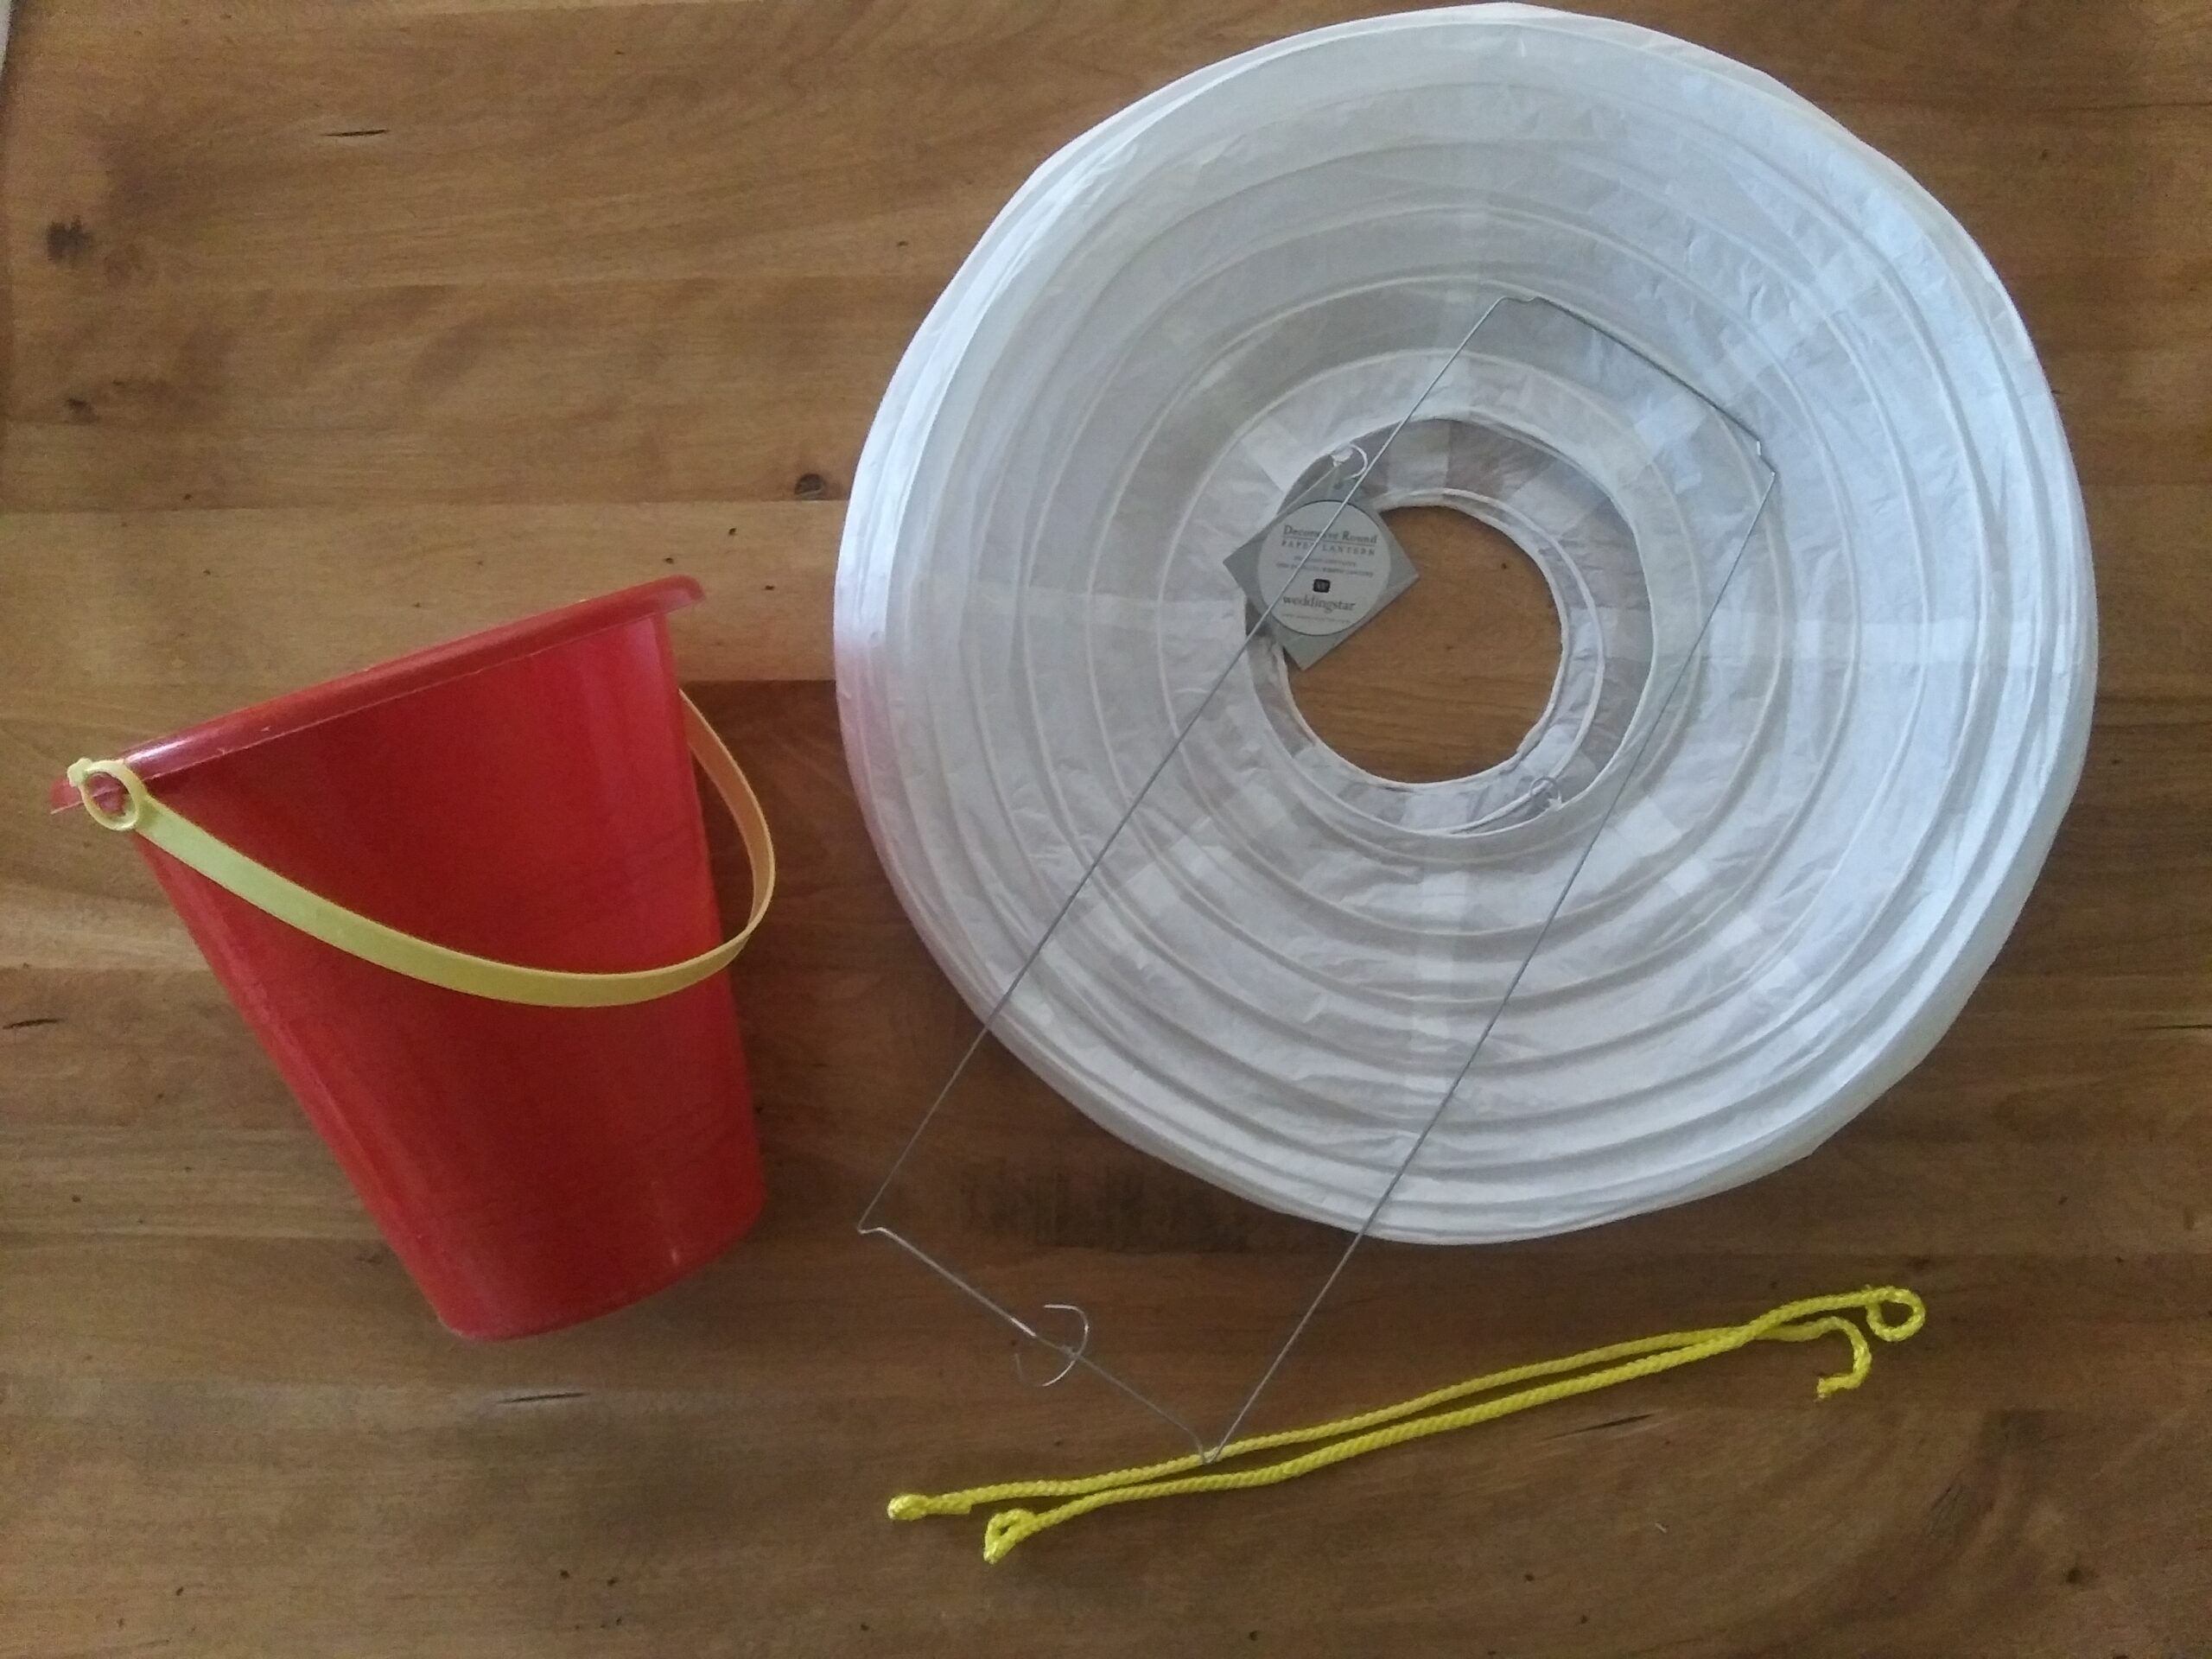
- Red Sand Bucket (MEASURE)
- Yellow yarn
- 2 strands of rope/string that are each about 16 inches long ***(I used the yellow handles from a gift bag)***
- White Round Paper Lantern
- Plush character figures to fit inside bucket
- Fishing line/wire/or string for hanging the decoration (optional)
- Command hook (optional)
***I used the 2 handles of a gift bag for my balloon rope strings. They were the perfect color and length. I have used gift bag handle ribbons/ropes for other crafts. See my post about this HERE….
DIRECTIONS:
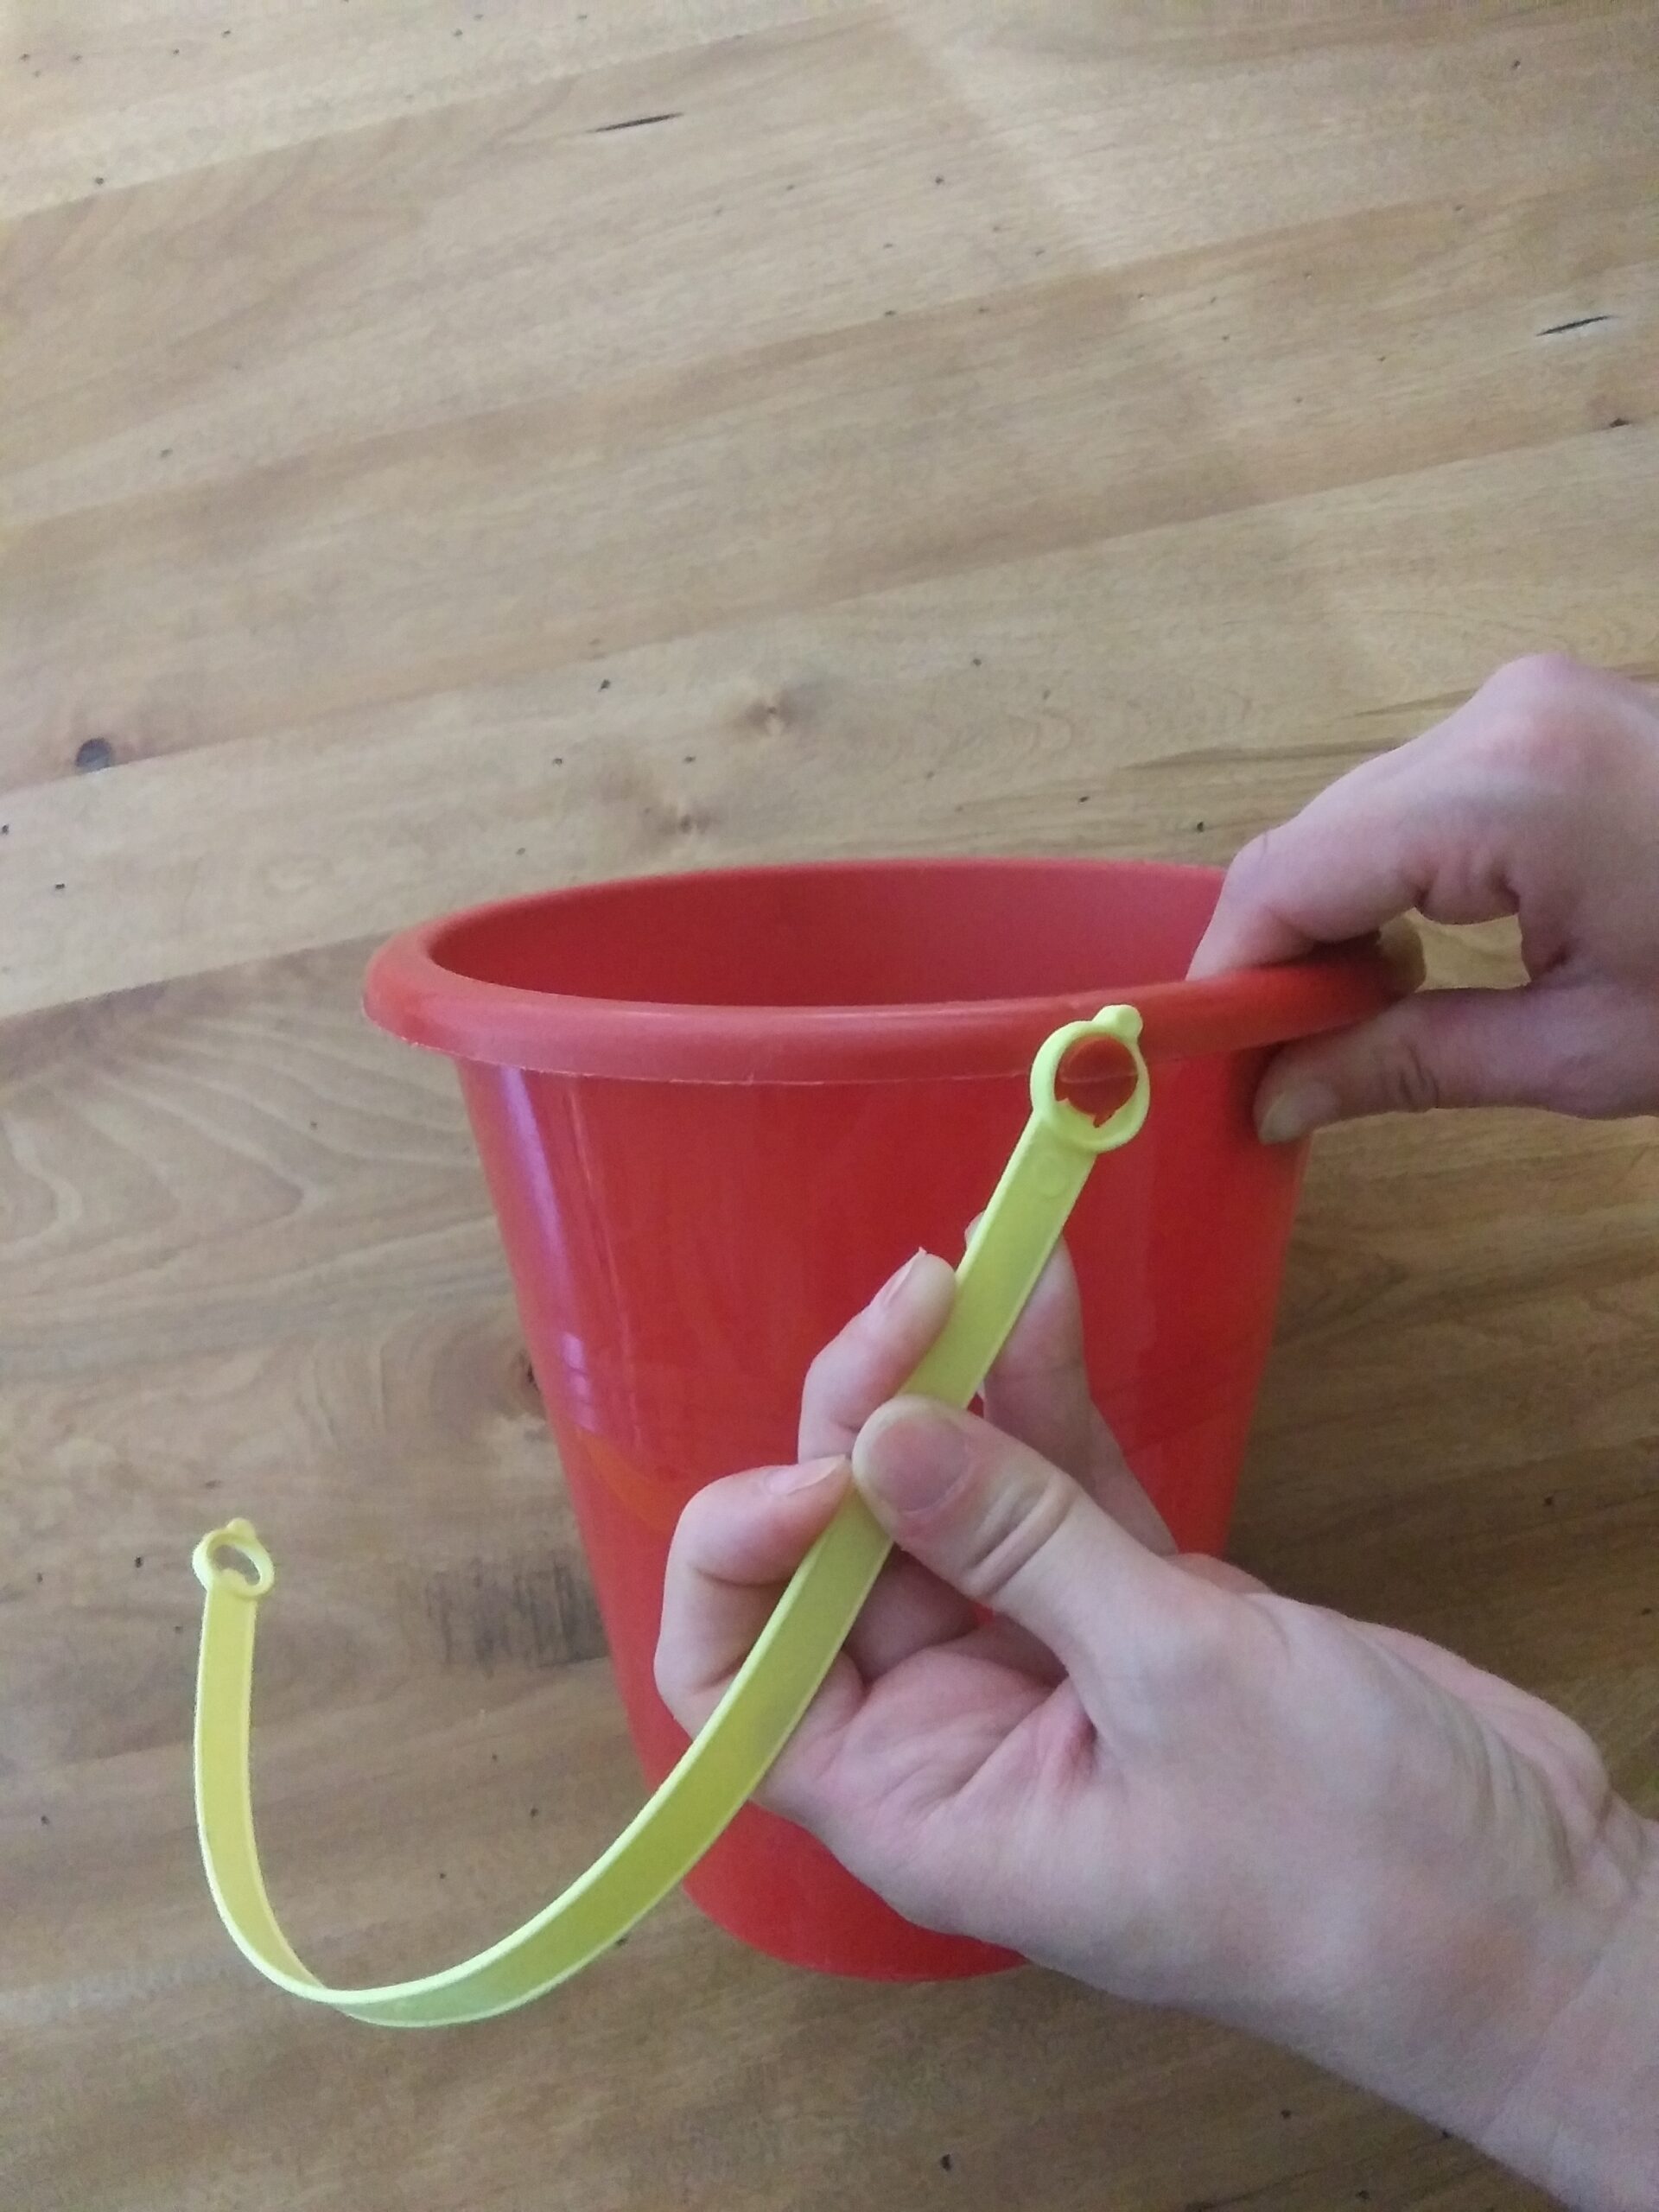
- Take any handle(s) off the sand bucket. There should now be two empty handle knobs on the bucket. You will use these later to tie on/attach the rope strings to the bucket.
- Measure a strand of yellow yarn so that it wraps the entire way around the top outside of your bucket. Give it extra length so it is plenty long enough to wrap around the bucket and tie it on later. Cut 2 more strands of yellow yarn of the same length so you have 3 equal-length strands of yellow yarn. Knot the ends of the 3 strands of yarn together on one side so you have 3 long tails of yarn dangling from the knot. Braid the three tails along the entire length of the yarn (all the way down to their ends). Once your braid reaches all the way to the end of the tails, form a knot at the bottom of the braid to hold the braid in place and keep it from unraveling.
- You should now have a long braided strand of yellow yarn. Wrap it around the top of the bucket and tie it in a knot so it stays in place on the outside of the bucket.
- Tie an end of one rope string to one side of the bottom of the metal wire structure that goes inside the paper lantern. Tie an end of the other rope string to the other side of the bottom of the metal wire structure. Make sure the rope strings are securely attached to the wire and try to make the ropes strings as even in length as possible after tying them onto the metal wire.
- Assemble the white paper lantern by placing the metal wire structure inside as indicated on the lantern directions, making sure the rope strings hang out of the bottom opening of the lantern.
- Tie and knot the dangling end of one of the rope strings to one of the handle knobs on the sand bucket. Tie and knot the dangling end of the other rope string to the opposite handle knob on the bucket. If your bucket doesn’t have knobs, you will have to find a different way to attach your rope strings. Using strong tape like duct tape should work. Adjust your knots/length of string ropes so that the bucket will hang straight. Make sure the string ropes are securely tied/attached since the bucket will become heavier once you place the characters inside.
- Hang your decoration where you are going to display it. You can hang it using the metal wire hook on top the paper lantern. I used fishing line that I tied to the metal hook on top the lantern. I then hung the fishing line from a command hook on the ceiling.
- Once you have the hot air balloon decoration on display in the location you choose and the bucket securely attached to the lantern, place the character figures inside the bucket however you wish to display them. Be careful to keep the bucket balanced in weight so it doesn’t tilt/tip.
**Your hot air balloon decoration is now finished and ready to display. Enjoy admiring it!

Turkey Football