
Modern Newsboy Crochet Hat Pattern

My cousin, who is expecting a baby boy, has commented on how she thinks it’s cute when babies wear bowties. I knew I wanted to make a bowtie for her baby as well as a hat since he is due in January and it will probably be pretty cold around here at that time! I thought a clip-on bowtie that can covert into a pacifier clip would be neat, but also serve a purpose. I wanted the hat to match the bowtie so I decided to design what I call a “Modern Newsboy Hat”. Her baby shower was on Sunday, so of course, I waited until Saturday to start making them! Below is my pattern for the hat. The bowtie pattern will be my next post!
Newborn – 3 months
MATERIALS
– 5.00mm (H) hook
– Red Heart With Love worsted weight (4) yarn in Bluebell
– Red Heart Super Saver worsted weight (4) yarn in Light Blue
– Tapestry needle for sewing and weaving in ends
– Scissors
ABBREVIATIONS
– ch = chain
– chs = chains
– dc = double crochet
– dec = decrease
– fpdc = front post double crochet
– rnd = round
– sc = single crochet
– sc dec = single crochet decrease
– slst = slip stitch
– st = stitch
– sts = stitches
SPECIAL NOTES
– The first stitch of each round is done in the same stitch as the beginning chain. (All rounds start in same stitch as beginning chain 1).
DIRECTIONS
MODERN NEWSBOY HAT
Rnd 1: With the Bluebell color yarn, make a magic circle. Ch 1, 12 dc in magic circle. Join to first dc with a slst. (12 dc)
Rnd 2: Ch 1, dc, fpdc in first st, repeat[dc, fpdc] around, join with s st to first dc in round. (24 dc)
Rnd 3: Ch 1, dc in first st, dc, fpdc in next st, repeat [dc, (dc, fpdc in next st)] around, join with slst to first dc in round. (36 dc)
Rnds 4-11: Ch 1, dc in first 2 sts, fpdc in post from previous round, repeat [dc in next 2 sts, fpdc in post from previous round] around, join with slst to first dc in round. (36 dc)
Rnd 12: Ch 1, sc in first st, 2 sc in next st, repeat [sc, 2 sc] around. (54 sc)
Rnds 13-15: Ch 1, sc in each st around. At the end of the last row, fasten off and weave in ends. (54 sc)
BRIM
*To start the brim, count over from the back seam (where you fastened off) 16 stitches and join Bluebell yarn to the back loop only (see picture below) of the 16th stitch. The 16th stitch counts as the first stitch. Then follow the pattern below.

Row 1: Ch 1, sc in back loop of same st as you attached yarn (the 16th st over from the back seam), sc in the back loops of the next 23 sts. (24 sc)
Row 2: Ch 1, turn, sc dec, sc in next 20 sts, sc dec. (22 sc)
Row 3: Ch 1, turn, sc dec, sc in next 18 sts, sc dec. (20 sc)
Row 4: Ch 1, turn, sc dec, sc in next 16 sts, sc dec. Do NOT fasten off. (18 sc)
To Finish:
Ch 1, sc evenly around entire hat, slst to first sc, fasten off, weave in loose ends.
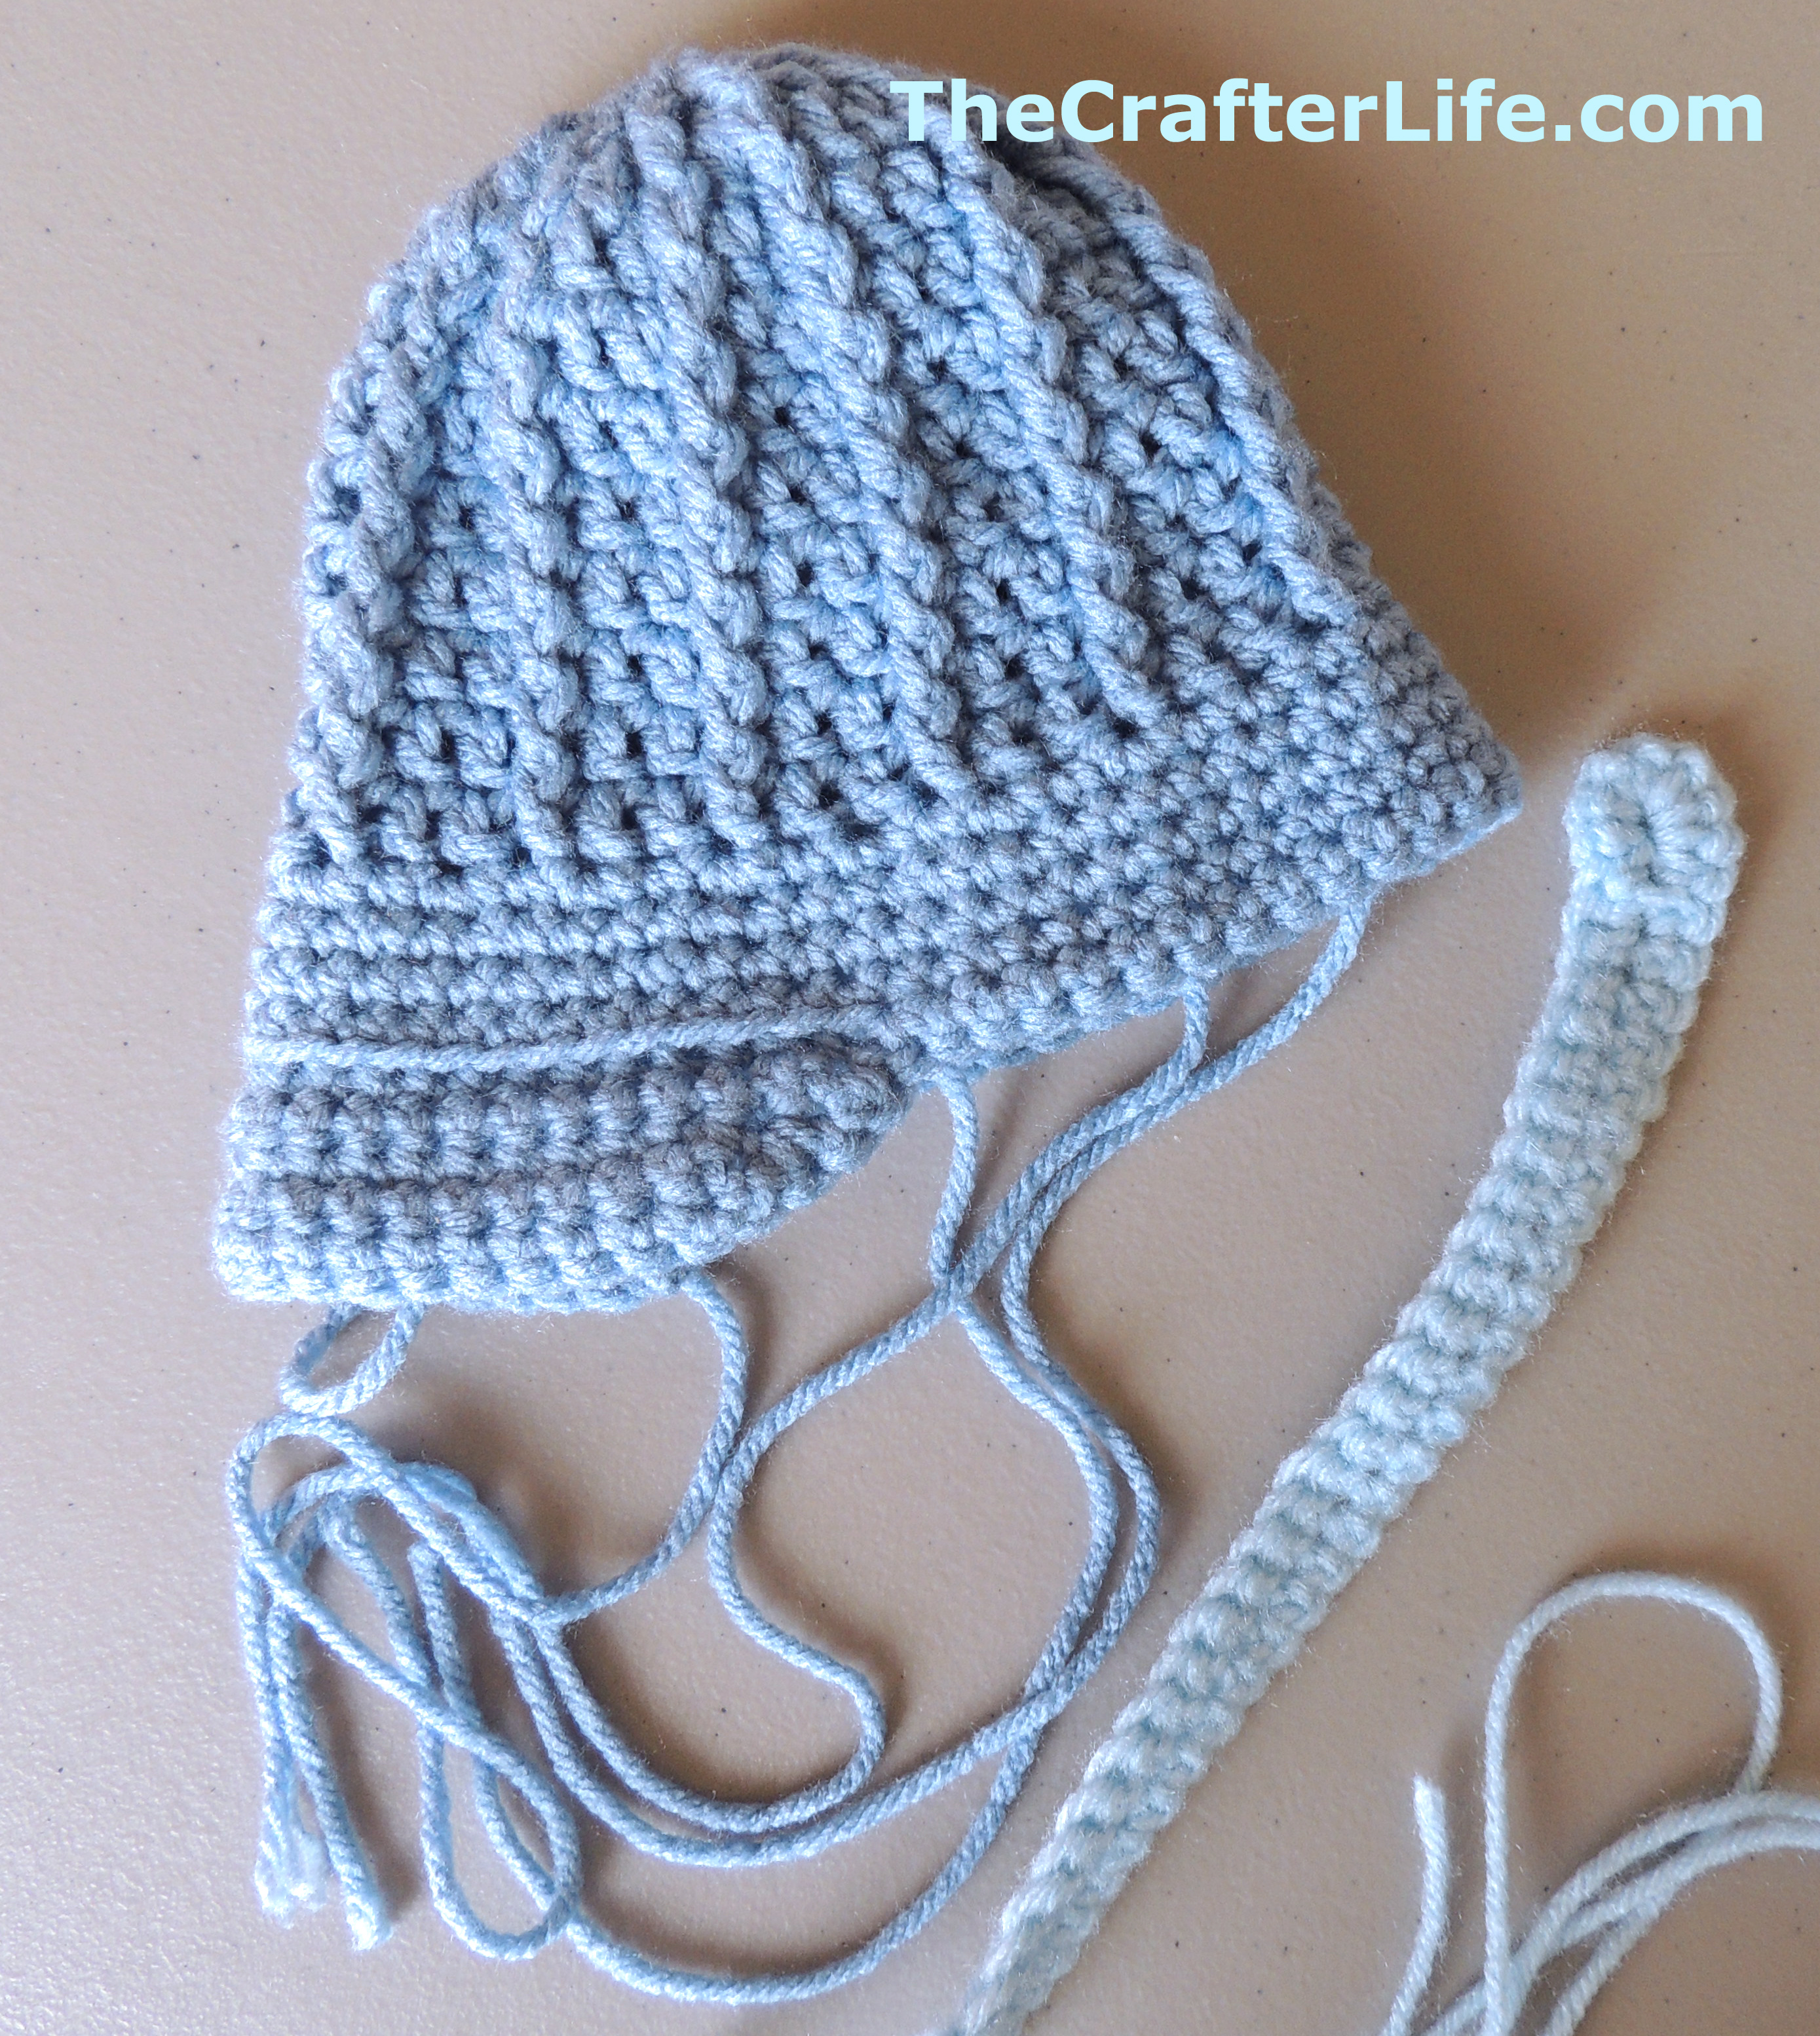
BELT
Rnd 1: With the light blue yarn, ch 31, sc in 2nd ch from hook, sc in next 28 chs, 8 sc in next ch. Along the other side of the base ch, sc in next 28 chs, 7 sc in next ch, slst to the first ch of round, fasten off, leaving a long tail for sewing the strap onto the hat.
BUTTON (Make 2)
Rnd 1: With bluebell yarn (main color), magic circle, ch 1, 6 sc in magic circle, join with slst to first sc, fasten off, leaving long tail for sewing to hat.
ASSEMBLY
1. Sew the strap to the center of the hat right above the brim.

2. Sew one of the buttons on one of the rounded ends of the strap.

3. Sew the other button on the top of the hat.
4. Make sure to weave in any loose ends still left on the hat and you are finished!

***If you sell products using my patterns or mention my patterns please link back to my site. Please do not sell my patterns or claim them as your own.***
Stay tuned for my clip-on bowtie pattern!
Feel free to post comments here or on my Facebook page!
**If you like what you see, feel free to pin, share, and link back to my site. Thank you for visiting!

Minnie Mouse Cookie Pops!

Bowtie Pacifier Clip
You May Also Like

Mummy Topper for Paper Towel Holder
Minion Bib Pattern
