

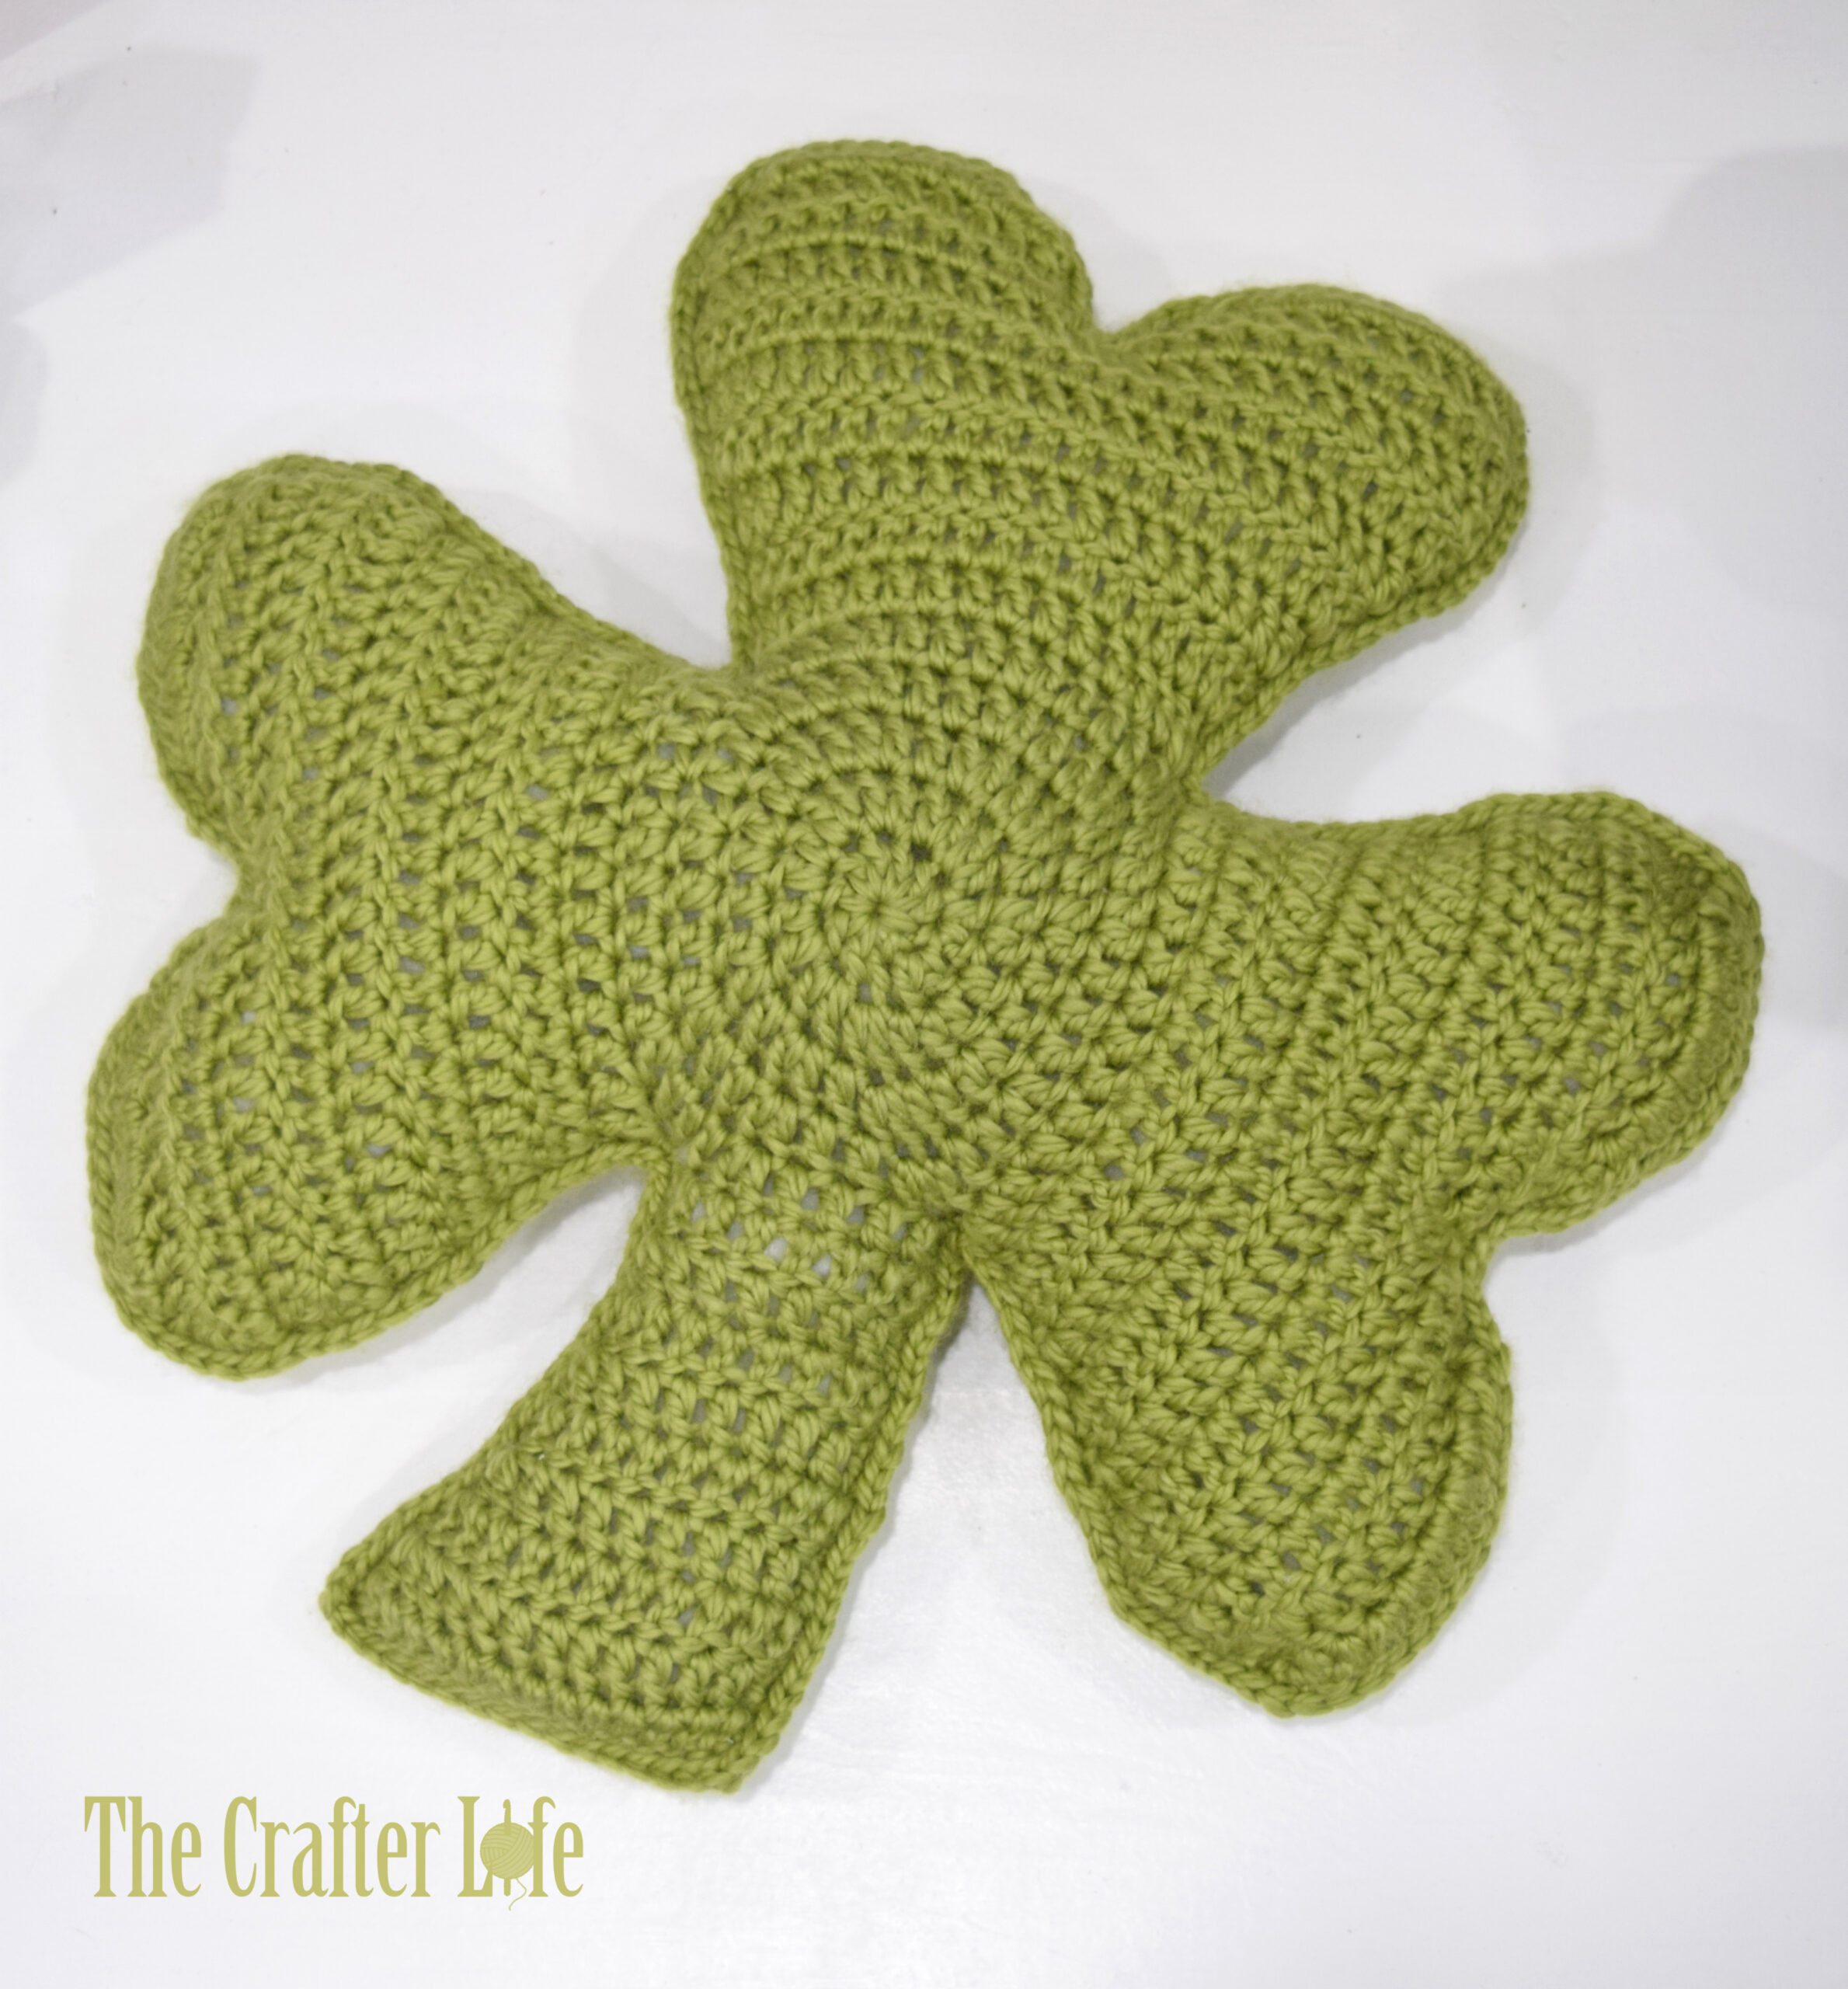
Decorative Shamrock Pillow
I used my Large Shamrock Mat to create a decorative shamrock pillow for Saint Patrick’s Day. My older two daughters must really like this pillow because they asked me to make one for each of them when they saw me finishing it today – not sure if I will get to that this year, though! It is a simple pillow to make. All you have to do is make two of my Large Shamrock Mats, single crochet them together evenly along their perimeters, and stuff with fiber fill. It is a fun accent pillow for your favorite chair, couch, bench, bed, or other pieces of furniture. Make one for yourself or anyone who loves to decorate for Saint Patrick’s Day! See below for more detailed directions.
MATERIALS
- 4 Skeins of Loops & Threads Cozy Wool Yarn in Sweetgrass (2 for each shamrock mat)
- Size 8.00mm crochet hook (or whatever size you use to obtain gauge in pattern)
- Polyester Fiber Fill
- Tapestry Needle
- Any other materials listed in Large Shamrock Mat pattern
DIRECTIONS
- Make 2 of my Large Shamrock Mats. When you finish making the second one, DO NOT fasten off. Leave yarn on the hook so you can start from there when you stitch them together.
- Place the 2 Large Shamrock Mats directly on top of each other, so that corresponding stitches match.
- With your yarn still on the hook after finishing the second mat, single crochet the 2 mats together along their perimeters. Begin this by inserting your hook through the first pair of corresponding stitches/spaces (under the stitch/space on one mat and then under its corresponding stitch/space on the other mat), then yarn over and pull through a loop so you have two loops on your hook, and finally yarn over and pull through both loops on the hook to complete a single crochet stitch that attaches both mats together. Continue doing this evenly around both mats until you are about three-quarters of the way around so that you create an edging of single crochet stitches that binds both mats together. When you are about three-quarters of the way around and still have an opening in the pillow, move to Step 4.
- Use the opening you left in the pillow from Step 3 to begin stuffing the pillow with Fiber Fill to your desired thickness. Just make sure not to stuff it so full that you will have a hard time single crocheting them together the rest of the way around. Once you have your desired amount of stuffing, move on to Step 5.
- Continue to single crochet the mats together where you left off from Step 3, adding more stuffing as the opening in the pillow continues to close. Once you have reached back to where you started with your single crochet edging and the pillow is completely closed, slip stitch in the first single crochet stitch you made in the edging. Fasten off and securely weave in the loose ends with your tapestry needle (you might want to knot and/or weave the ends through the inside of the pillow to make sure they are extra secure).
- Fluff up/reshape your pillow to your desired look once you have fastened off and secured your yarn. Your decorative pillow is now finished and ready to accent your favorite piece of furniture!
This pattern is property of TheCrafterLife.com
You may not sell my patterns or claim them as your own. You may make items to sell (i.e. on Etsy) from my patterns but I ask that you link back to my site (TheCrafterLife.com) and provide credit for the pattern. You are welcome to share my patterns on social media as long as you link back directly to my site by providing the link. No copying and pasting of any patterns will be allowed under any circumstances

Large Shamrock Mat


