Minnie Mouse Cookie Pops!
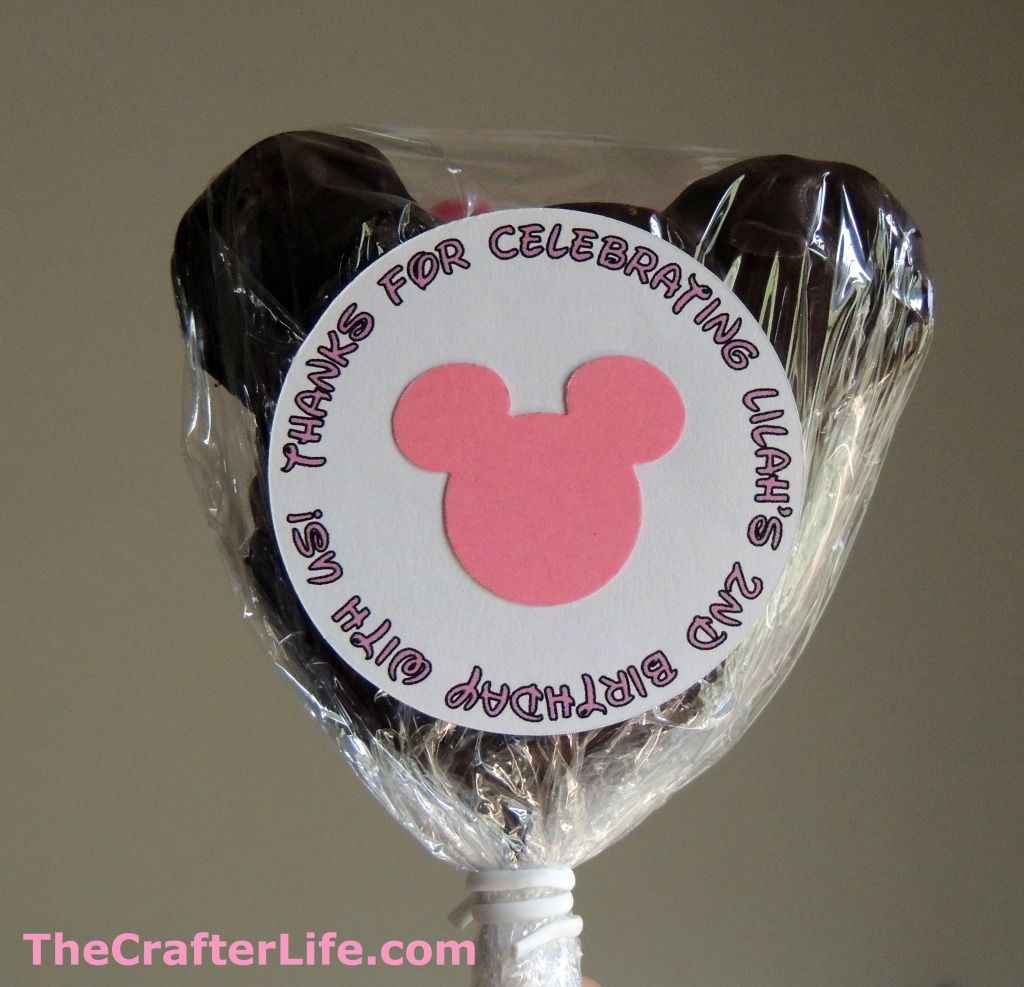
I made these Minnie Mouse cookie pops to give out as favors at my daughter’s Minnie Mouse birthday party. In the past, I have seen them made from Oreo cookies, so I wanted to try something different. Instead of Oreos, I decided to use Ritz crackers for the circular shapes of the head and ears. My grandmother makes these awesome chocolate covered peanut butter Ritz cracker cookies for Christmas so that’s how I came up with the idea of using Ritz crackers. Lucky for me, she has shown me how to make the cookies in the past, so all I had to figure out was how to create the ears on the cookies. If you are interested in making these Minnie Mouse pops, read below for the instructions.
Materials:
– Regular size Ritz crackers (you will need 2 per cookie pop)
– Mini Ritz peanut butter sandwich crackers (you will need one per cookie)
– Peanut butter
– Chocolate melting chips
– Lollipop sticks (I used 6 inch sticks)
– Wax paper
– Plastic wrap or clear plastic candy bags
– Twisty ties or ribbon
Directions:
1. Spread peanut butter on the curved side of each of the regular Ritz crackers.
2. Melt the chocolate melting chips. I melted them in a glass bowl in the microwave but you can also use a double boiler pan if you have one.
3. Take a lollipop stick and dip one end into the melted chocolate. Press the chocolate-covered end onto the peanut butter side of one of the Ritz crackers. Then gently press another Ritz cracker on top of the stick (peanut butter side down) so that the two crackers are in alignment. Continue doing this for the amount you are making. Allow them to harden. *Dipping the sticks in the chocolate helps them stay in place better. At first, I didn’t do this and the sticks couldn’t hold the weight of the crackers.
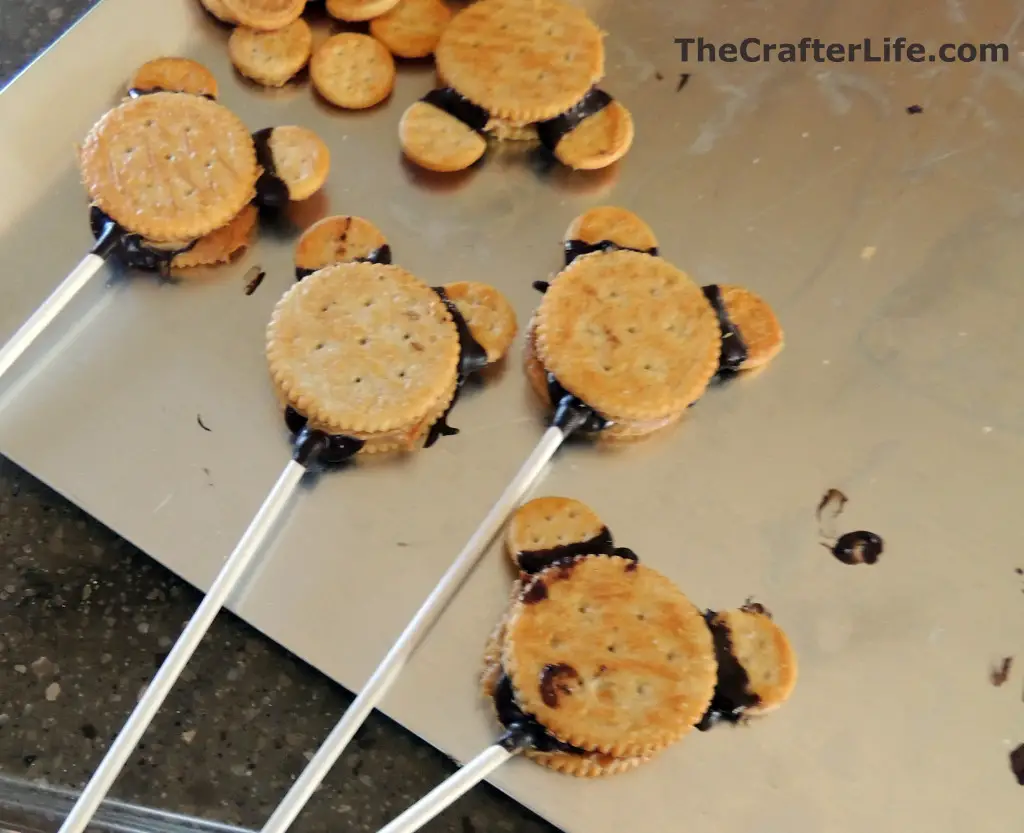
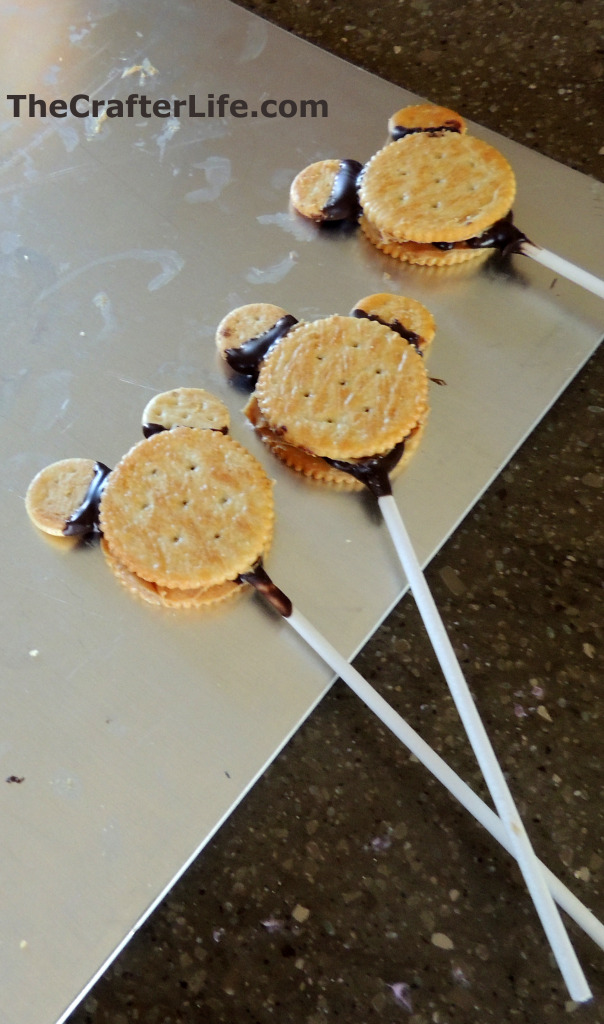
4. Take the mini Ritz cracker sandwiches and twist the sides apart so you have two separate mini Ritz crackers. These will serve as the ears on the cookie pops.
5. Dip the bottoms of two mini Ritz crackers into the melted chocolate. Then, on each side of the top of one of the cookie pops, gently insert the chocolate-covered part of a mini cracker between the top and bottom crackers of the cookie pop. When you are finished, the mini crackers should be positioned so that they look like Minnie Mouse ears. Repeat this step for each cookie pop. Allow them to harden. The pictures below show what the cookie pops should look like after this step.
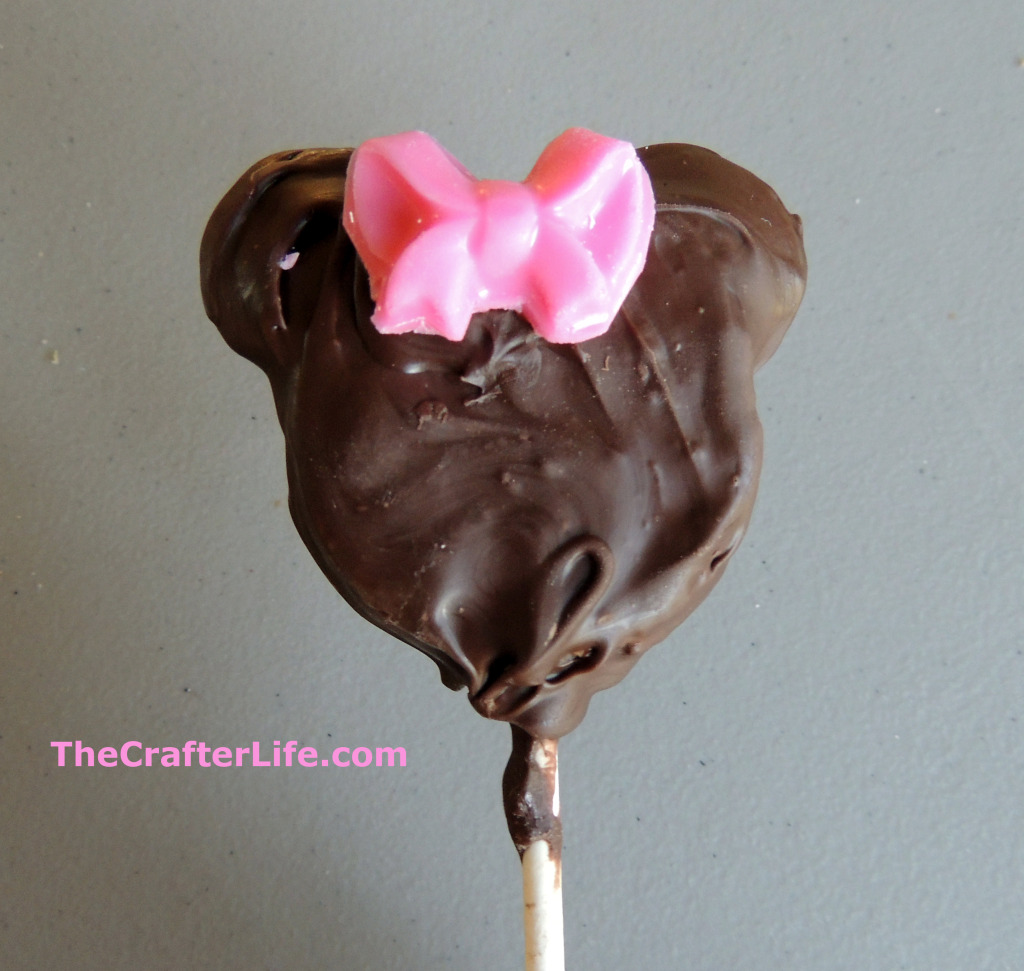
6. Cover each cookie pop entirely (minus the lollipop stick) with the melted chocolate and place on wax paper. Be really careful if you choose to dip the entire pop in the chocolate as it may be too much weight for the crackers or lollipop stick to handle. I used a spoon to drizzle the chocolate on the pops and to remove any excess chocolate around the pops so that they kept their Minnie Mouse shapes. Allow them to dry on the wax paper. If you stop here, you can use them as Mickey Mouse pops!
7. Take a pink chocolate bow (the directions for making the bows are in my previous post: Minnie Mouse Cake and Cupcakes) and put a small amount of melted chocolate on the back to use as glue for adhering the bow to a cookie pop. Place the bow on the top of a cookie pop between the ears. Allow it to dry. Repeat this step for each pop. Now your pops are ready to eat! Follow the next step if you want to keep them for later or hand them out to people.
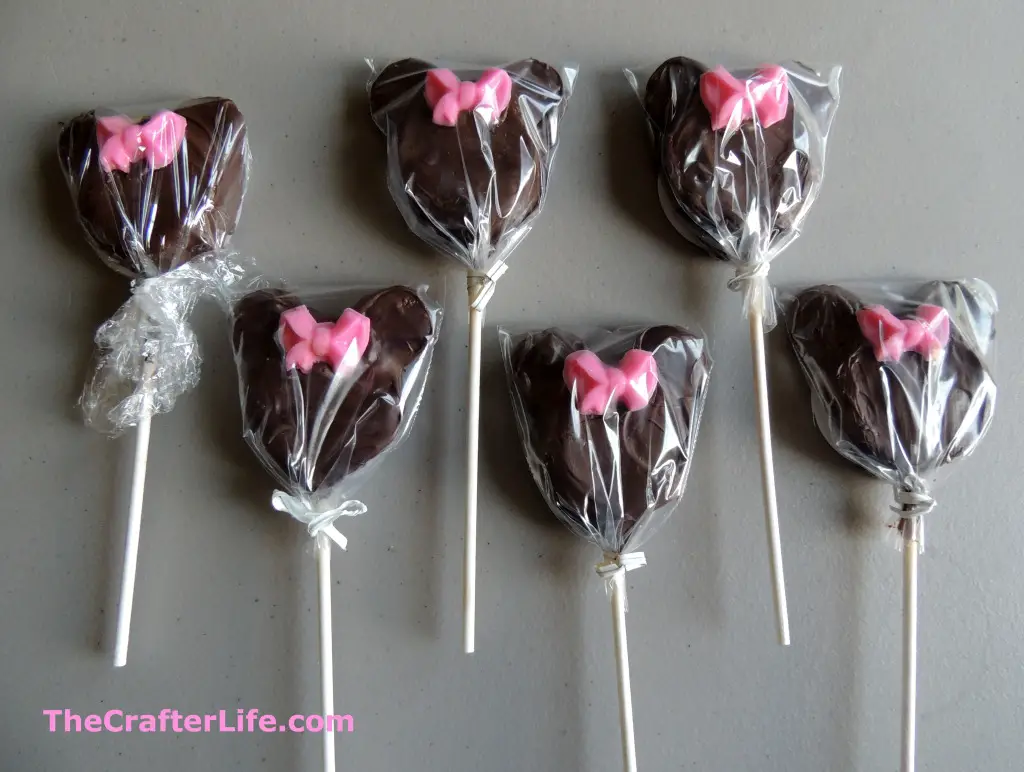
8. Take either clear plastic baggies or plastic wrap to cover the pops. Then you can use a twisty tie or ribbon to hold the plastic over the pops.
9. If you are using these as favors for a party, you may wish to add labels to the back. I will provide a printable of my labels in a future post.
Feel free to post comments here or on my Facebook page!
**If you like what you see, feel free to pin, share, and link back to my site. Thank you for visiting!


