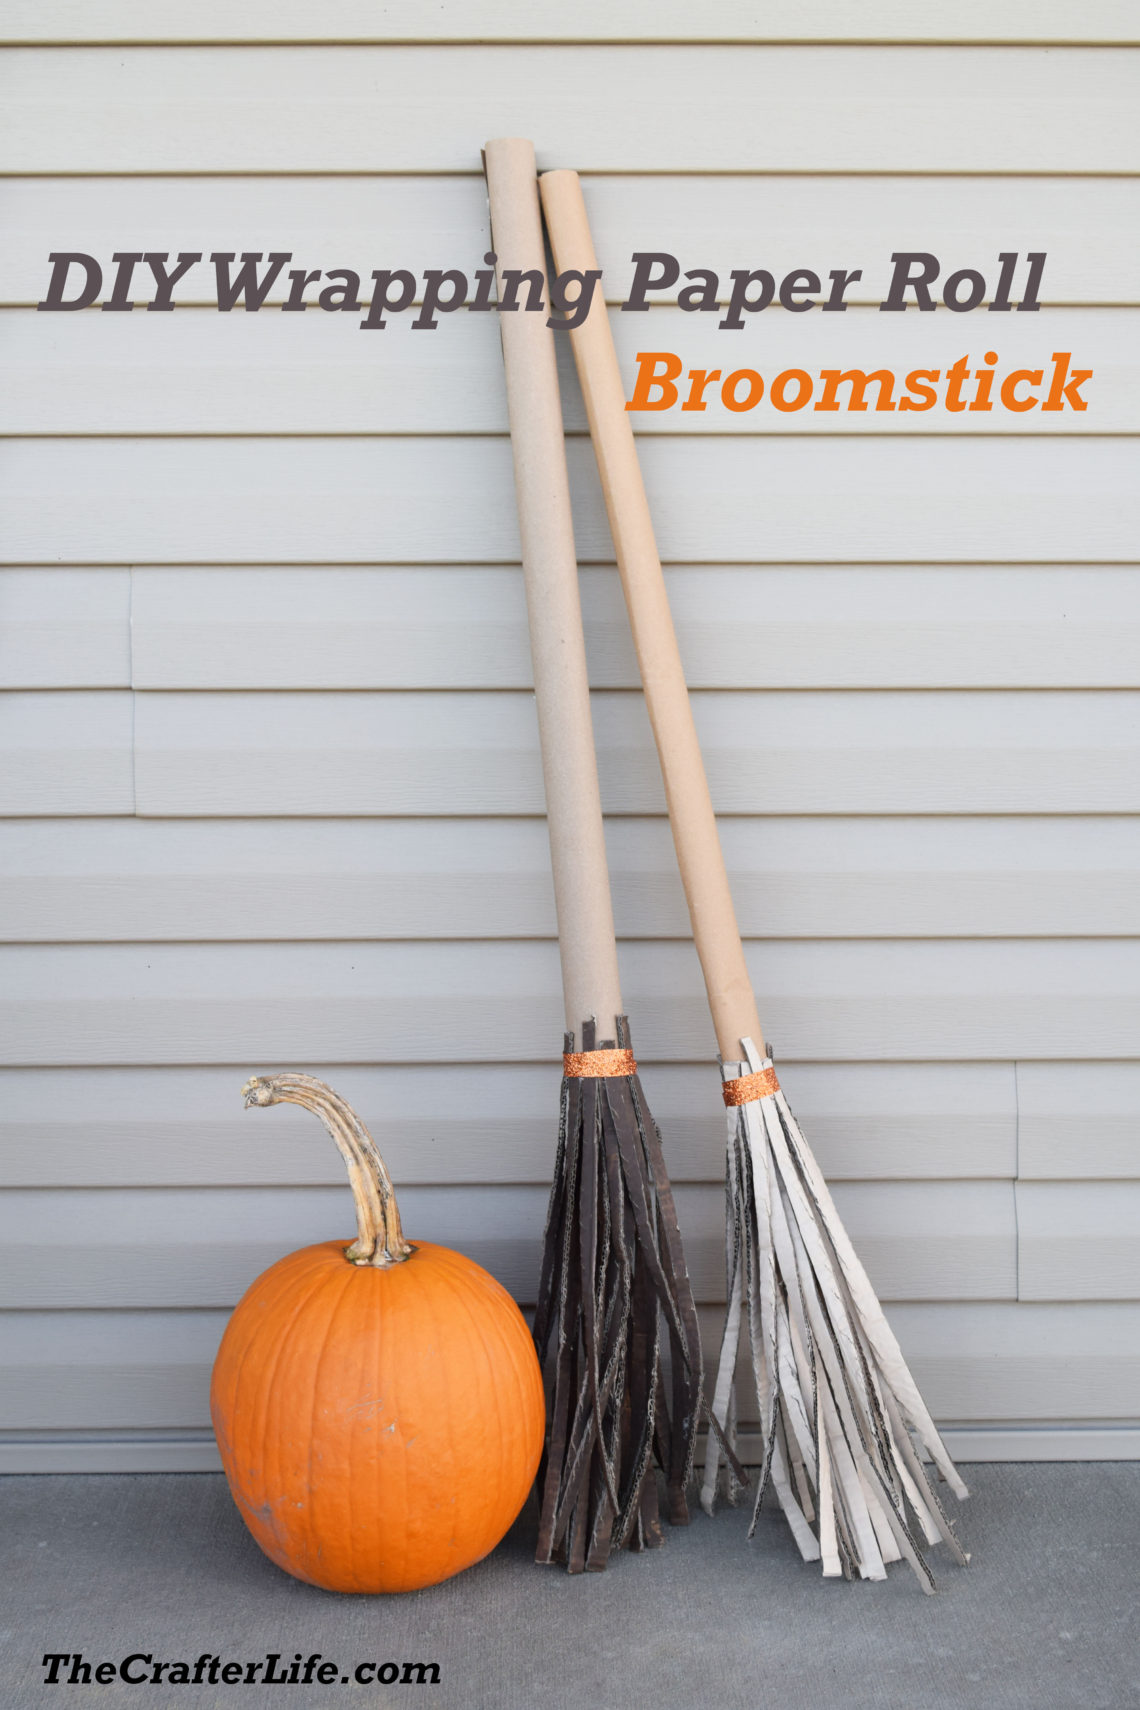
DIY Wrapping Paper Roll Broomstick
Quick and Easy DIY Wrapping Paper Roll Broomstick
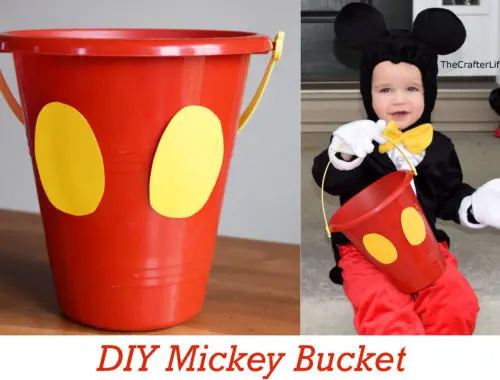
I don’t know about you, but when it comes to thinking about my kids’ Halloween costume accessories, I can only describe it in one way: LAST-MINUTE! We always get the main costumes within plenty of time, but for some reason I don’t even consider any of the “extras” until about one to three days before trick-or-treating. I am starting to consider myself an “expert” in the area of last-minute DIY costume accessories. The Mickey bucket and even my crochet stock pot were last-minute costume ideas that were started a day before Halloween…yes, I was designing and madly rushing to finish crocheting a stock pot for my daughter’s cook costume up until about 20 minutes before trick-or-treat time! Why do I do this to myself?!
Take today, for instance. Both of my daughters are going to be witches this Halloween and they just asked me where their brooms are for their costumes. That’s a good question….Oops! But I would rather not have to buy a broom (let alone TWO brooms) for a one night adventure.
After my initial realization that we don’t have any costume brooms, I did whatever I usually do as soon as I’m faced with a dilemma – I called my mom! I called her because I was hoping she still had a prop broom I remembered using when I was a witch for Halloween. SHE DOES STILL HAVE IT! Yay…one broom down! With one broom left to go, I knew that this was going to be yet another year of quick DIY thinking!
I immediately started thinking about common things I may already have that resemble a broom stick. Pretty quickly, I thought of a wrapping paper roll tube. Wrapping paper roll tubes are a great size and weight for a toddler/young child to hold and carry. Luckily, I have a few rolls of wrapping paper leftover from birthdays and Christmas. I decided to use a wrapping paper roll tube I had from dollar tree since it was pretty easy to remove from the paper still on it and it is thin/light enough for my almost-three-year-old to carry while trick-or-treating.
Next, I just had to think of the bristles. The first thing I thought of was cutting strips out of cardboard since it is durable. The only thing I would have to do is change the color. I decided it would be pretty easy to paint a different color. I also thought about using crepe paper or tulle since they come in all sorts of colors so I wouldn’t even have to worry about changing the color of those. However, I decided to go with cardboard since I would worry about the durability of crepe paper or tulle while using it outside for trick-or-treating.
The great thing about this DIY craft (besides the fact that it’s easy and cheap) is that I already had all the supplies I needed and it didn’t take long at all to make. This would also make a fun craft for children and it could also be used as a cute decoration. If your kids enjoy the book, Room on the Broom, this would be a great craft to do with them after reading the book. I think it is a really cute book, especially around Halloween time, so if you haven’t read it, I would recommend it. My kids love it. If you are an Amazon Prime member, they offer a free film of the book.
See below if you are interested in making one for yourself.
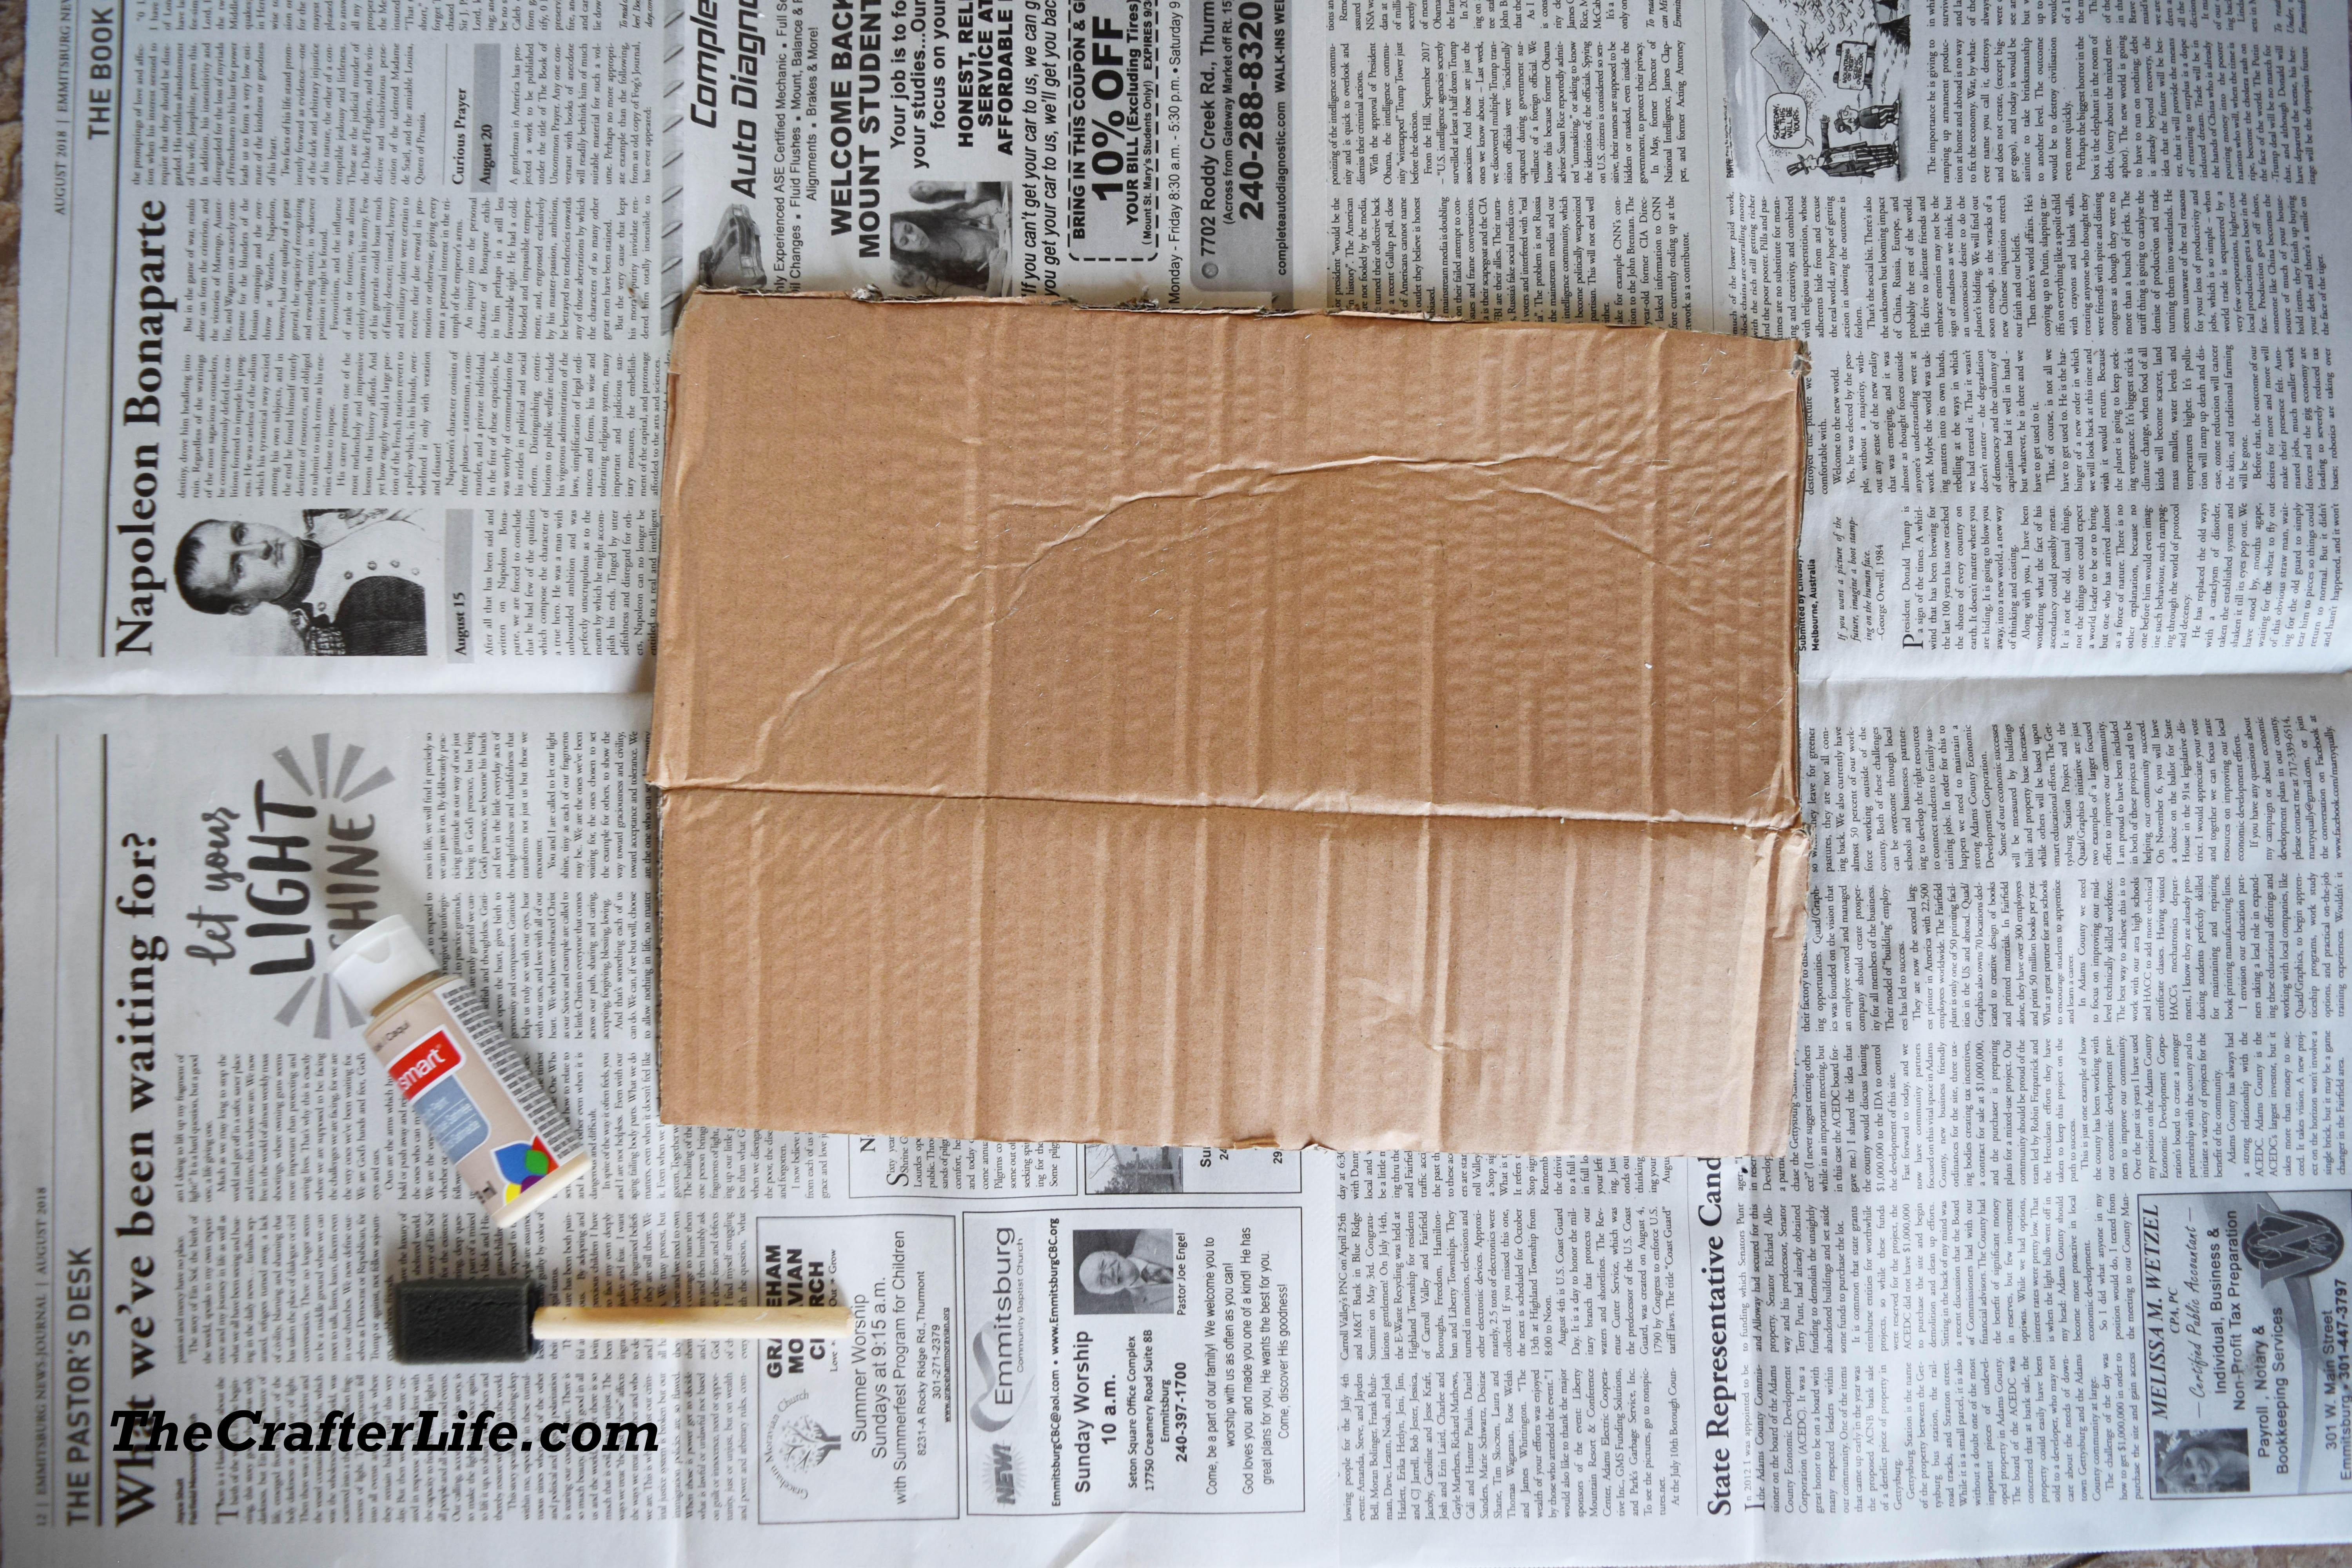
MATERIALS
- Wrapping Paper Roll Tube
- Cardboard box/piece of cardboard big enough to cut about 20 strips that are about 14” long and about ½” wide
- Acrylic Paint in your choice of bristle color (I used Craft Smart acrylic paint in Khaki for the broom with the lighter bristles and Americana acrylic paint in Raw Umber for the broom with the darker bristles)
- Paint brush/sponge brush
- Scissors
- Hot glue gun/glue
- Ribbon/String/Yarn in your color choice (I used 3/8 inch ribbon in a glittery orange color)
DIRECTIONS
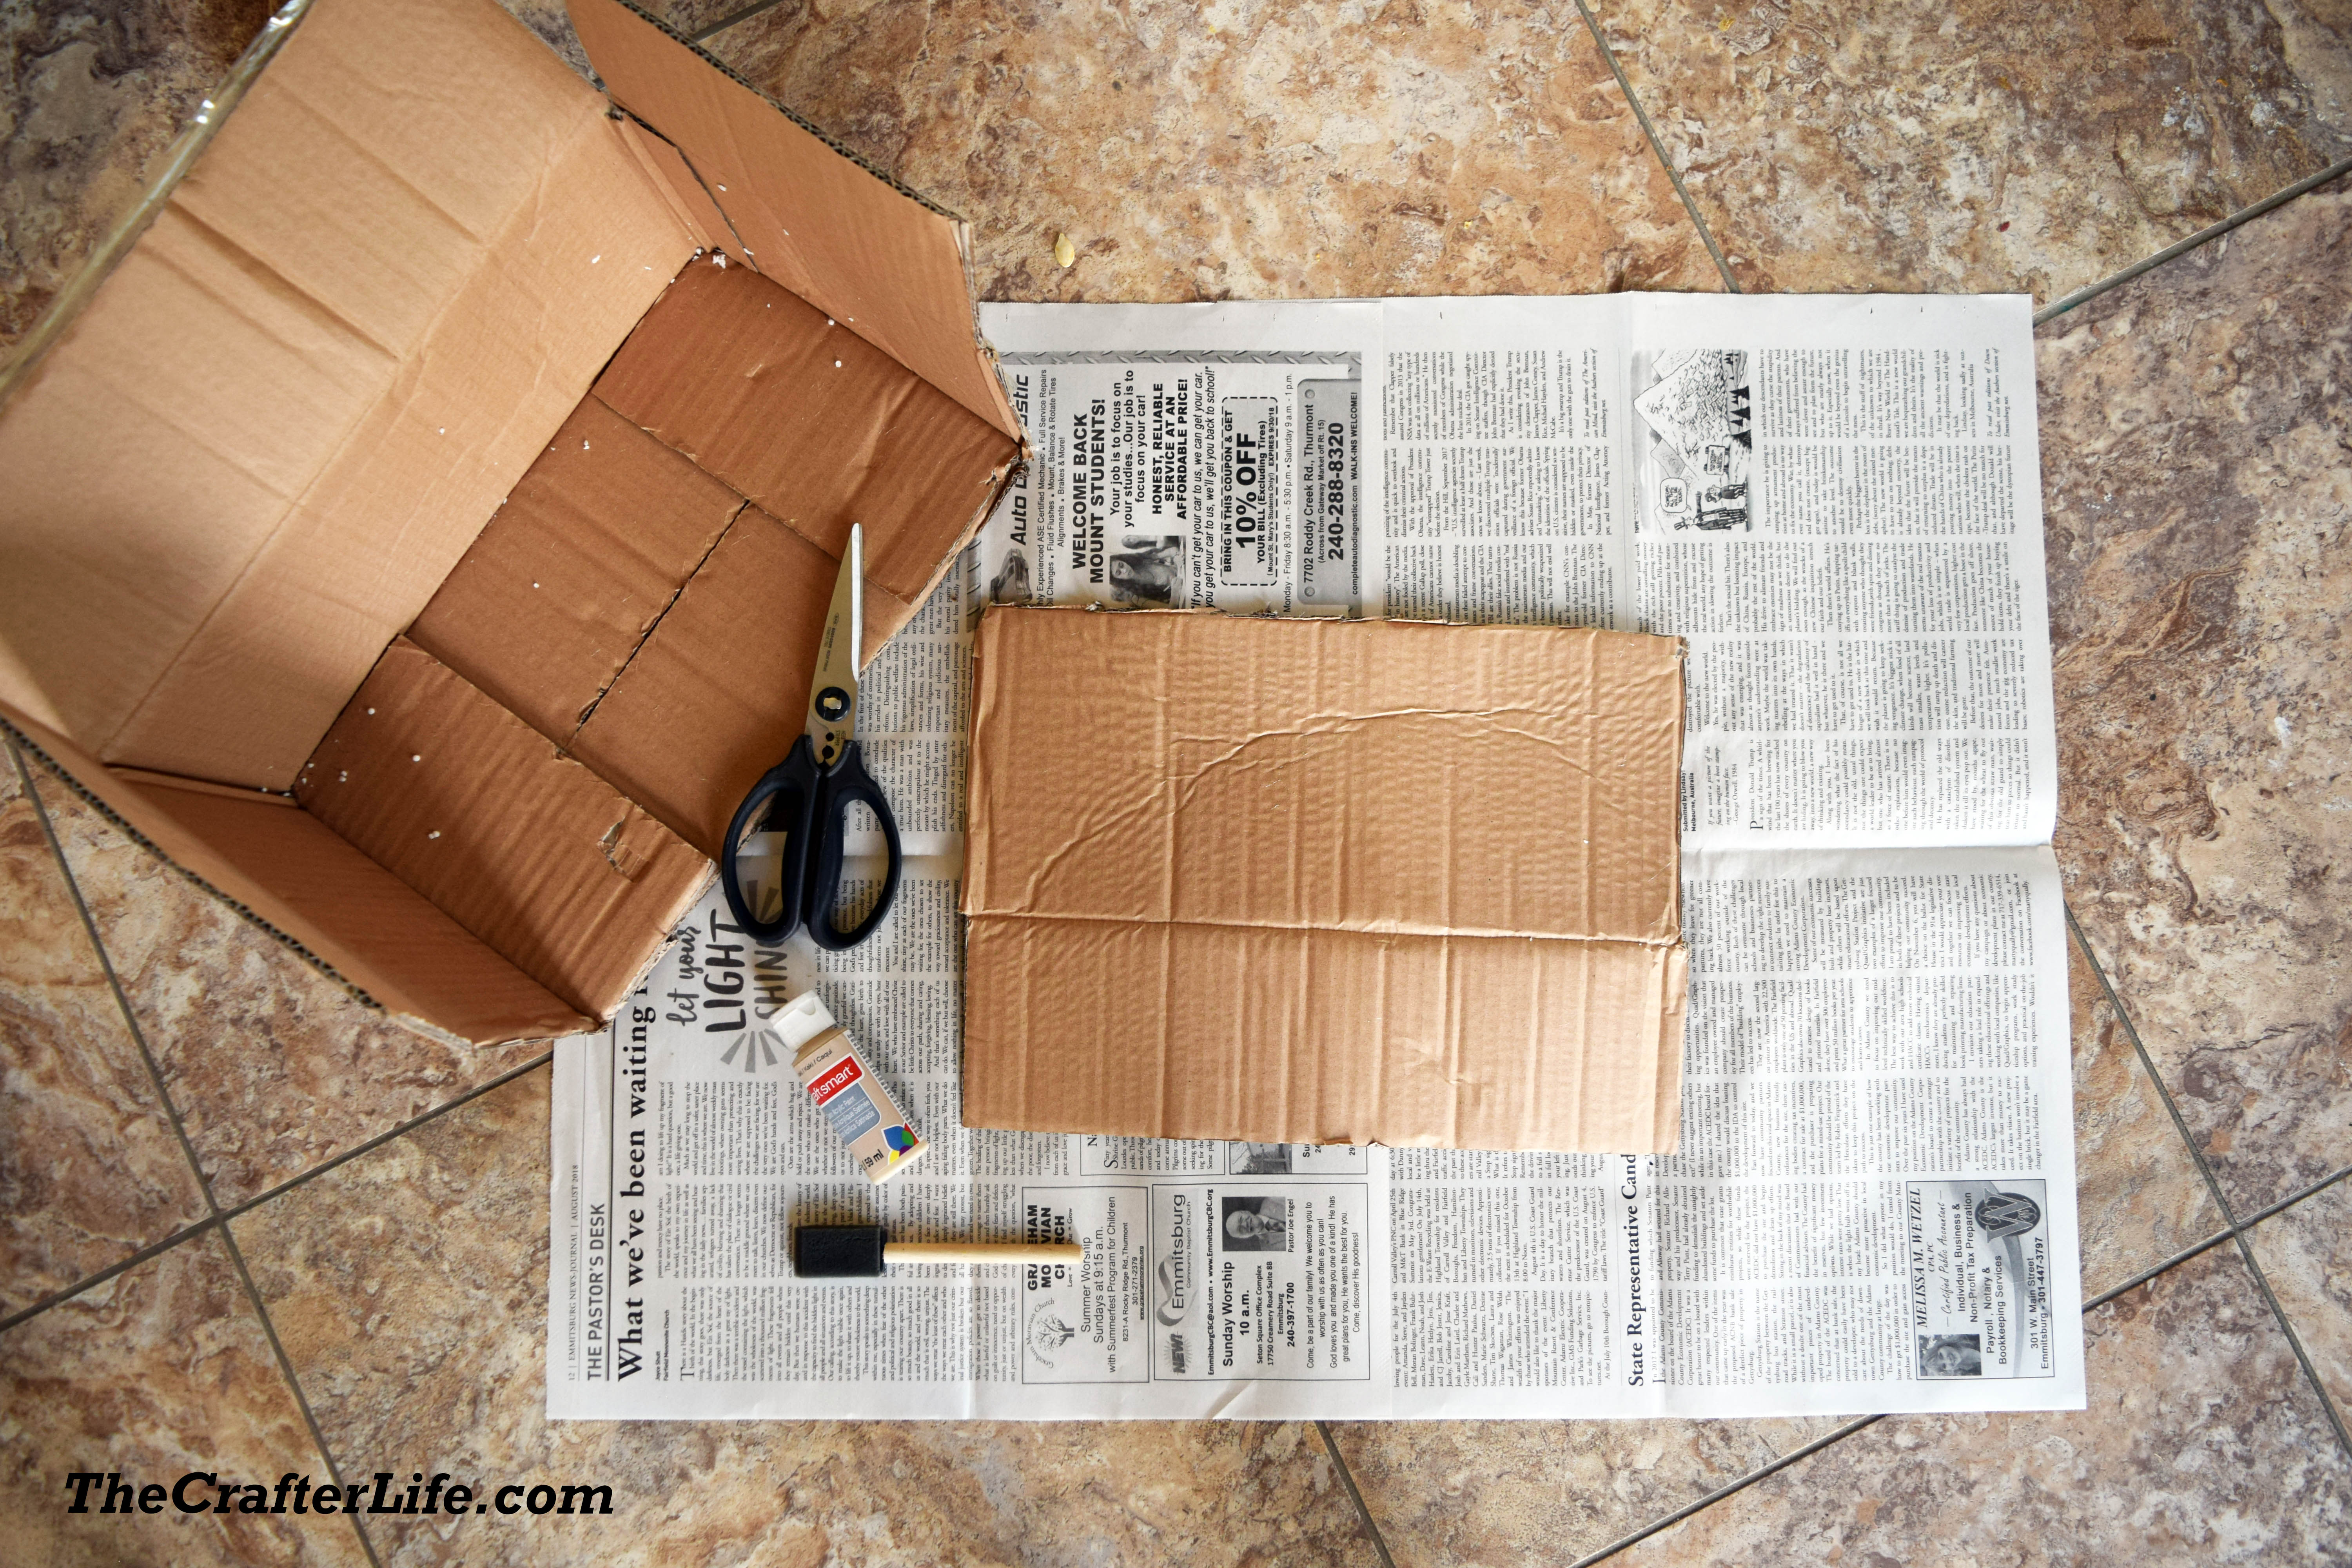
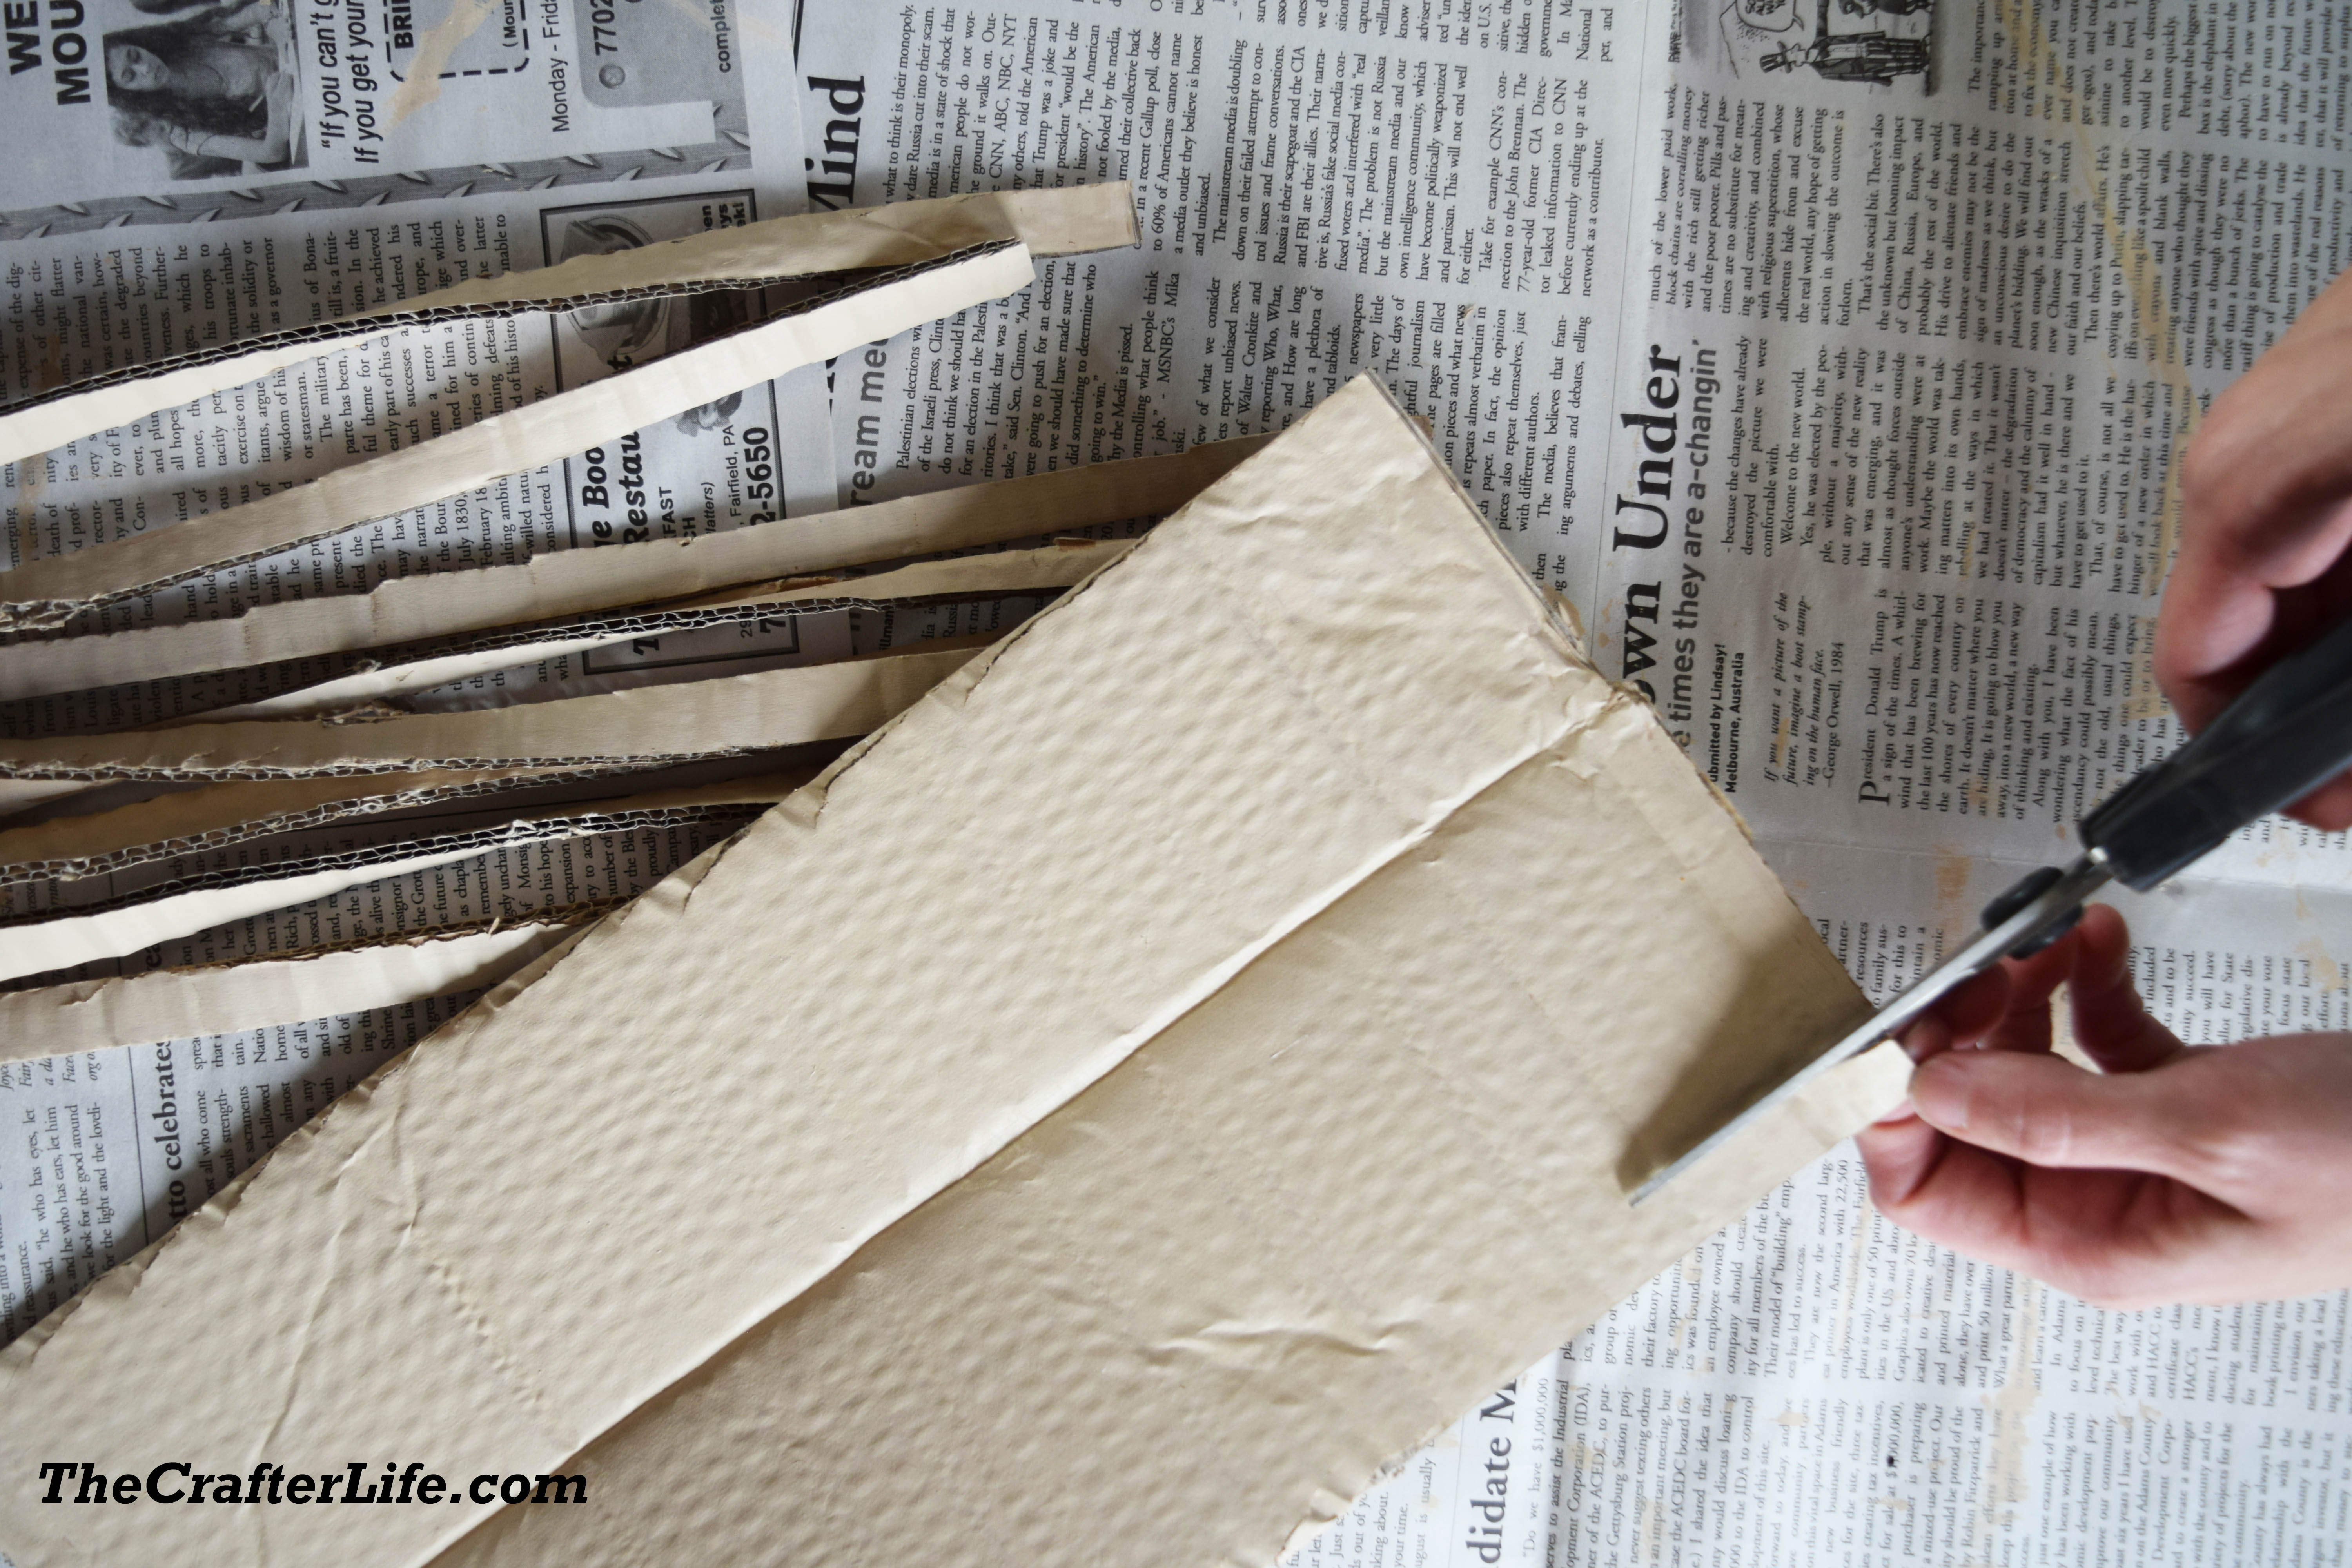
- Paint your piece of cardboard on both sides with acrylic paint. I used a piece of cardboard that I cut from the side of a box. My piece of cardboard was approximately 14¼ inches by 10½ inches. You could always cut your strips out of cardboard first, and then paint each individual strip.

2. After the paint has dried, cut about 20 strips from your cardboard that are around ½ inch wide and 14 inches long. The strips do not have to be the exact same width. Mine varied in size because I did not use a ruler when cutting.

3. Stick a few strips about an inch or two inside your wrapping paper roll tube at the bottom and glue them around the inside so they are sticking out the bottom of the tube.
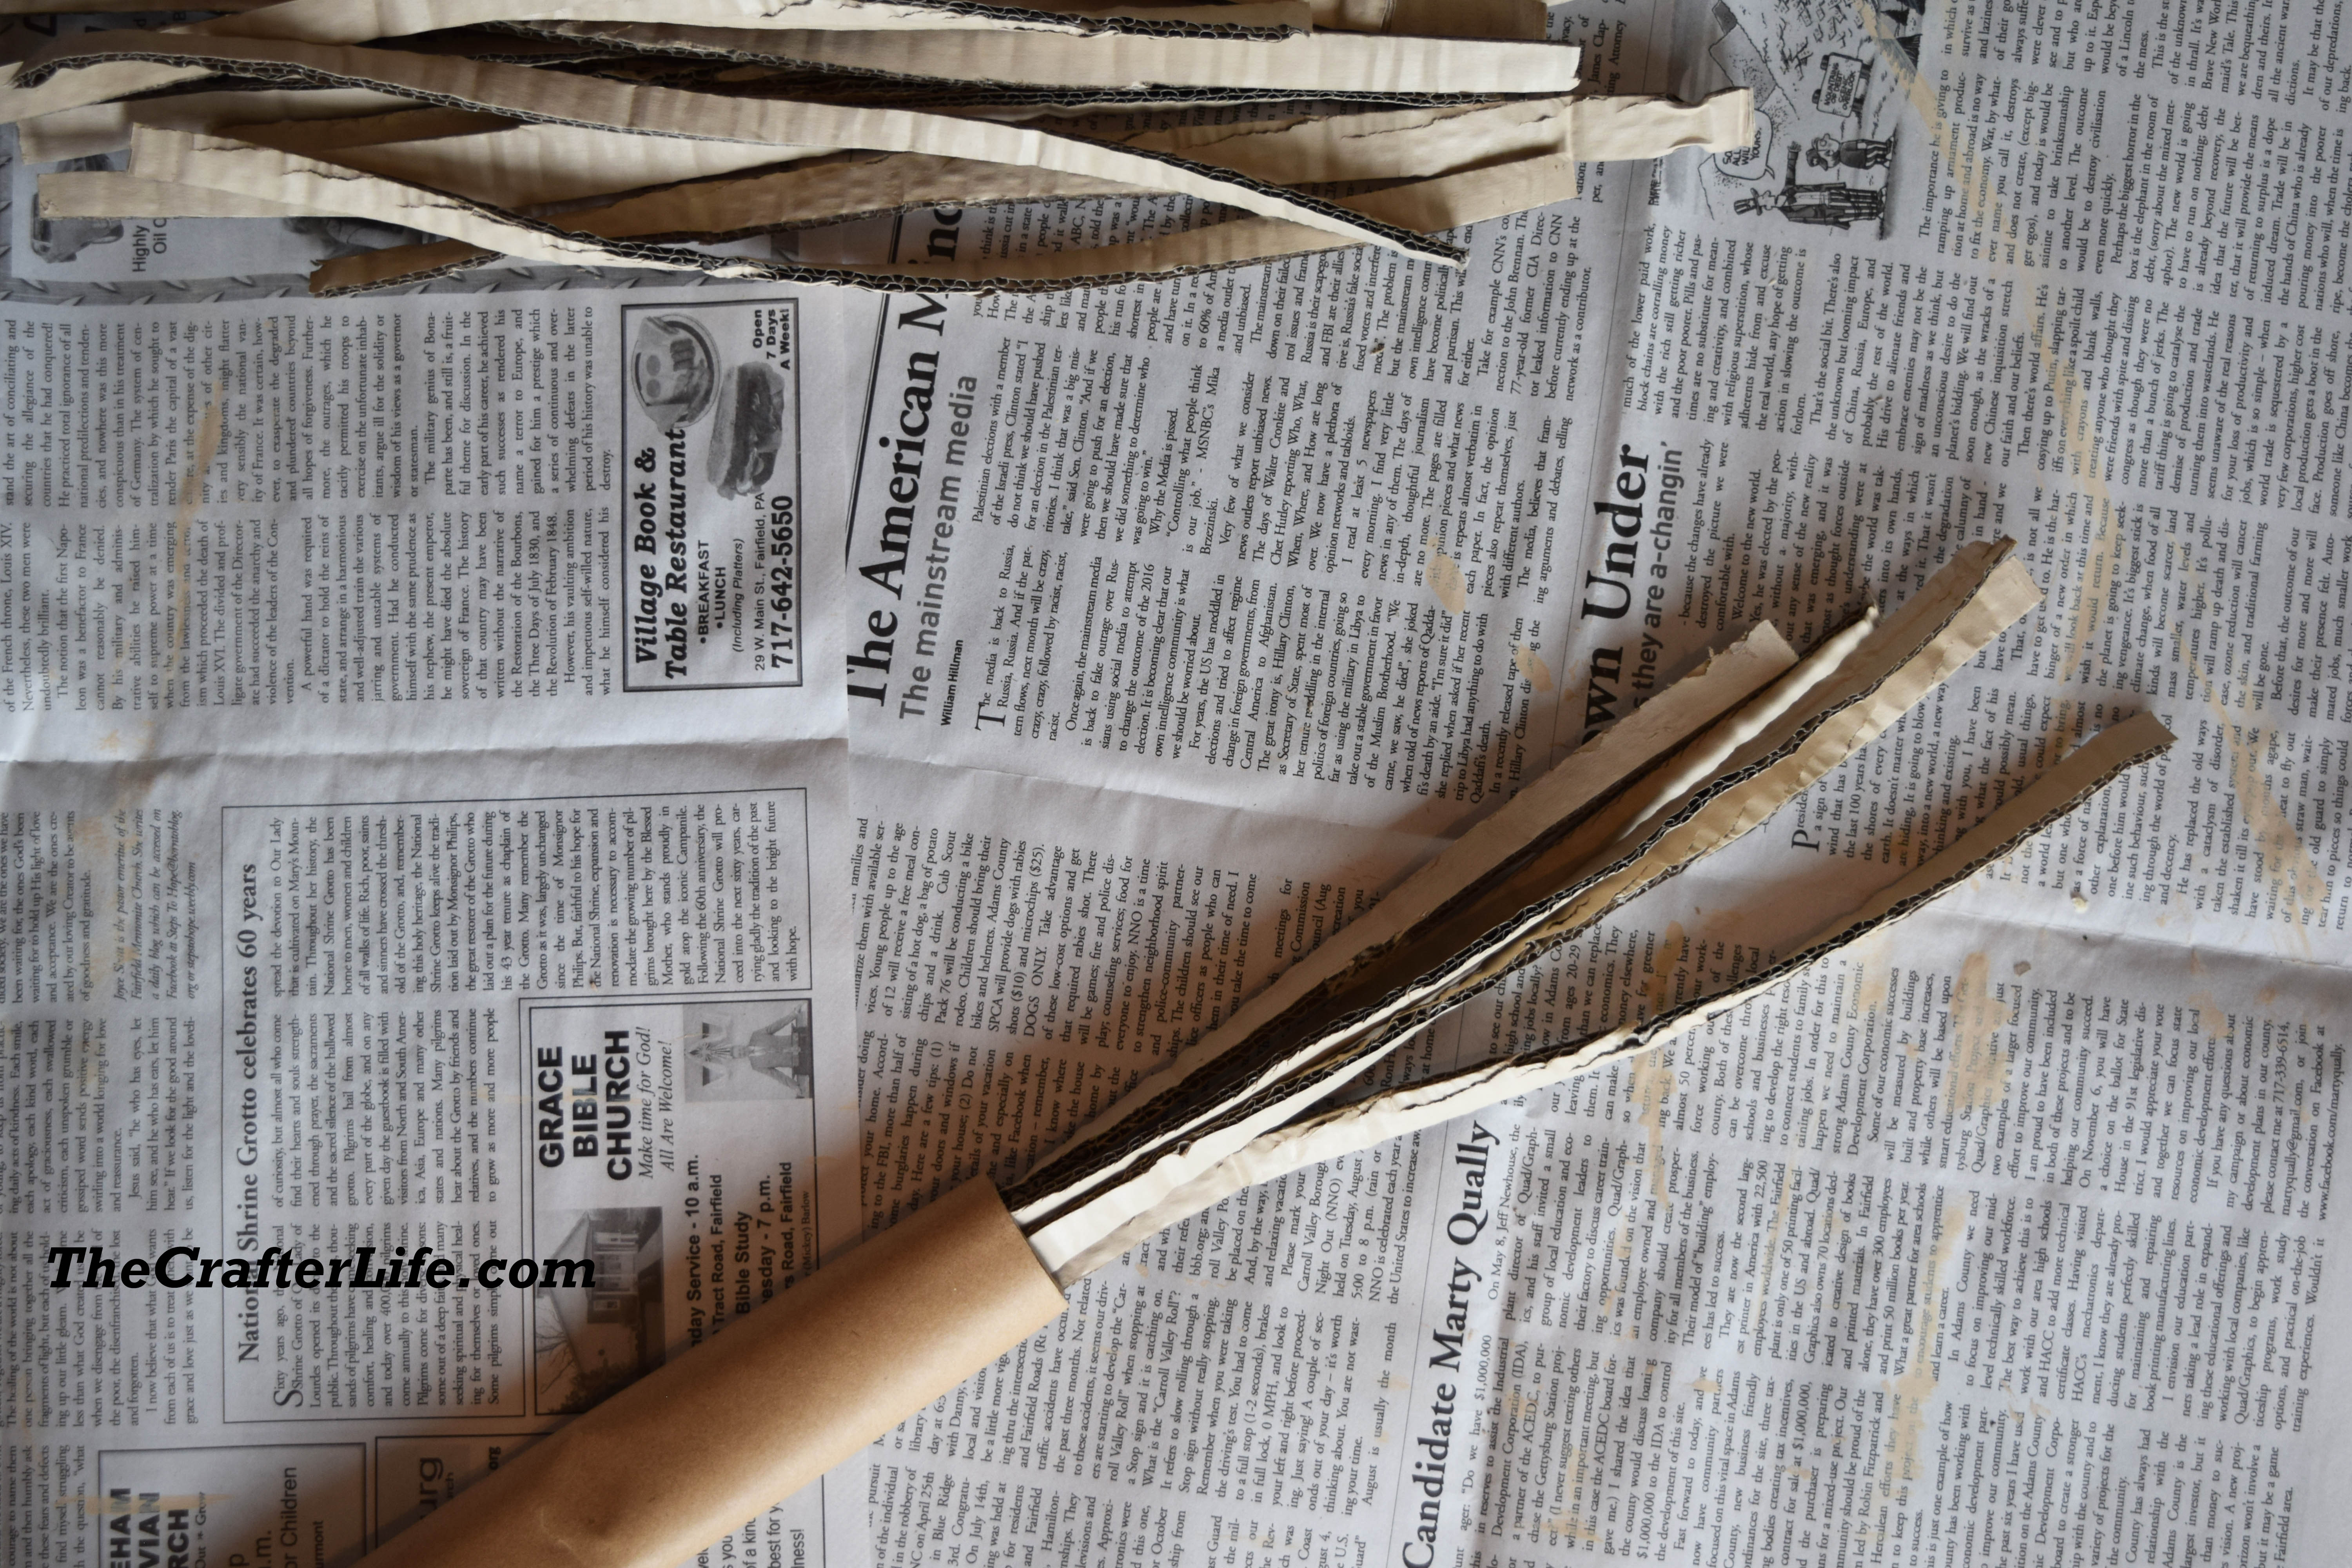
4. Glue the rest of the strips around the bottom of the wrapping paper roll tube on the outside. Once you have your first layer around the tube complete, glue them overlapping each other to create a top layer.

5. Wrap your ribbon/string/yarn around the bottom of the tube (on top of the cardboard strips) and position it the way you would like it to look. Then glue in place. I cut two strips from my ribbon and glued them in two rows around the tube.

THAT’S IT! YOUR BROOM IS READY!