

Bowtie Pacifier Clip
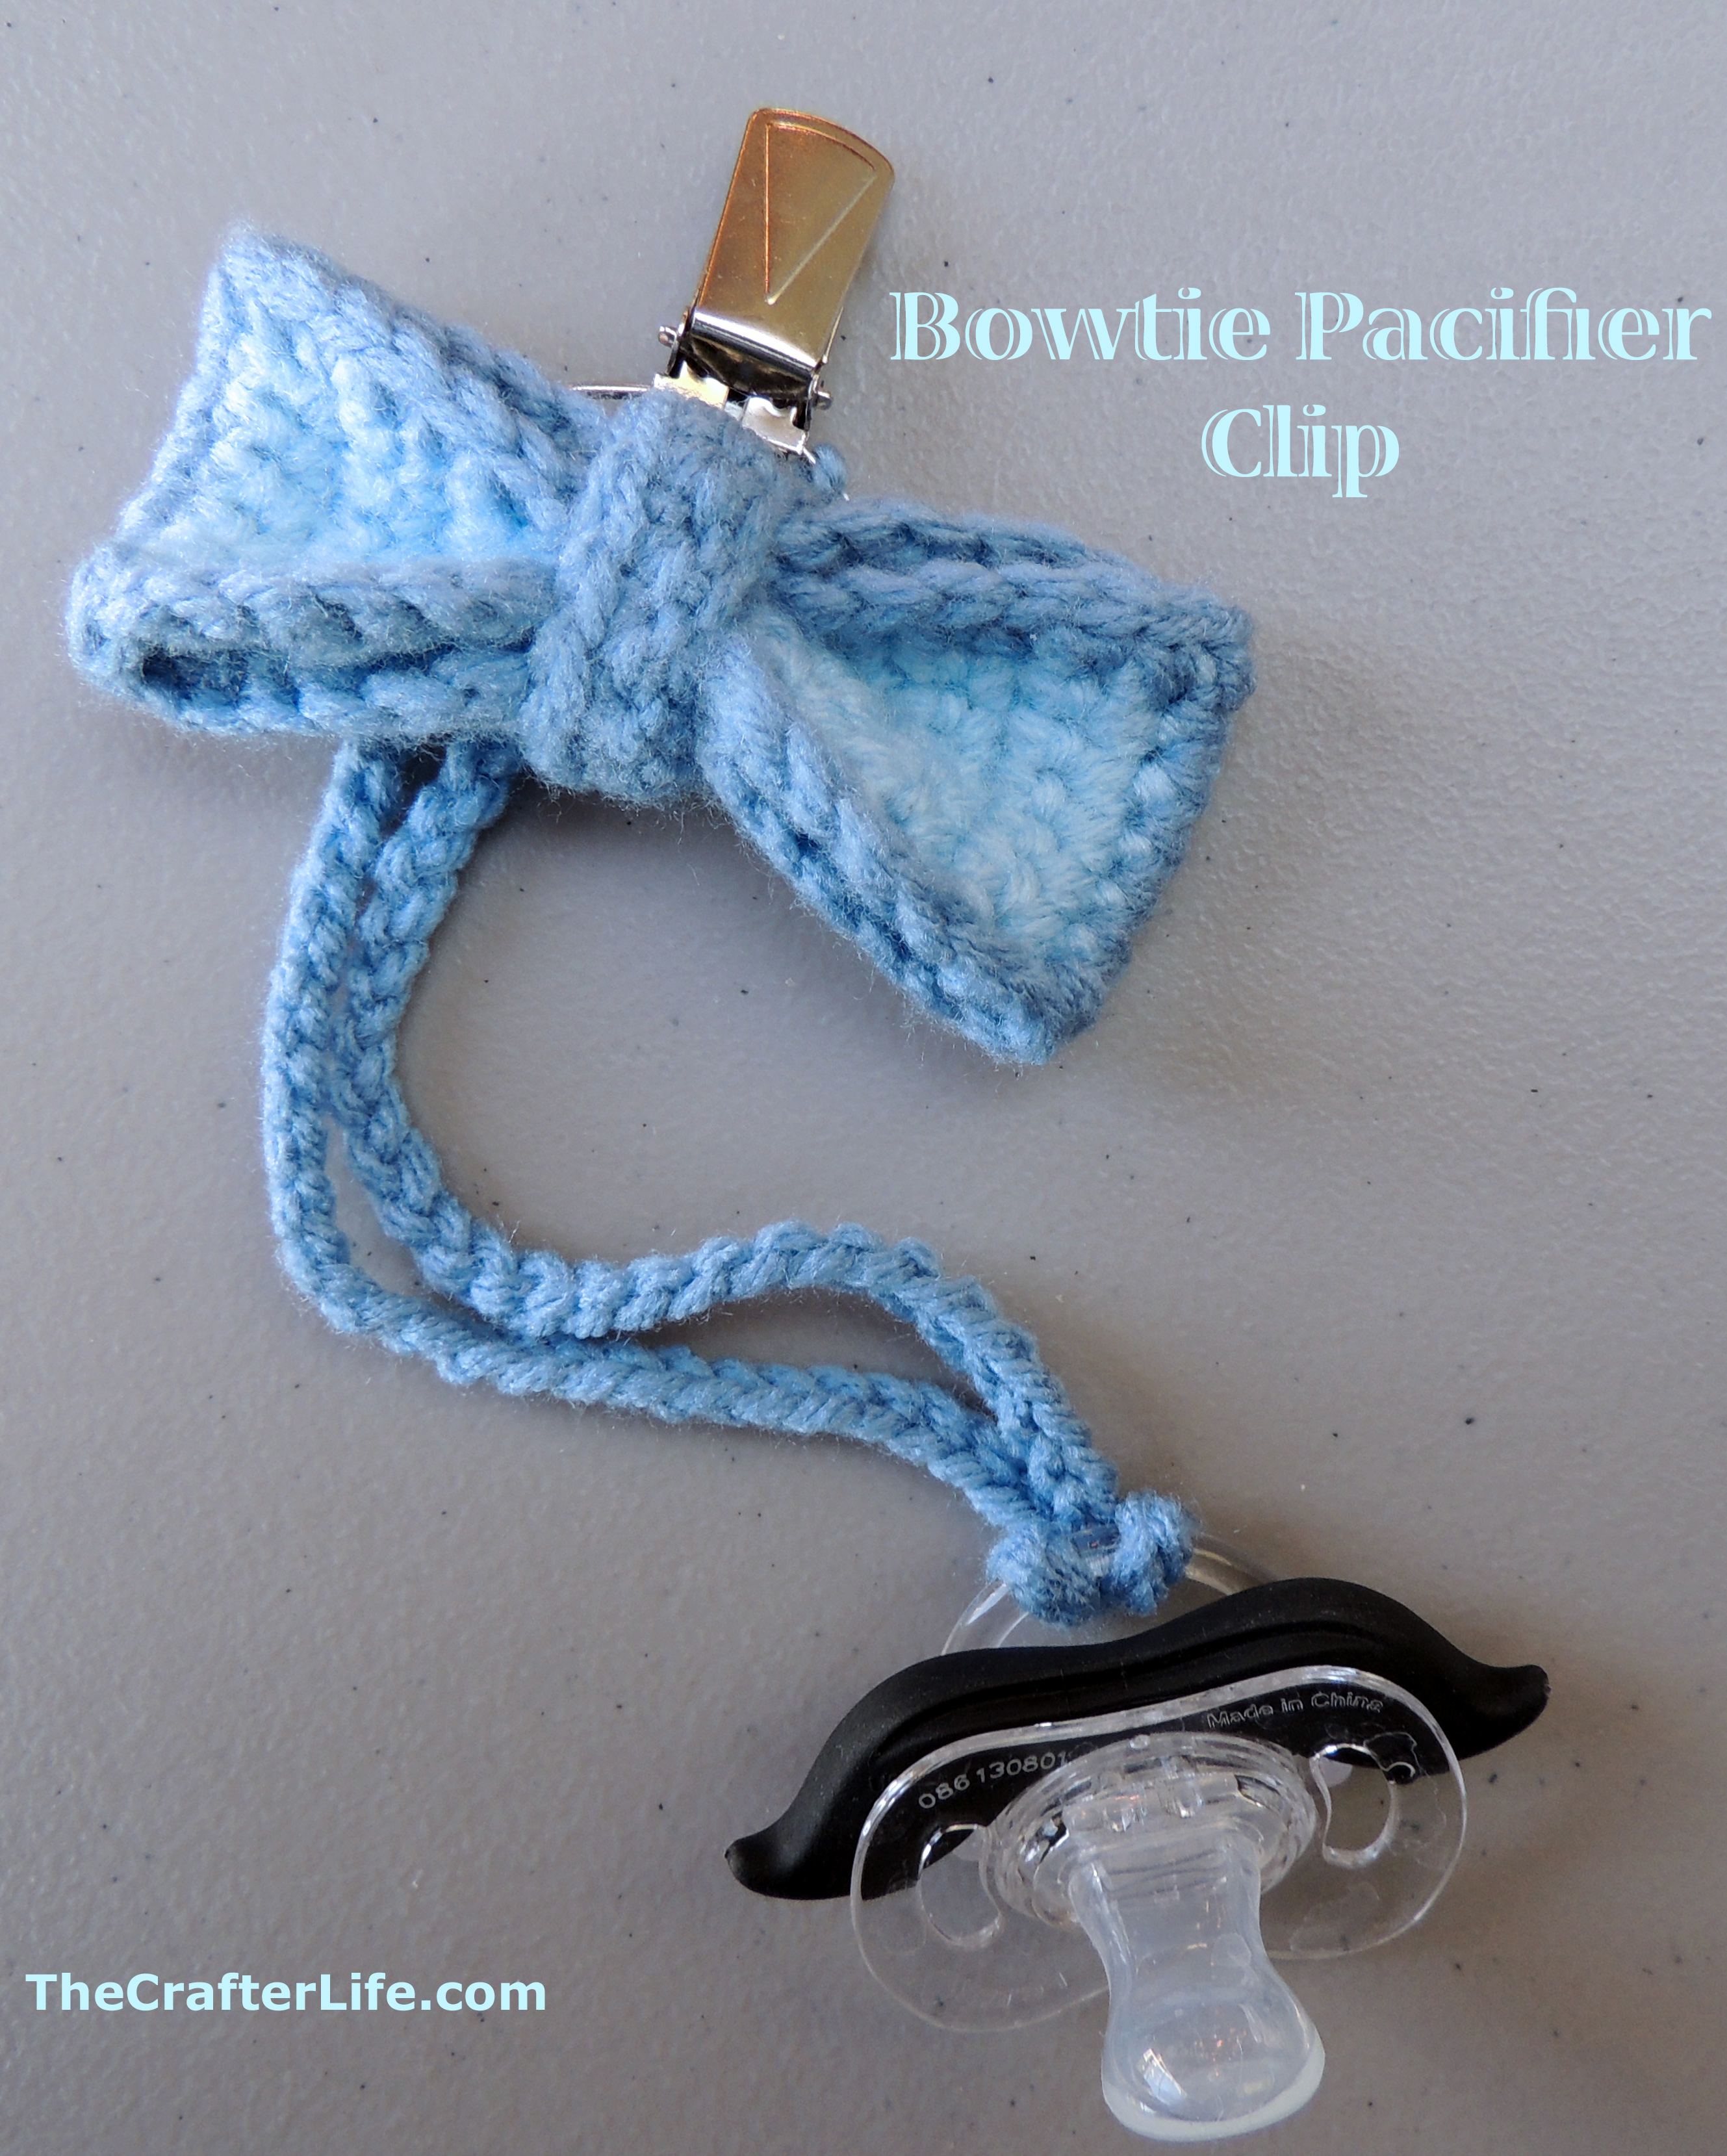
I designed this bowtie pacifier clip so that you can remove the attachment for the pacifier if your baby no longer needs a pacifier or if you just want it to be simply a clip-on bowtie. It matches my “modern newsboy” hat. Below is the pattern.
FINISHED MEASUREMENTS
Width is approximately 3.75”
Height is approximately 1.5”
MATERIALS
– 3.75 mm (F) hook
– Red Heart Super Saver worsted weight (4) yarn in Light Blue
– Red Heart with Love worsted weight (4) yarn in Bluebell
– Tapestry needle for sewing and weaving in ends
– Scissors
– Suspender Clip
ABBREVIATIONS
– ch = chain
– chs = chains
– sc = single crochet
– slst = slip stitch
– st = stitch
– sts = stitches
DIRECTIONS
Main Body of Bow
Row 1: Using the light blue yarn, ch 7, sc in 2nd ch from hook and in each ch across. (6 sc)
Rows 2-6: Ch 1, turn, sc in each sc across. (6 sc)
Row 7: Change yarn to bluebell color, ch 1 (drop the light blue yarn and weave in ends), turn, sc in each sc across. (6 sc)
Row 8: Ch 1, turn, sc in each sc across. (6 sc)
Row 9: Change the yarn to light blue color, ch 1 (drop bluebell yarn and weave in ends), sc in each sc across. (6 sc)
Rows 10-14: Ch 1, turn, sc in each sc across. (6 sc)
Row 15: Change yarn to bluebell color, ch 1 (drop the light blue yarn and weave in ends), turn, sc in each sc across. (6 sc)
Row 16: Ch 1, turn, sc in each sc across. (6 sc)
Row 17: Change yarn to light blue color, ch 1 (drop bluebell yarn but leave long tail for sewing), turn, sc in each sc across. (6 sc)
Rows 18-22: Ch 1, turn, sc in each sc across. (6 sc)
Row 23: Change yarn to bluebell color, ch 1 (drop the light blue yarn and weave in ends), turn, sc in each sc across. (6 sc)
Row 24: Ch 1, turn, sc in each sc across. (6 sc)
Rows 26-30: Ch 1, turn, sc in each sc across. (6 sc)
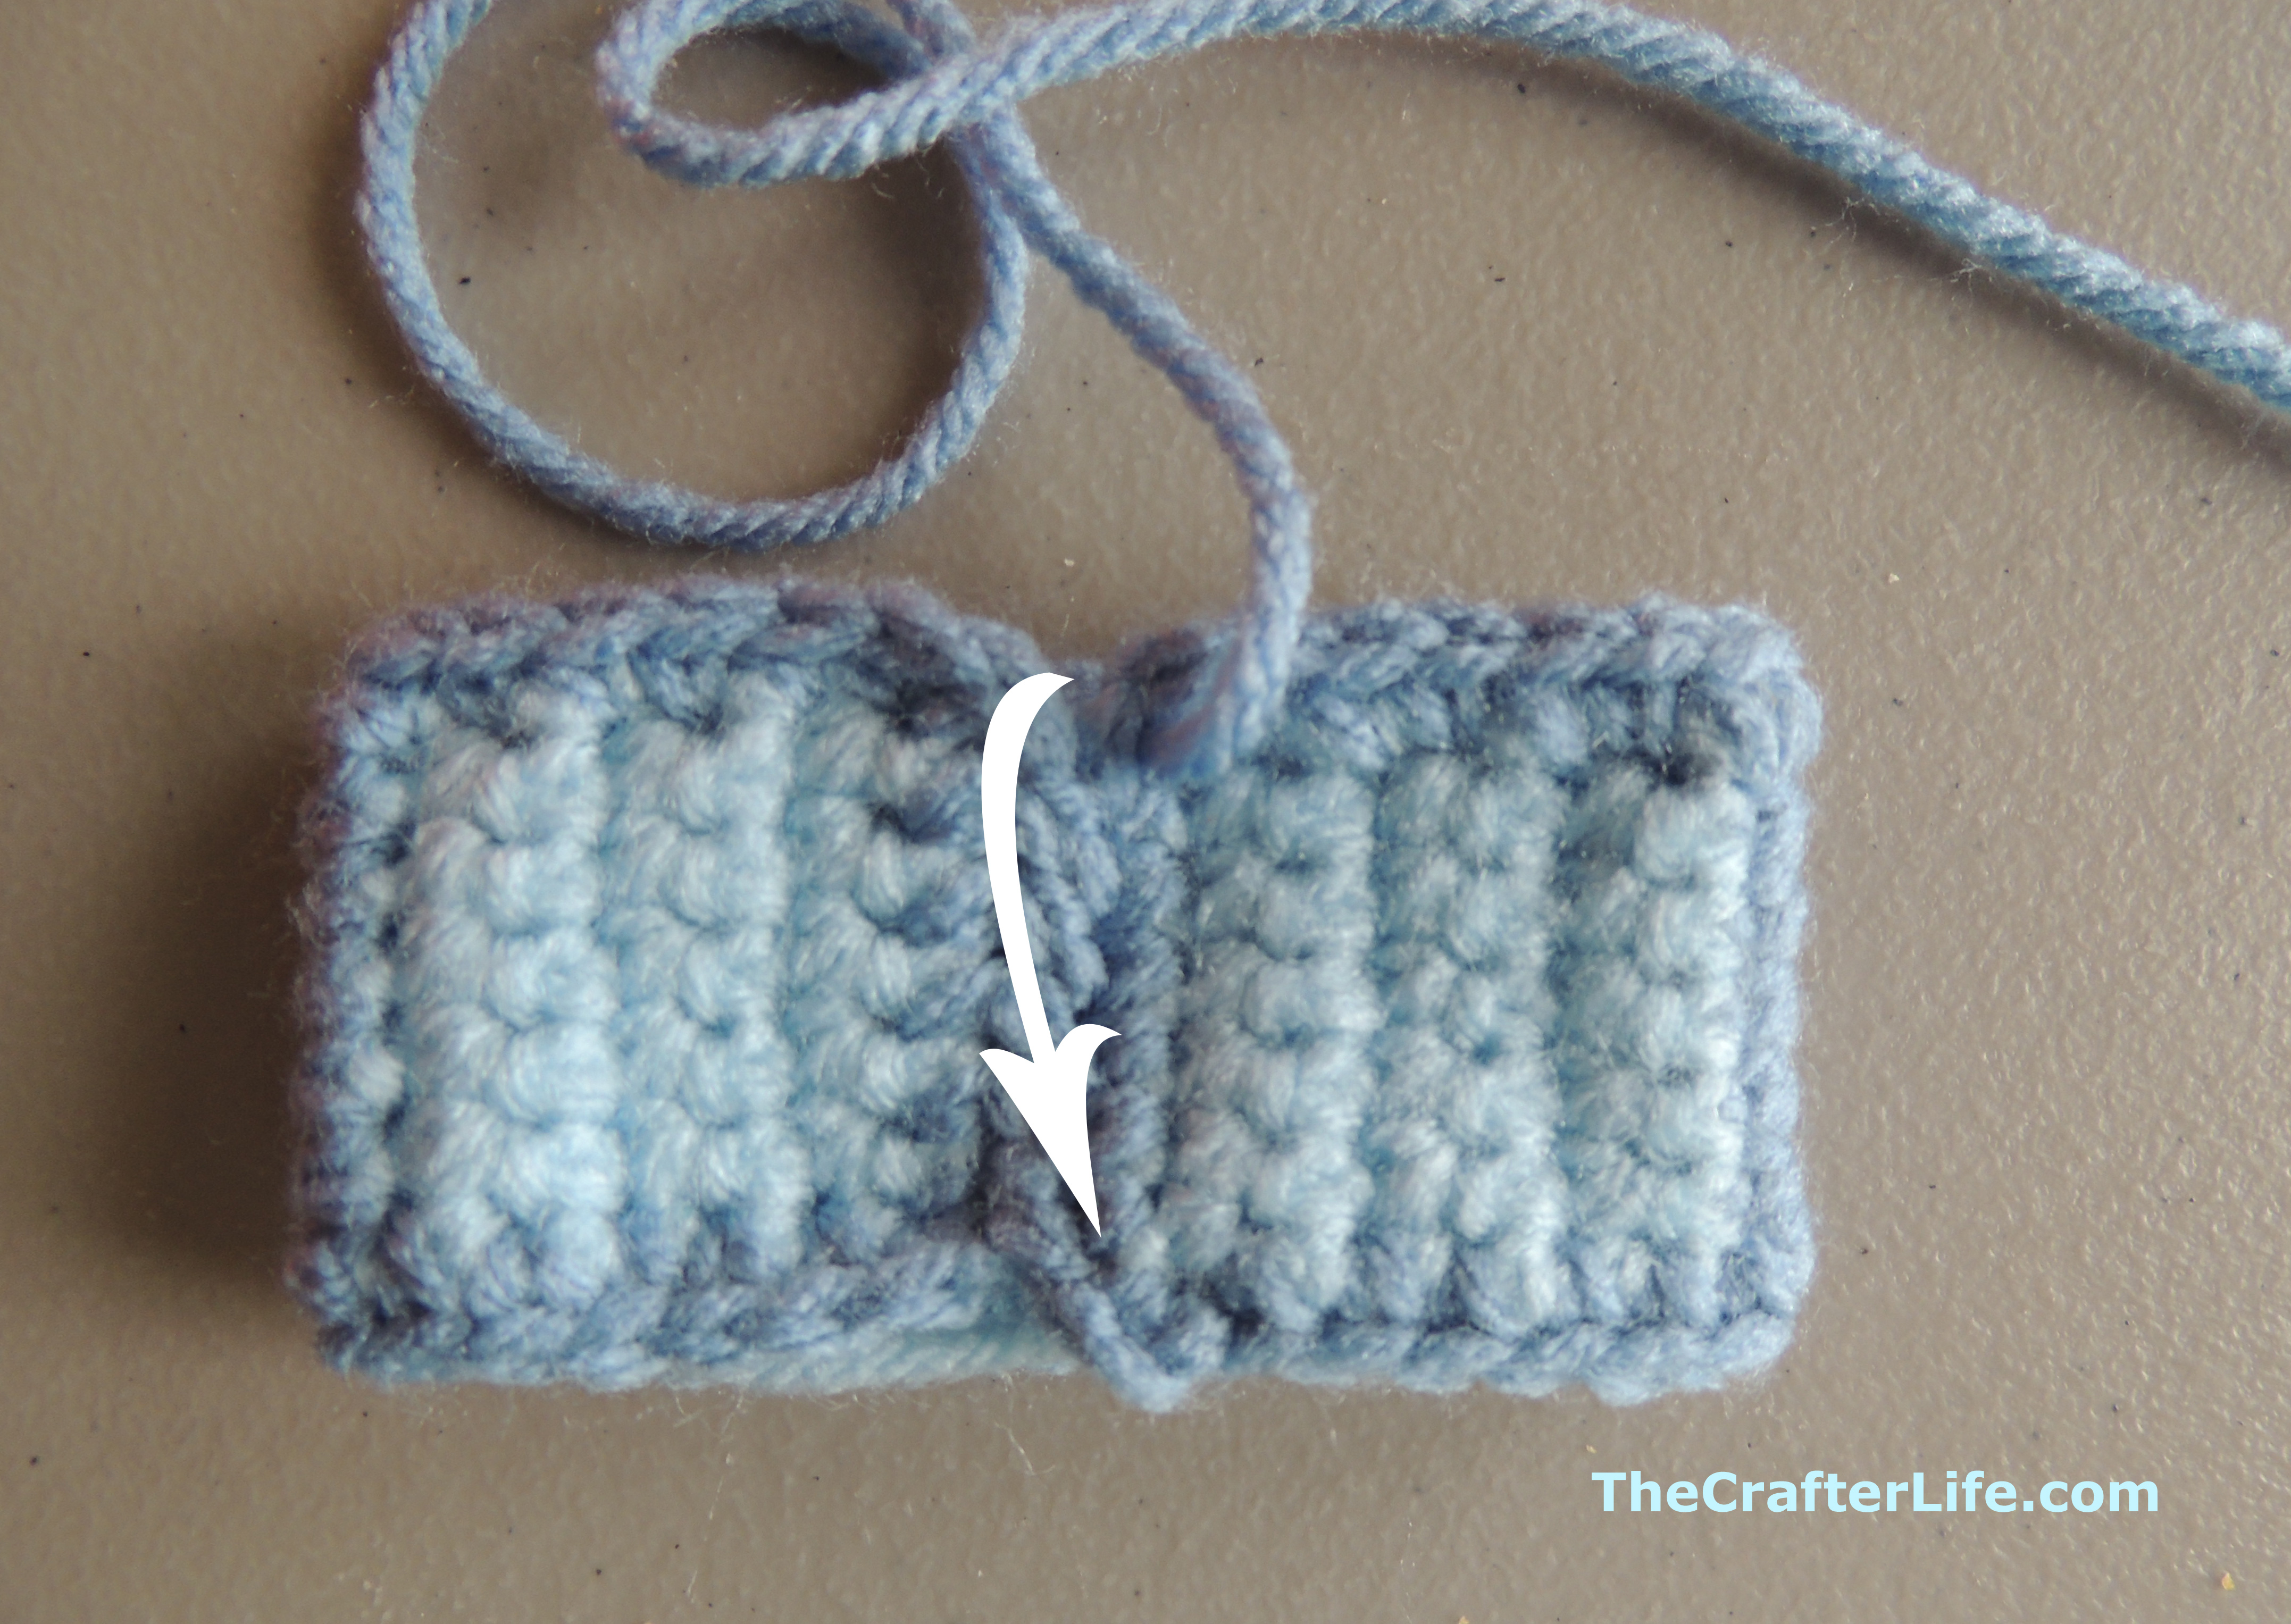
At the end of Row 30, change yarn to bluebell color and sc around entire perimeter, join with a slst to the first sc, fasten off, leaving a long tail for sewing.


Line up the stitches of the short ends and sew together as shown in the picture below. You now have a ring.

Middle Piece of Bow
Row 1: Ch 16, sc in 2nd ch from hook, sc in each of next 14 chs. (15 sc)
Row 2: Ch 1, turn, sc in each sc across, fasten off, leaving long tail for sewing. (15 sc)
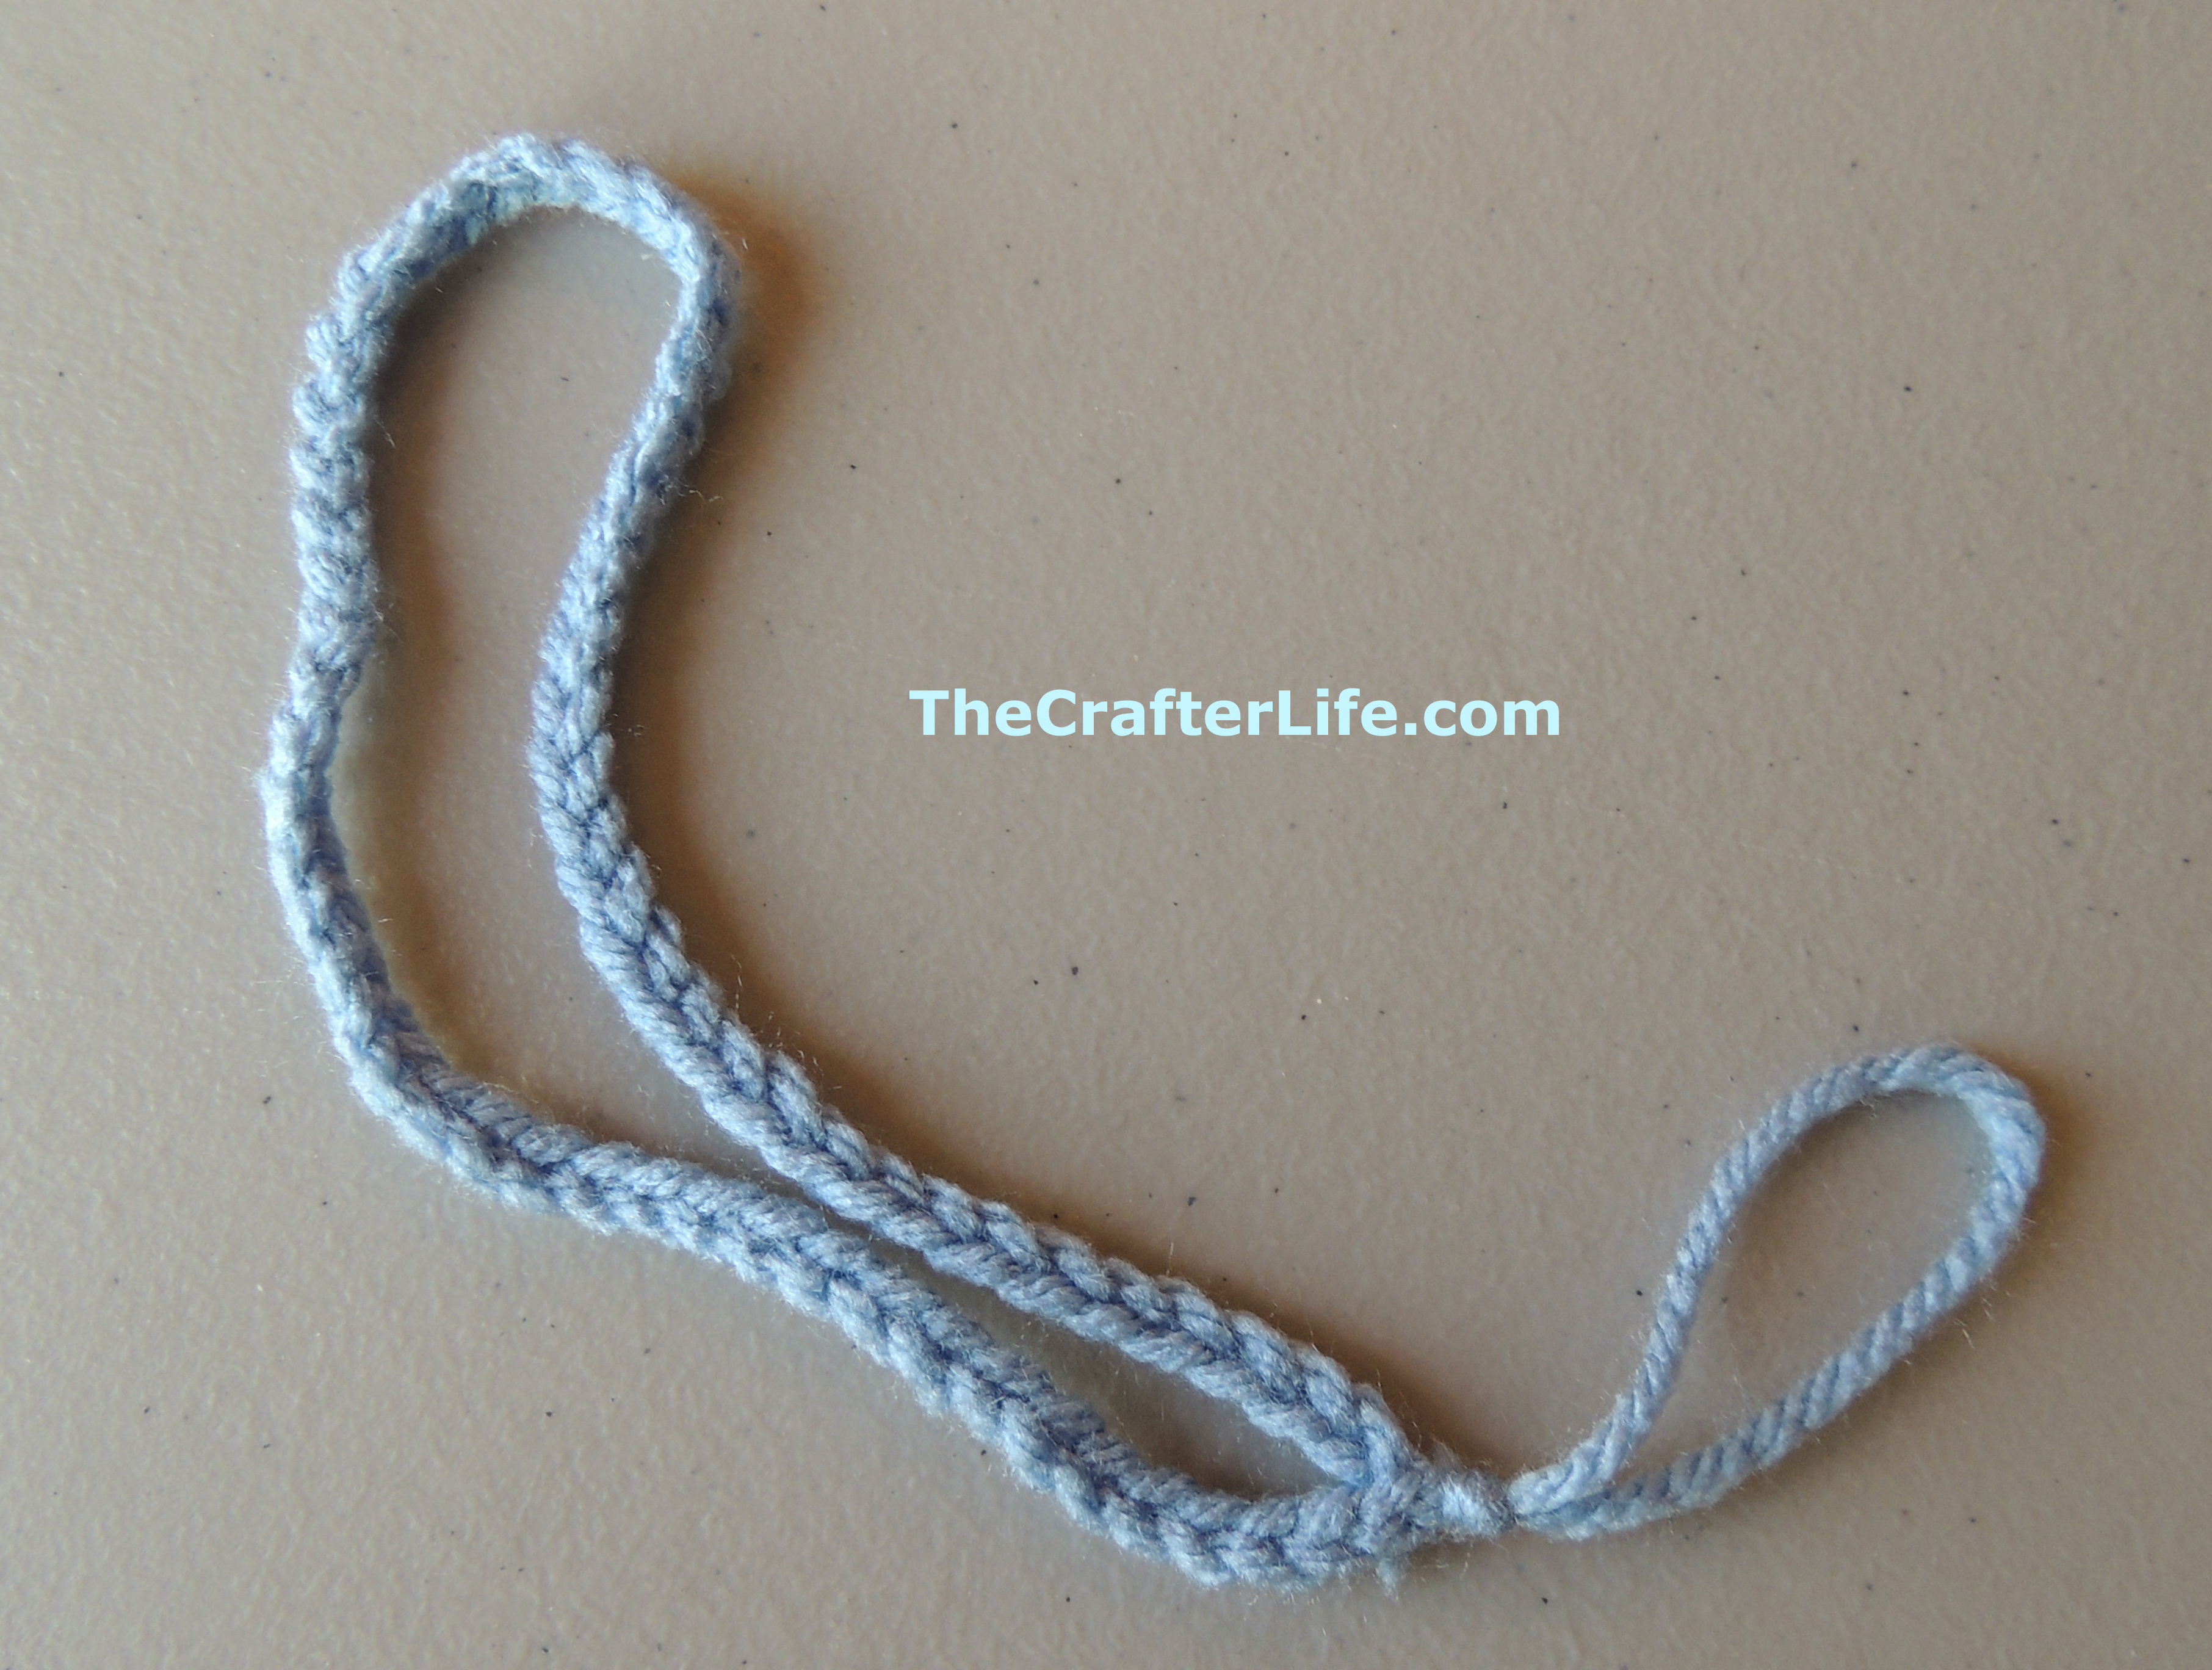
Loop (used to attach pacifier)
Row 1: Ch 65, slst into the first ch on hook, yarn over and pull through a small loop, tie the loop in a knot so it cannot be pulled out.
Assembly
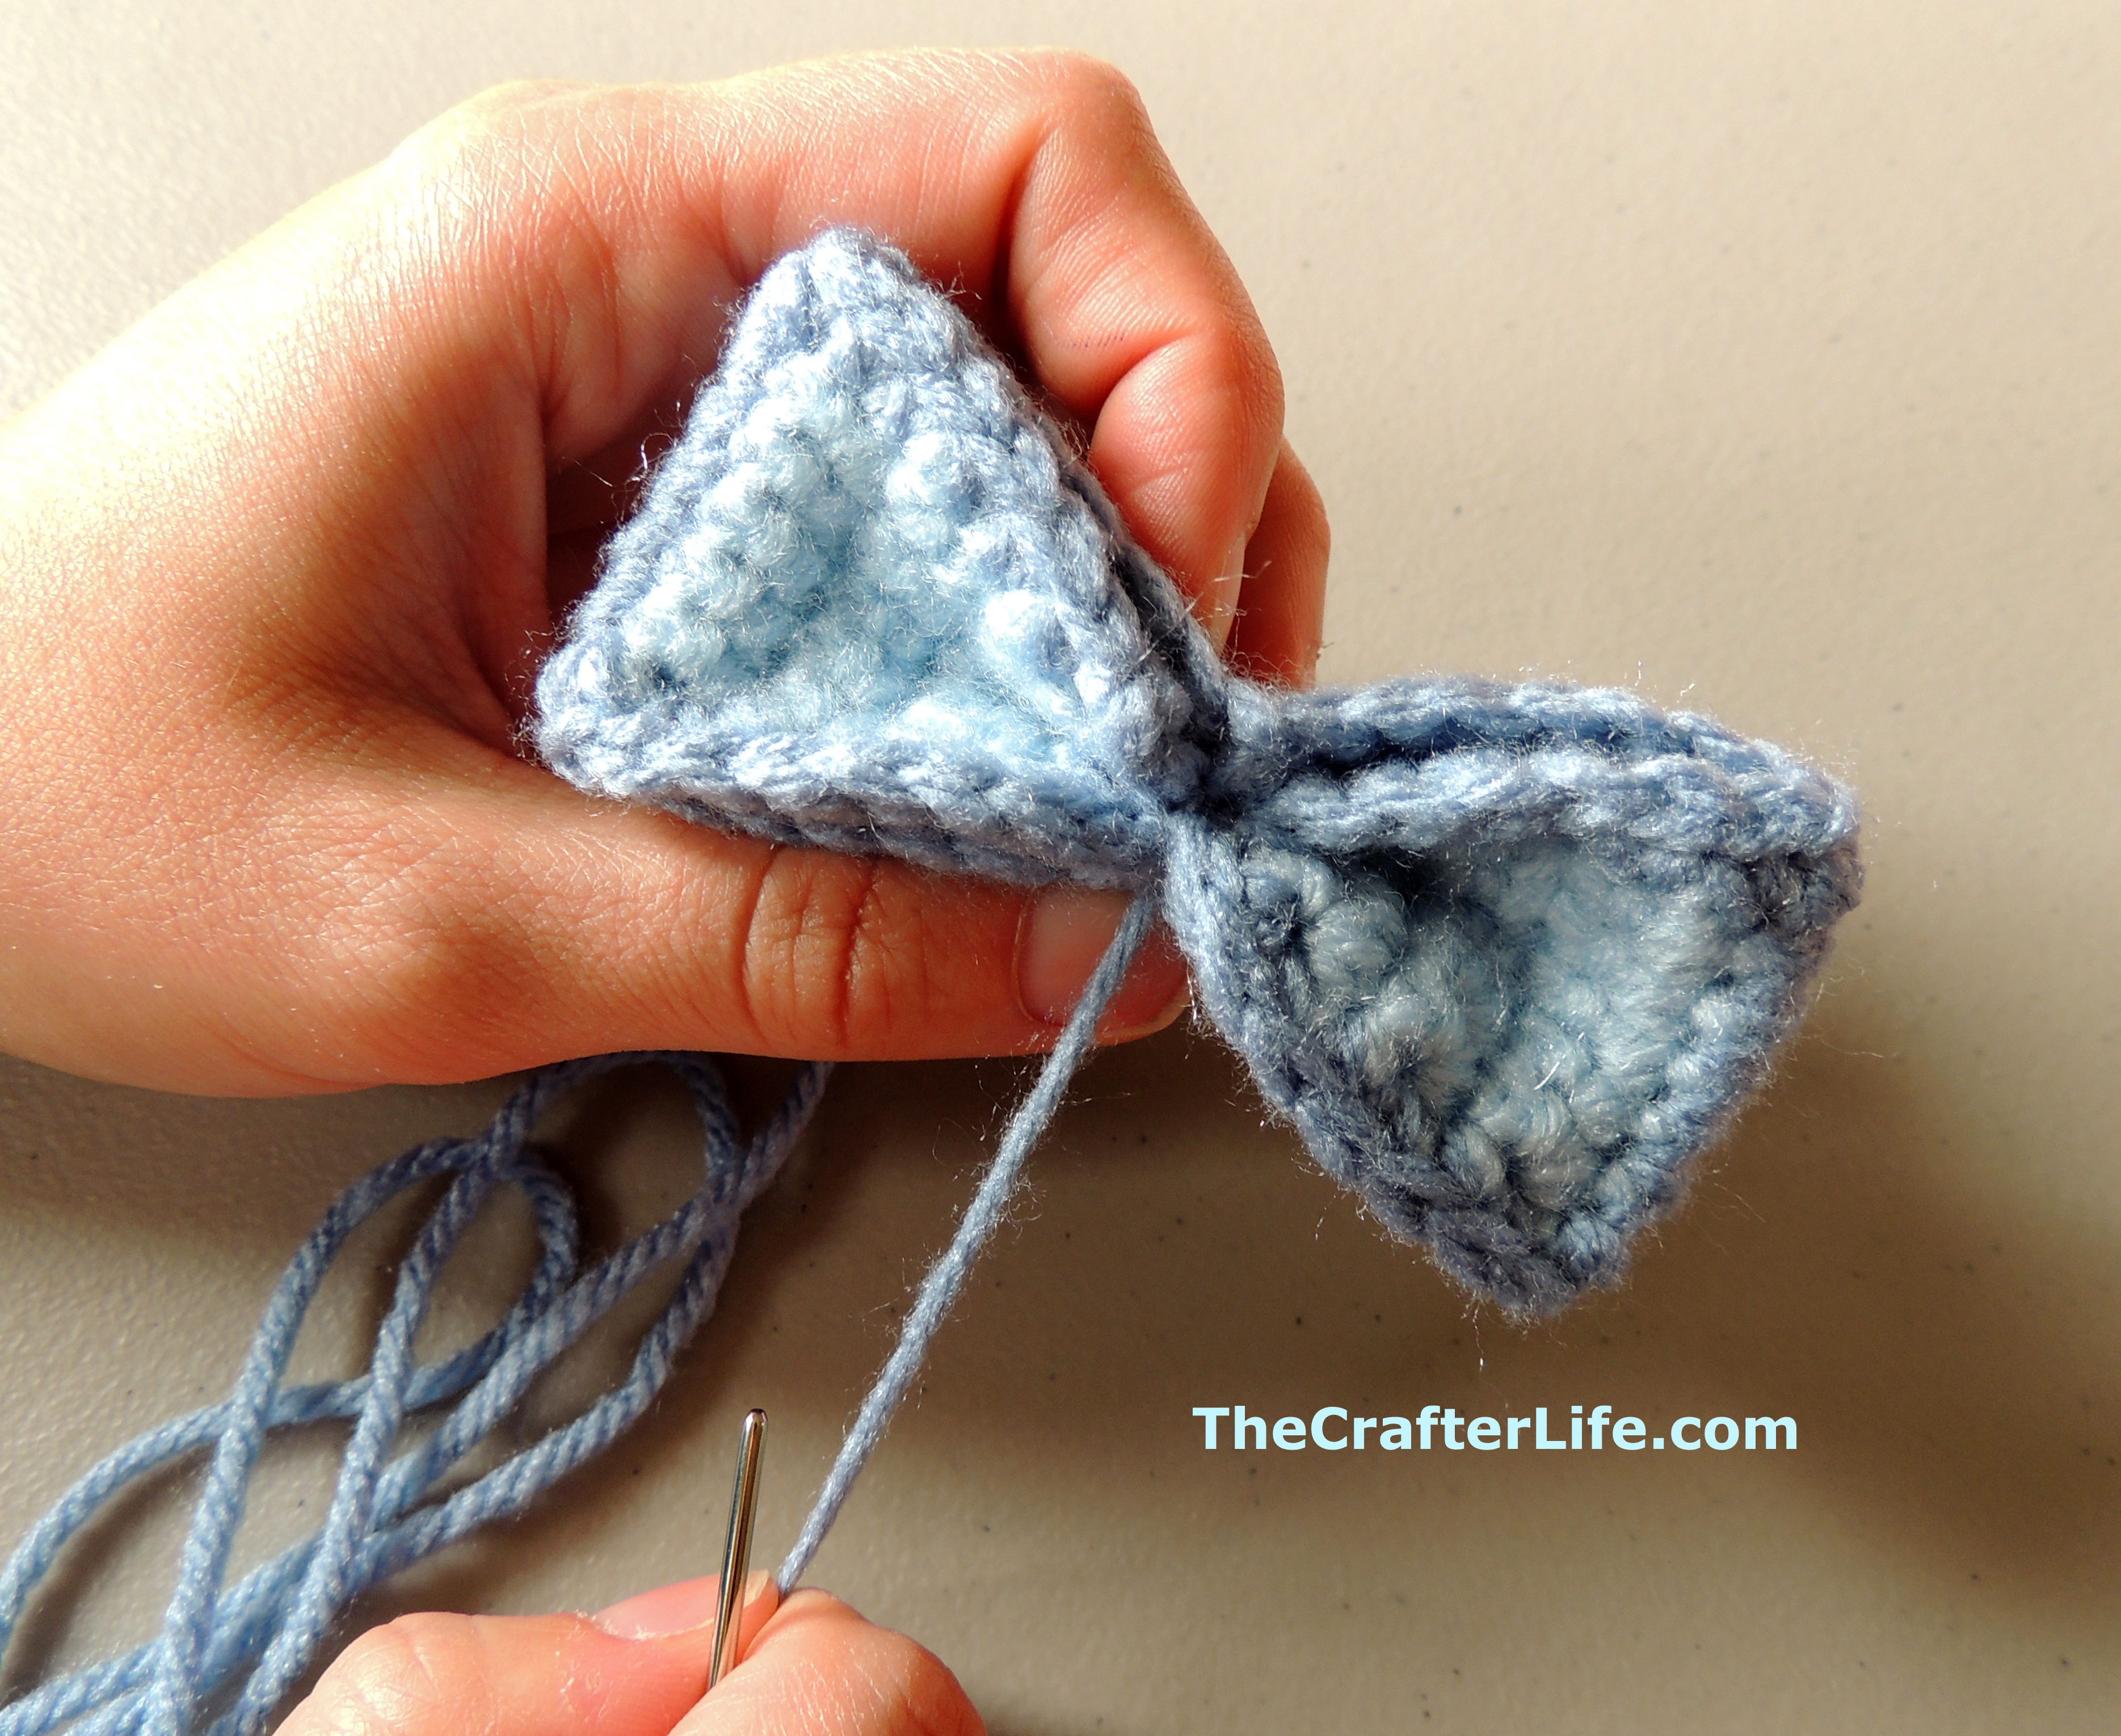
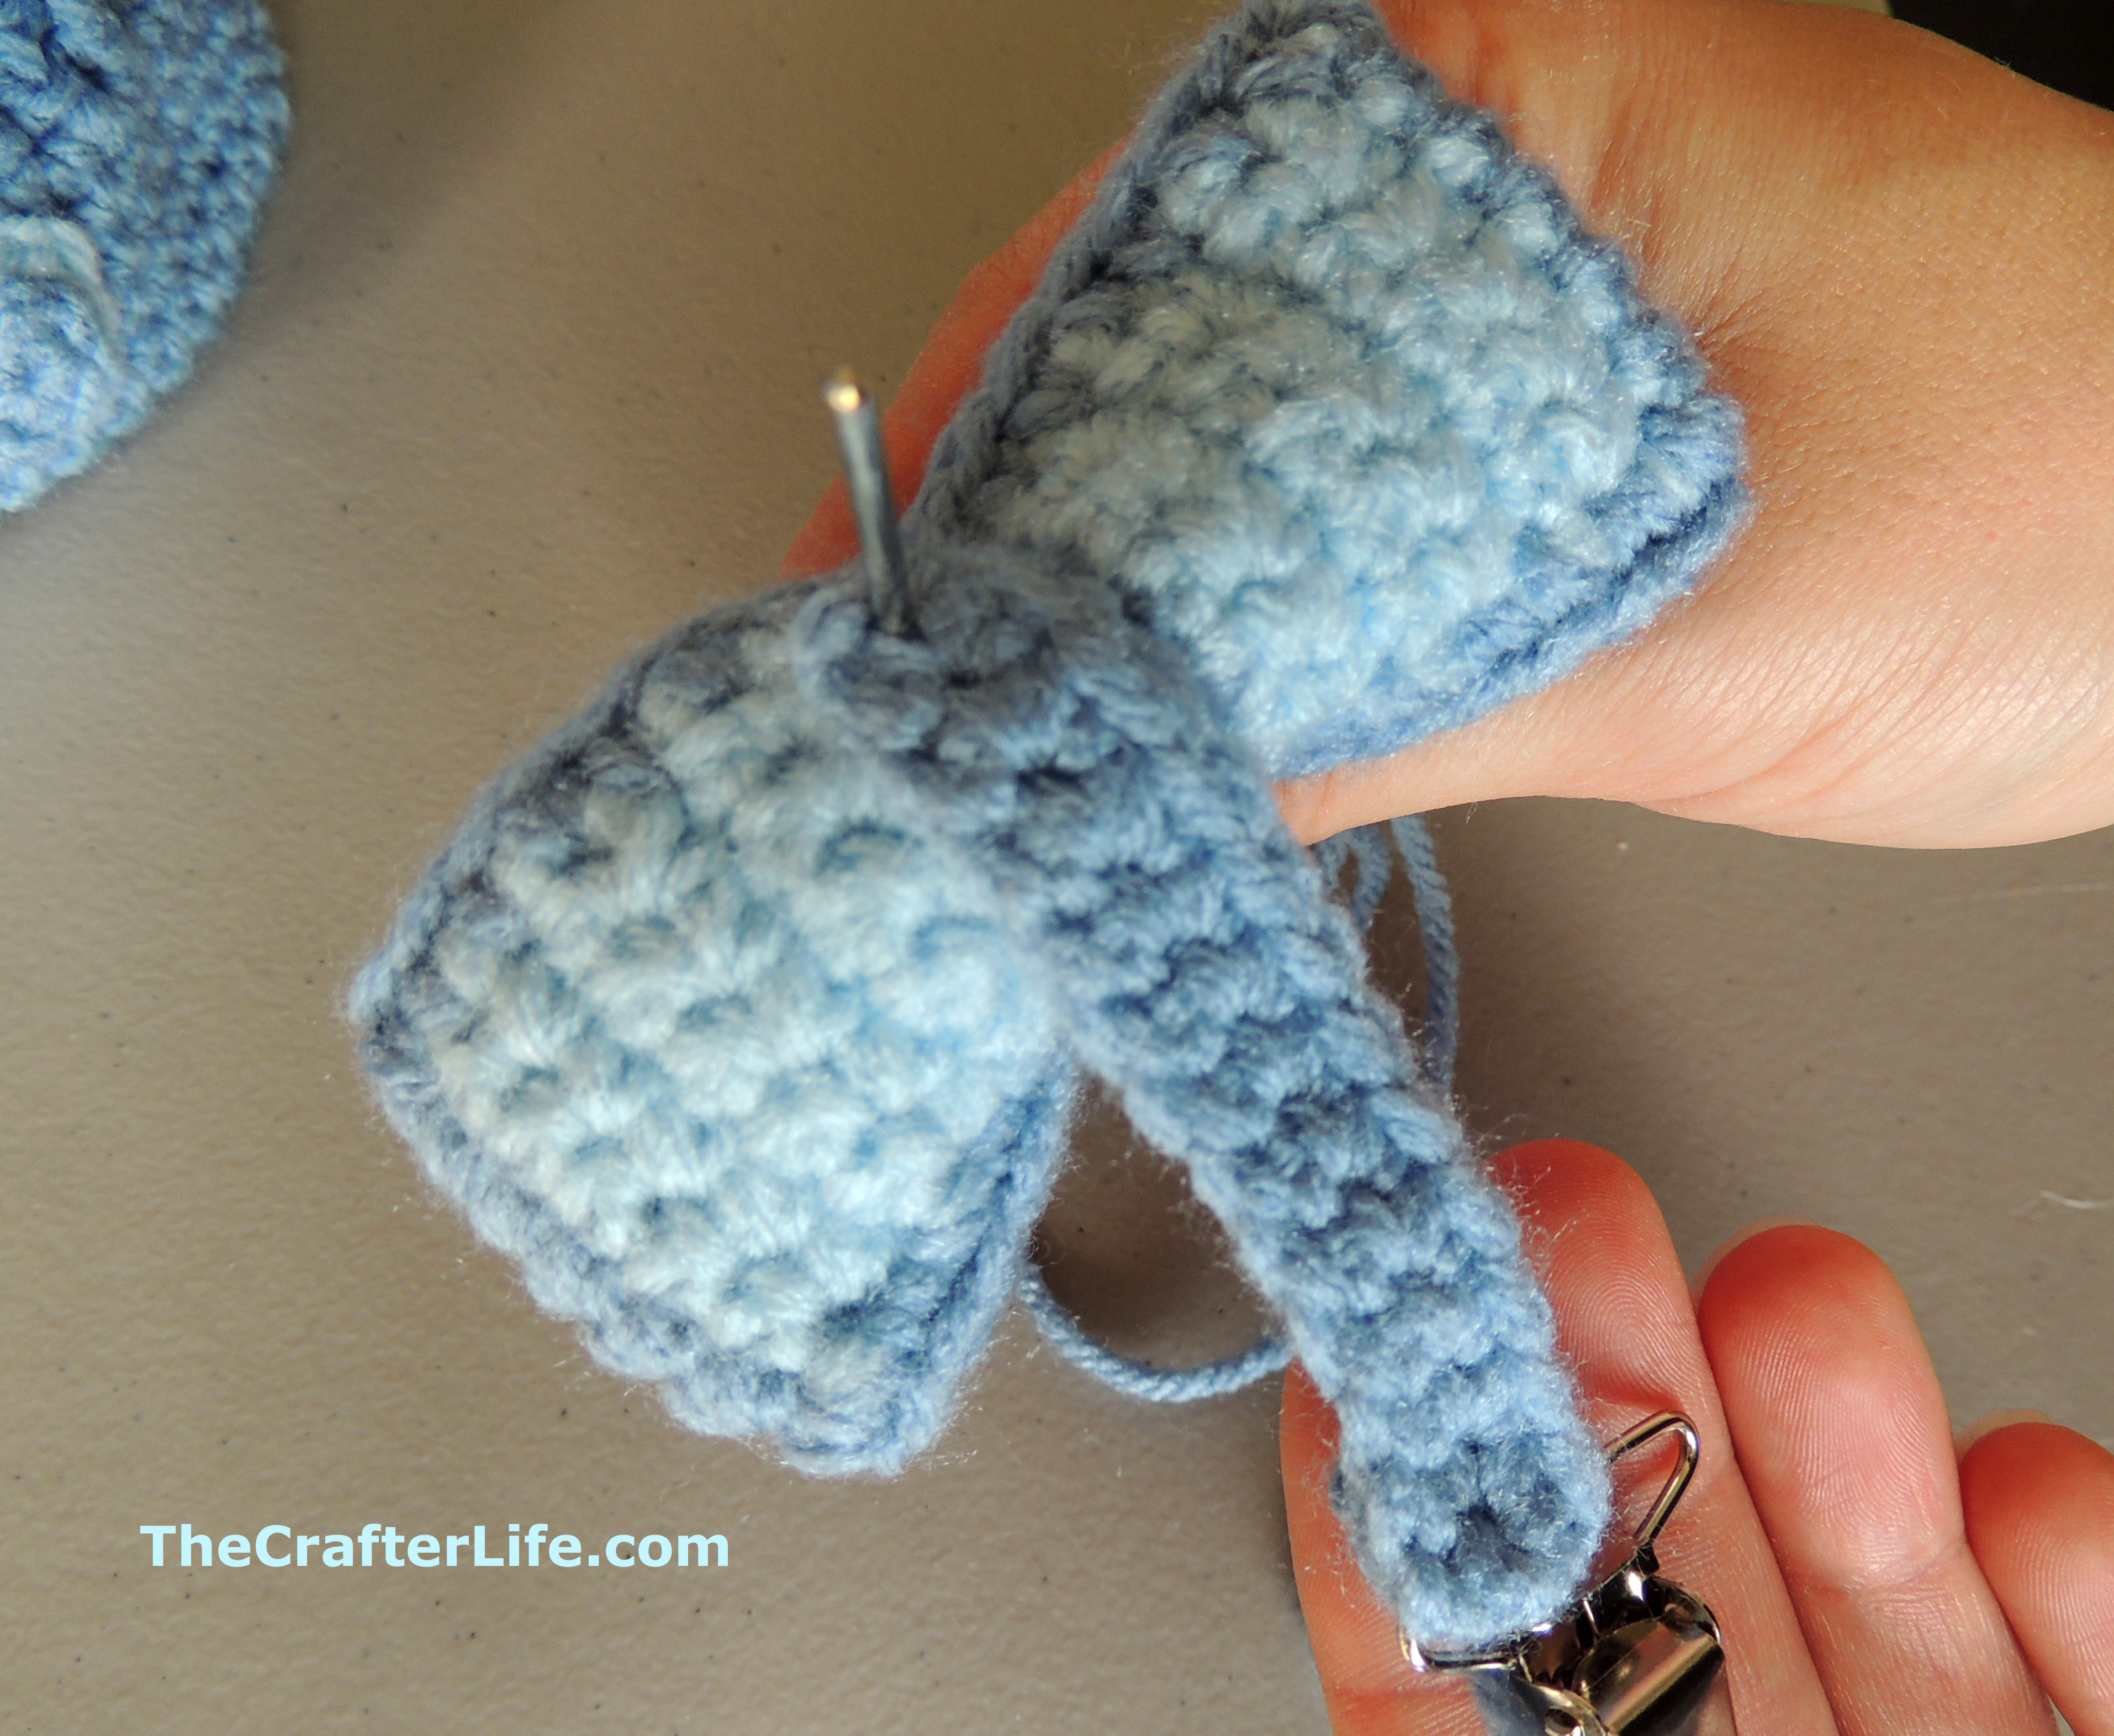
- Hold main body of the bow flat so that rows 15 and 16 from the pattern are in the center and line up with the ends you sewed together.
- Pinch the top and bottom of the center of the ring together, making sure to fold it inward on the two ends that were sewn together. This should form a bowtie shape. Sew the top and bottom together tightly. The front of the bow is going to be the side that is folded in on itself.

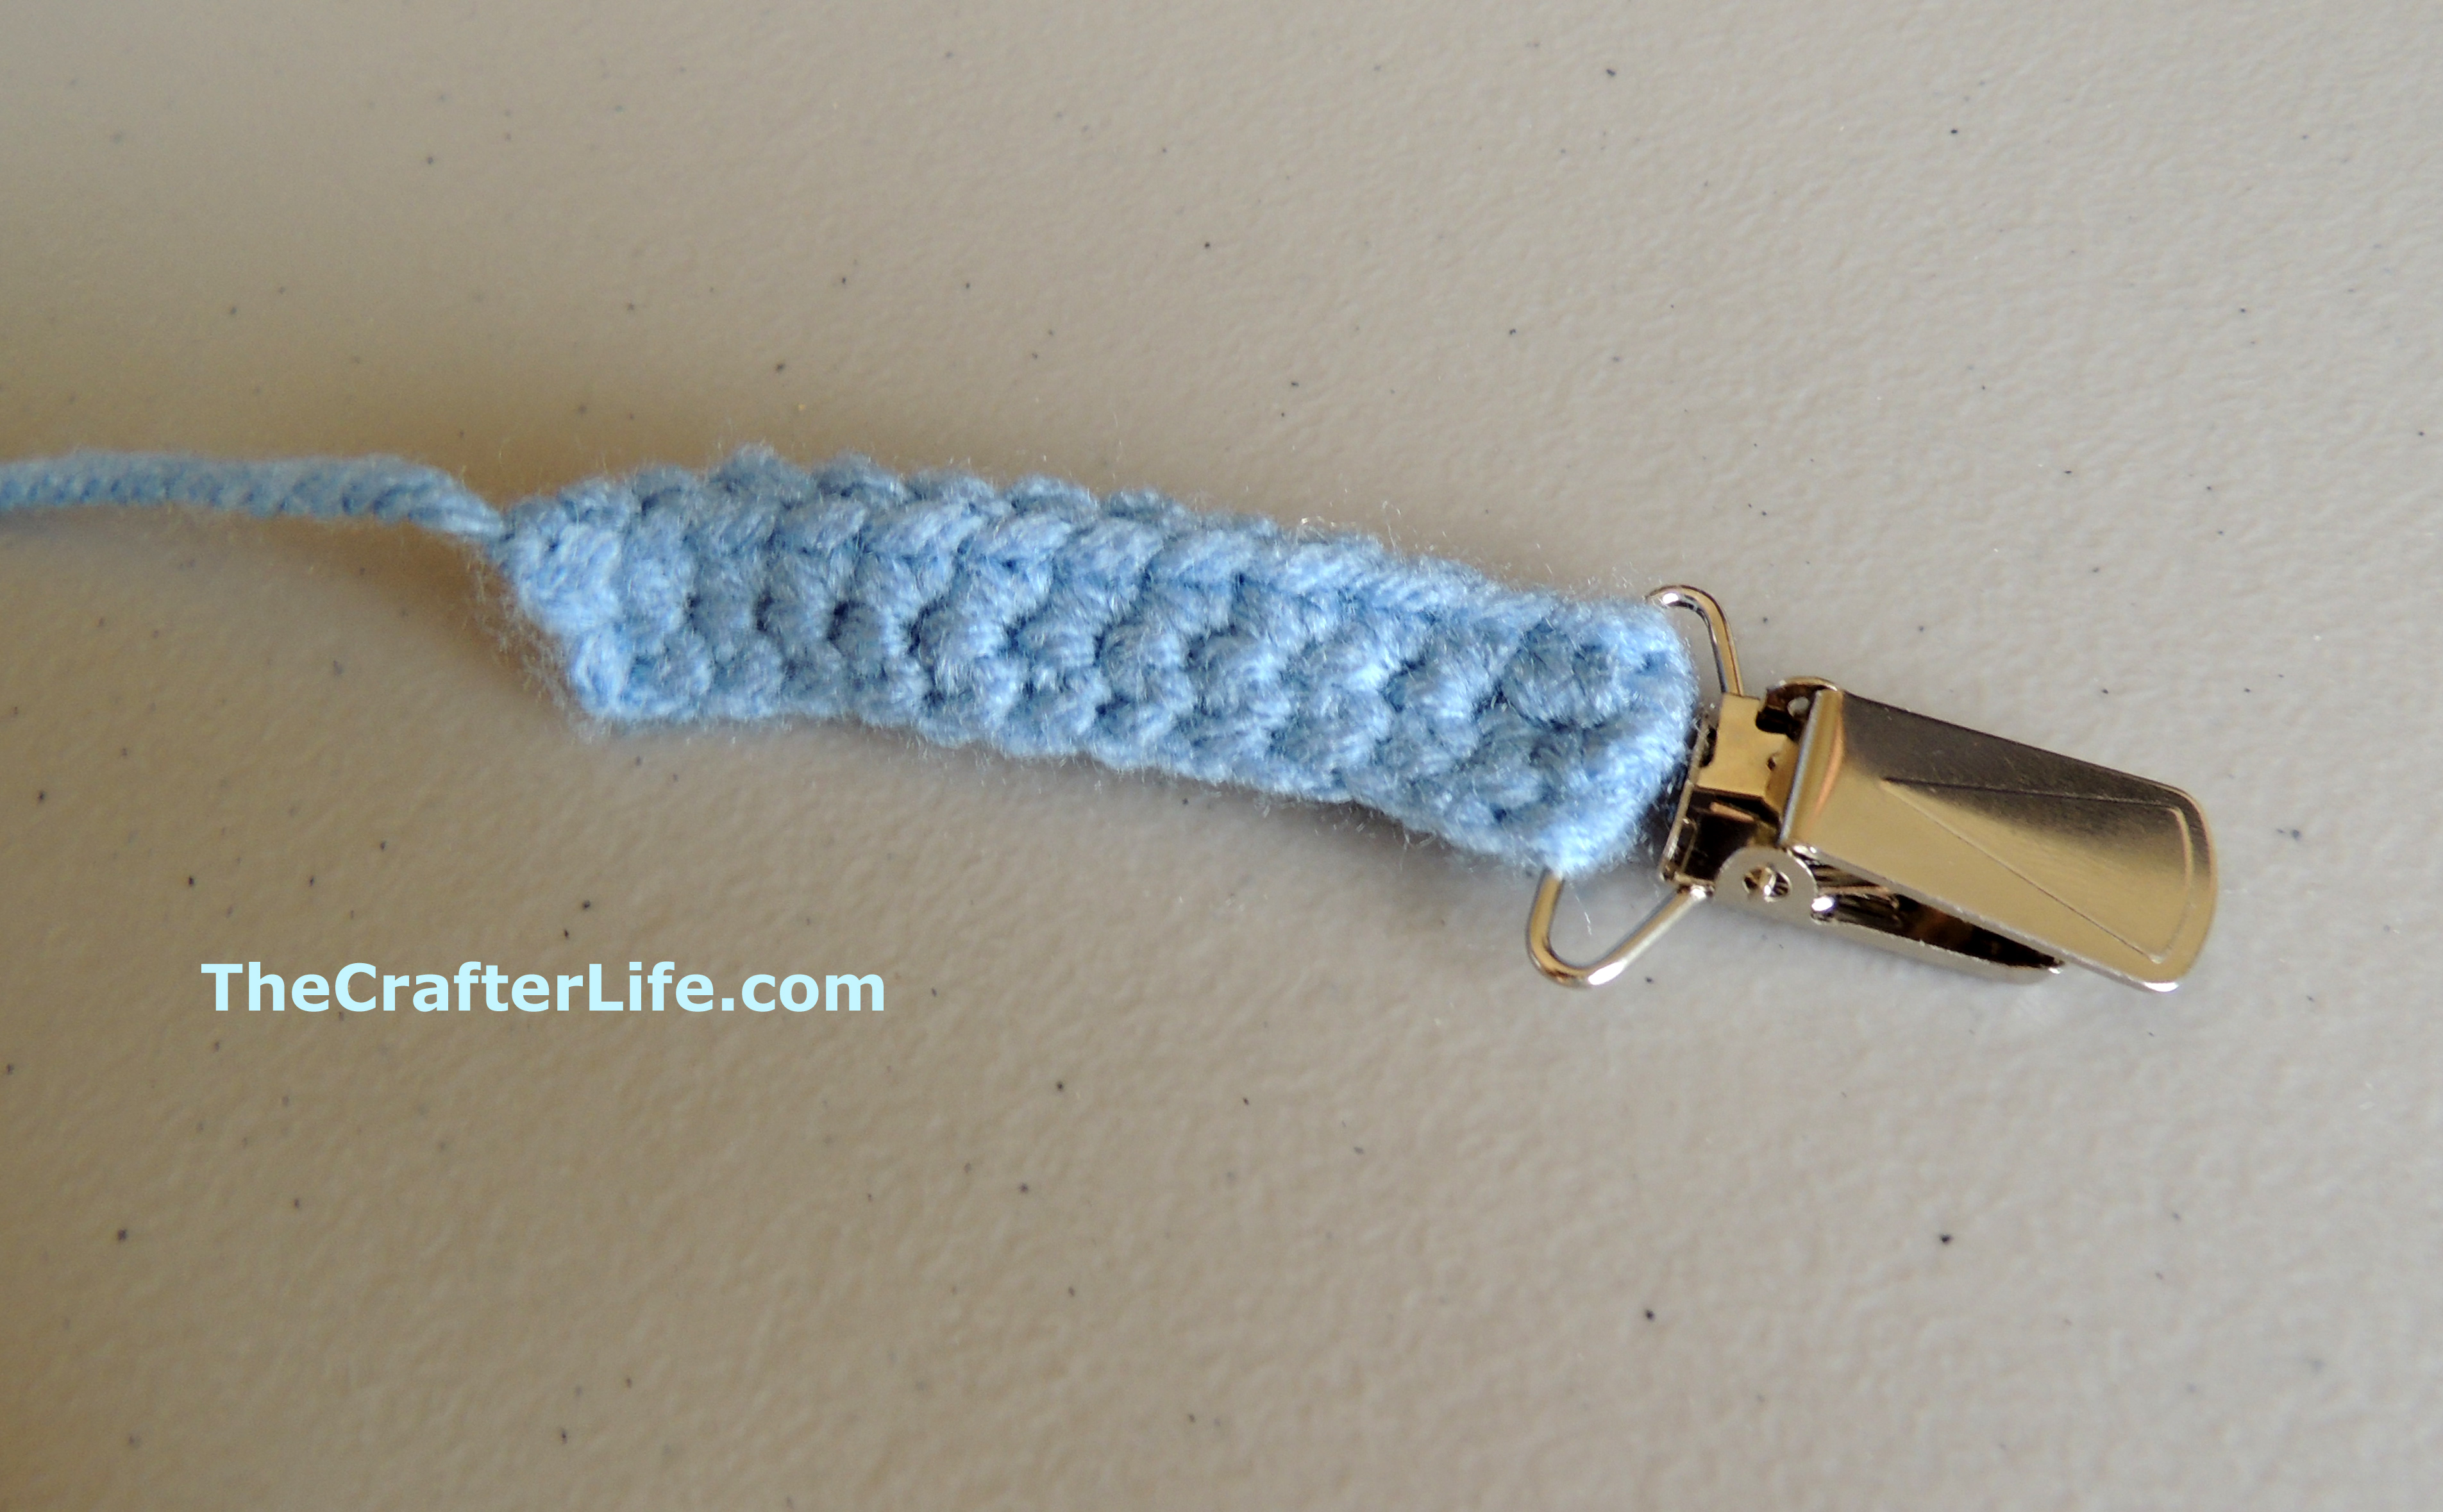
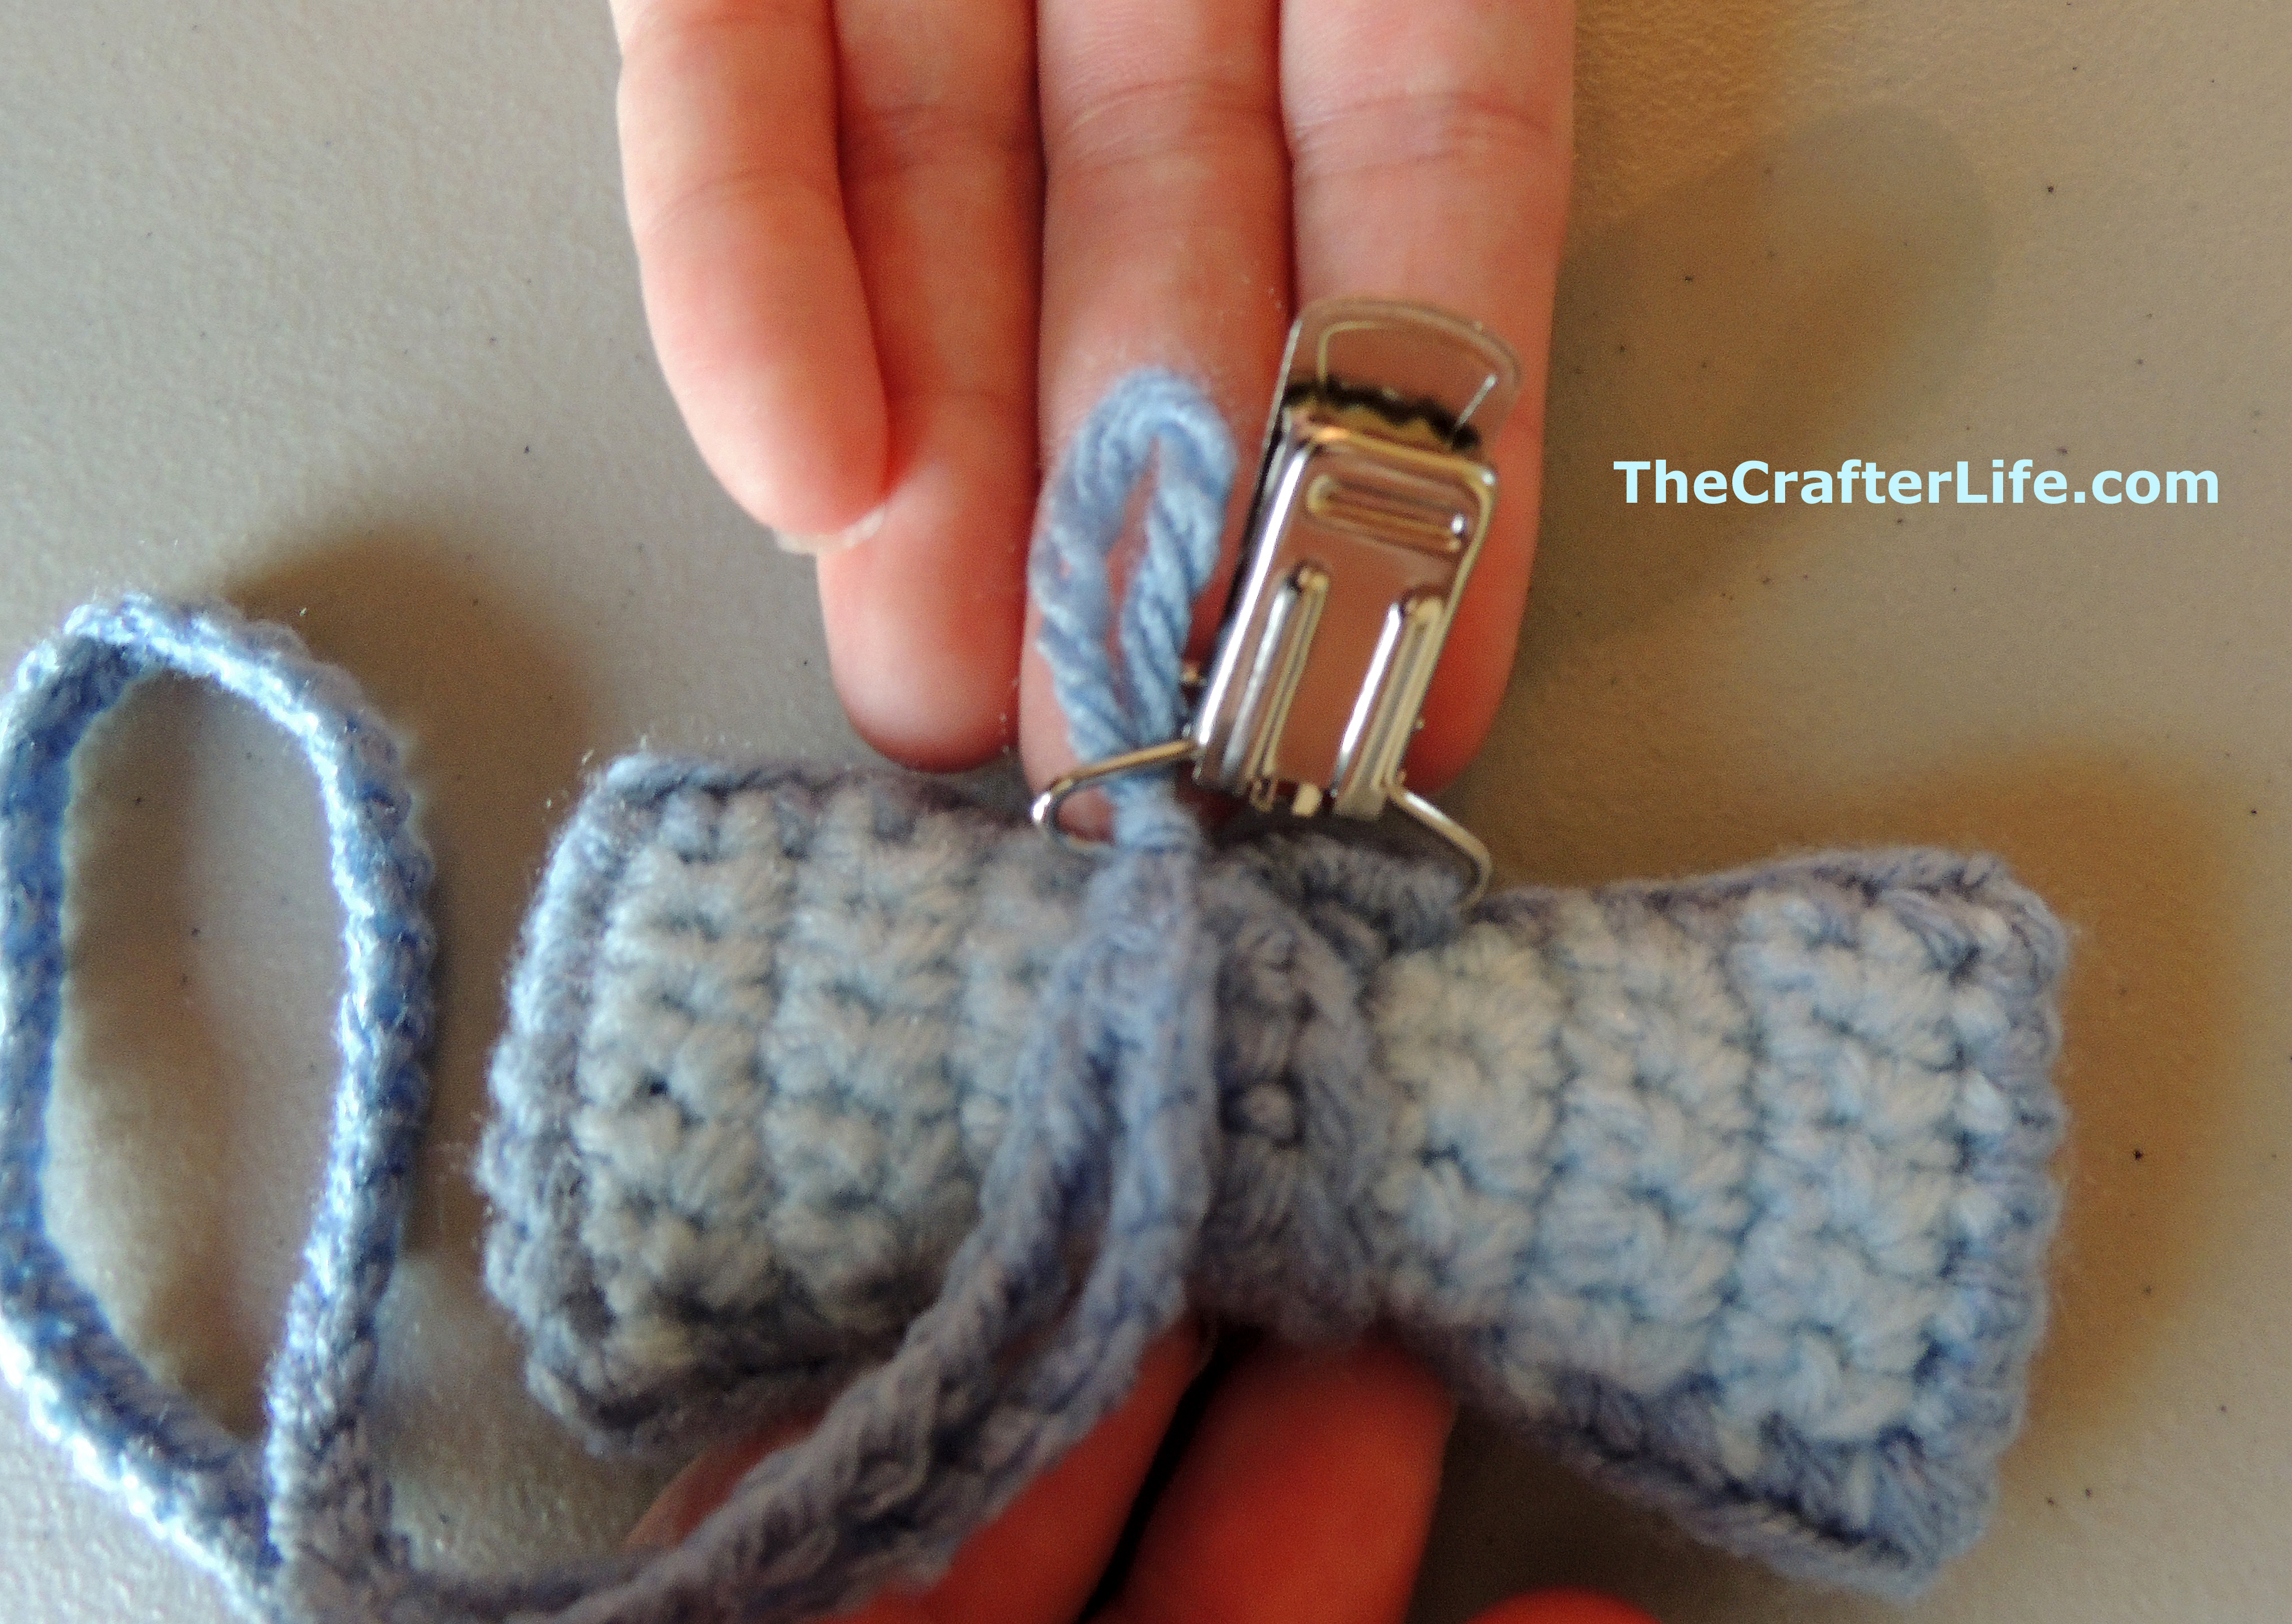
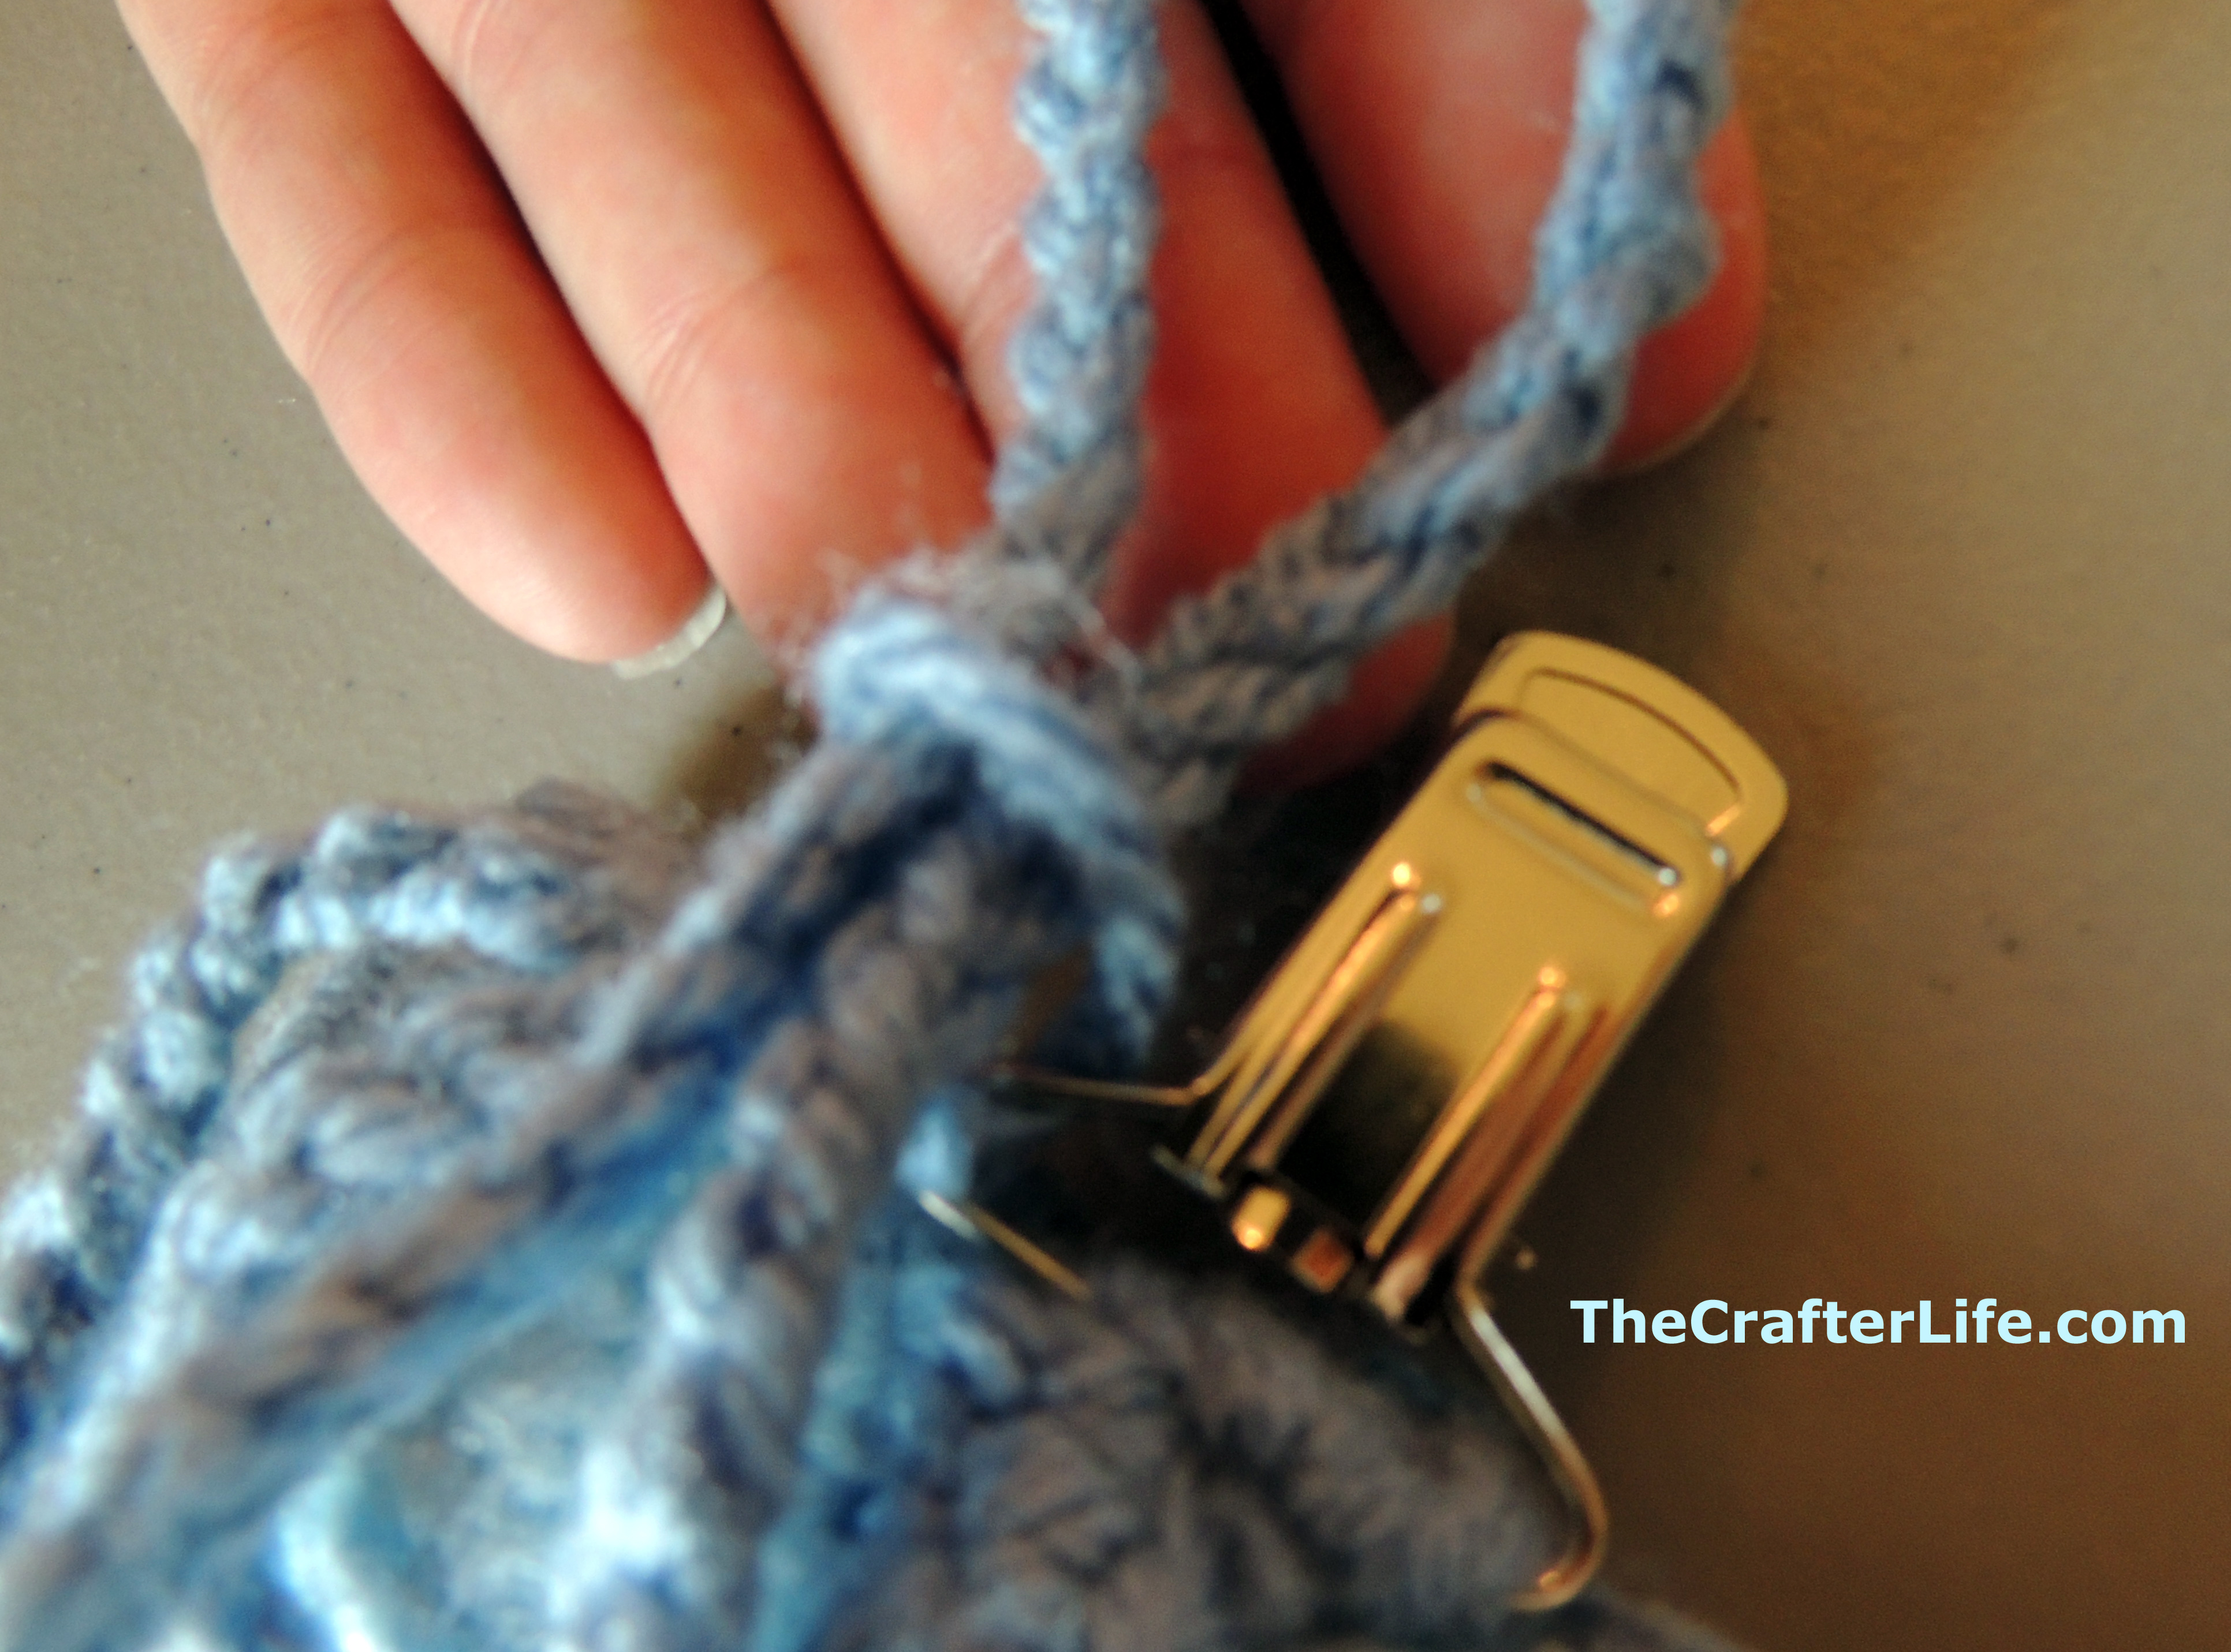
1. Take the suspender clip and slip it on the middle piece of the bow. Fold one end over the clip and sew in place as shown below.
2. Sew the middle piece of the bow on the back of the bowtie, one end at a time, making sure to pull the second end tightly around the bowtie so it helps to keep the bowtie pinched in the middle.

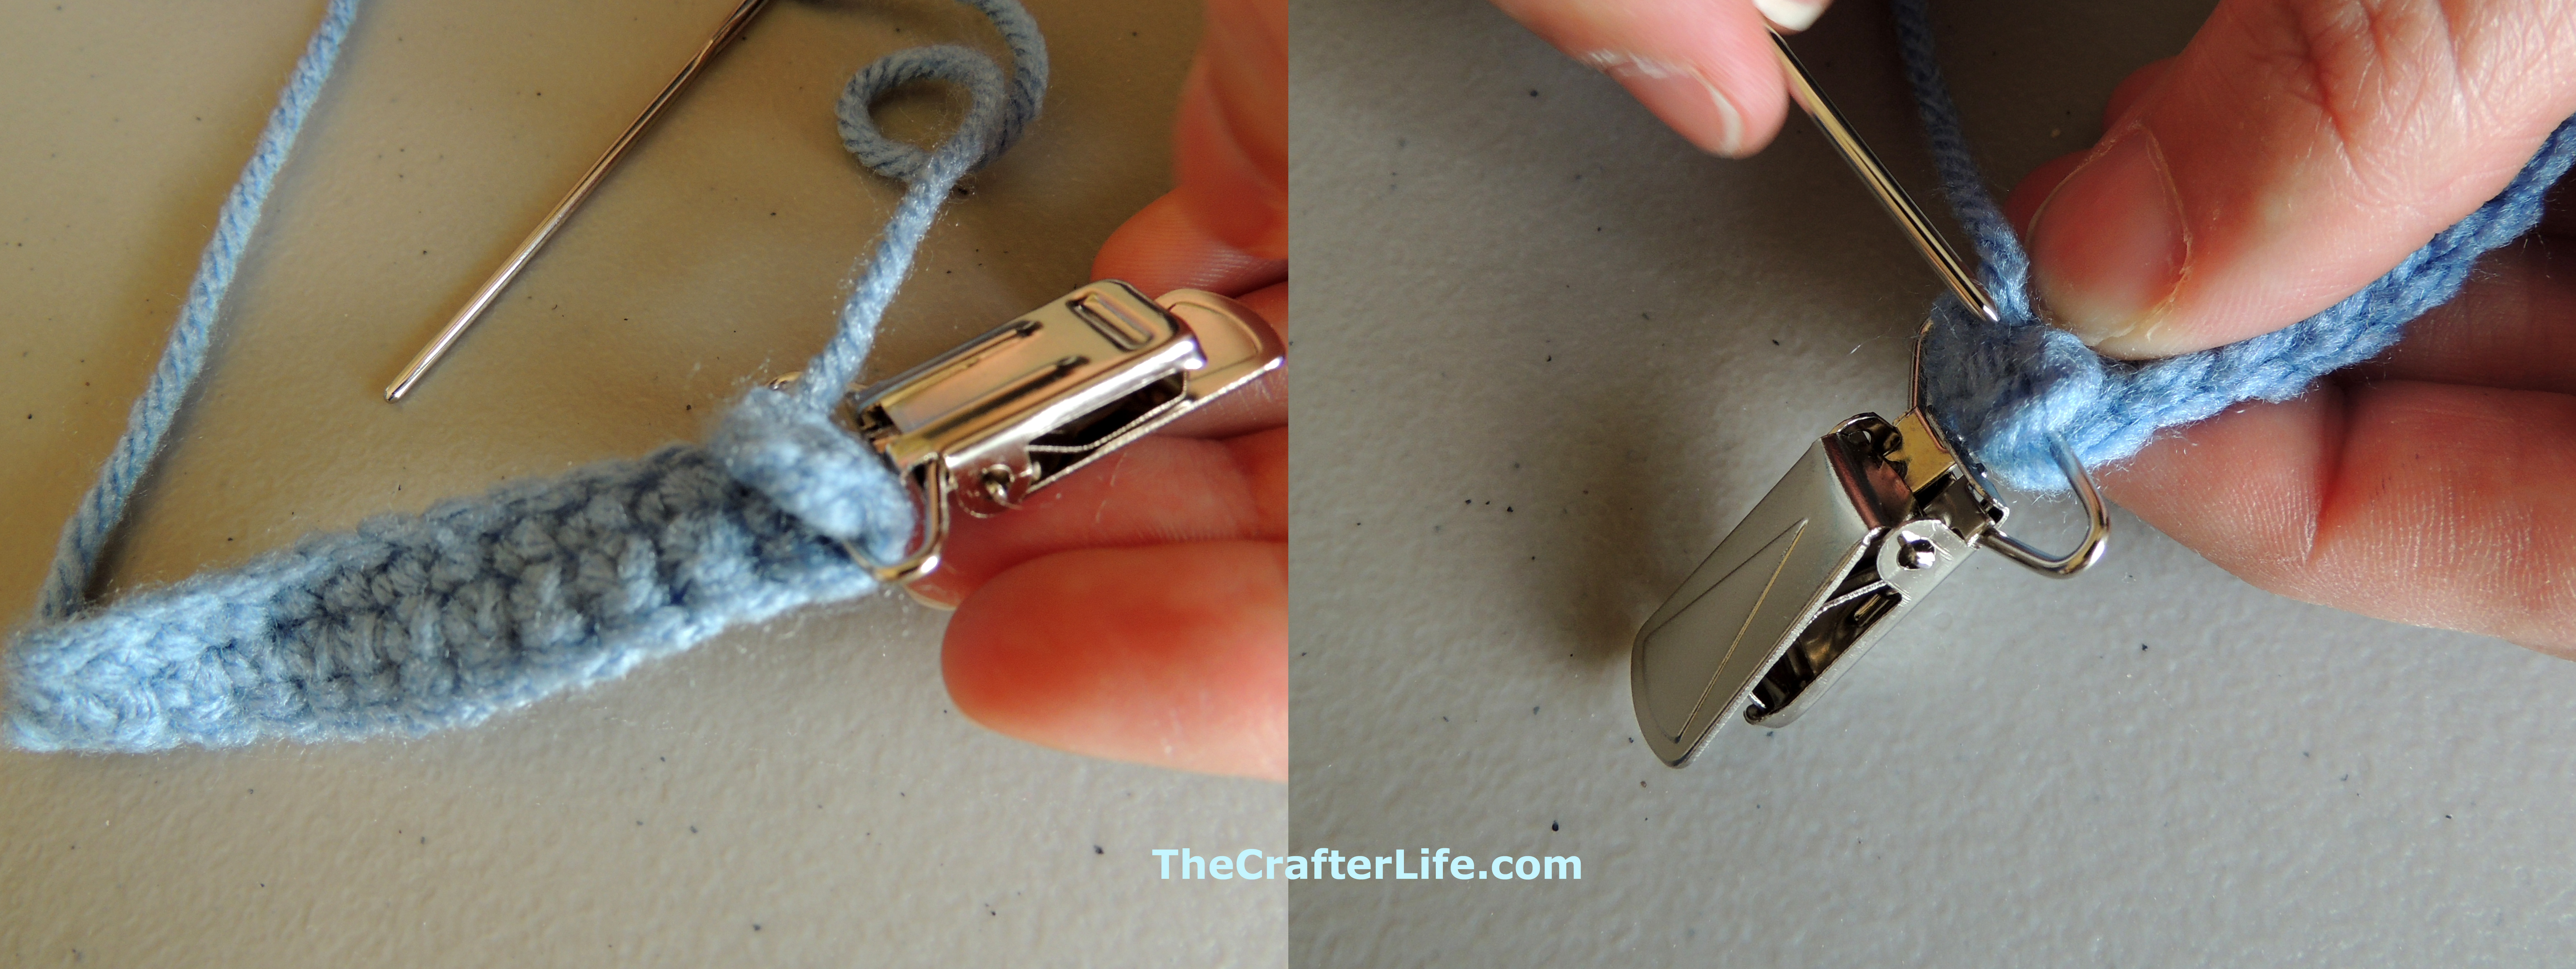
3. Tie the loop to the suspender clip by the small loop you created after the chain stitches.
4. Tie the other end of the pacifier clip to a pacifier.
5. Attach the suspender clip to a baby’s shirt so that the bowtie hangs in its proper place.

***If you sell products using my patterns or mention my patterns please link back to my site. Please do not sell my patterns or claim them as your own.***
Feel free to post comments here or on my Facebook page!
**If you like what you see, feel free to pin, share, and link back to my site. Thank you for visiting!

You May Also Like

Tip-Toeing Christmas Legs Scarf

Witch Legs Scarf
