Minnie Mouse Thank You Cards with Printable Labels
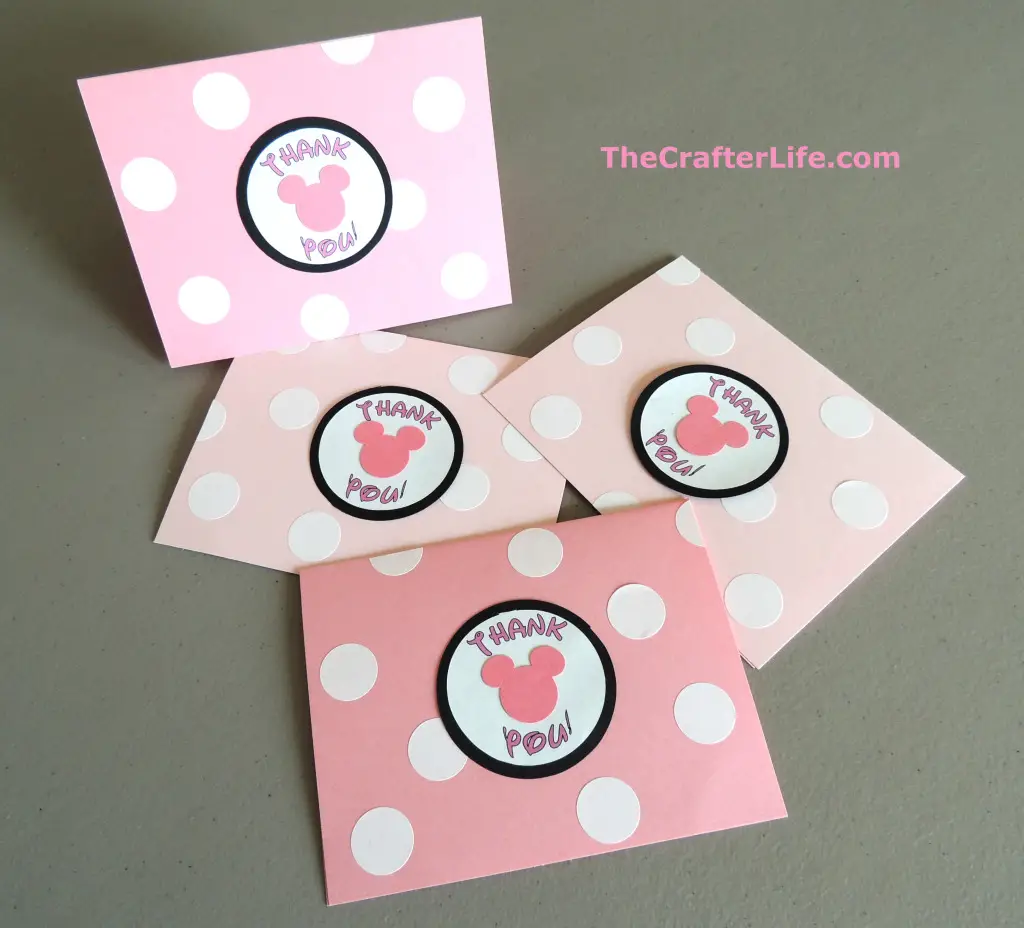
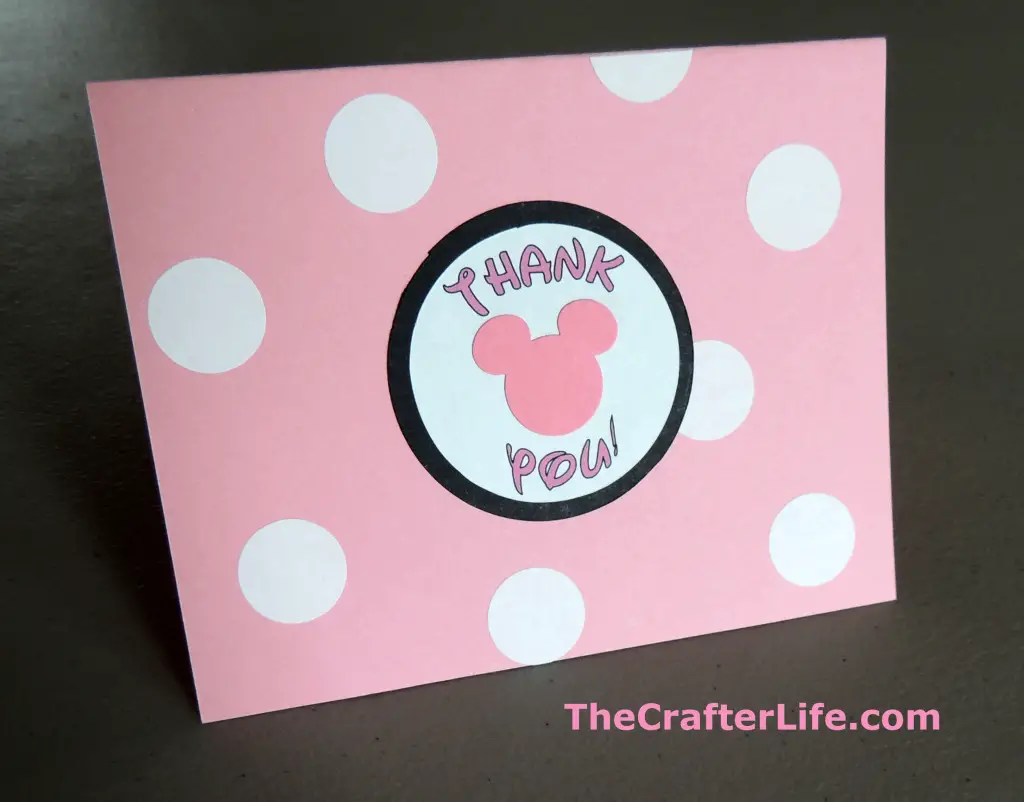
I used circle labels I created on the computer and a Mickey Mouse punch (found on Amazon) for the Minnie Mouse pops and thank-you cards I made for my daughter’s 2nd birthday party. Below I provide the printable labels and the directions for making the thank-you cards and favor labels.
Minnie Mouse Thank-You Cards
Materials
– Printable circle labels
– Mickey Mouse punch
– Pink & black cardstock (8.5” x 11” sheets)
– ¾” white circle sticker labels
– Double-sided tape/glue stick
– Scissors
– Paper cutter (Optional)
– Circle cutter (Optional)
Directions
- Cut the sheets of cardstock in half so you have 8.5”x5.5” sheets.
- Fold each 8.5”x5.5” sheet in half to make a card that is 4.25” by 5.5”.
- Print and cut out the Minnie Mouse Thank You Labels (file below). You should make enough to have one for each card.
- Cut out circles that are slightly larger than the circle printable labels from the black cardstock.
- Use double-sided tape or glue to stick the circle printable labels onto the larger black circles so that the black circles create an outline around the printable labels.
- Use the Mickey Mouse punch to punch Mickey Mouse silhouettes for each card from the pink cardstock.
- Use double-sided tape or glue to stick the Mickey punches onto the center of the circle printable labels.
- Use double-sided tape or glue to stick the finished circle labels to the center of the front of each card.
- Place the ¾” white sticker labels onto the front of each card to create polka dots. Cut some of the sticker labels to place them around the edges of the cards.
- Write your thank-you notes on the inside of the cards and put them in envelopes to send in the mail!
Minnie Mouse Thank You Labels (“Save As” in order to keep document, don’t open as a read only file)
Favor Labels
Materials
– Circle printable labels
– Pink & black cardstock
– Mickey Mouse punch
– Double-sided tape/glue
Directions
- Print and cut out the Favor Labels Template
- Use the Mickey Mouse punch to make Mickey silhouettes from the pink and/or black cardstock.
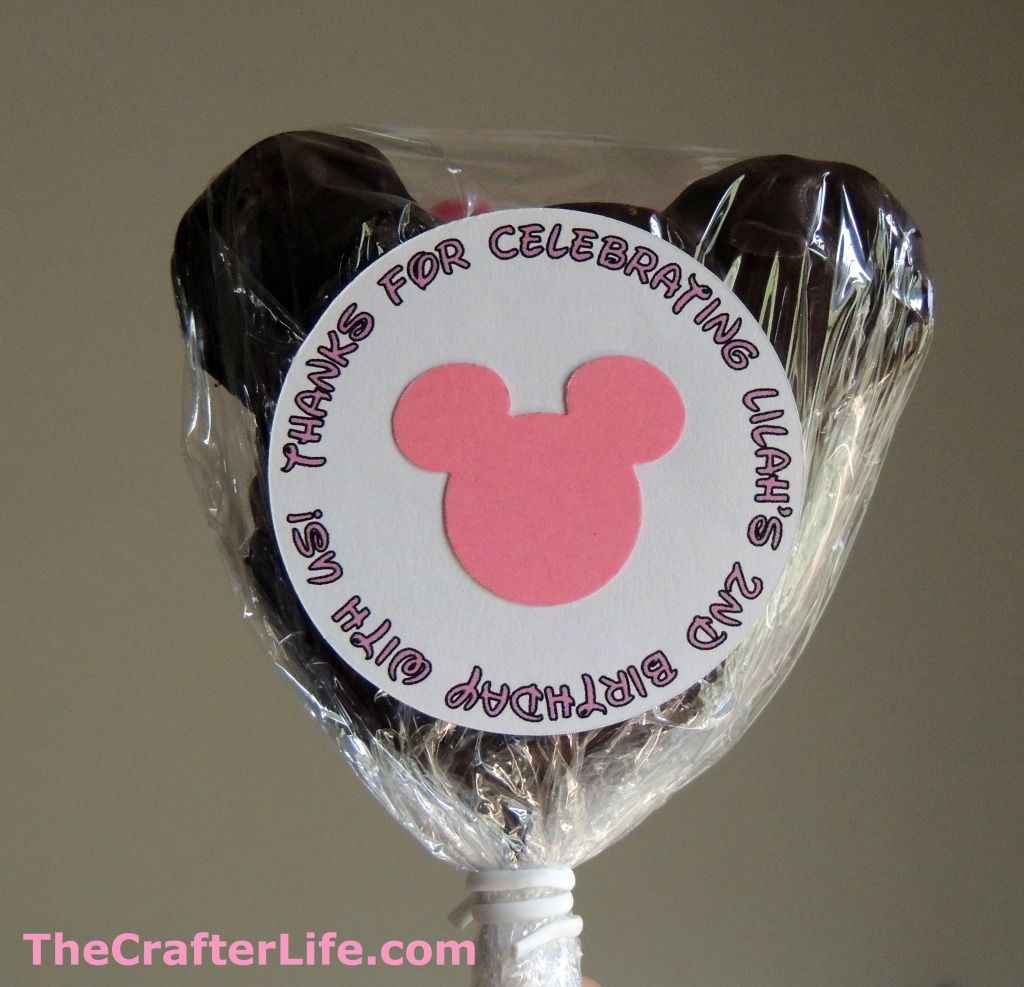
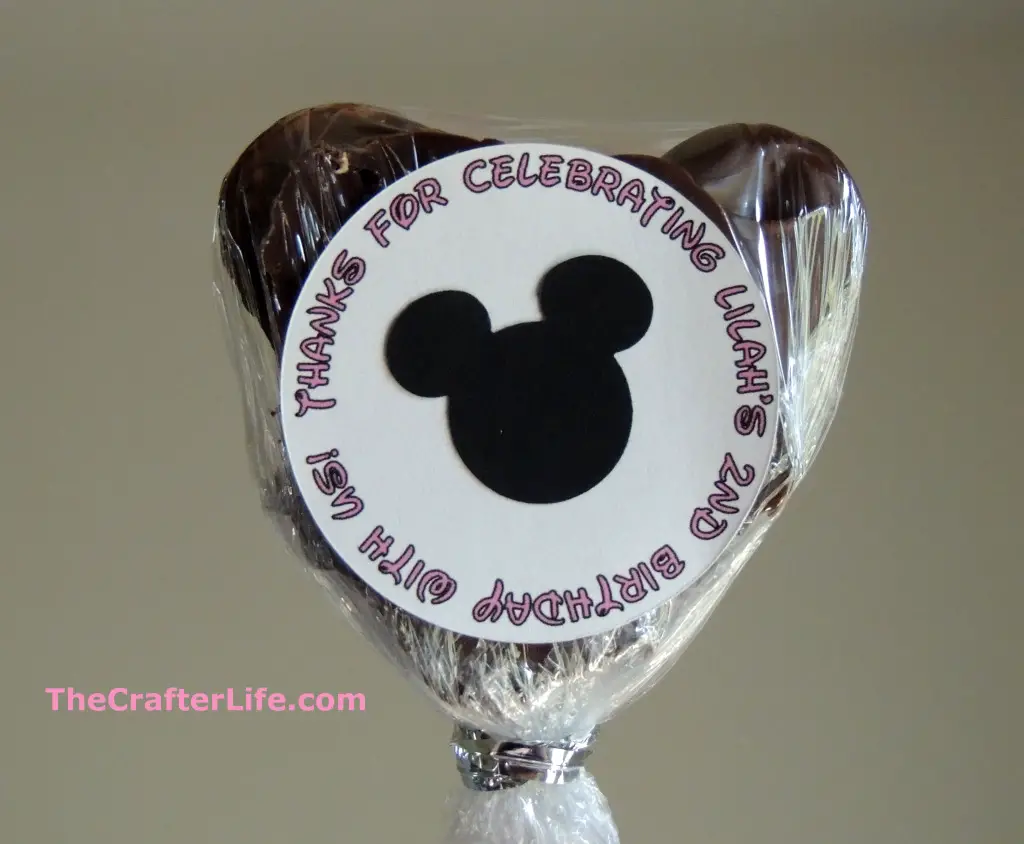
- Either tape or glue a Mickey silhouette to each circle printable label.
- Tape the finished label to your party favor. I put mine on the Minnie Mouse Cookie Pops I made for my daughter’s birthday party. I gave the favors with the black Mickey Mouse labels to the guys and the favors with the pink Minnie Mouse labels to the girls.
Feel free to post comments here or on my Facebook page!
**If you like what you see, feel free to pin, share, and link back to my site. Thank you for visiting!

