DIY Christmas Cards
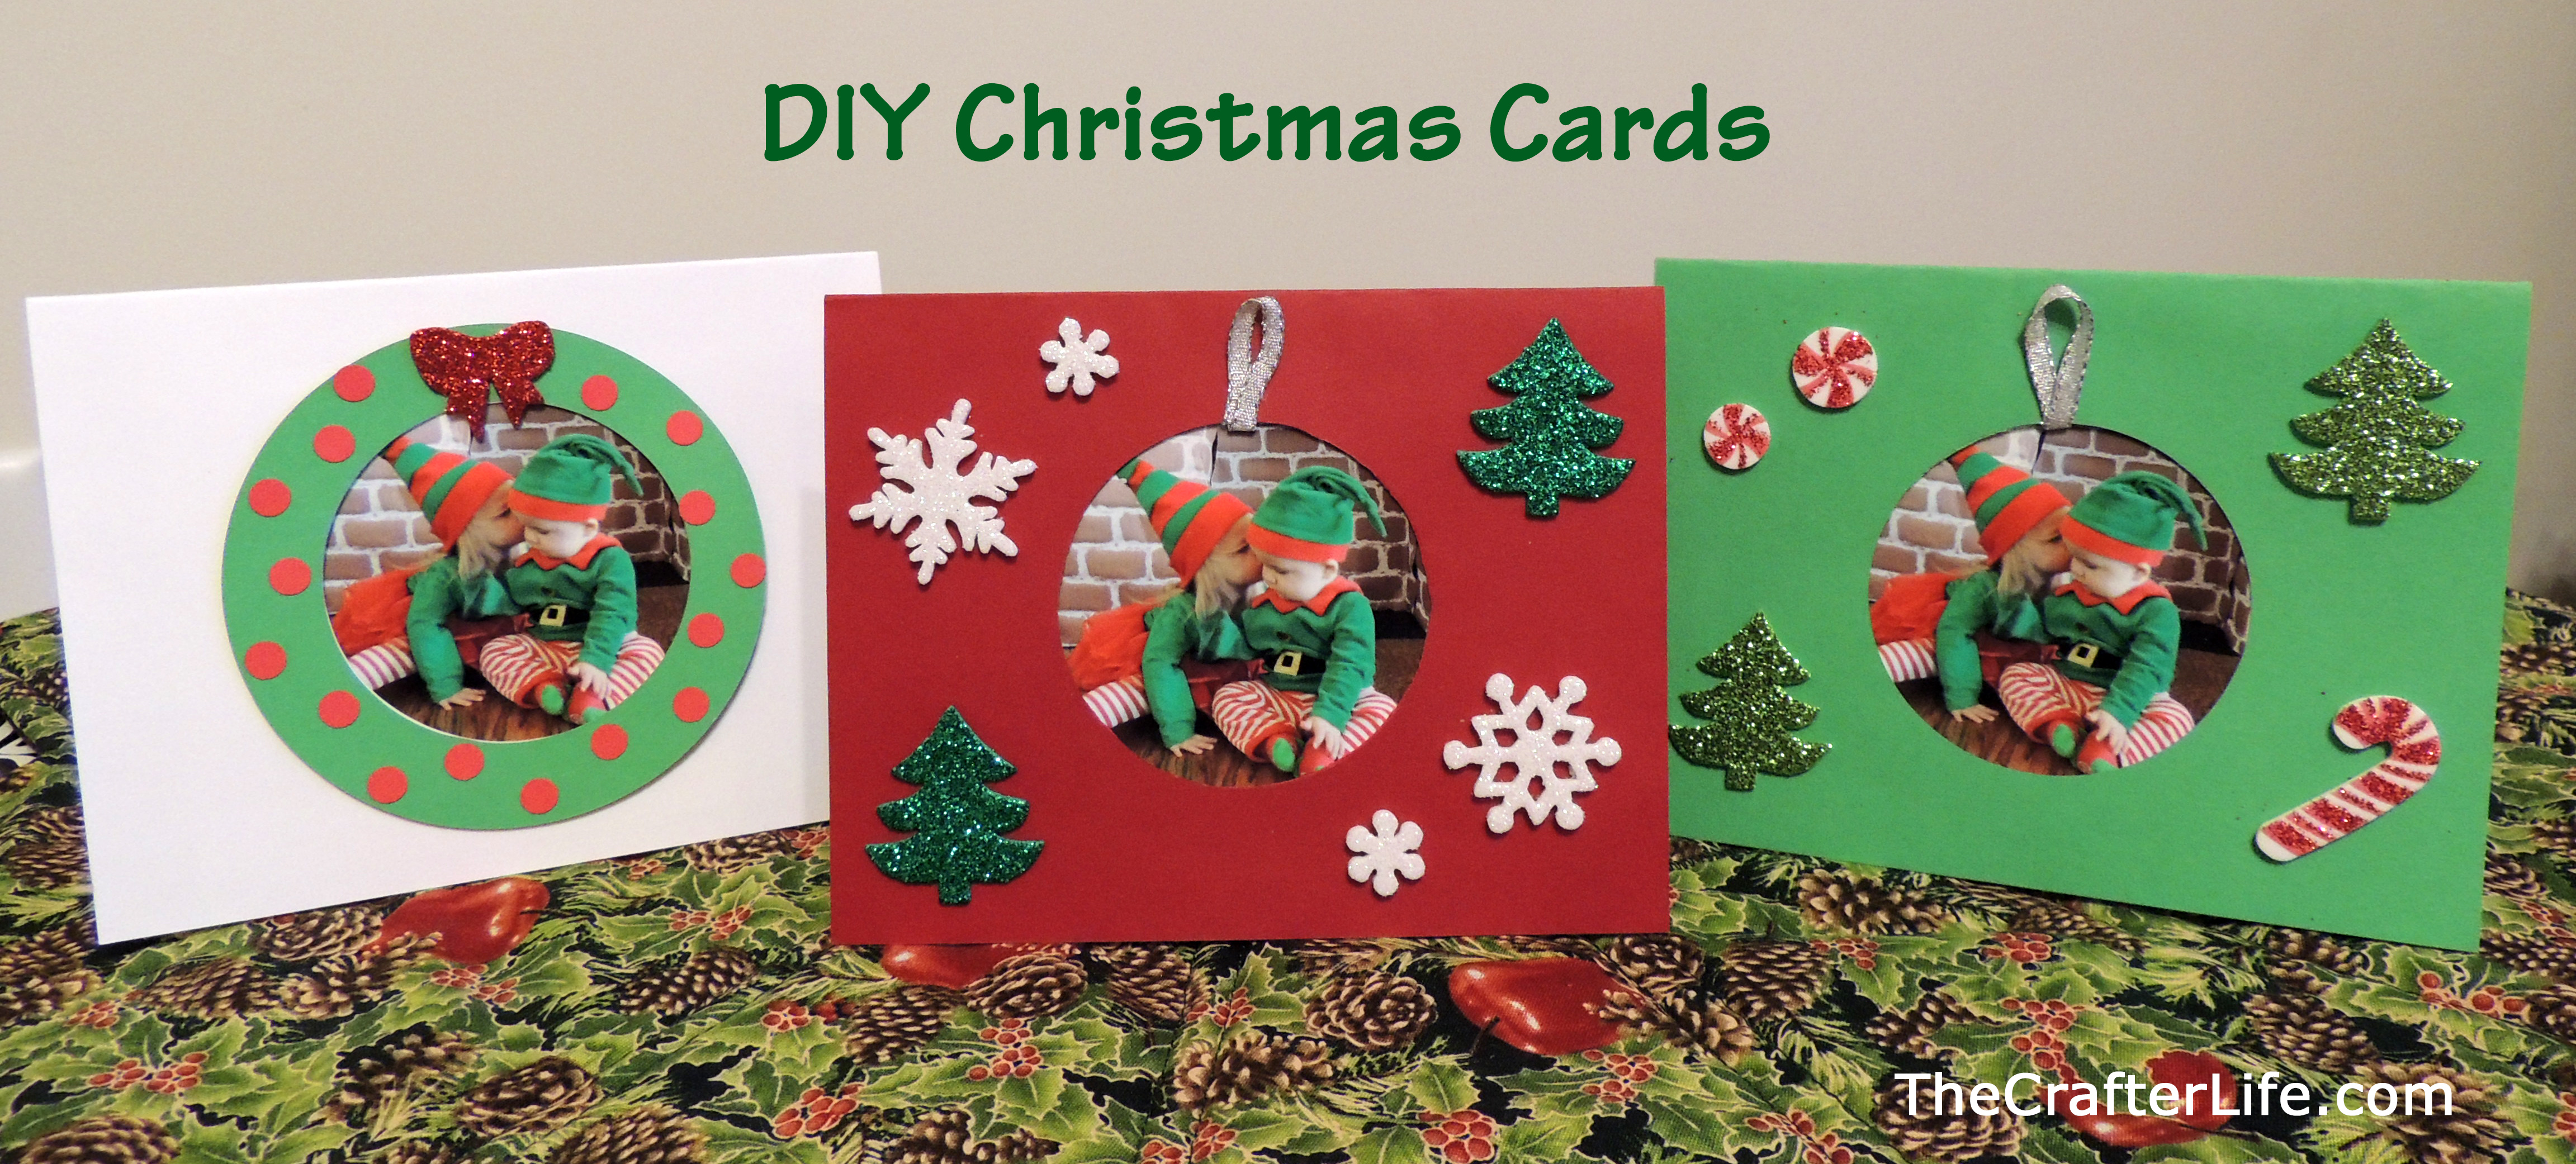
Here is a simple idea for making your own Christmas cards. You can make it a fun family activity by getting everyone involved in making them.
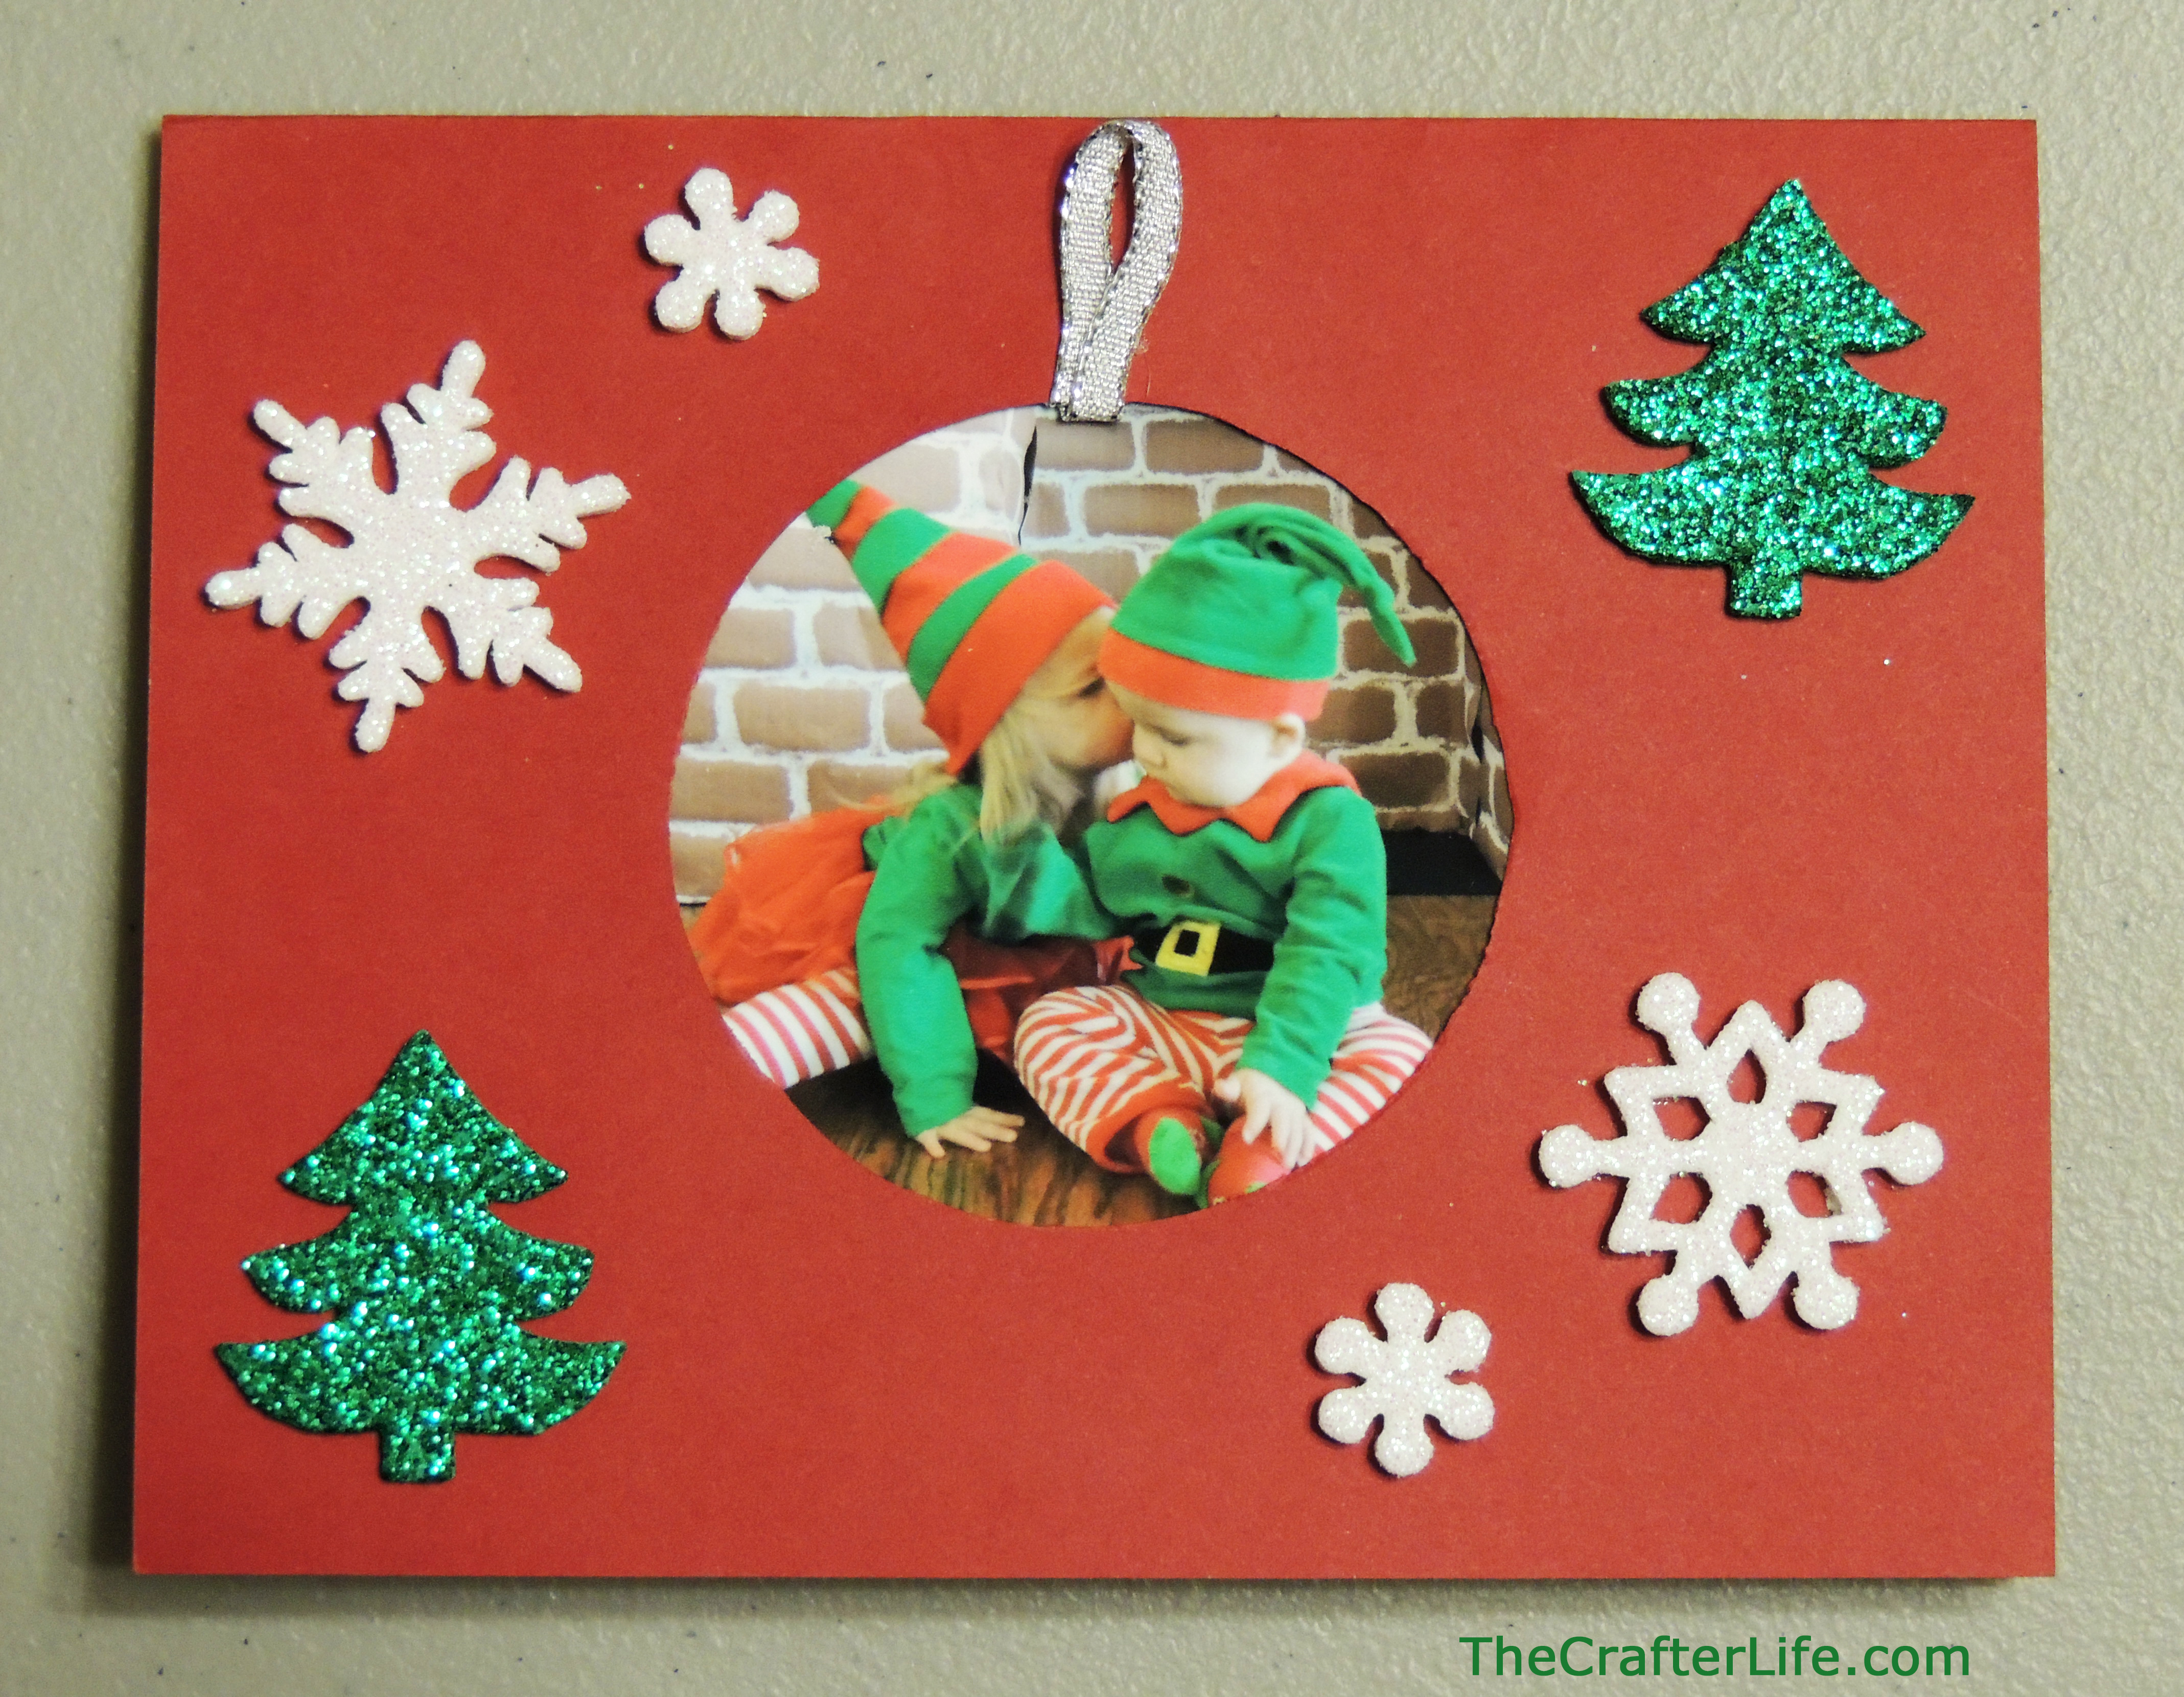
My husband’s parents gave the kids adorable elf outfits to wear for Christmas this year and I thought it would be cute to use a picture of the kids wearing them for our Christmas cards. Normally I just slip a picture inside a store-bought card, but I wanted the picture of the kids to be the main focus of the card. So of course, my only choice was to make the cards. My daughter’s elf outfit didn’t come with a hat, so I made one out of felt for her to wear for the picture. My next post will be the directions for making the felt elf hat.
Materials
– Cardstock in your choice of colors (I used red, green, and white.)
– Paper cutter/scissors & ruler
– Circle cutter/a circular object to trace
– Hot glue gun/hot glue
– Glue stick
– Double-sided tape
– Christmas stickers, ribbon, or other embellishments
– Wallet size photo
Directions
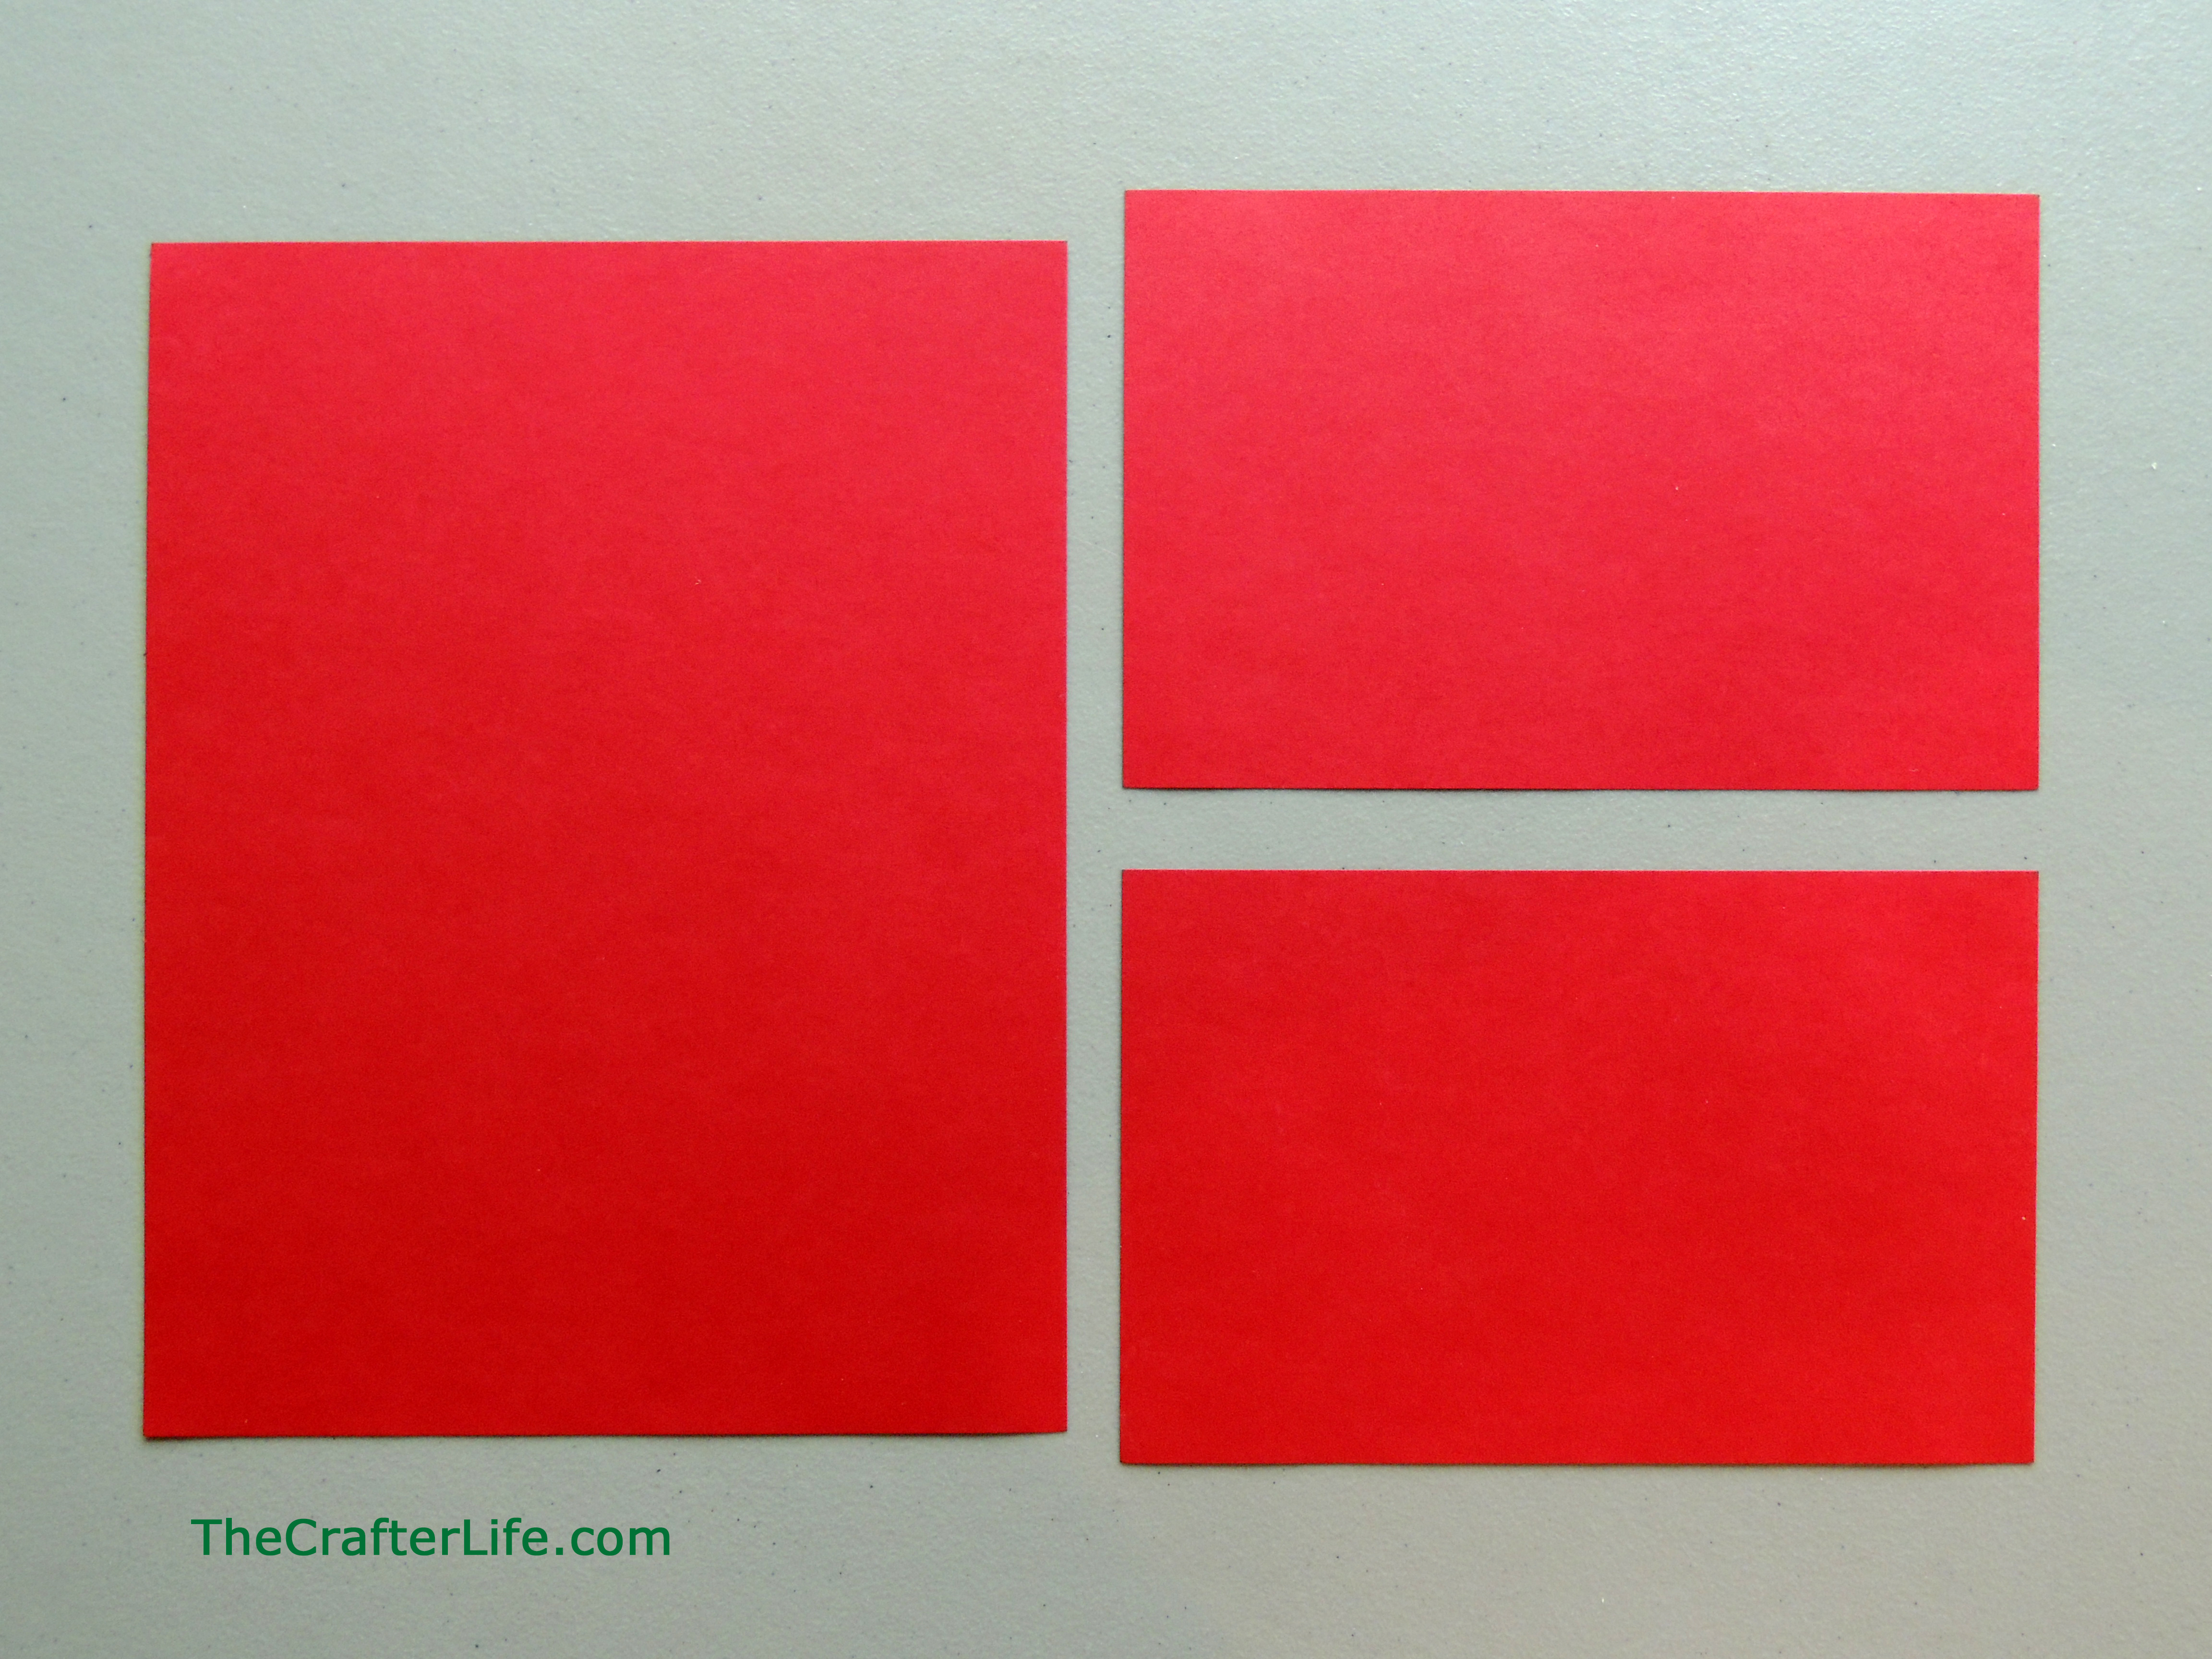
1. Cut a piece of cardstock in half as shown in the picture below. One piece of cardstock makes two cards.
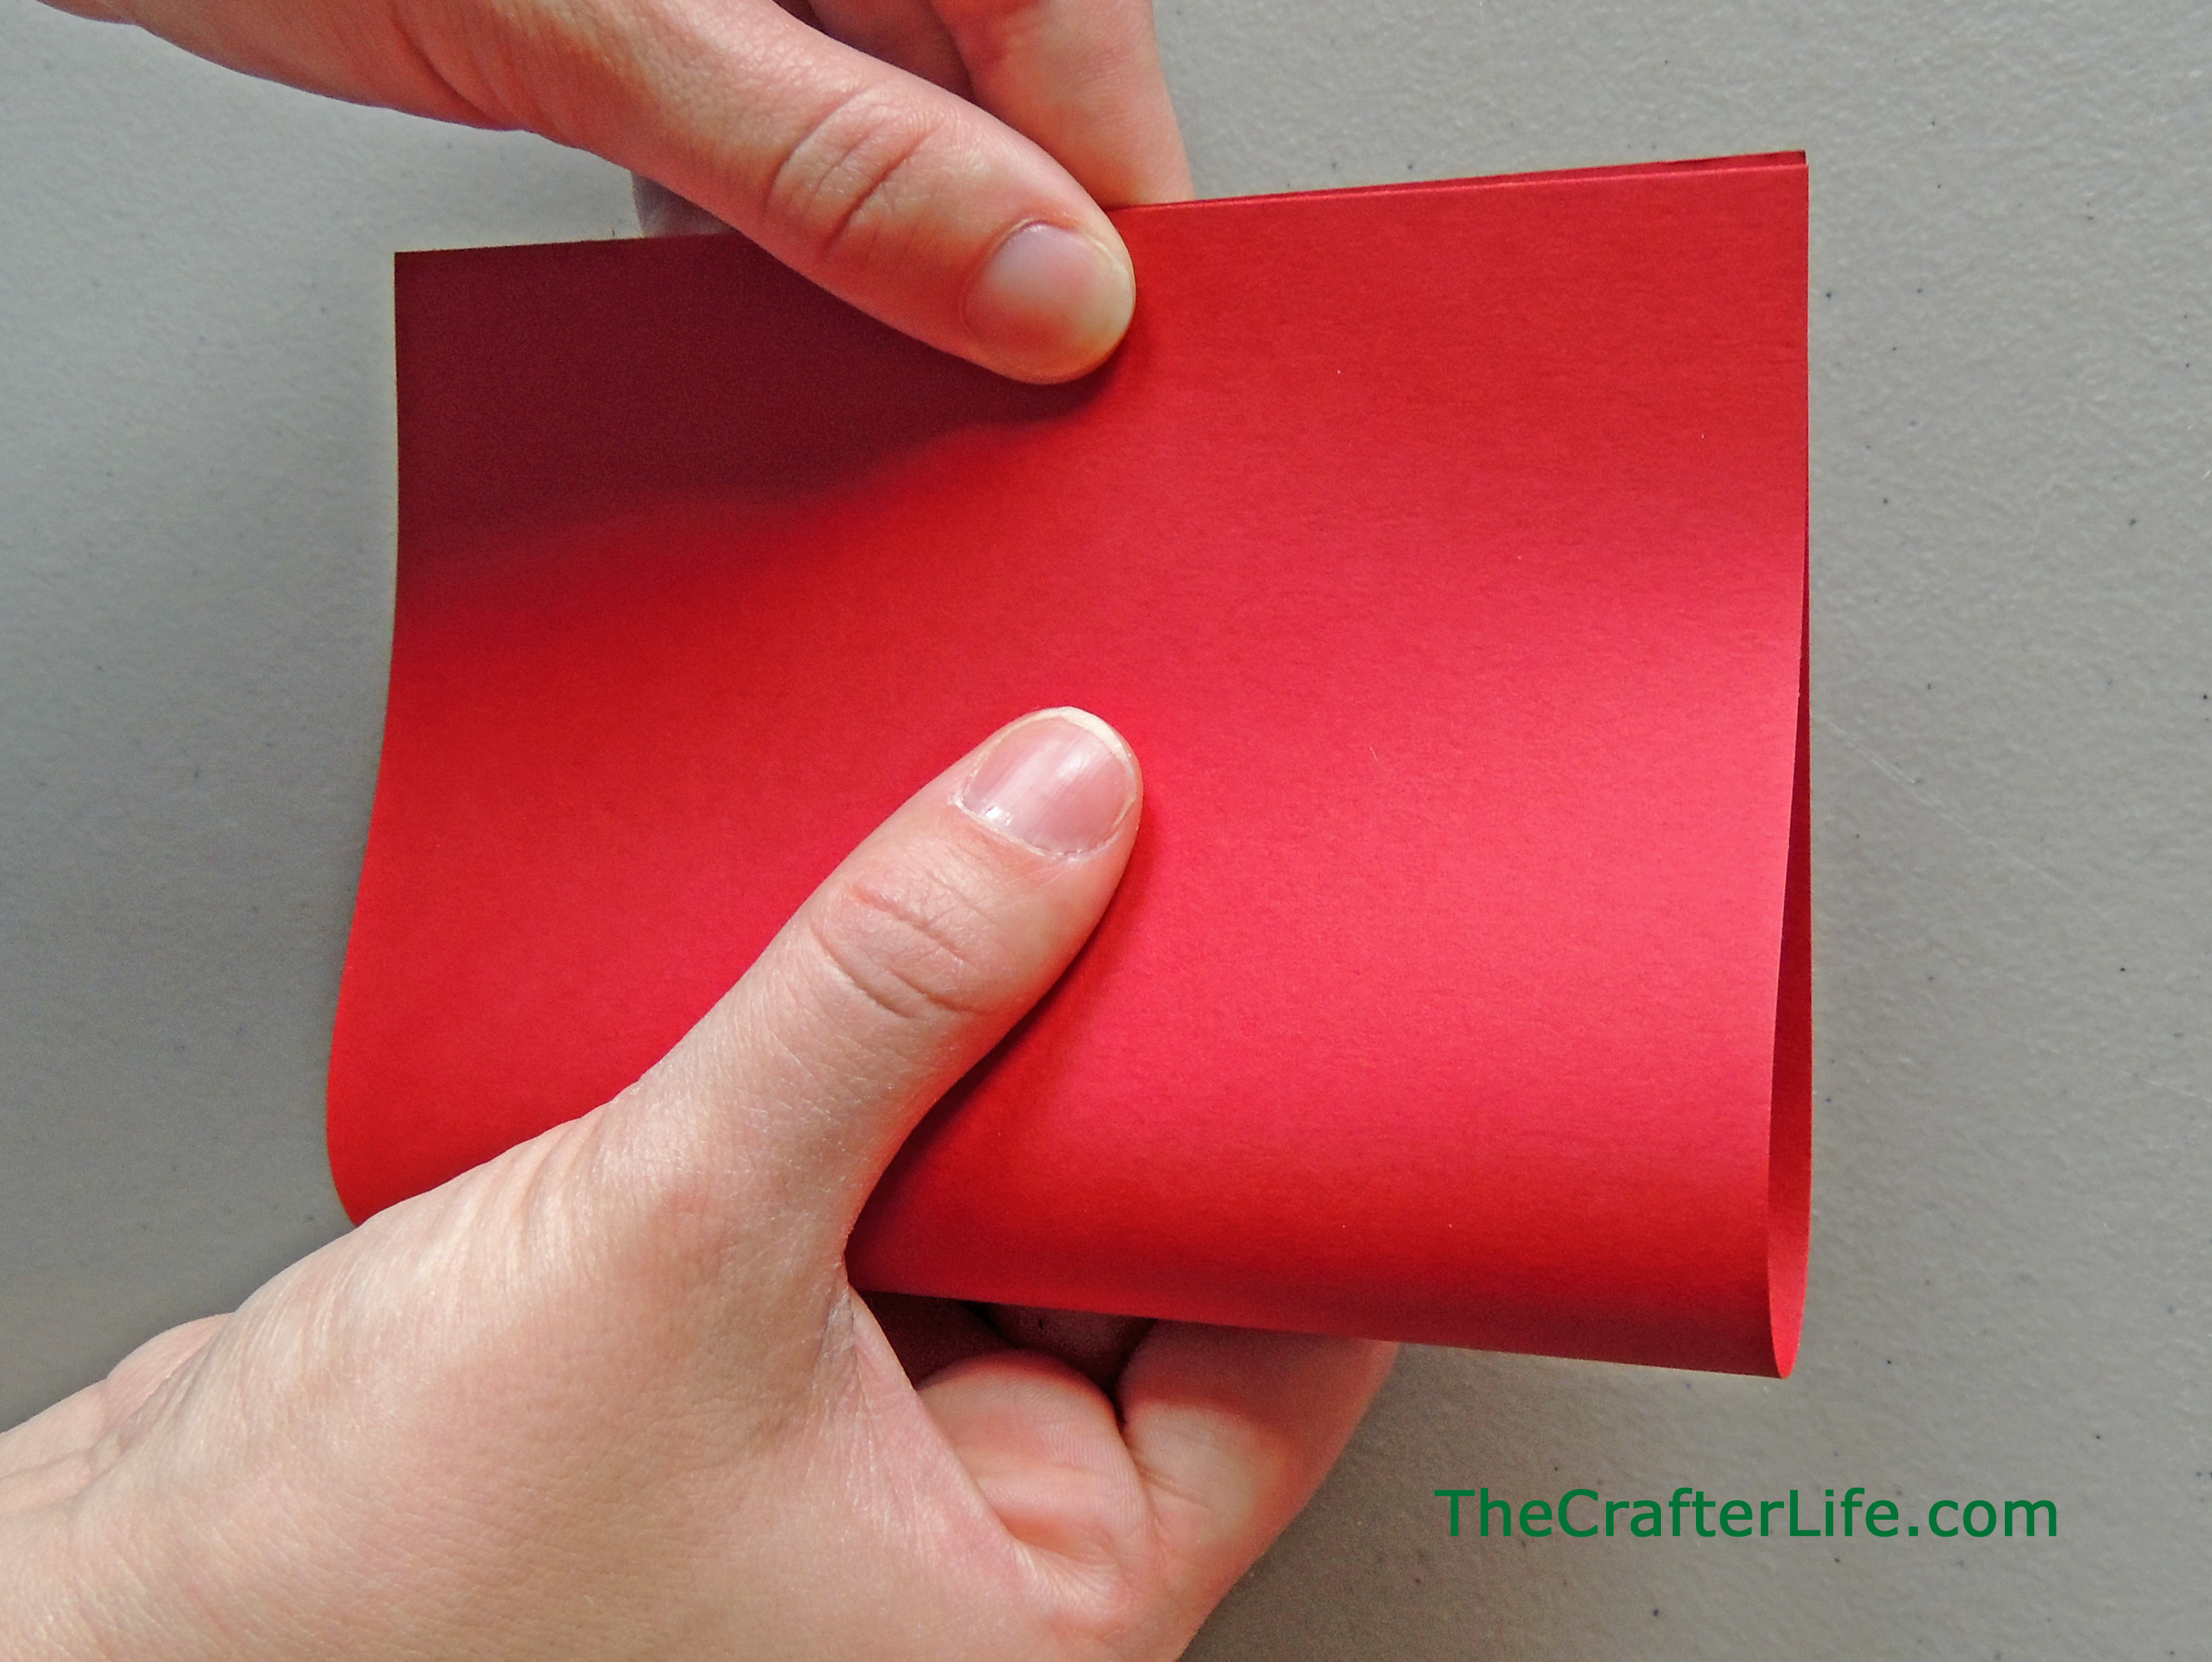
2. Take a half sheet of cardstock and fold it in half as shown in the picture below.

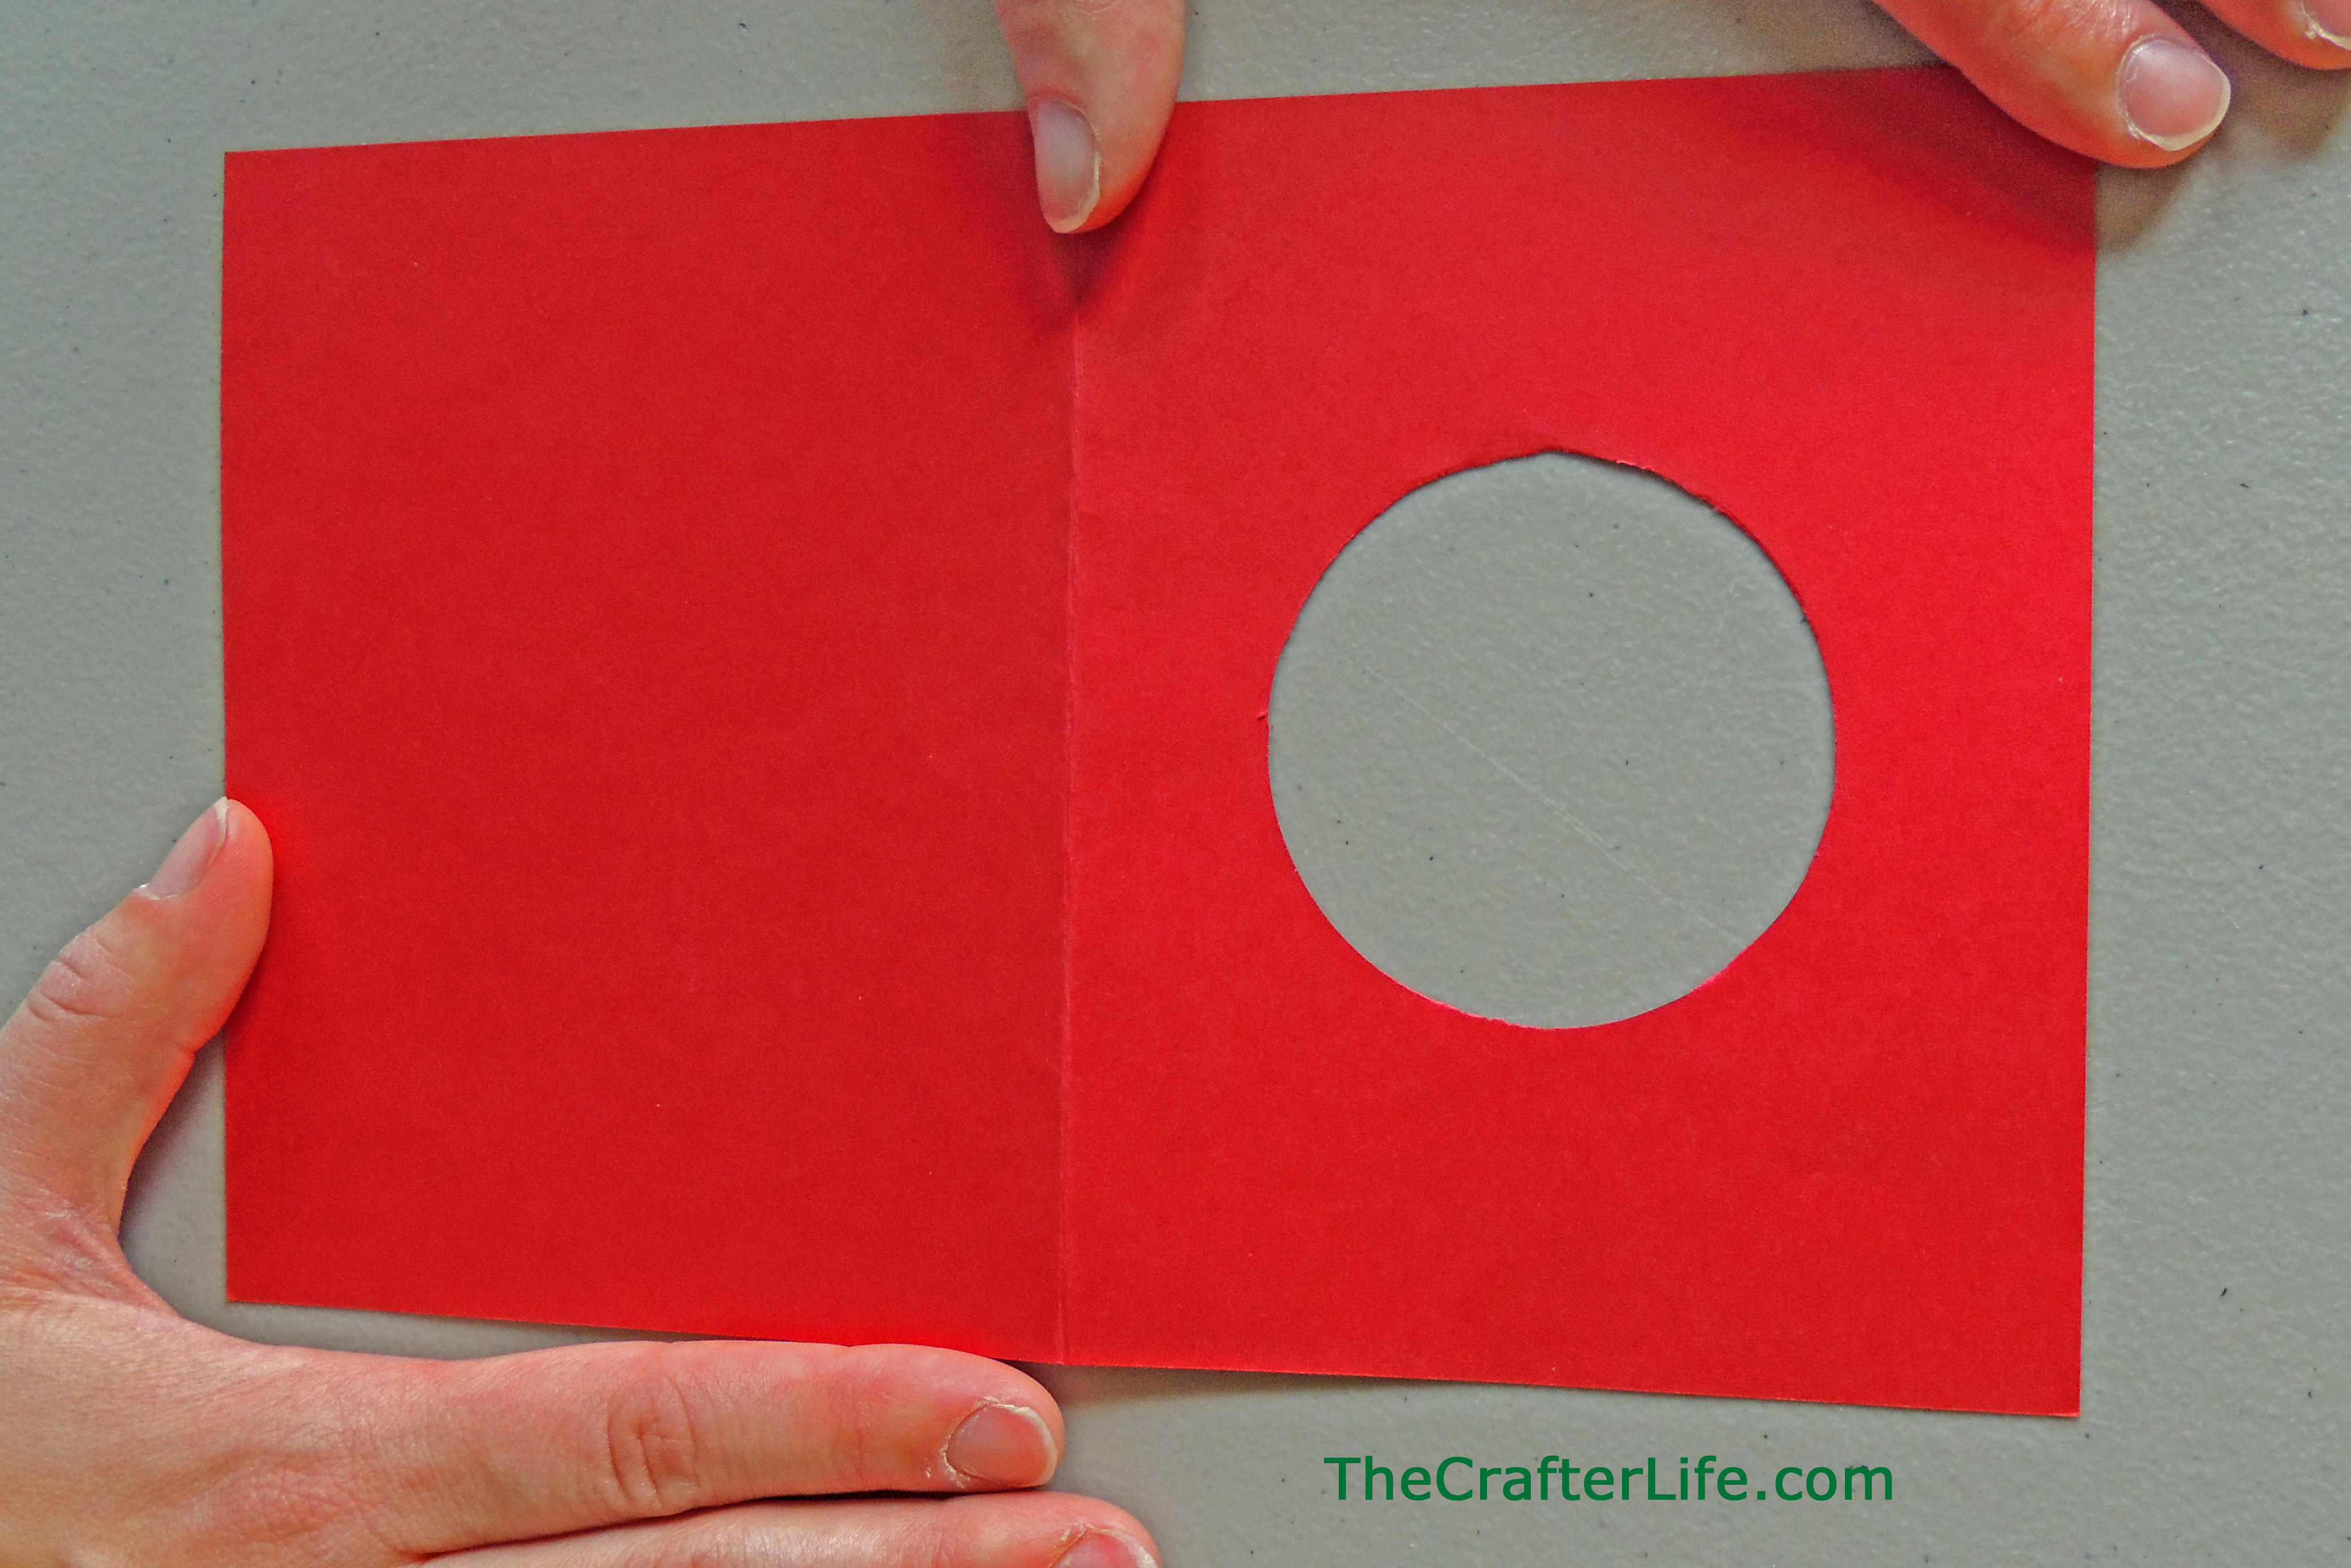
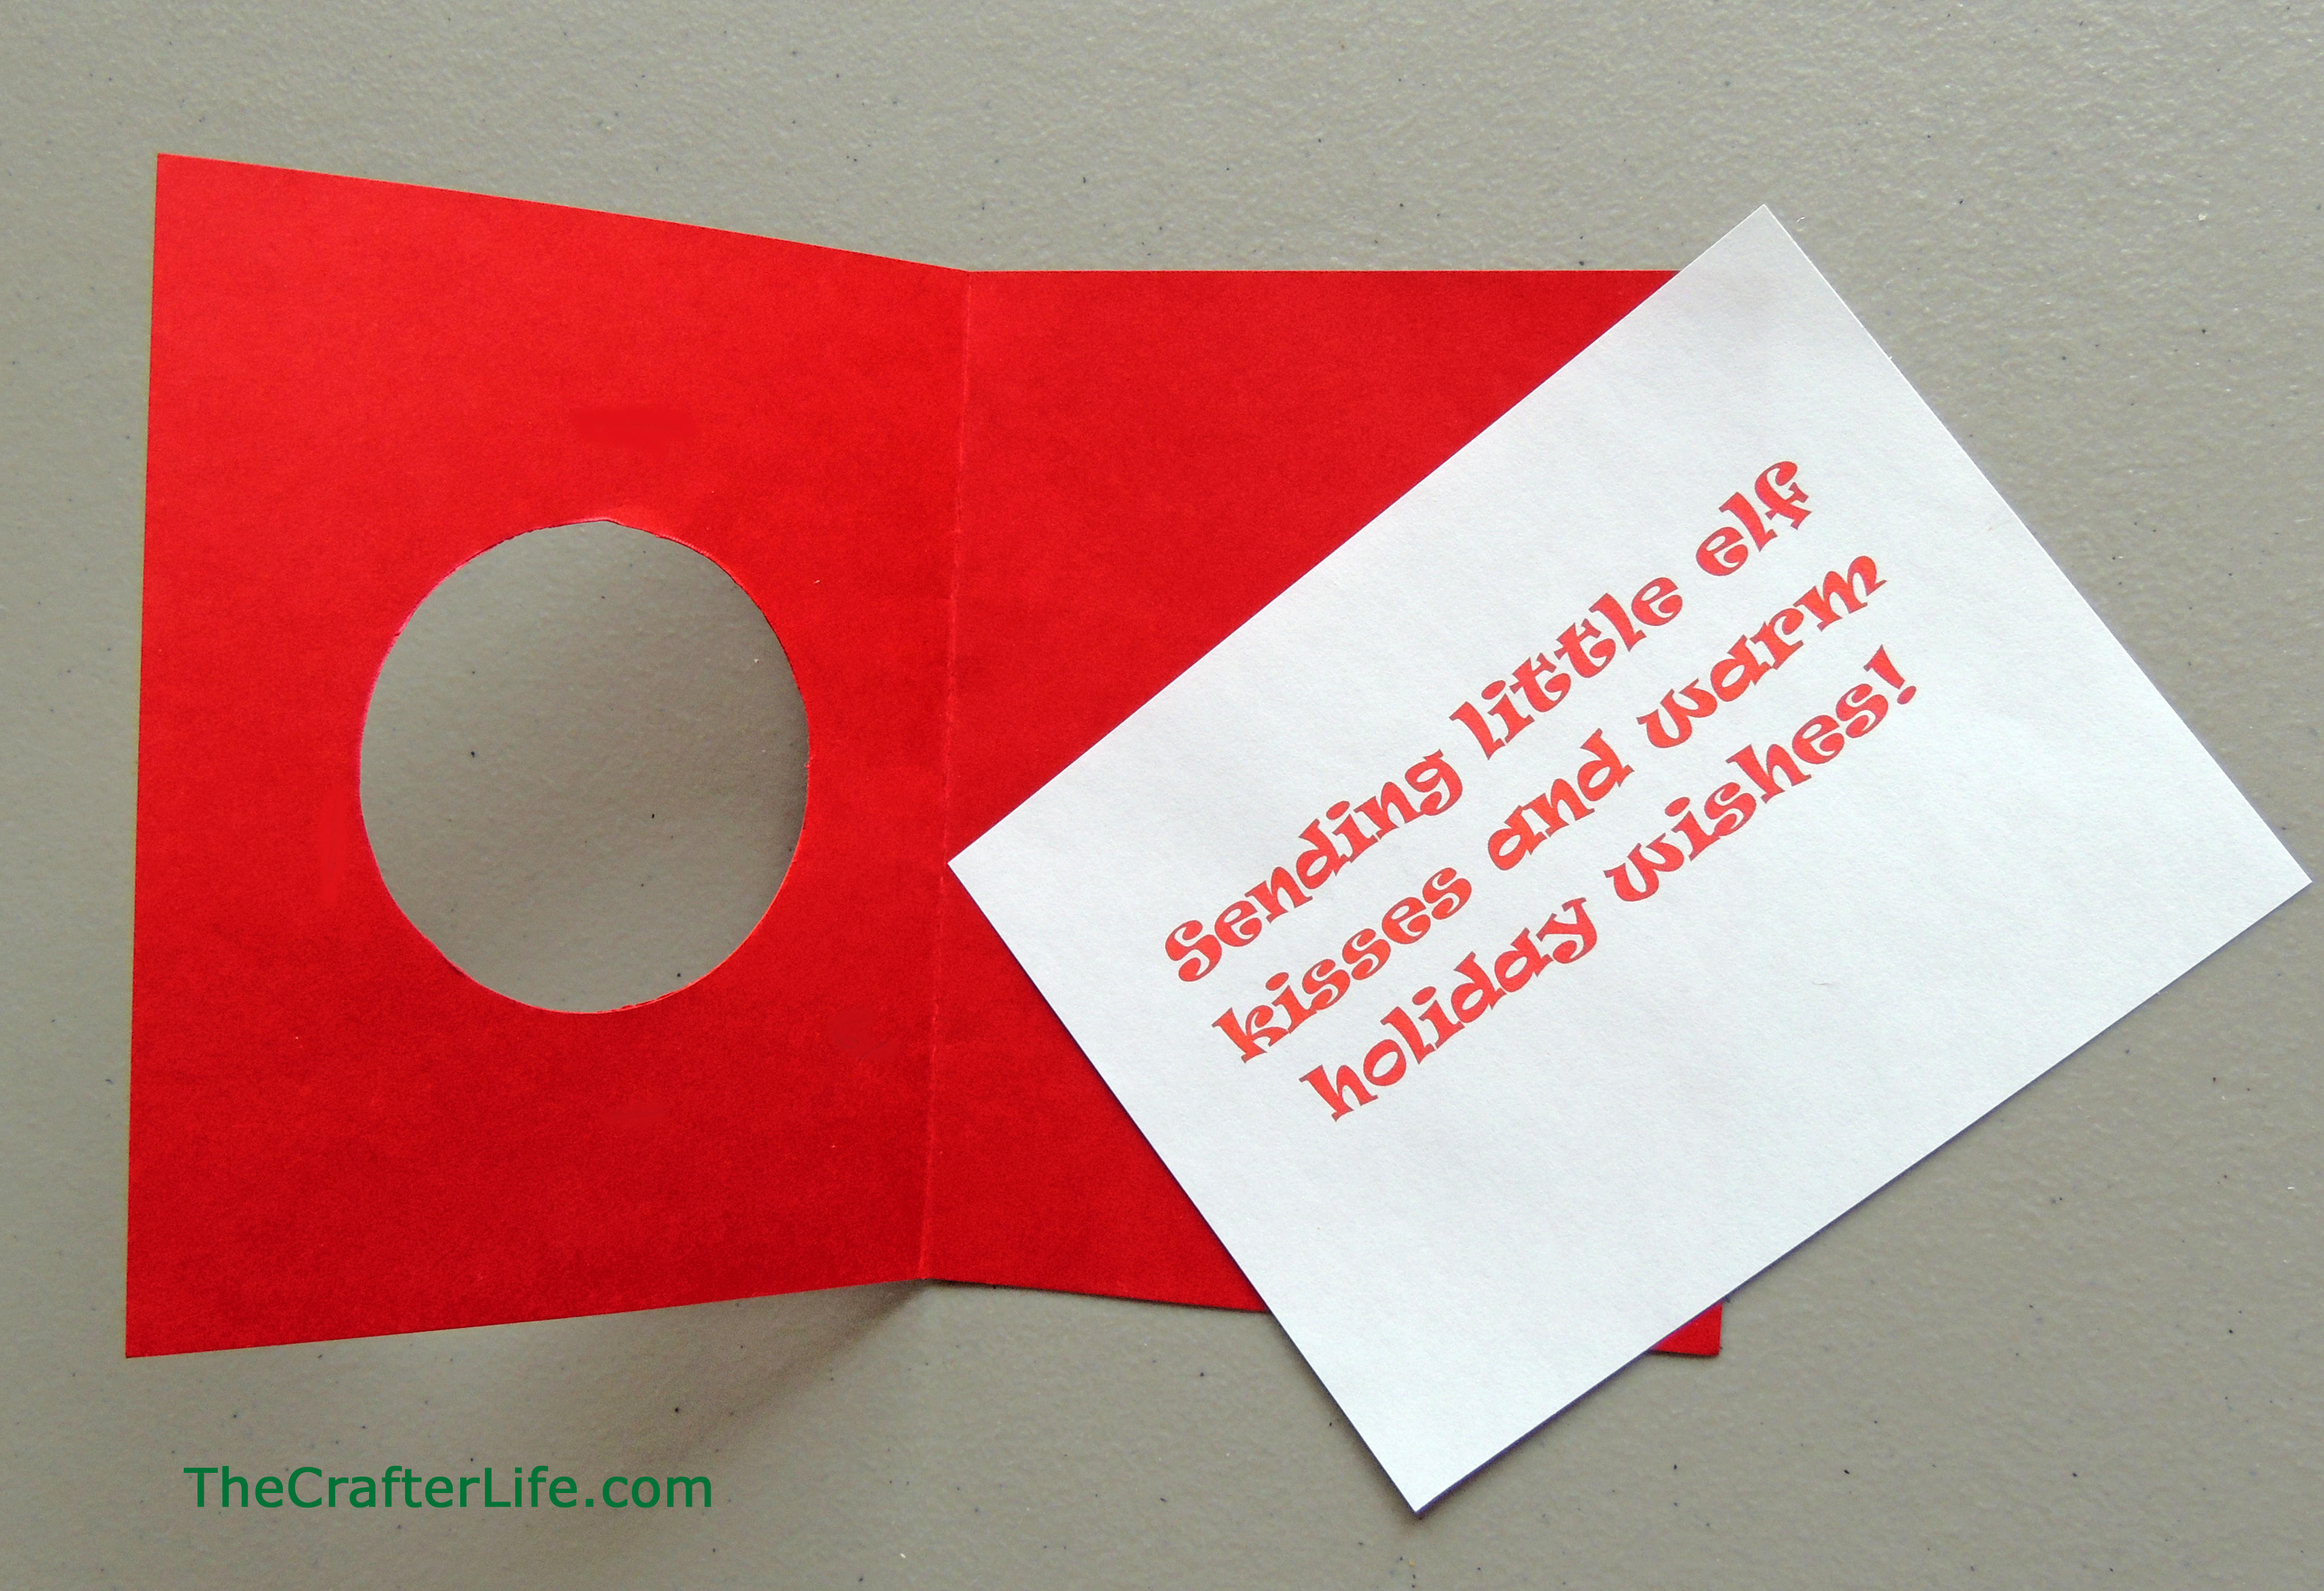
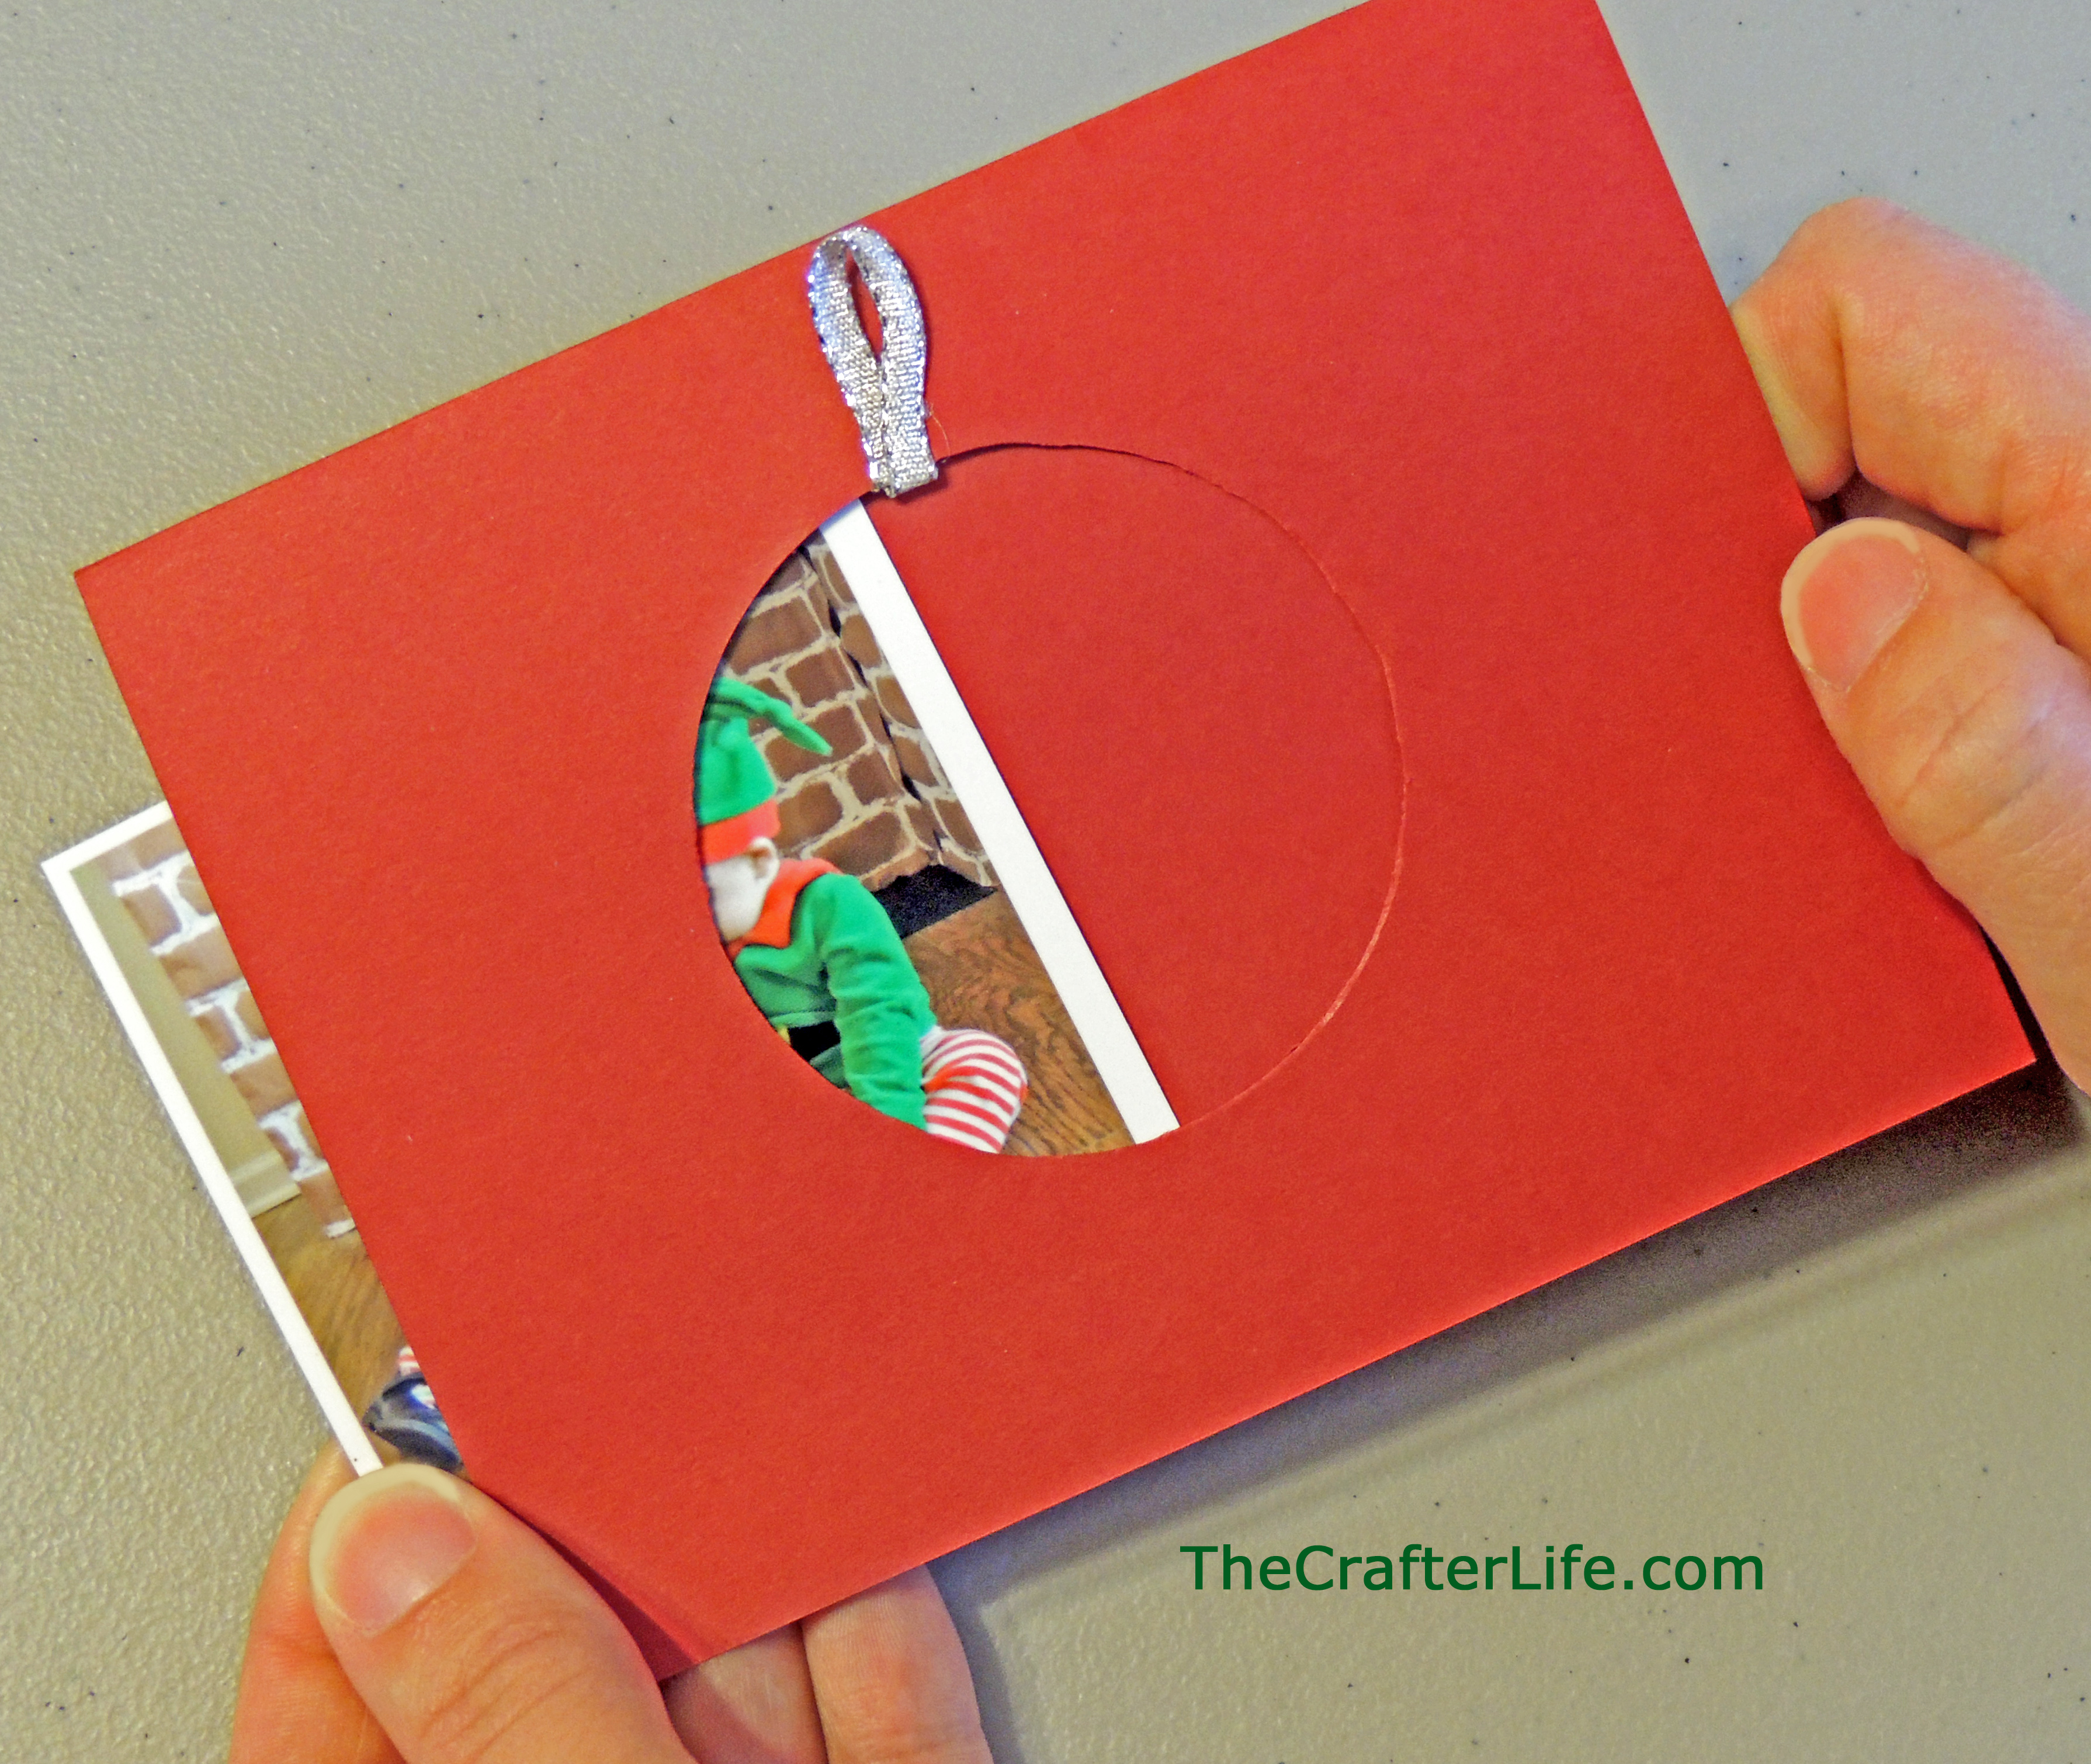
3. Use a circle cutter to cut a circle out of the front of the card for your picture to show through. If you don’t have a circle cutter available, find a small circular shape (like the bottom of a glass) to trace and cut. My circle had a diameter of about 2-3/8 inches to fit a wallet size photo. ***You could also cut a rectangle out of the front of the card to display your picture if you don’t want to cut a circle.
 4. Type or write your own verse on a white sheet of paper that is cut to 5.5 inches by 4.5 inches so that it fits on the inside of the card. If you are typing your message, set your page margins to 1.5 inches on the left and right and center the text on the page. When you print, you just have to cut 1.5 inches off of each side so that it fits on your card and so the text is centered.
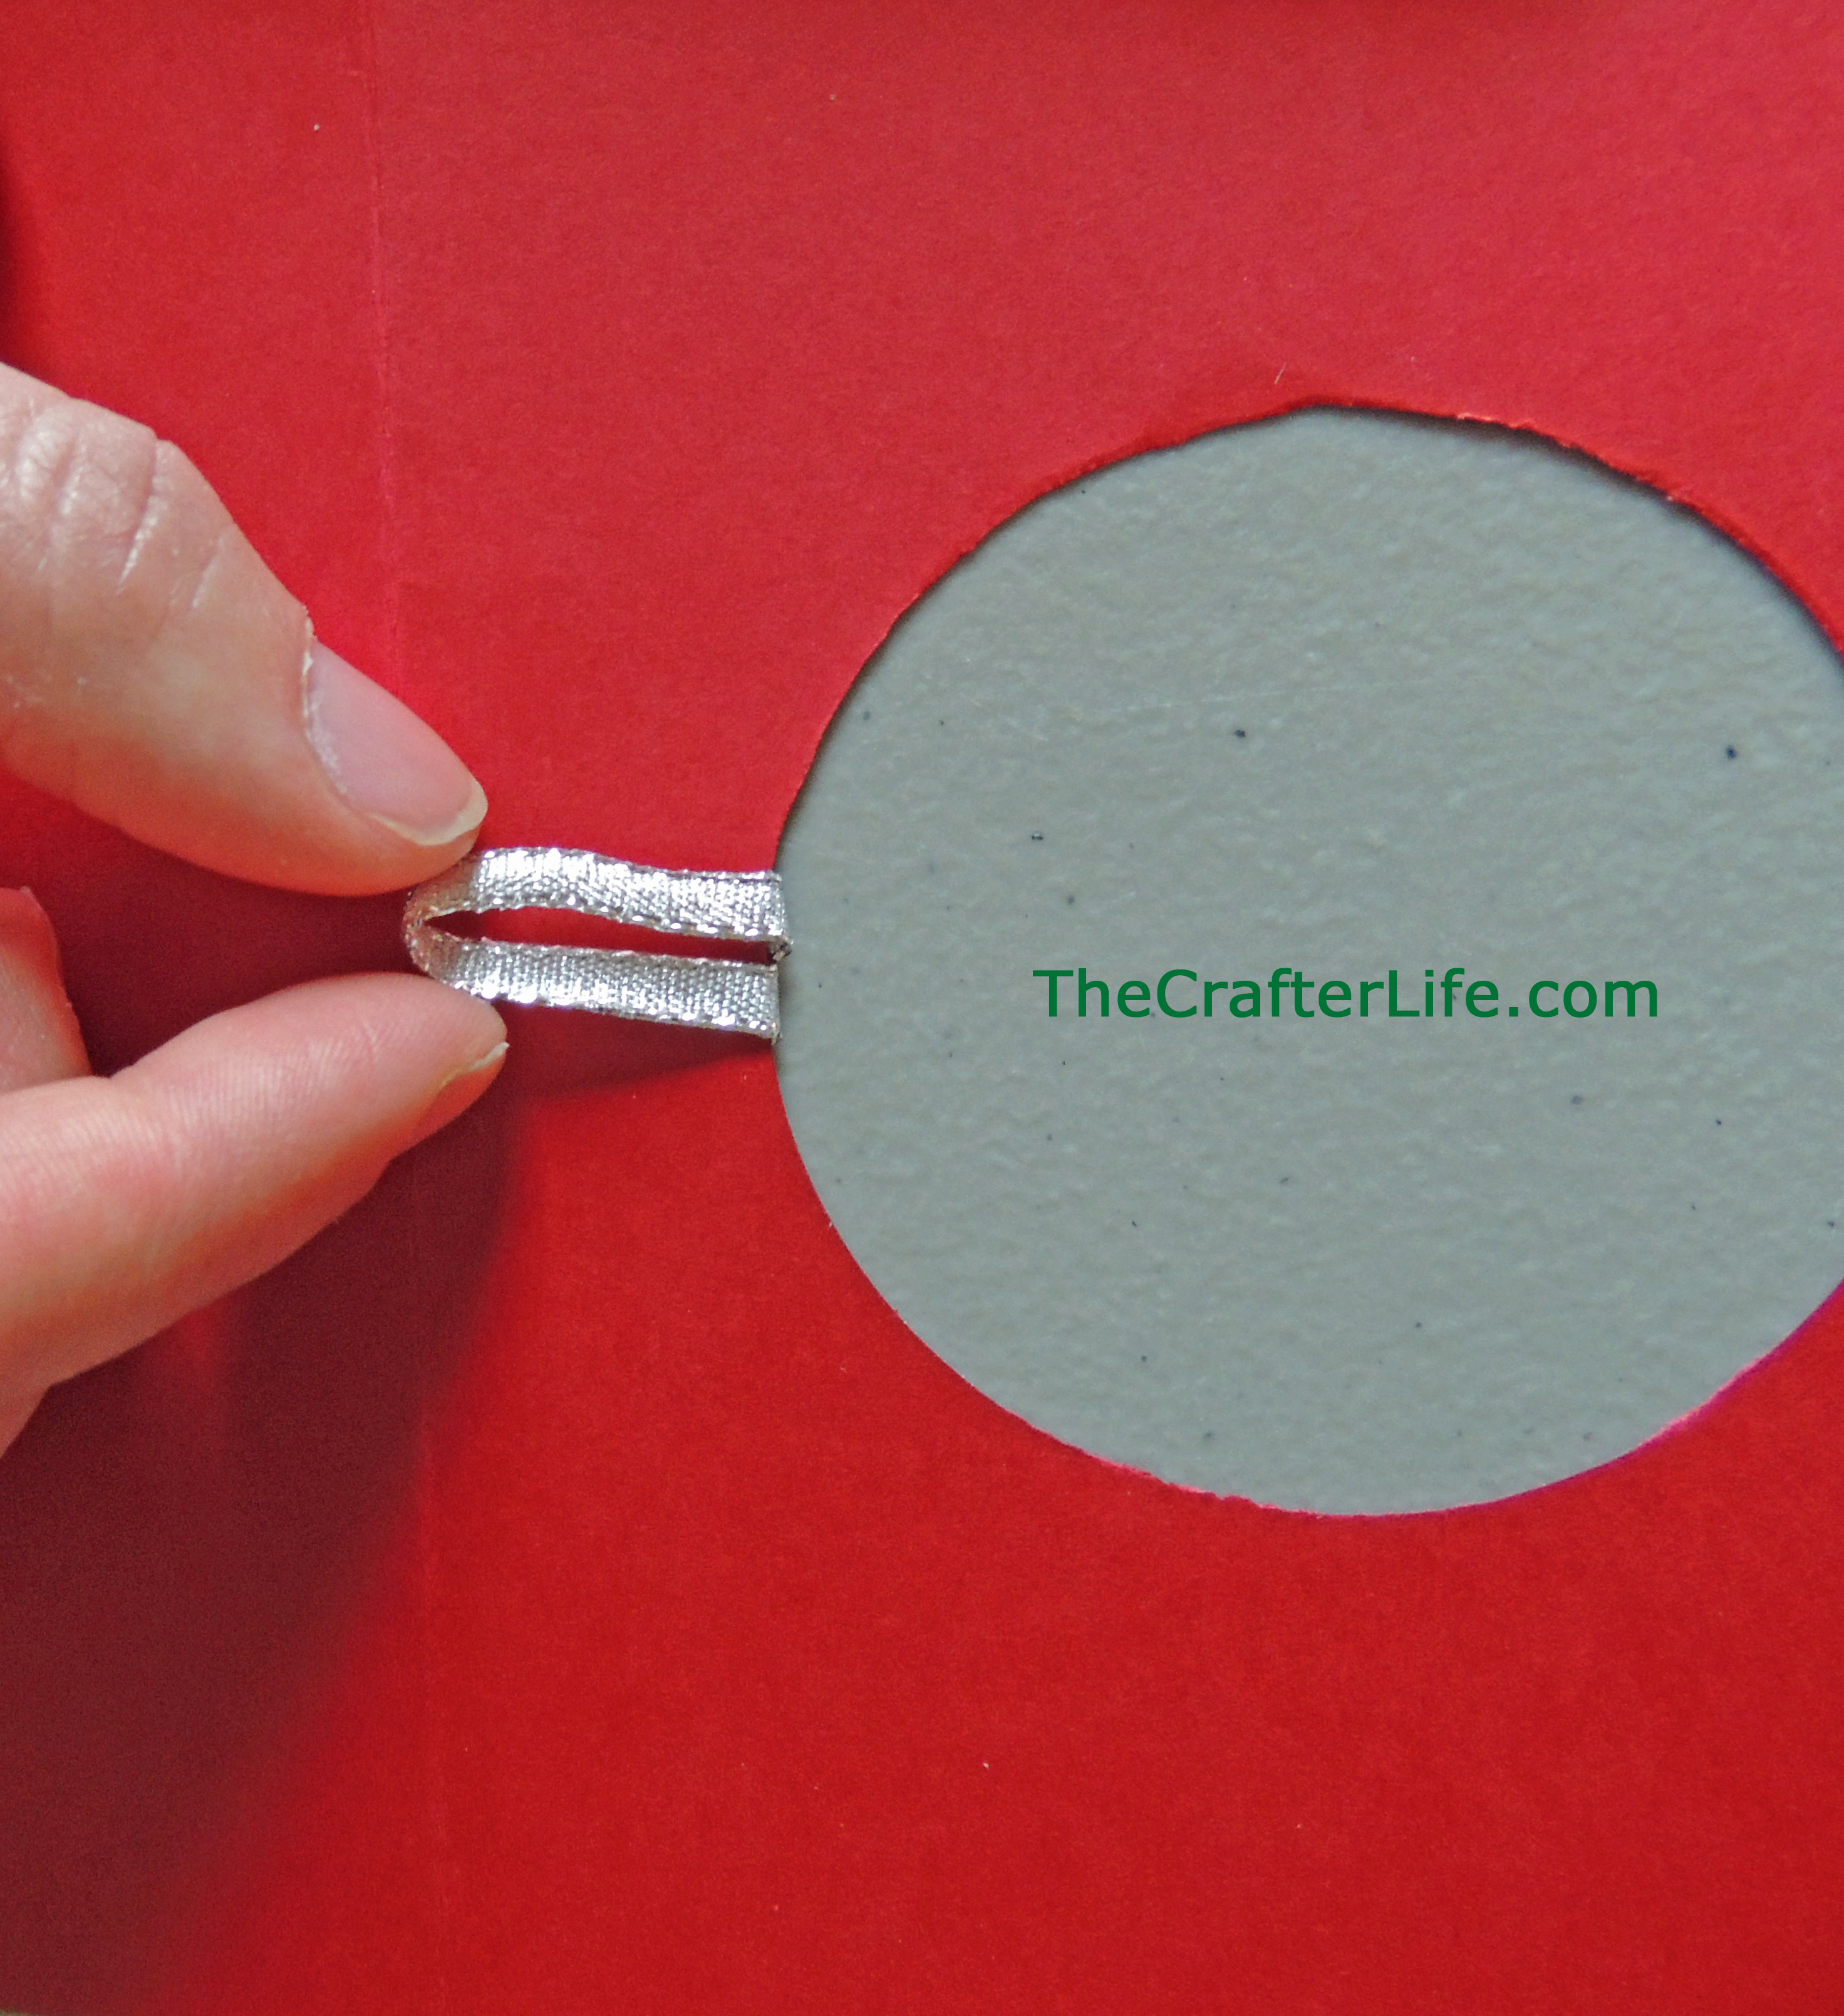
5. To make the circle look like an ornament on the front of the card, cut a piece of ribbon about 2.5 inches long, fold it in half so it makes a loop, and bend the two tail ends underneath the opening of the circle. Hot glue the ribbon in place so that it resembles an ornament hanger. The ribbon I used was 1/8″ thick.
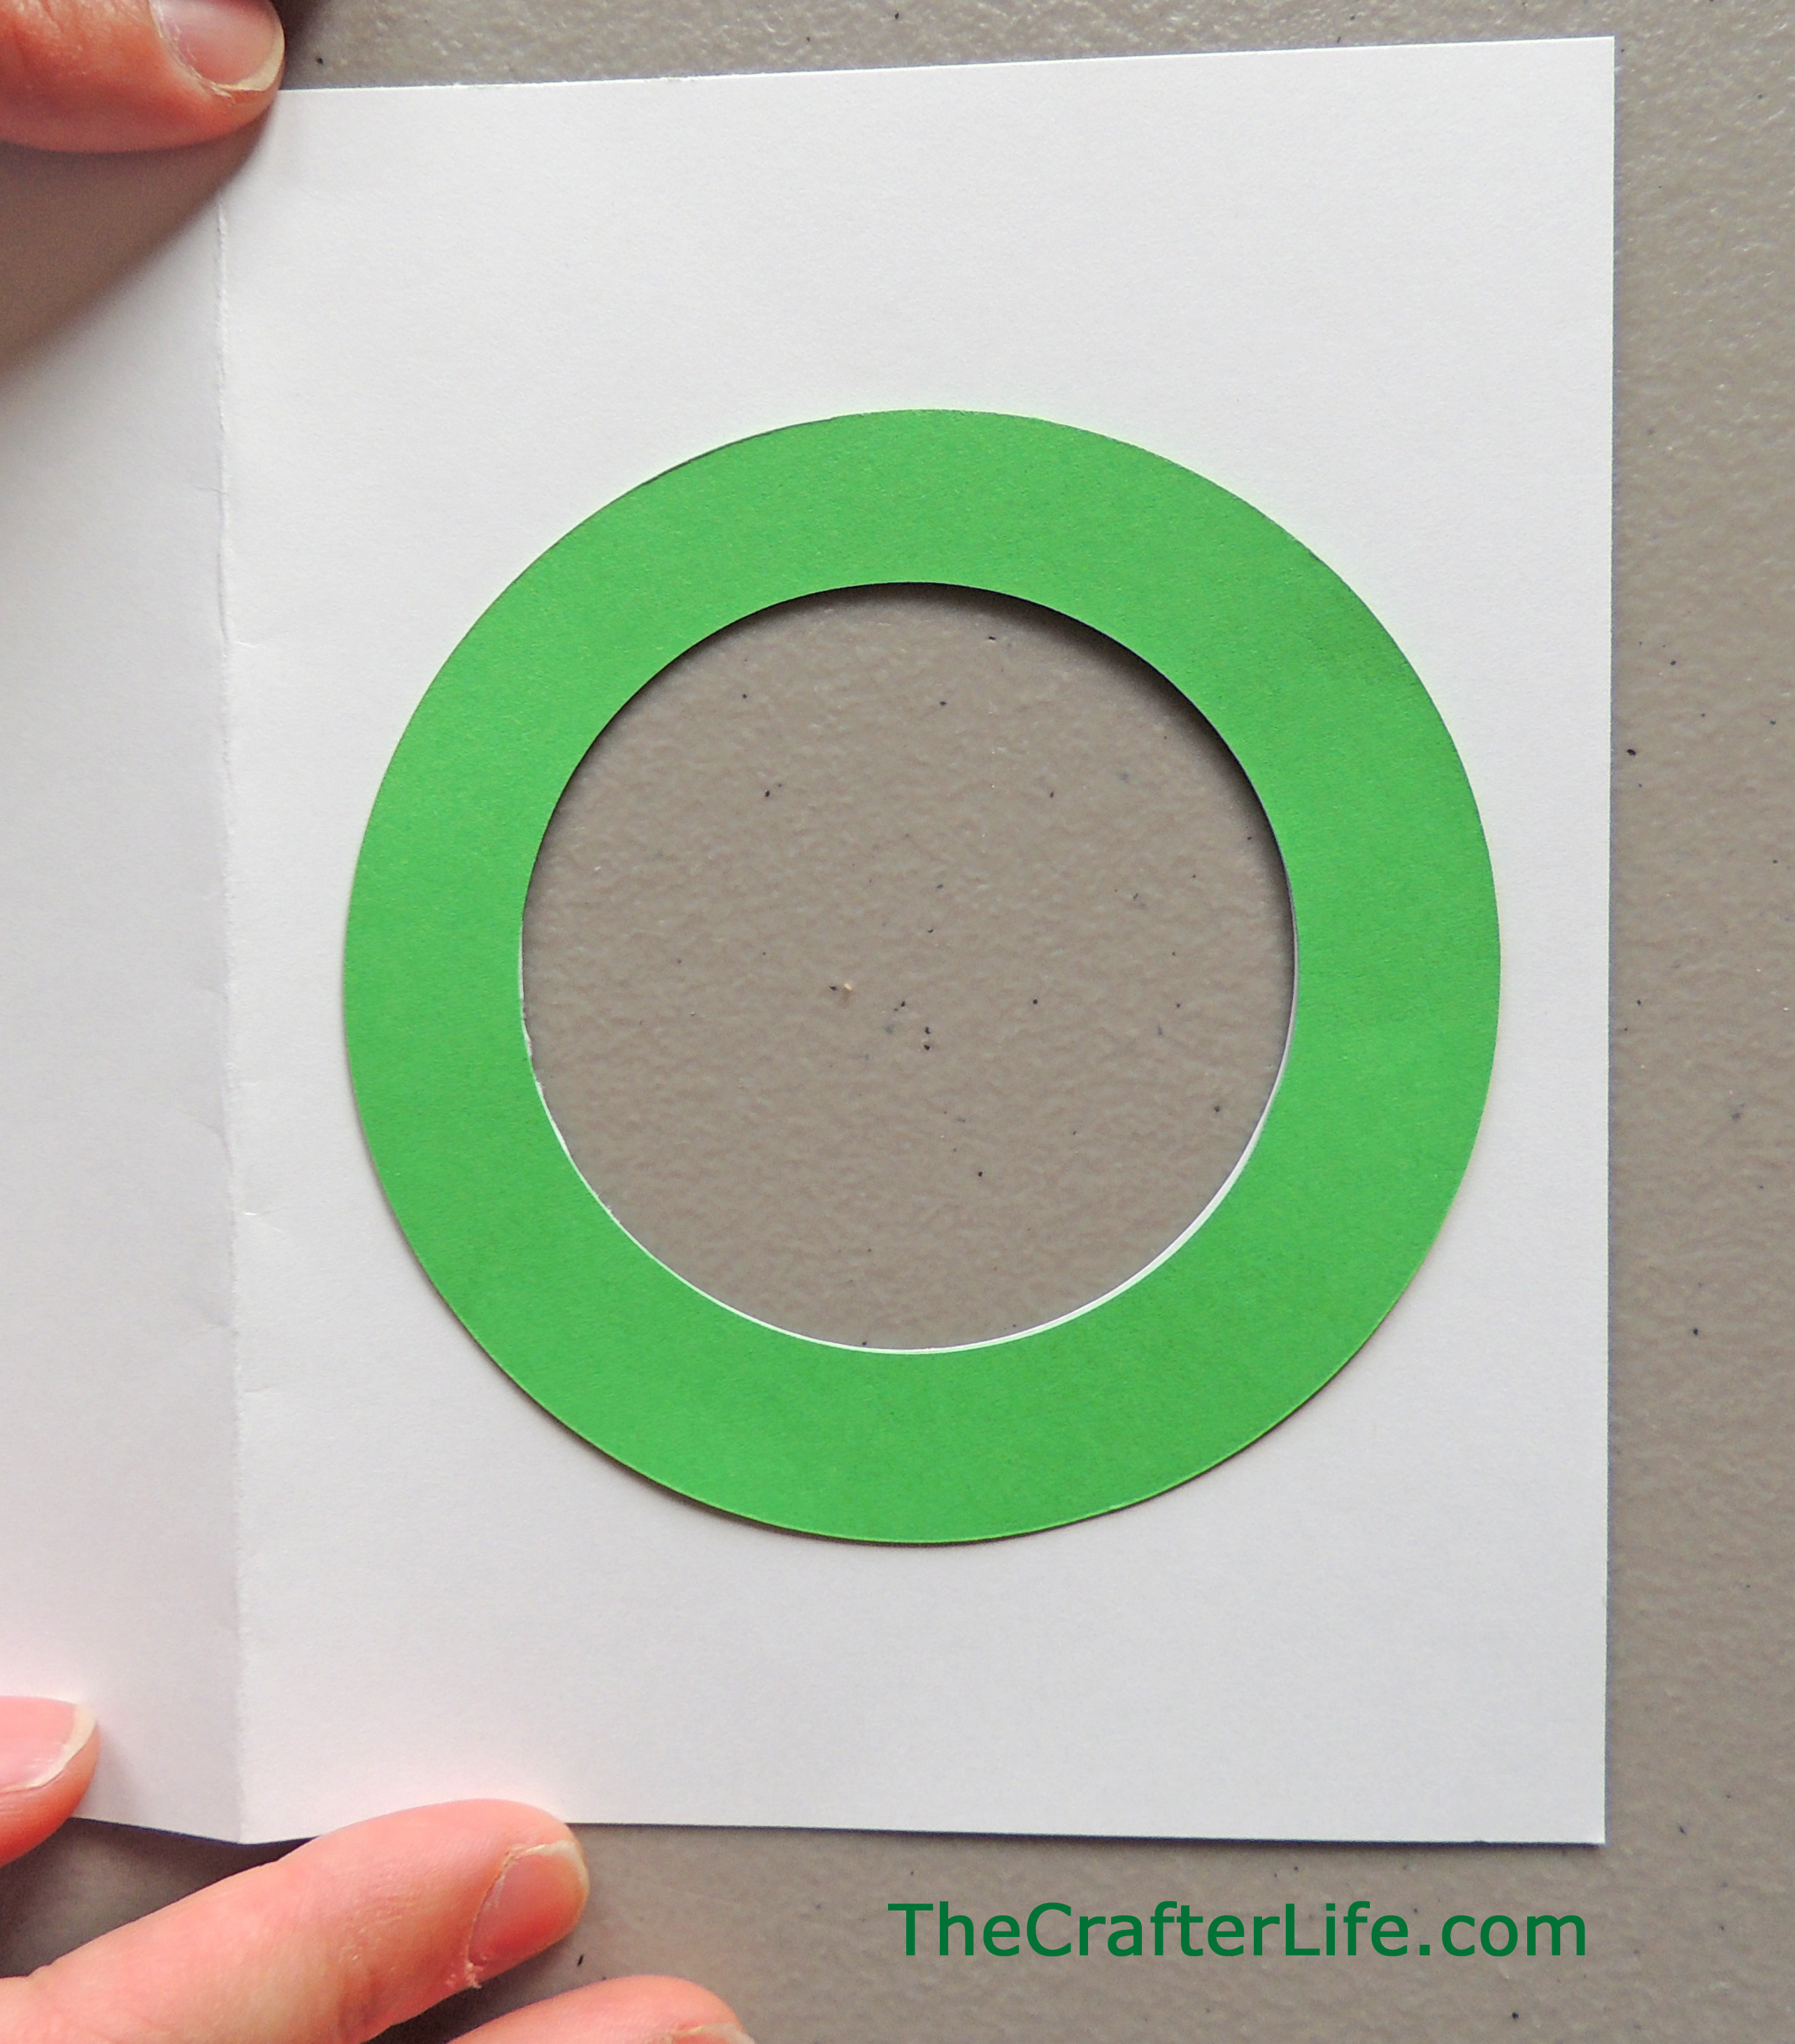
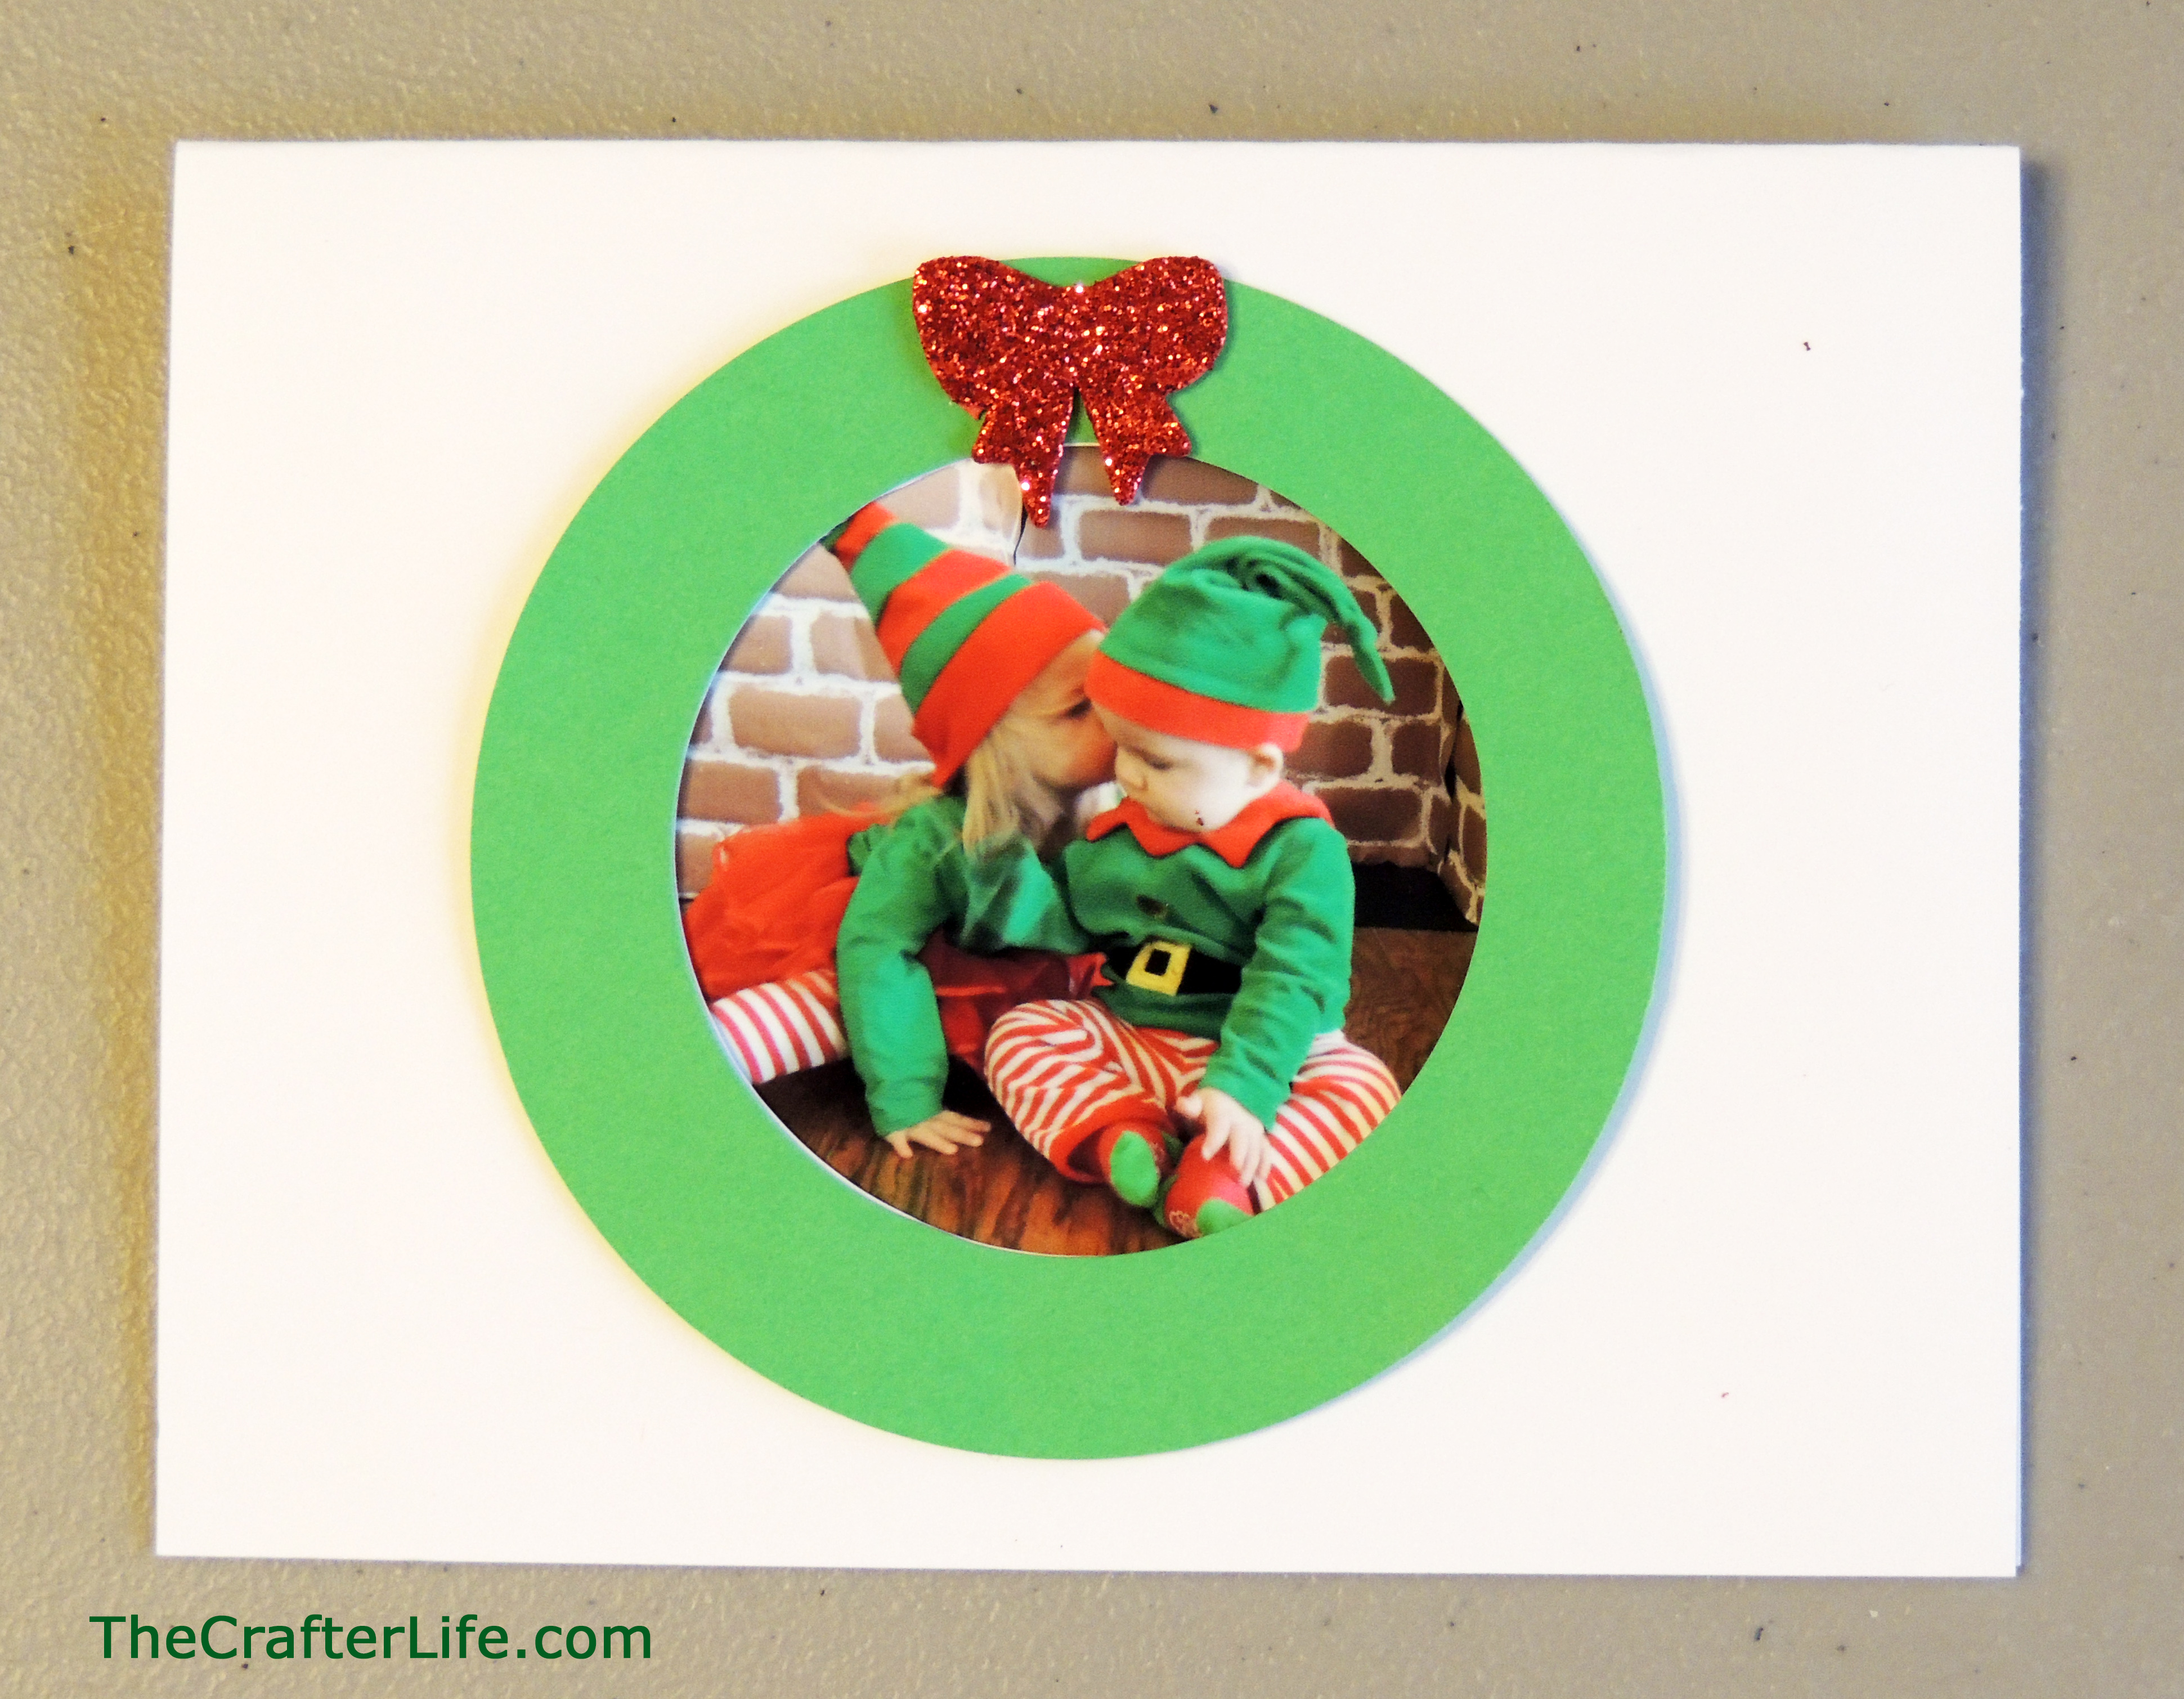
6. To make the circle look like a wrath on the front of the card, cut a circle from green cardstock that is about an inch larger in diameter than the circle you cut from the front of your card. Then cut a circle out of the center of the green circle with the same diameter as the front of the card (2-3/8″ if you made yours the same as mine). Then use glue or double-sided tape to stick the green circle around the circular opening of the card.
7. In order to hold the picture in place on the card, I made a rectangular sleeve into which the picture could slide. Cut the sleeve large enough for double-sided tape or glue to go around the picture on three sides as shown in the picture below. After placing the tape or glue on three edges of the sleeve, open the card and place the sleeve over top the circle.
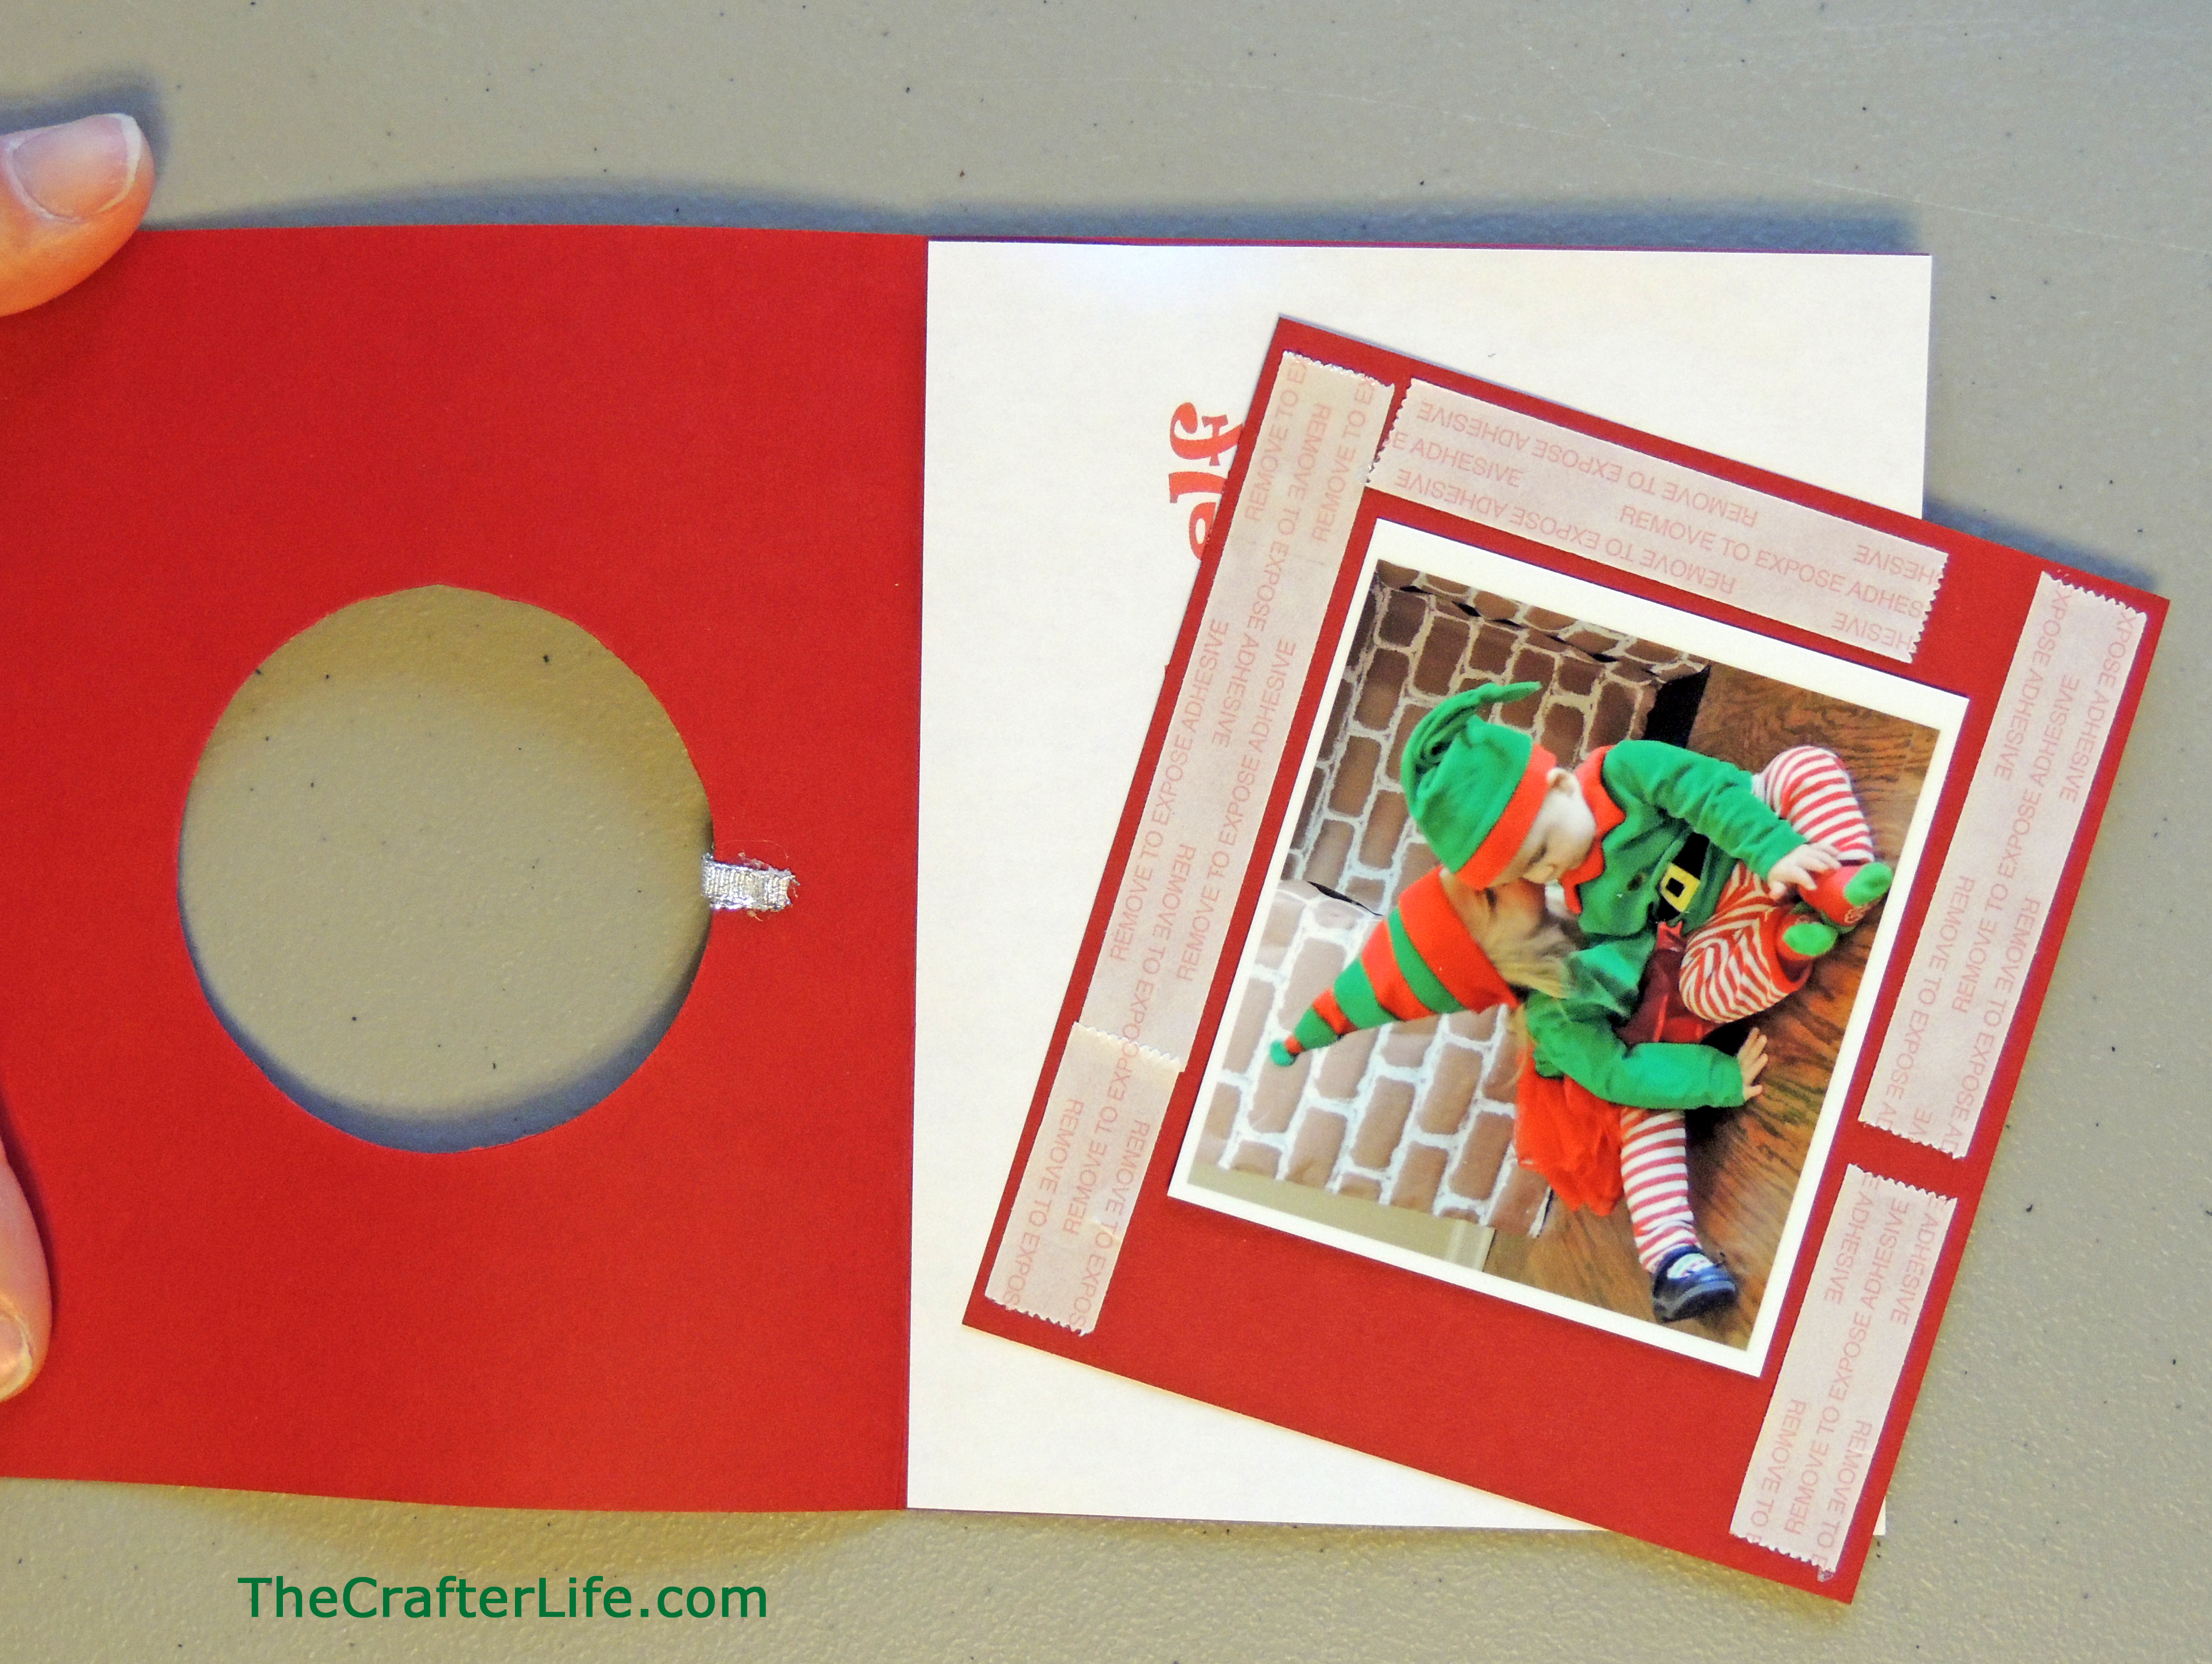
8. Slide your picture into the sleeve through the side you left open.
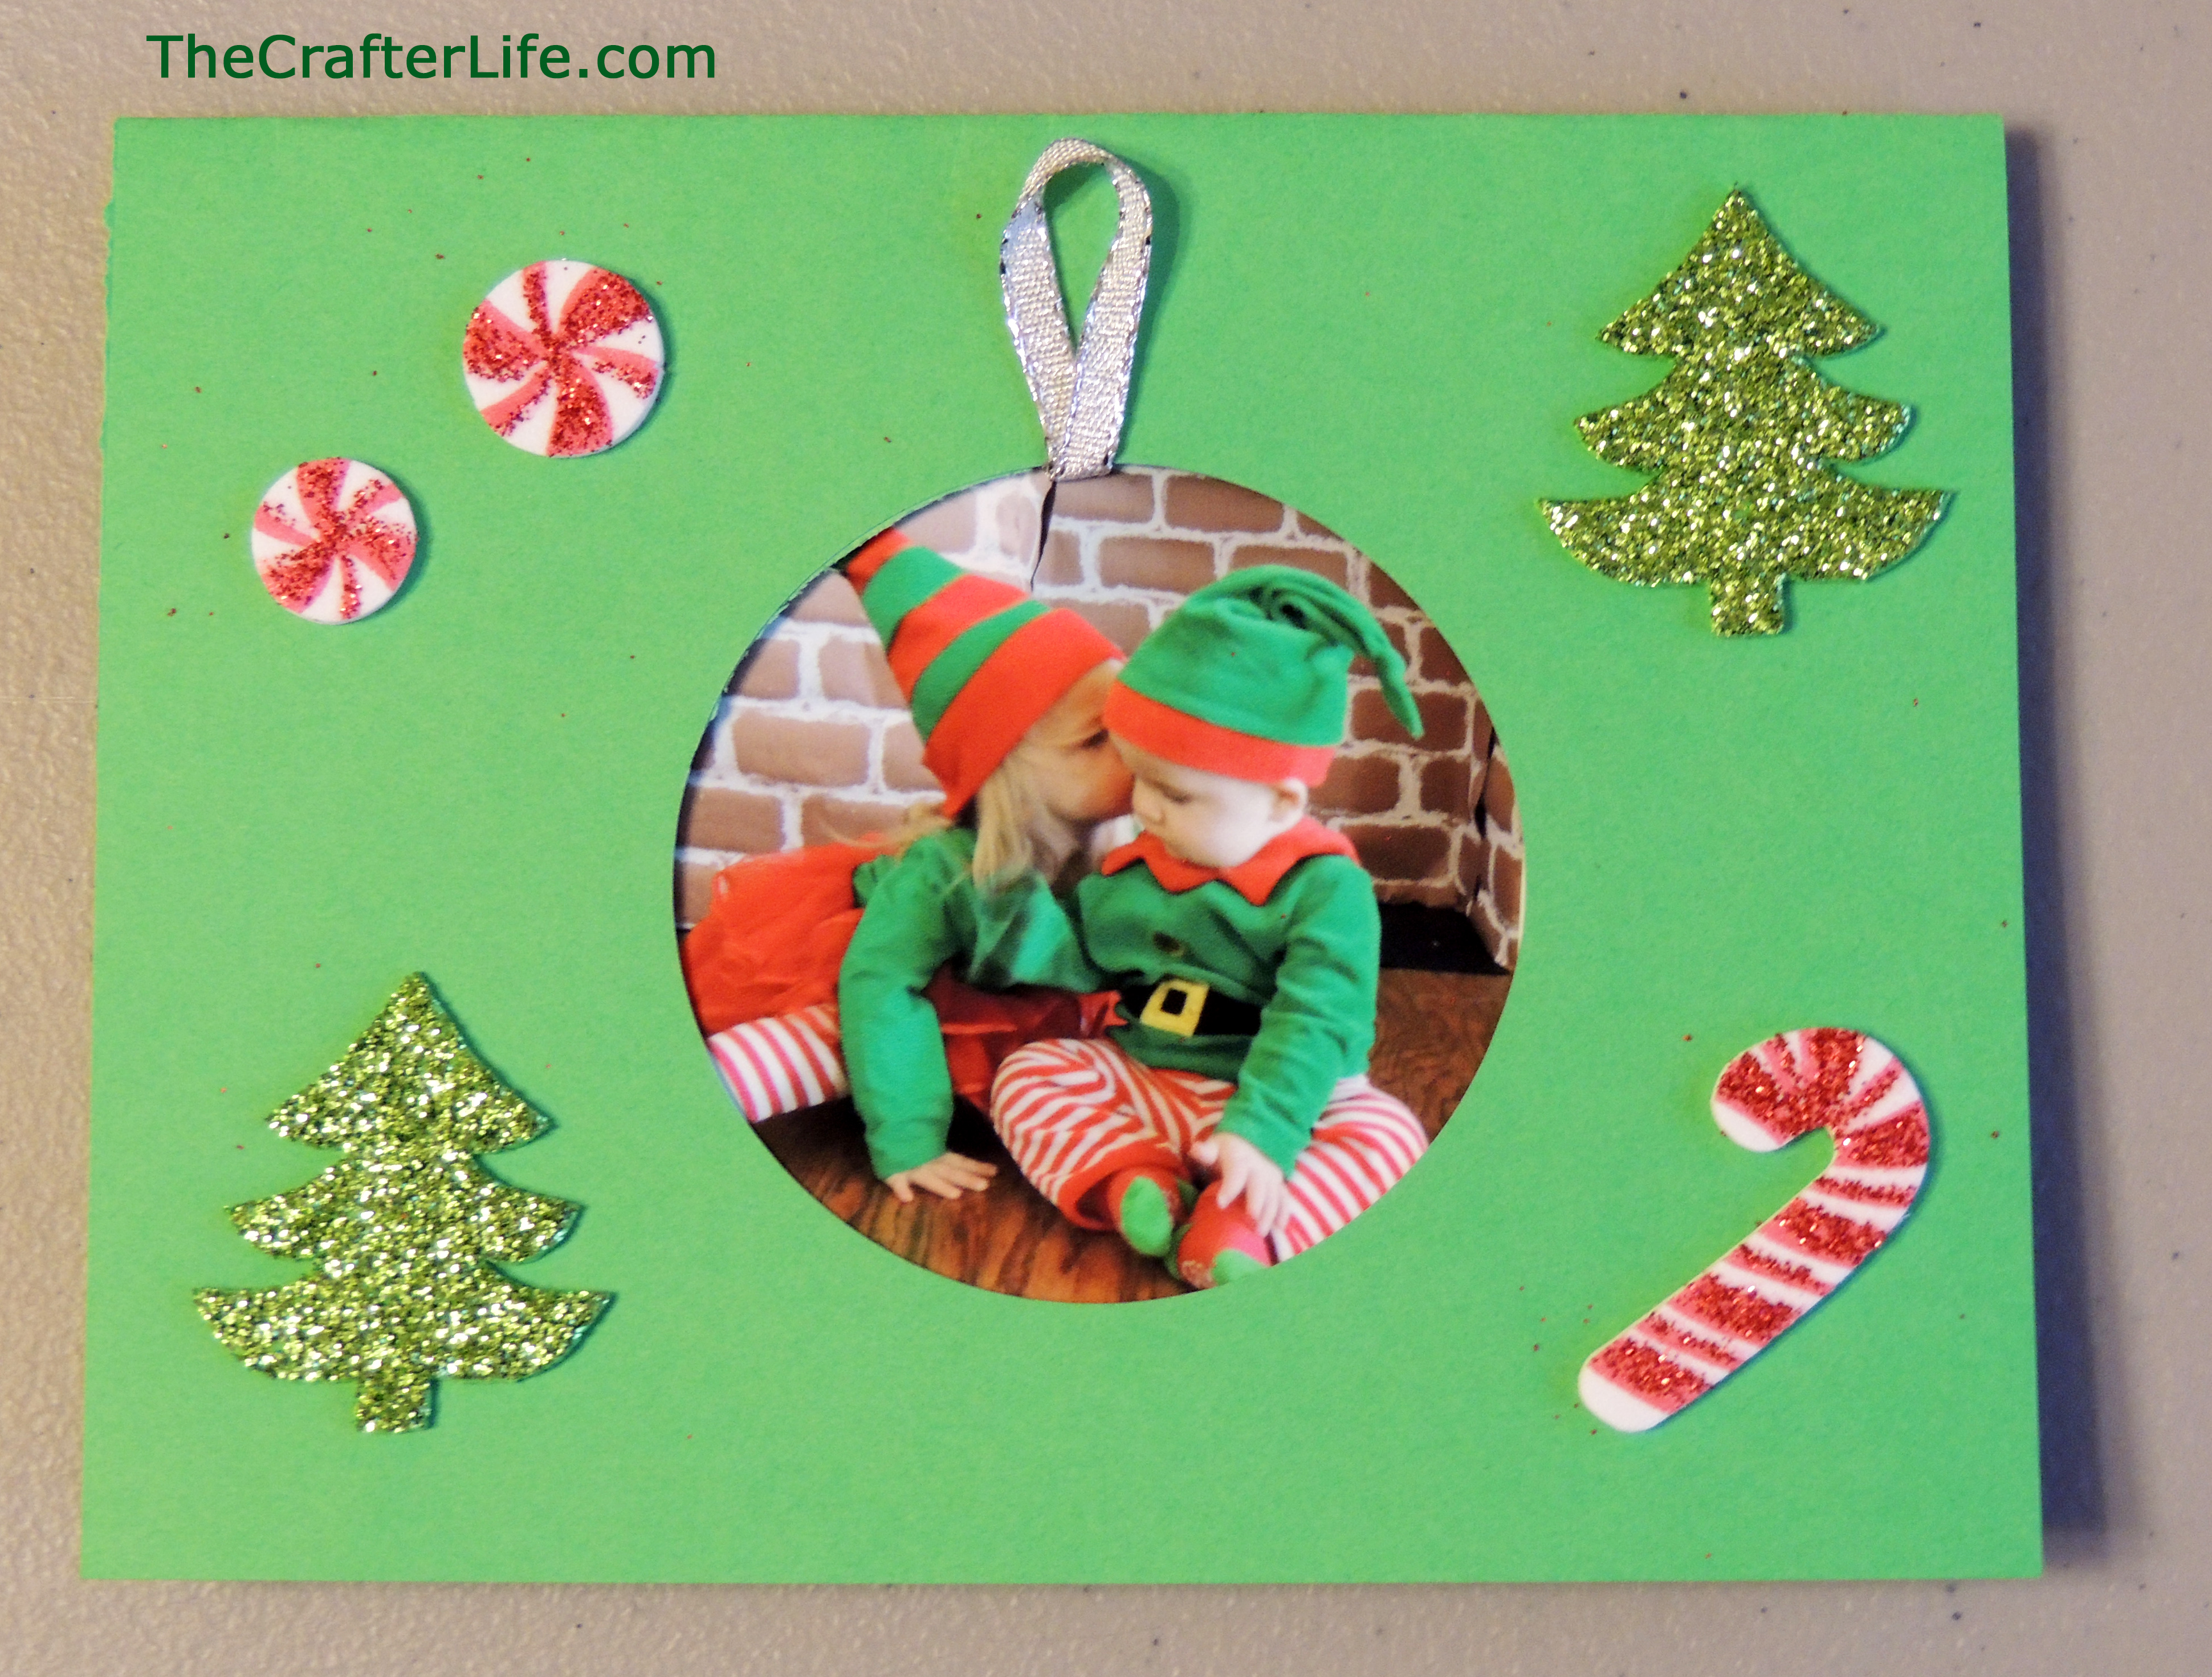
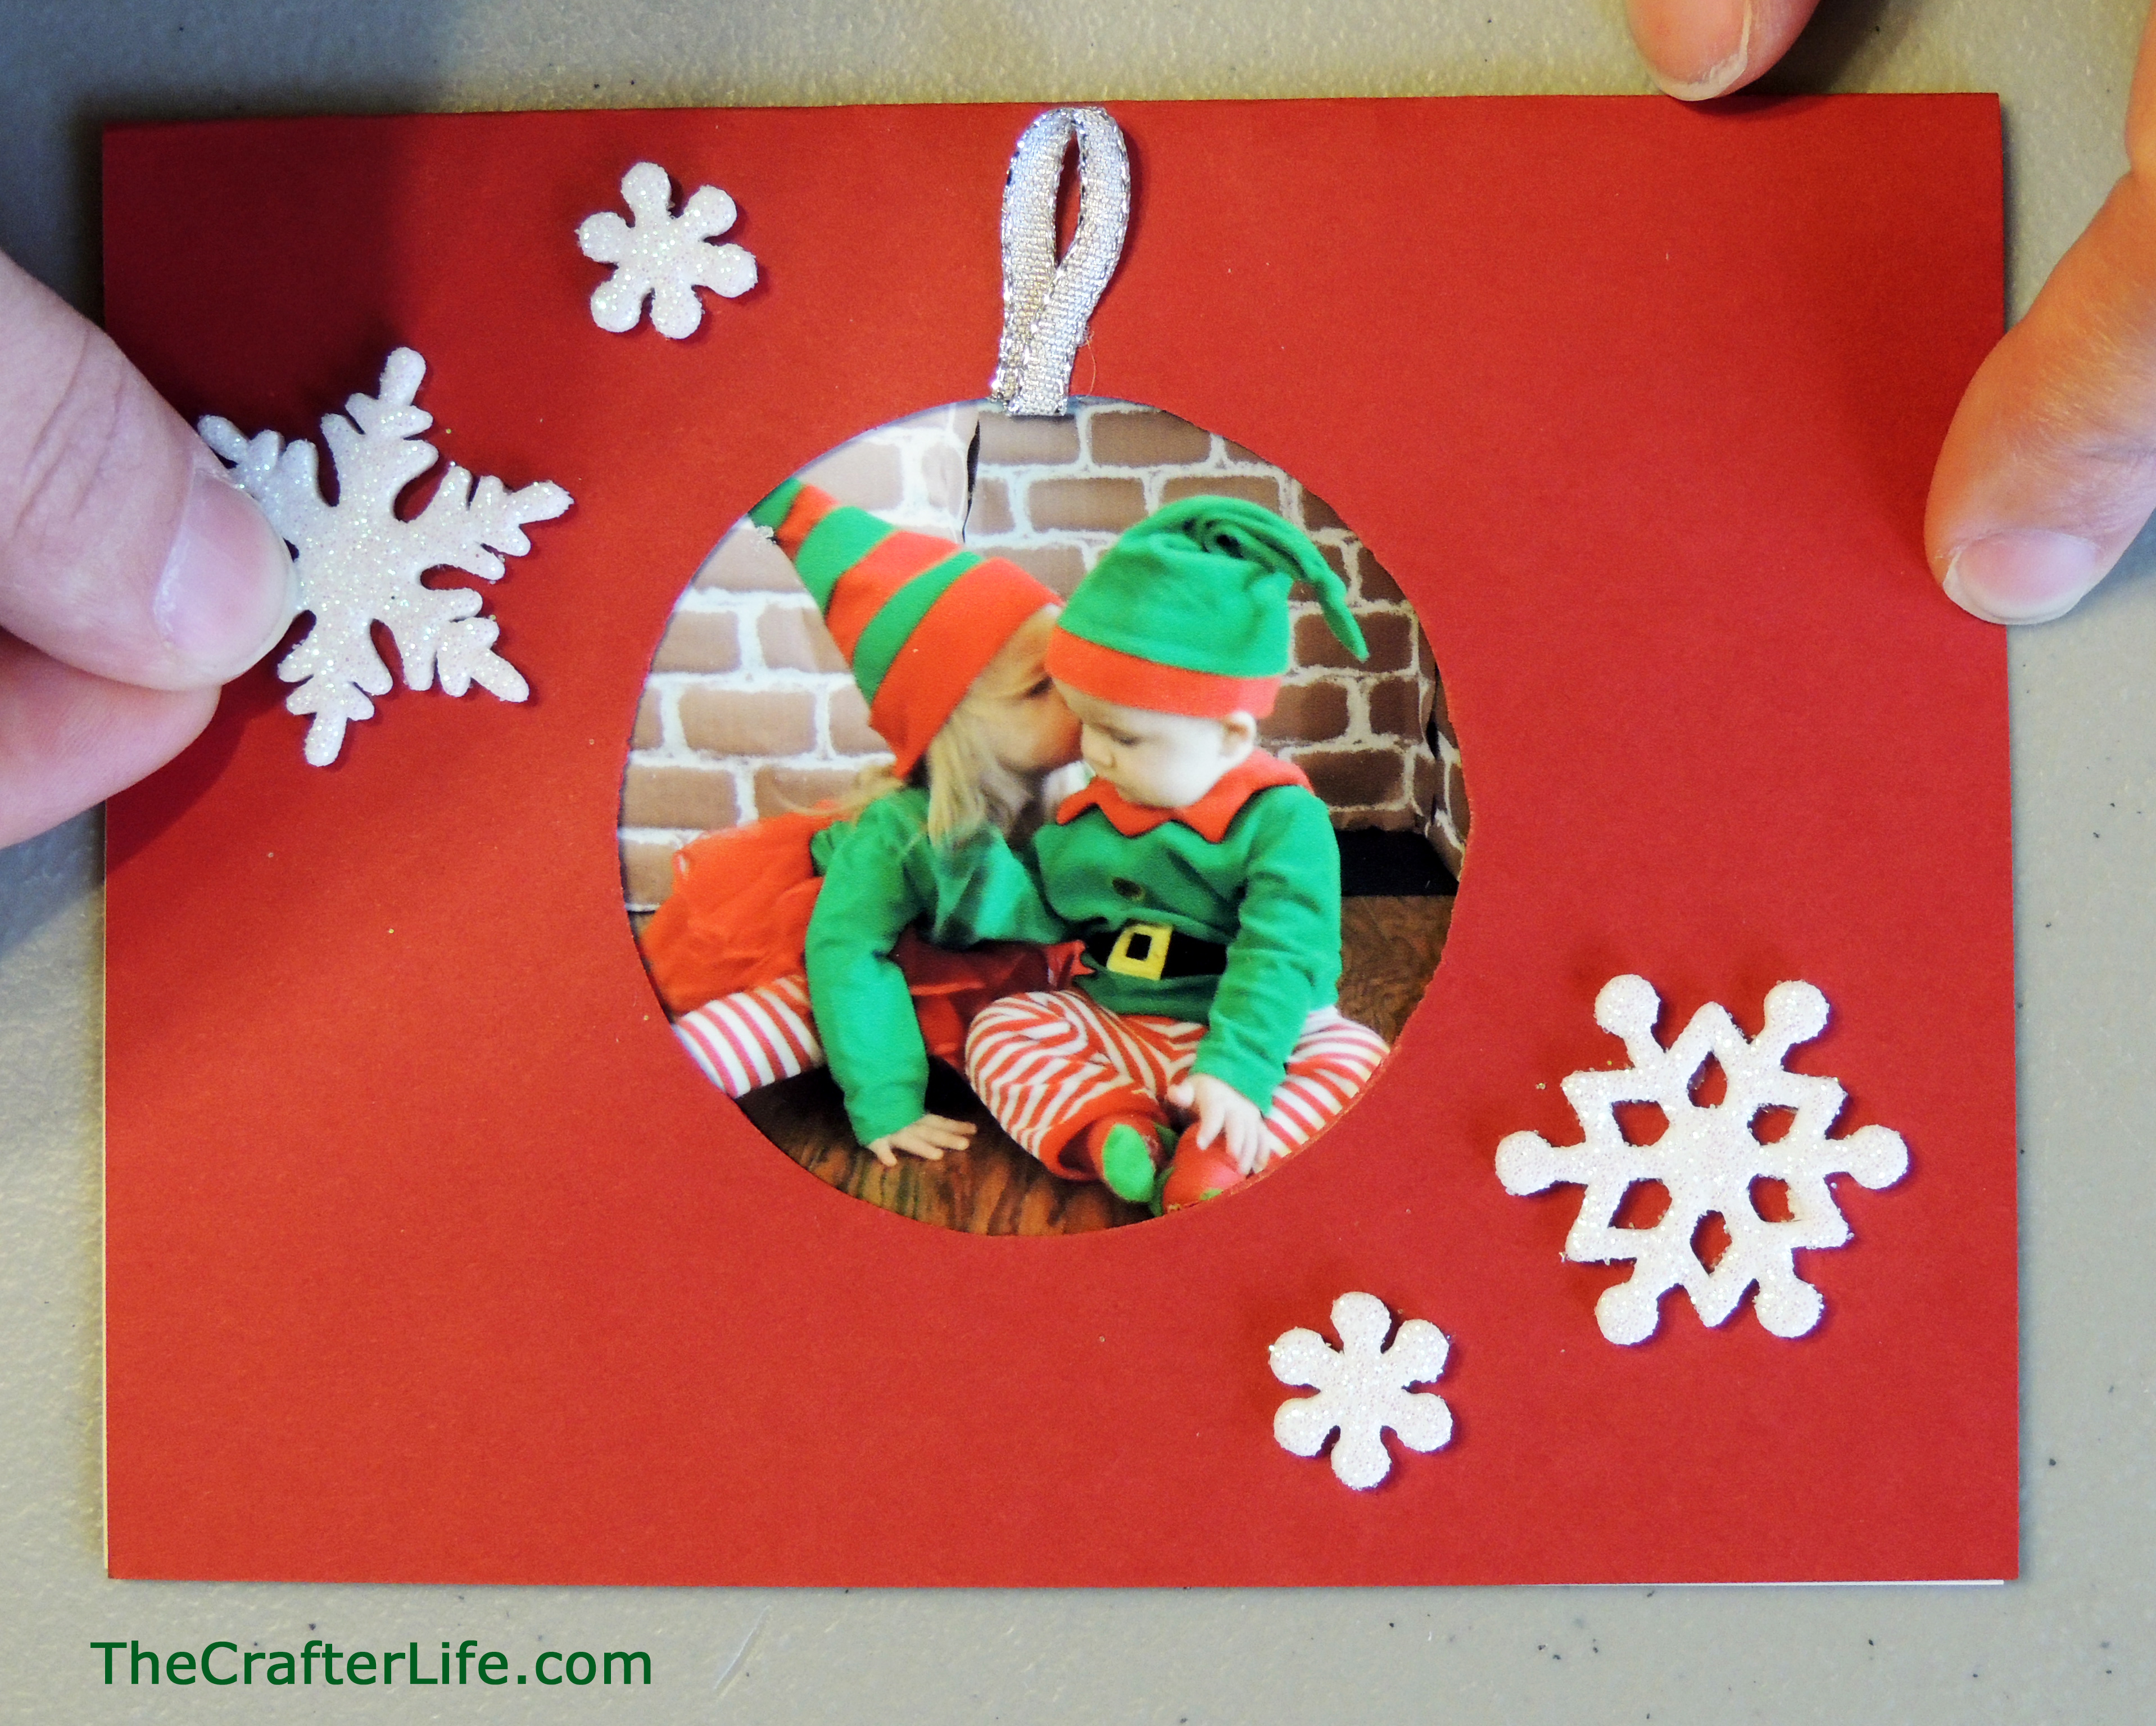
9. Now all that is left is to decorate your card! I used various Christmas stickers to embellish the front of the cards. In order to make the red berries on the card with the wreath on the front, I used a regular hole punch to punch circles from red cardstock and glued them on the wreath.

10. Sign your cards and send them to your loved ones!
Feel free to post comments here or put a picture of your hat on my Facebook page!
**If you like what you see, feel free to pin, share, and link back to my site. Thank you for visiting!