
Felt Elf Hat
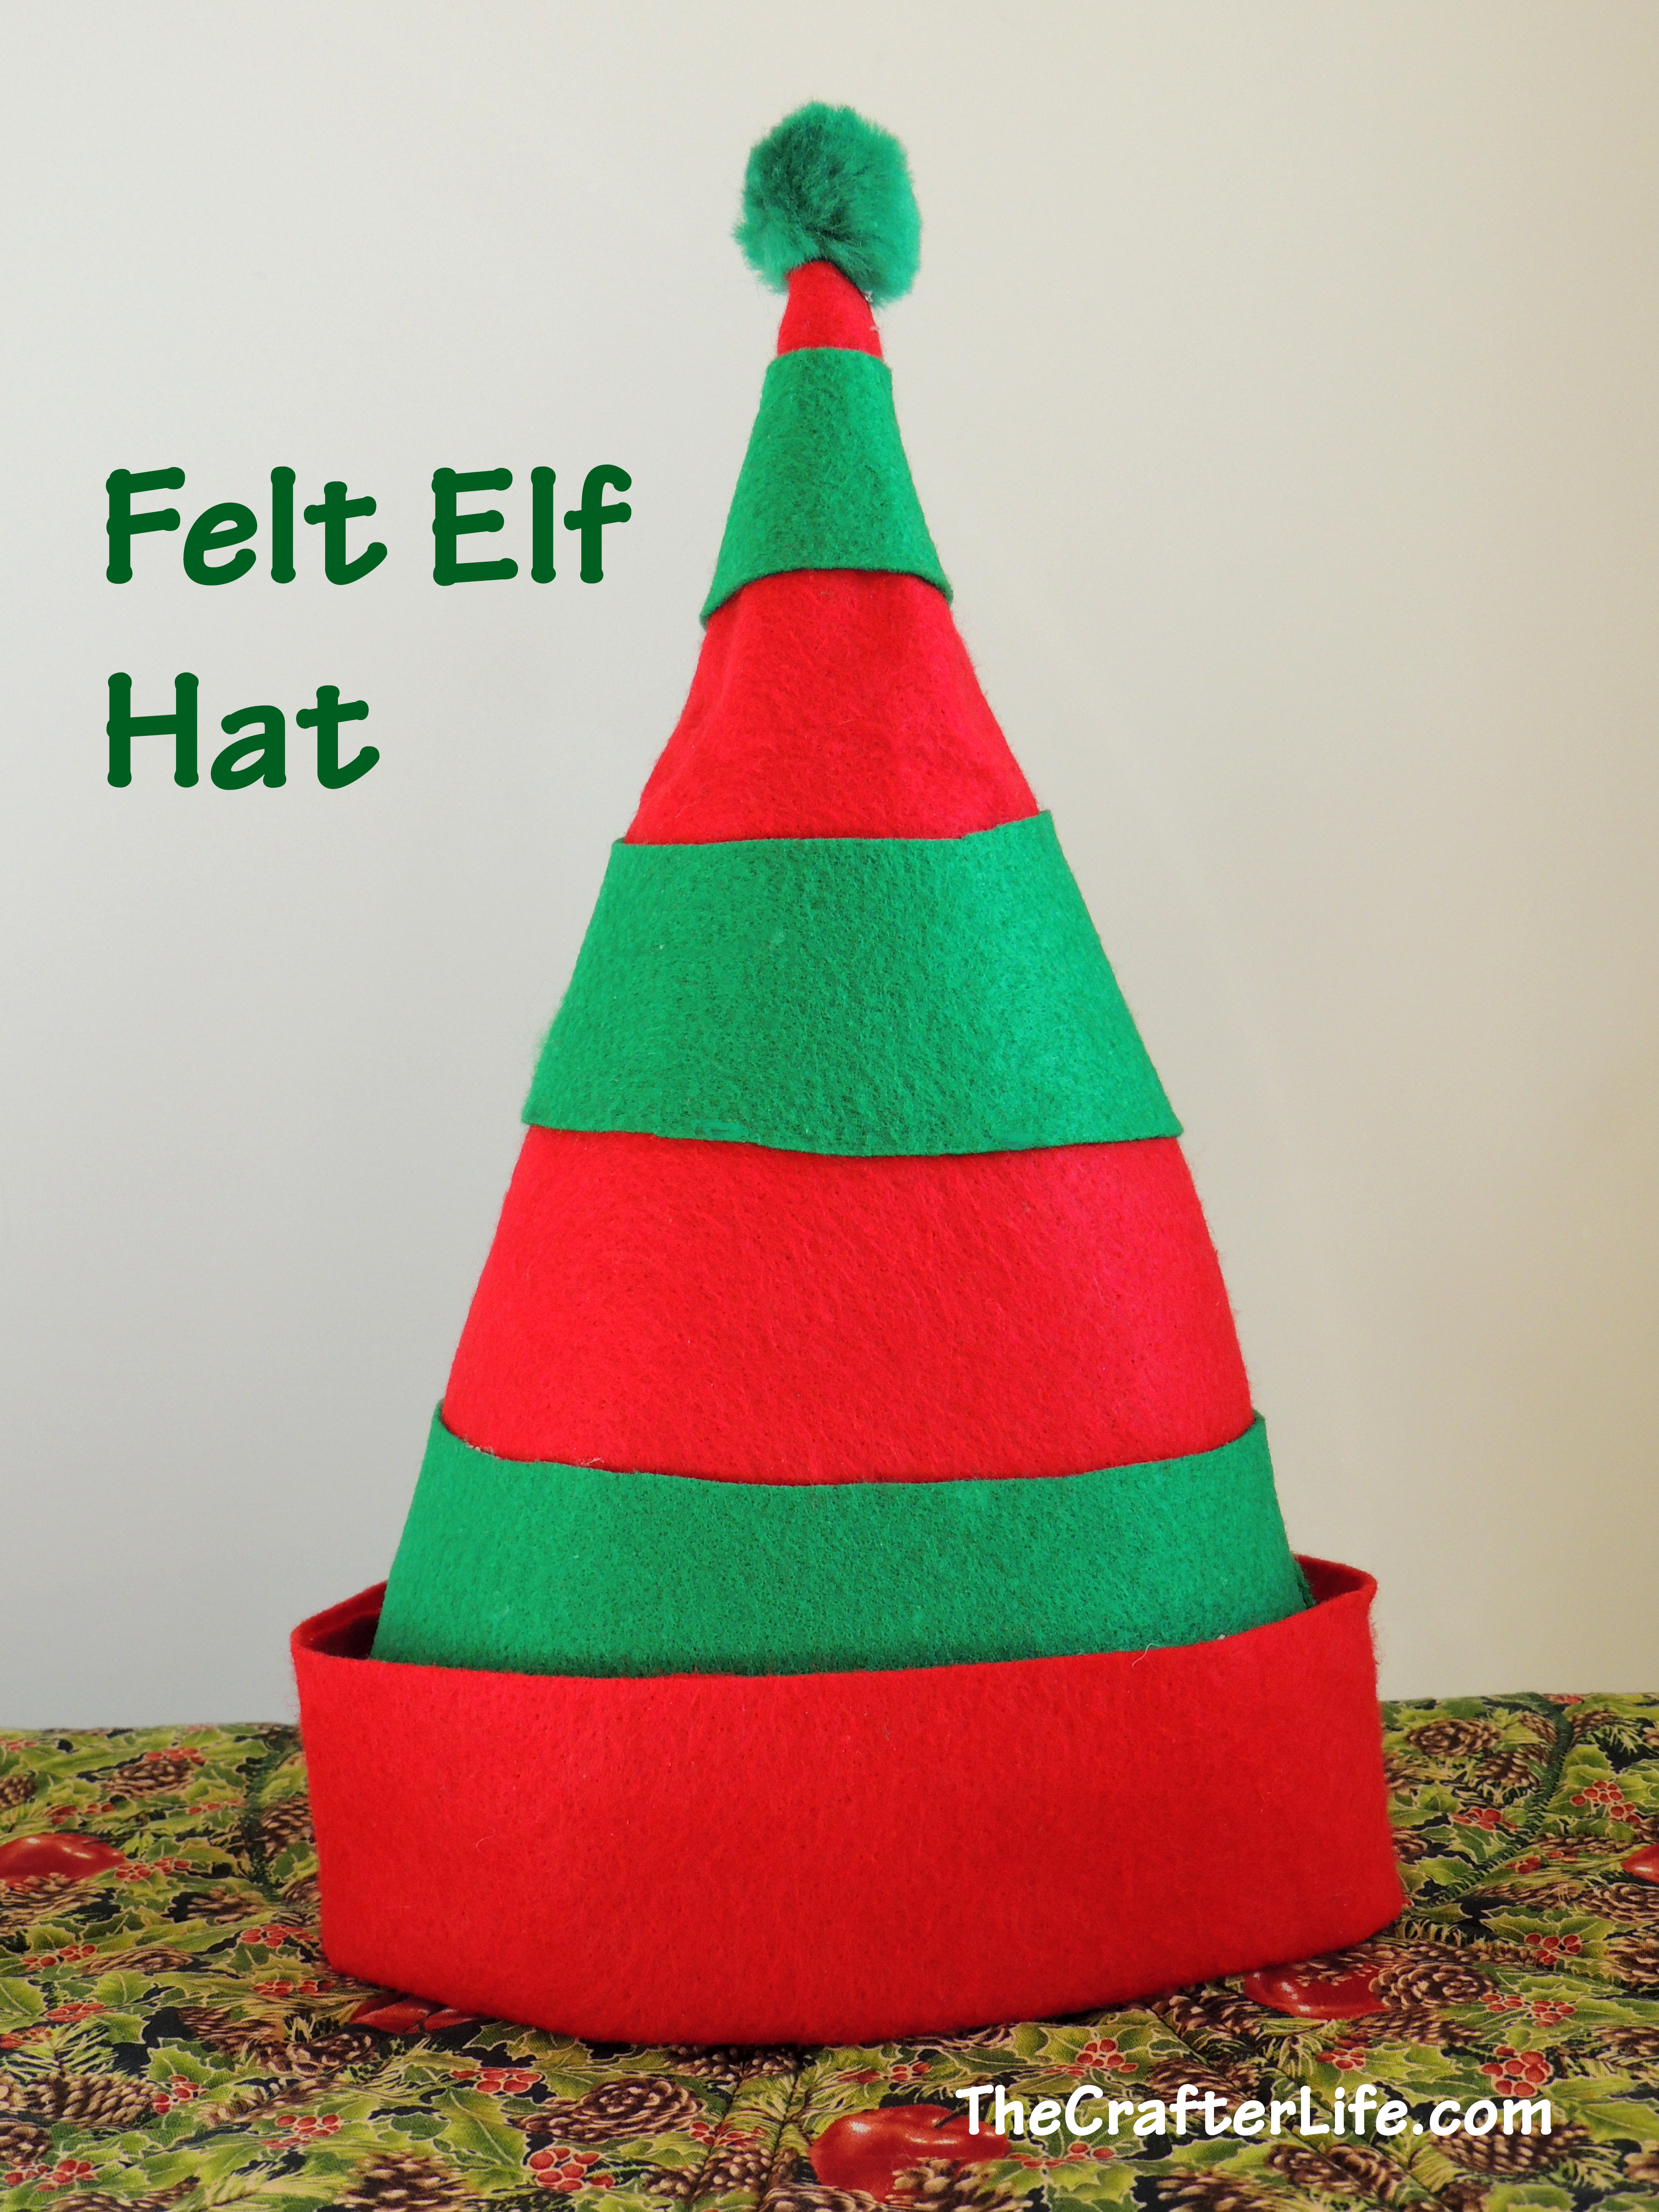
I made a felt elf hat using leftover felt I had on hand to go along with my daughter’s elf outfit that we had her wear for our Christmas cards.
Materials
– Red and green felt (preferably extra large pieces)
-Measuring tape/ruler and string
– Pencil
– Scissors
– Hot glue
Directions
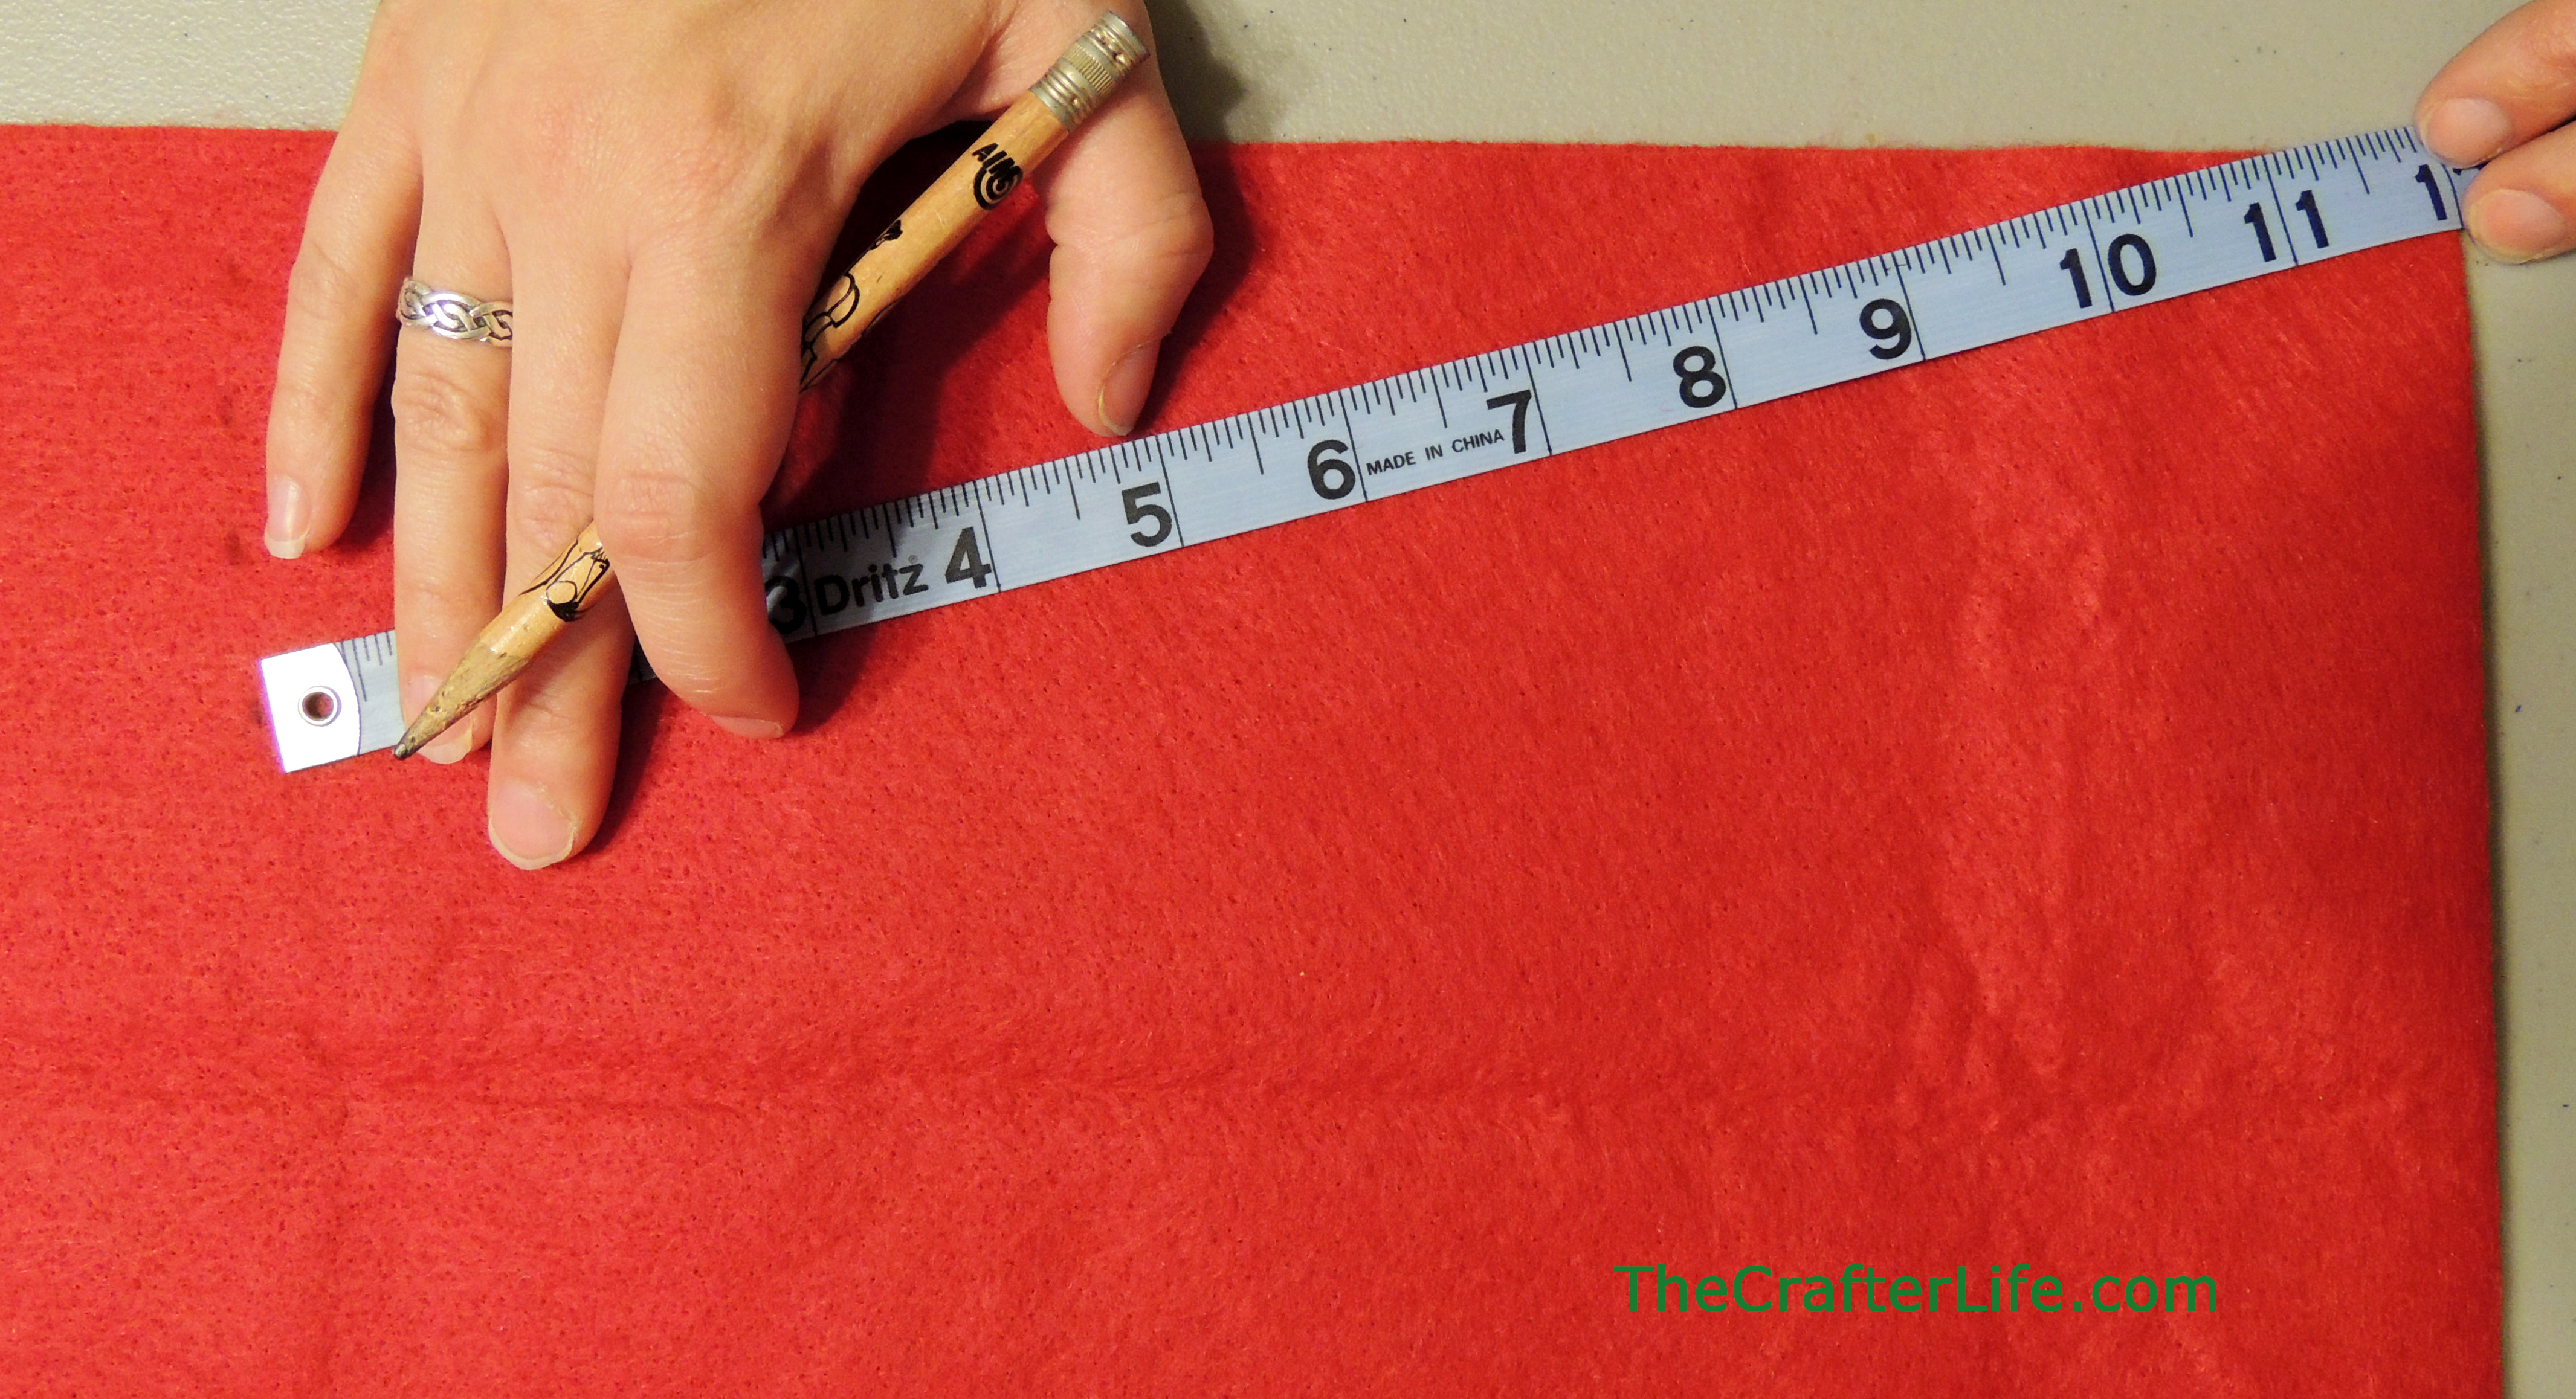
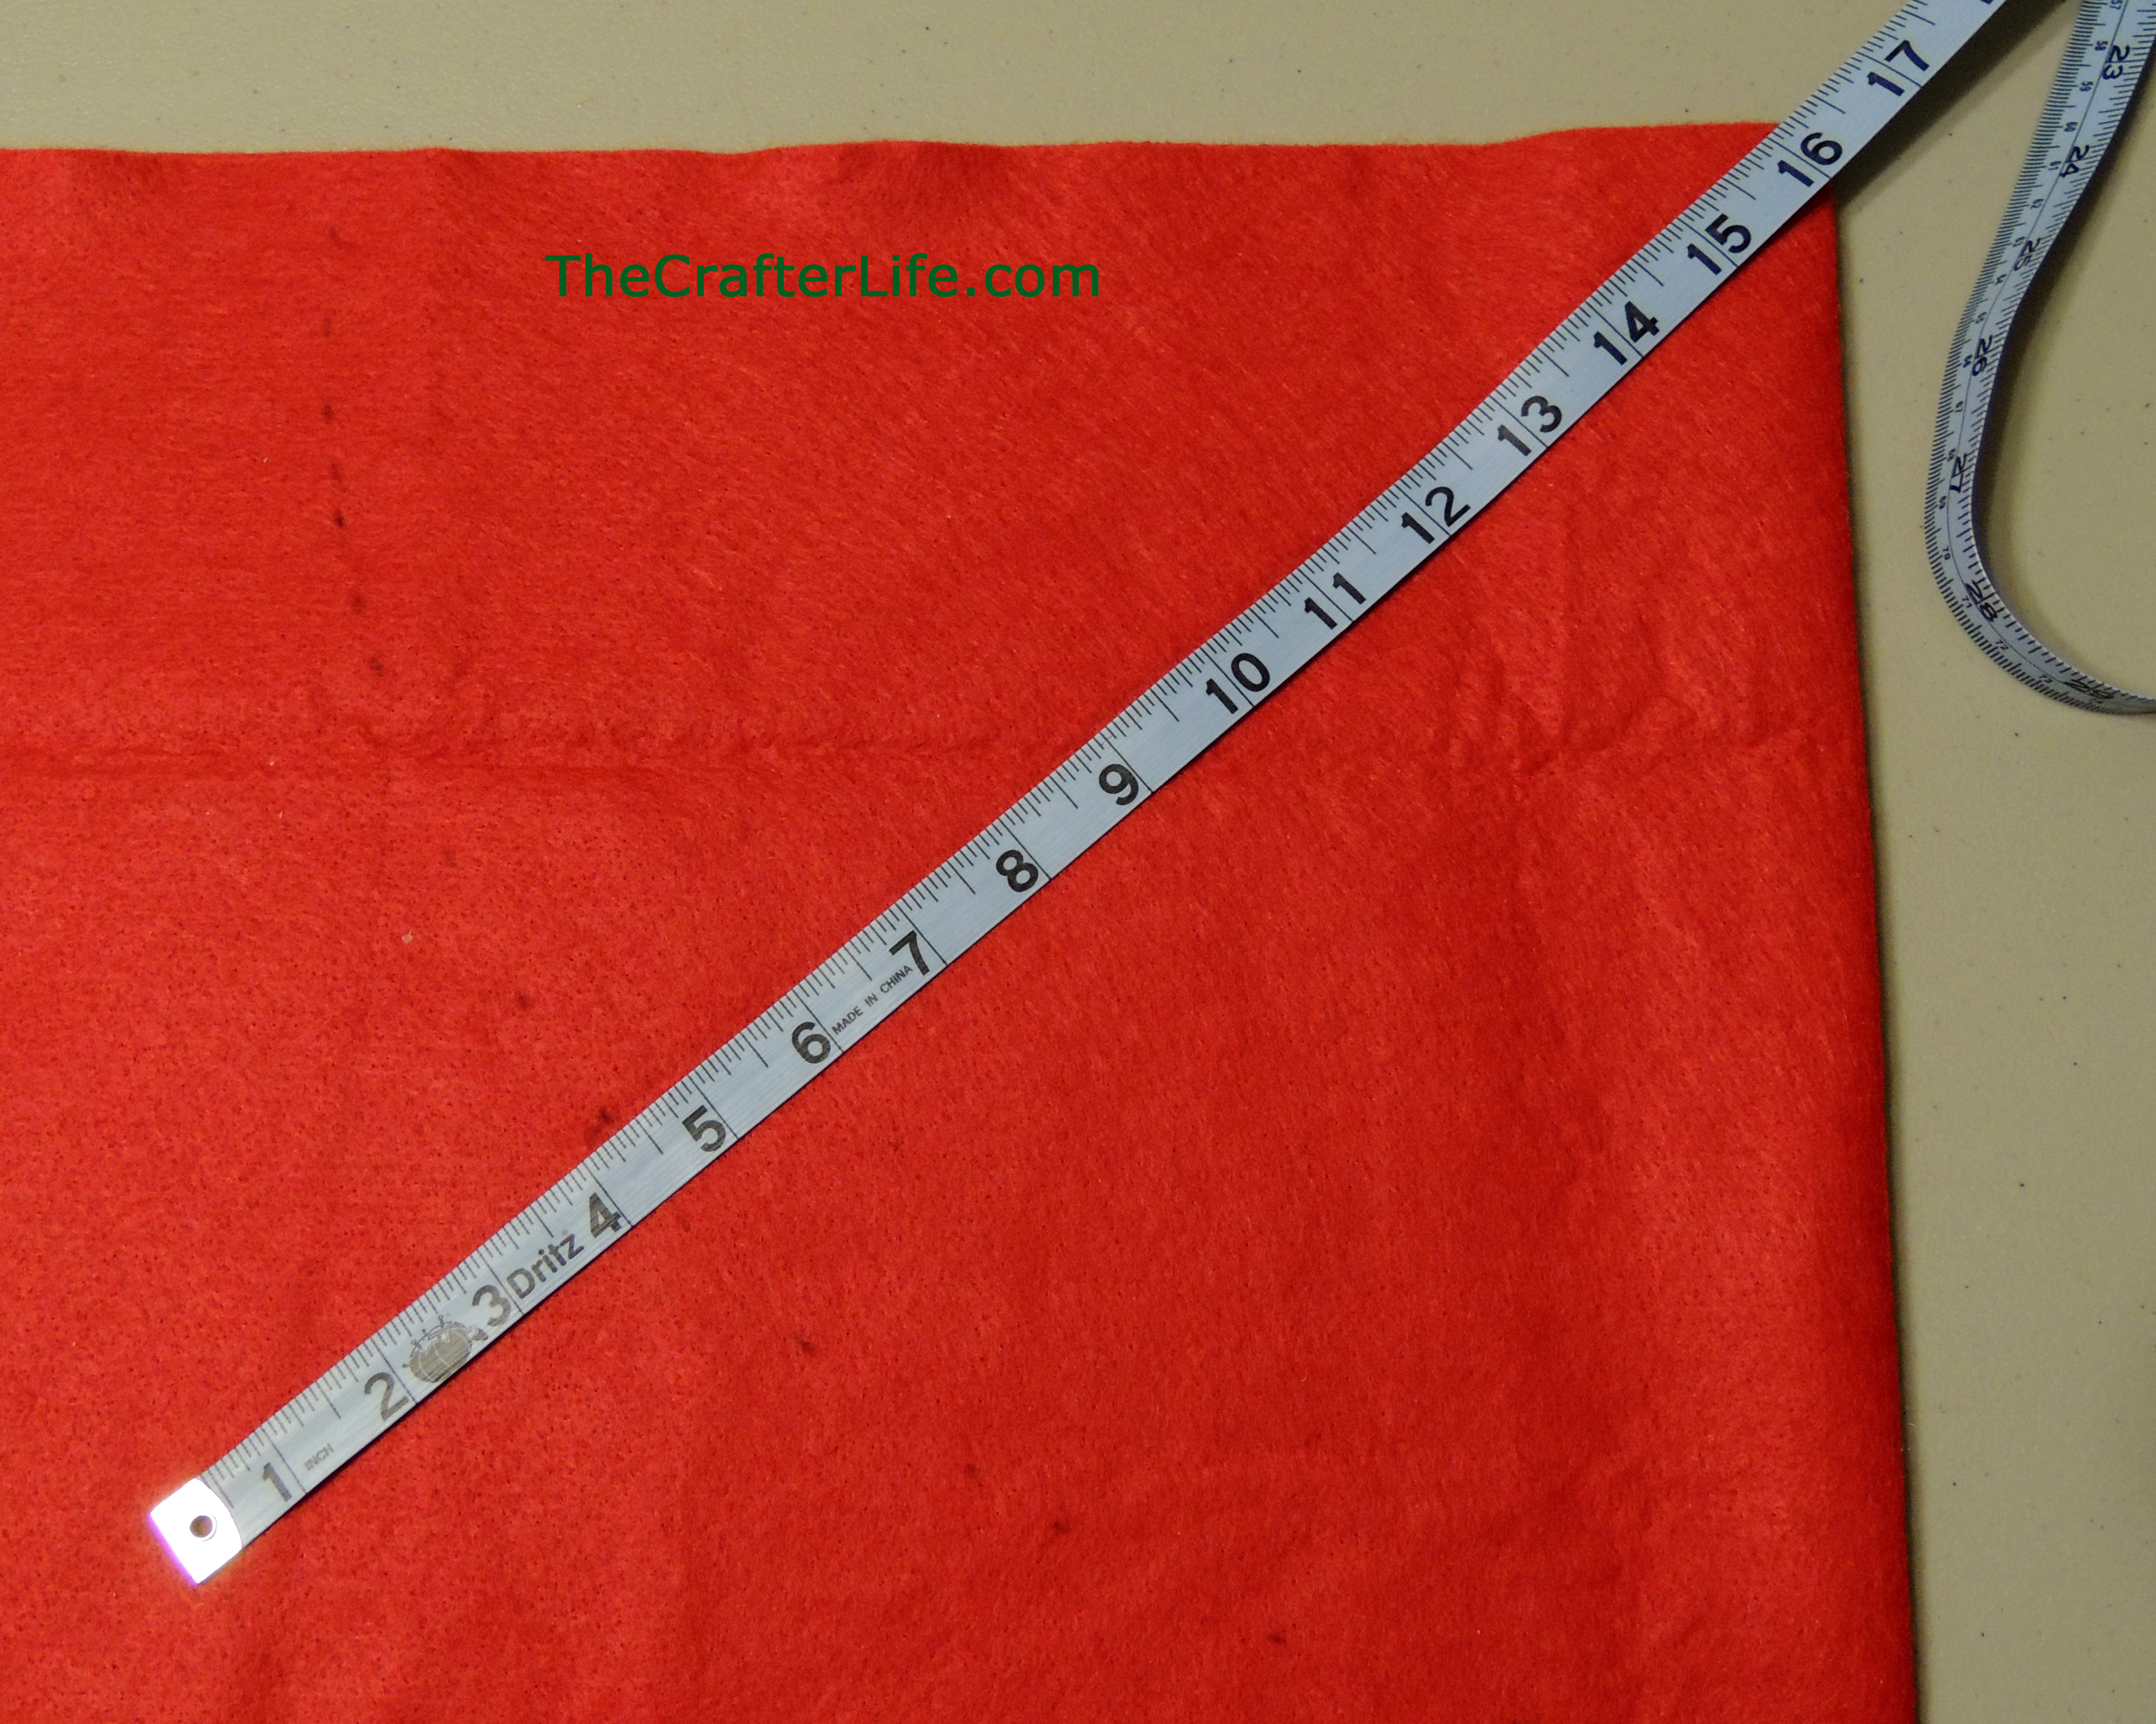
1. Take an extra large piece of red felt and fold it in half. Determine how tall you would like your hat to be and cut a piece of string to that length (if you have a measuring tape, you could use that instead of cutting a piece of string). Mark a point along the top side and folded side measuring the number of inches you determined for your hat height (12 inches in my case) away from the top corner of felt on the folded side. Use your string or measuring tape to connect the two points with an arc (similar to a compass, using the top corner of the folded side as the center of your circle). Make sure to mark points along the arc.

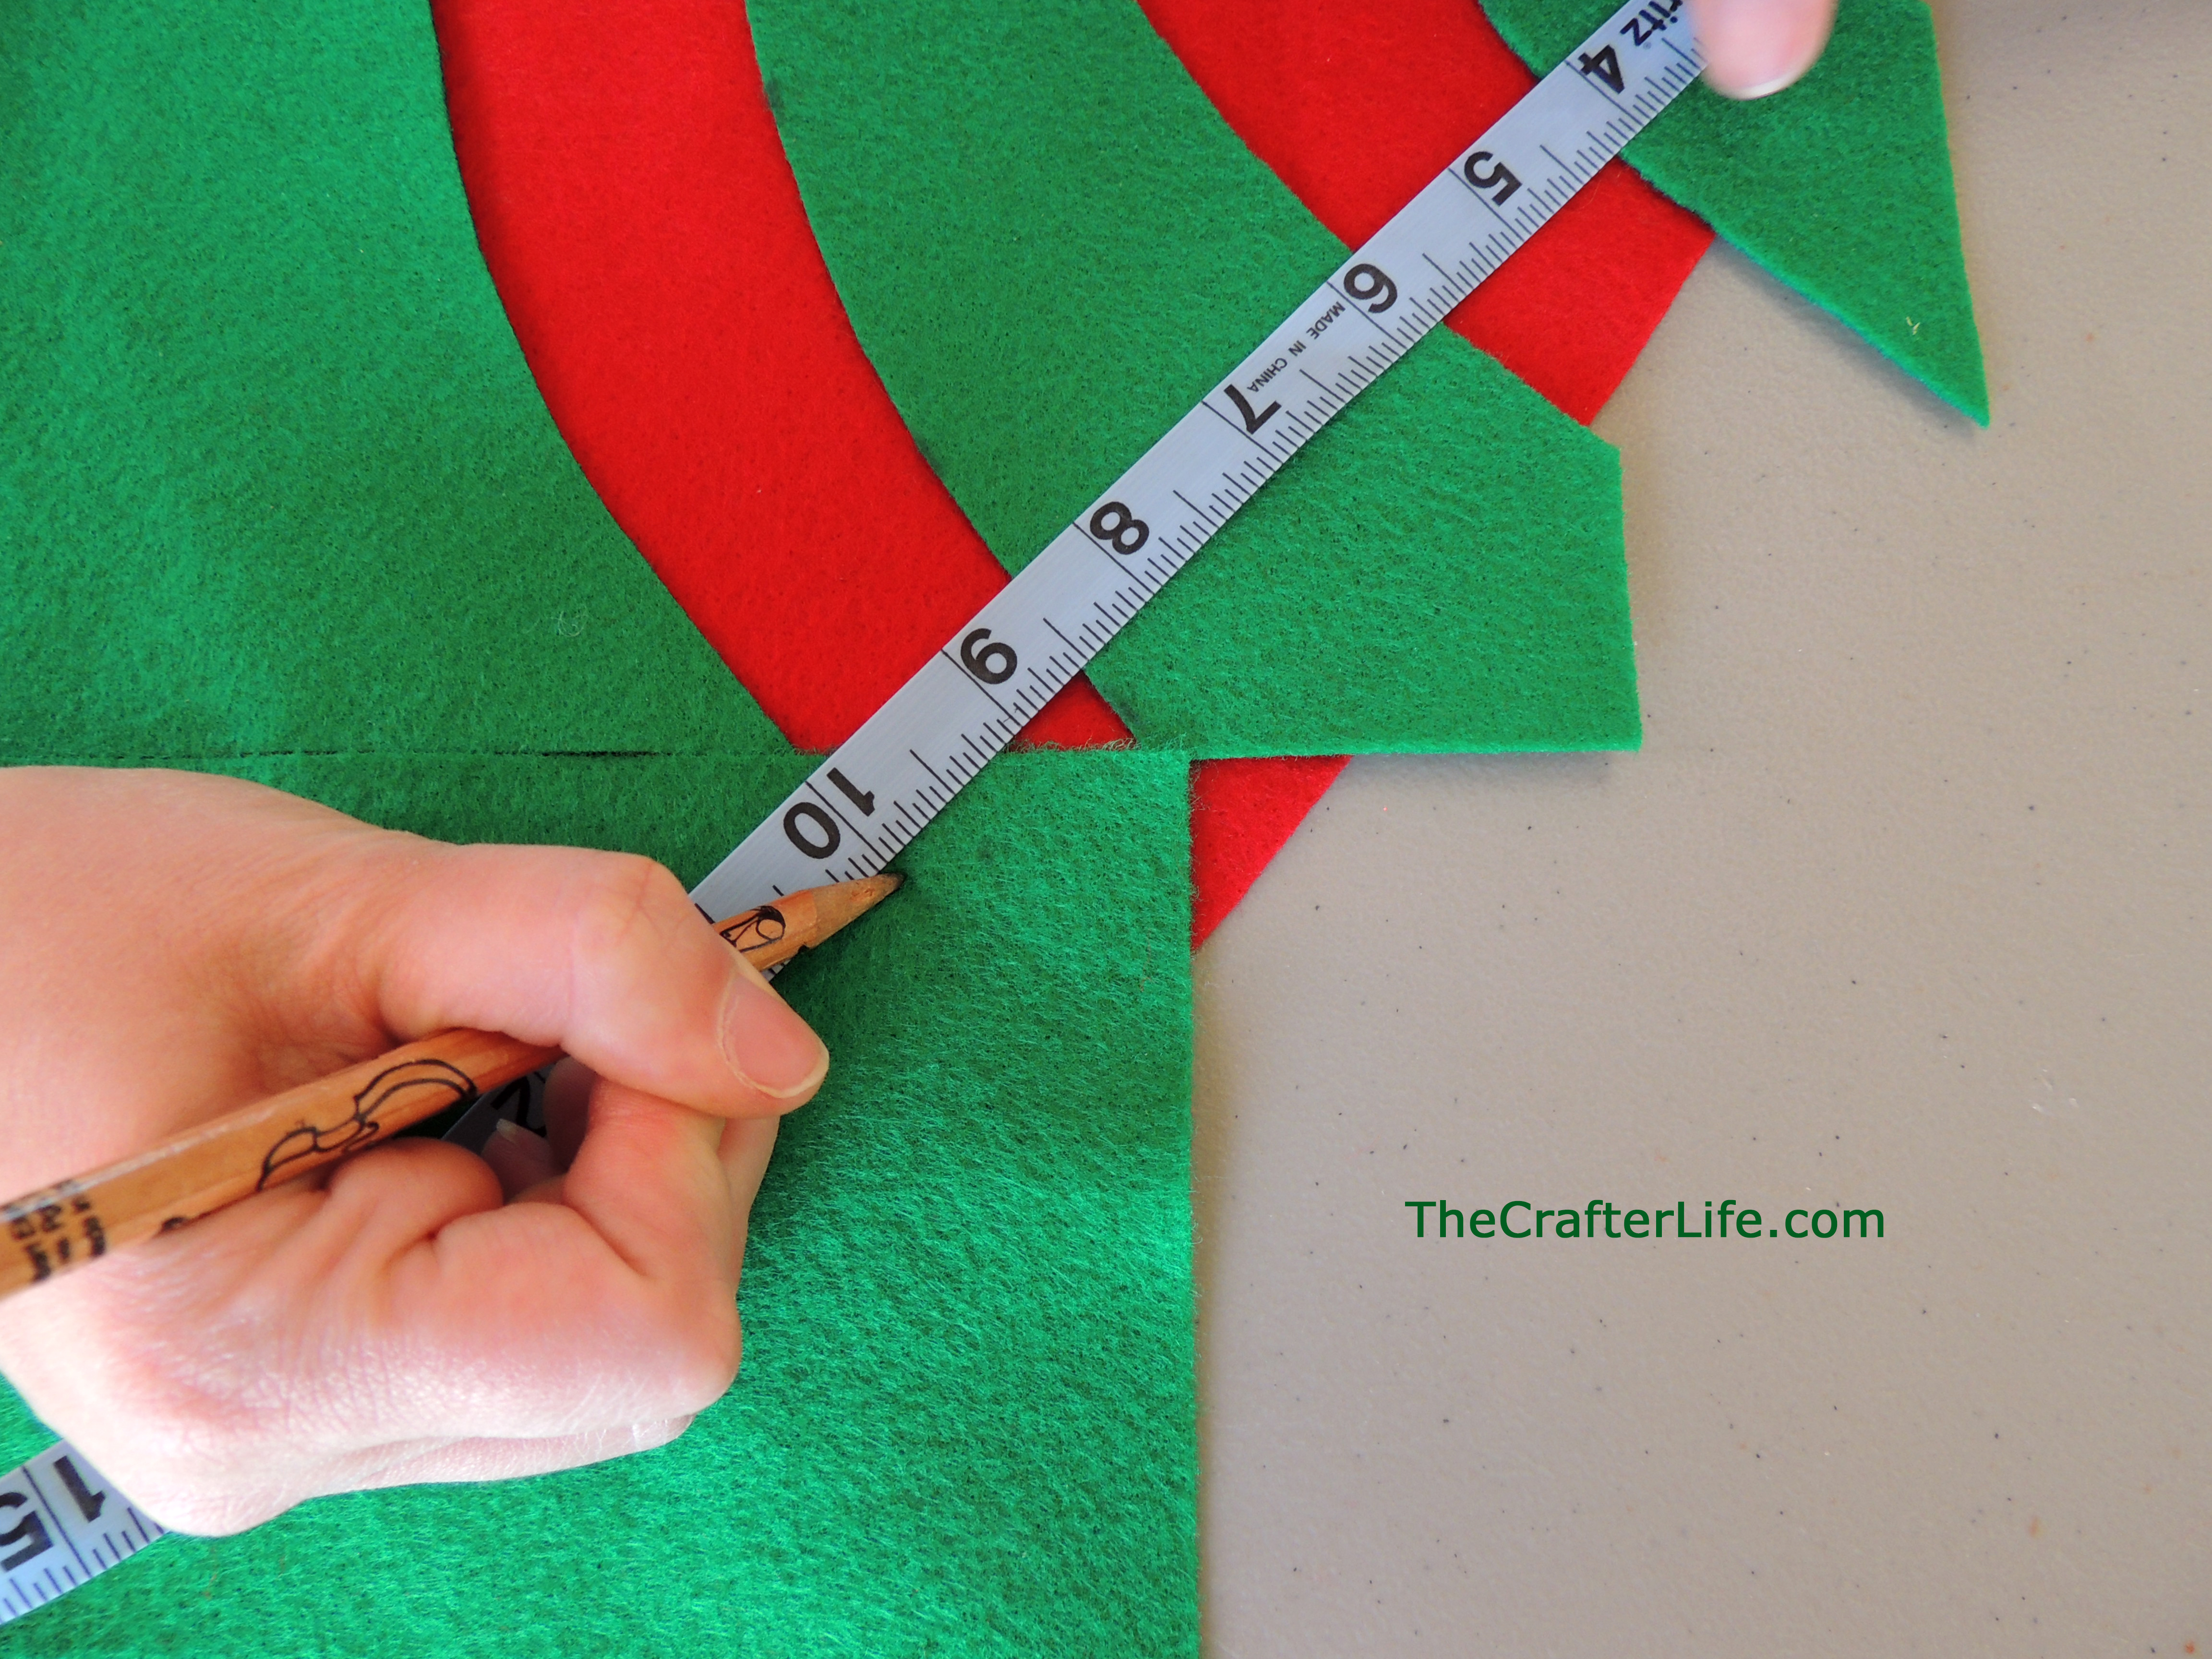
2. In order to determine the circumference of your hat, measure the person’s head circumference in inches, divide that by two (since the felt is folded in half), and add 2 inches for extra room. For example, I rounded my daughter’s head circumference to 20 inches, divided that by two to get 10 inches, and added 2 inches to get 12 inches for her hat circumference. Cut a piece of string to this length or use a measuring tape for this next part.
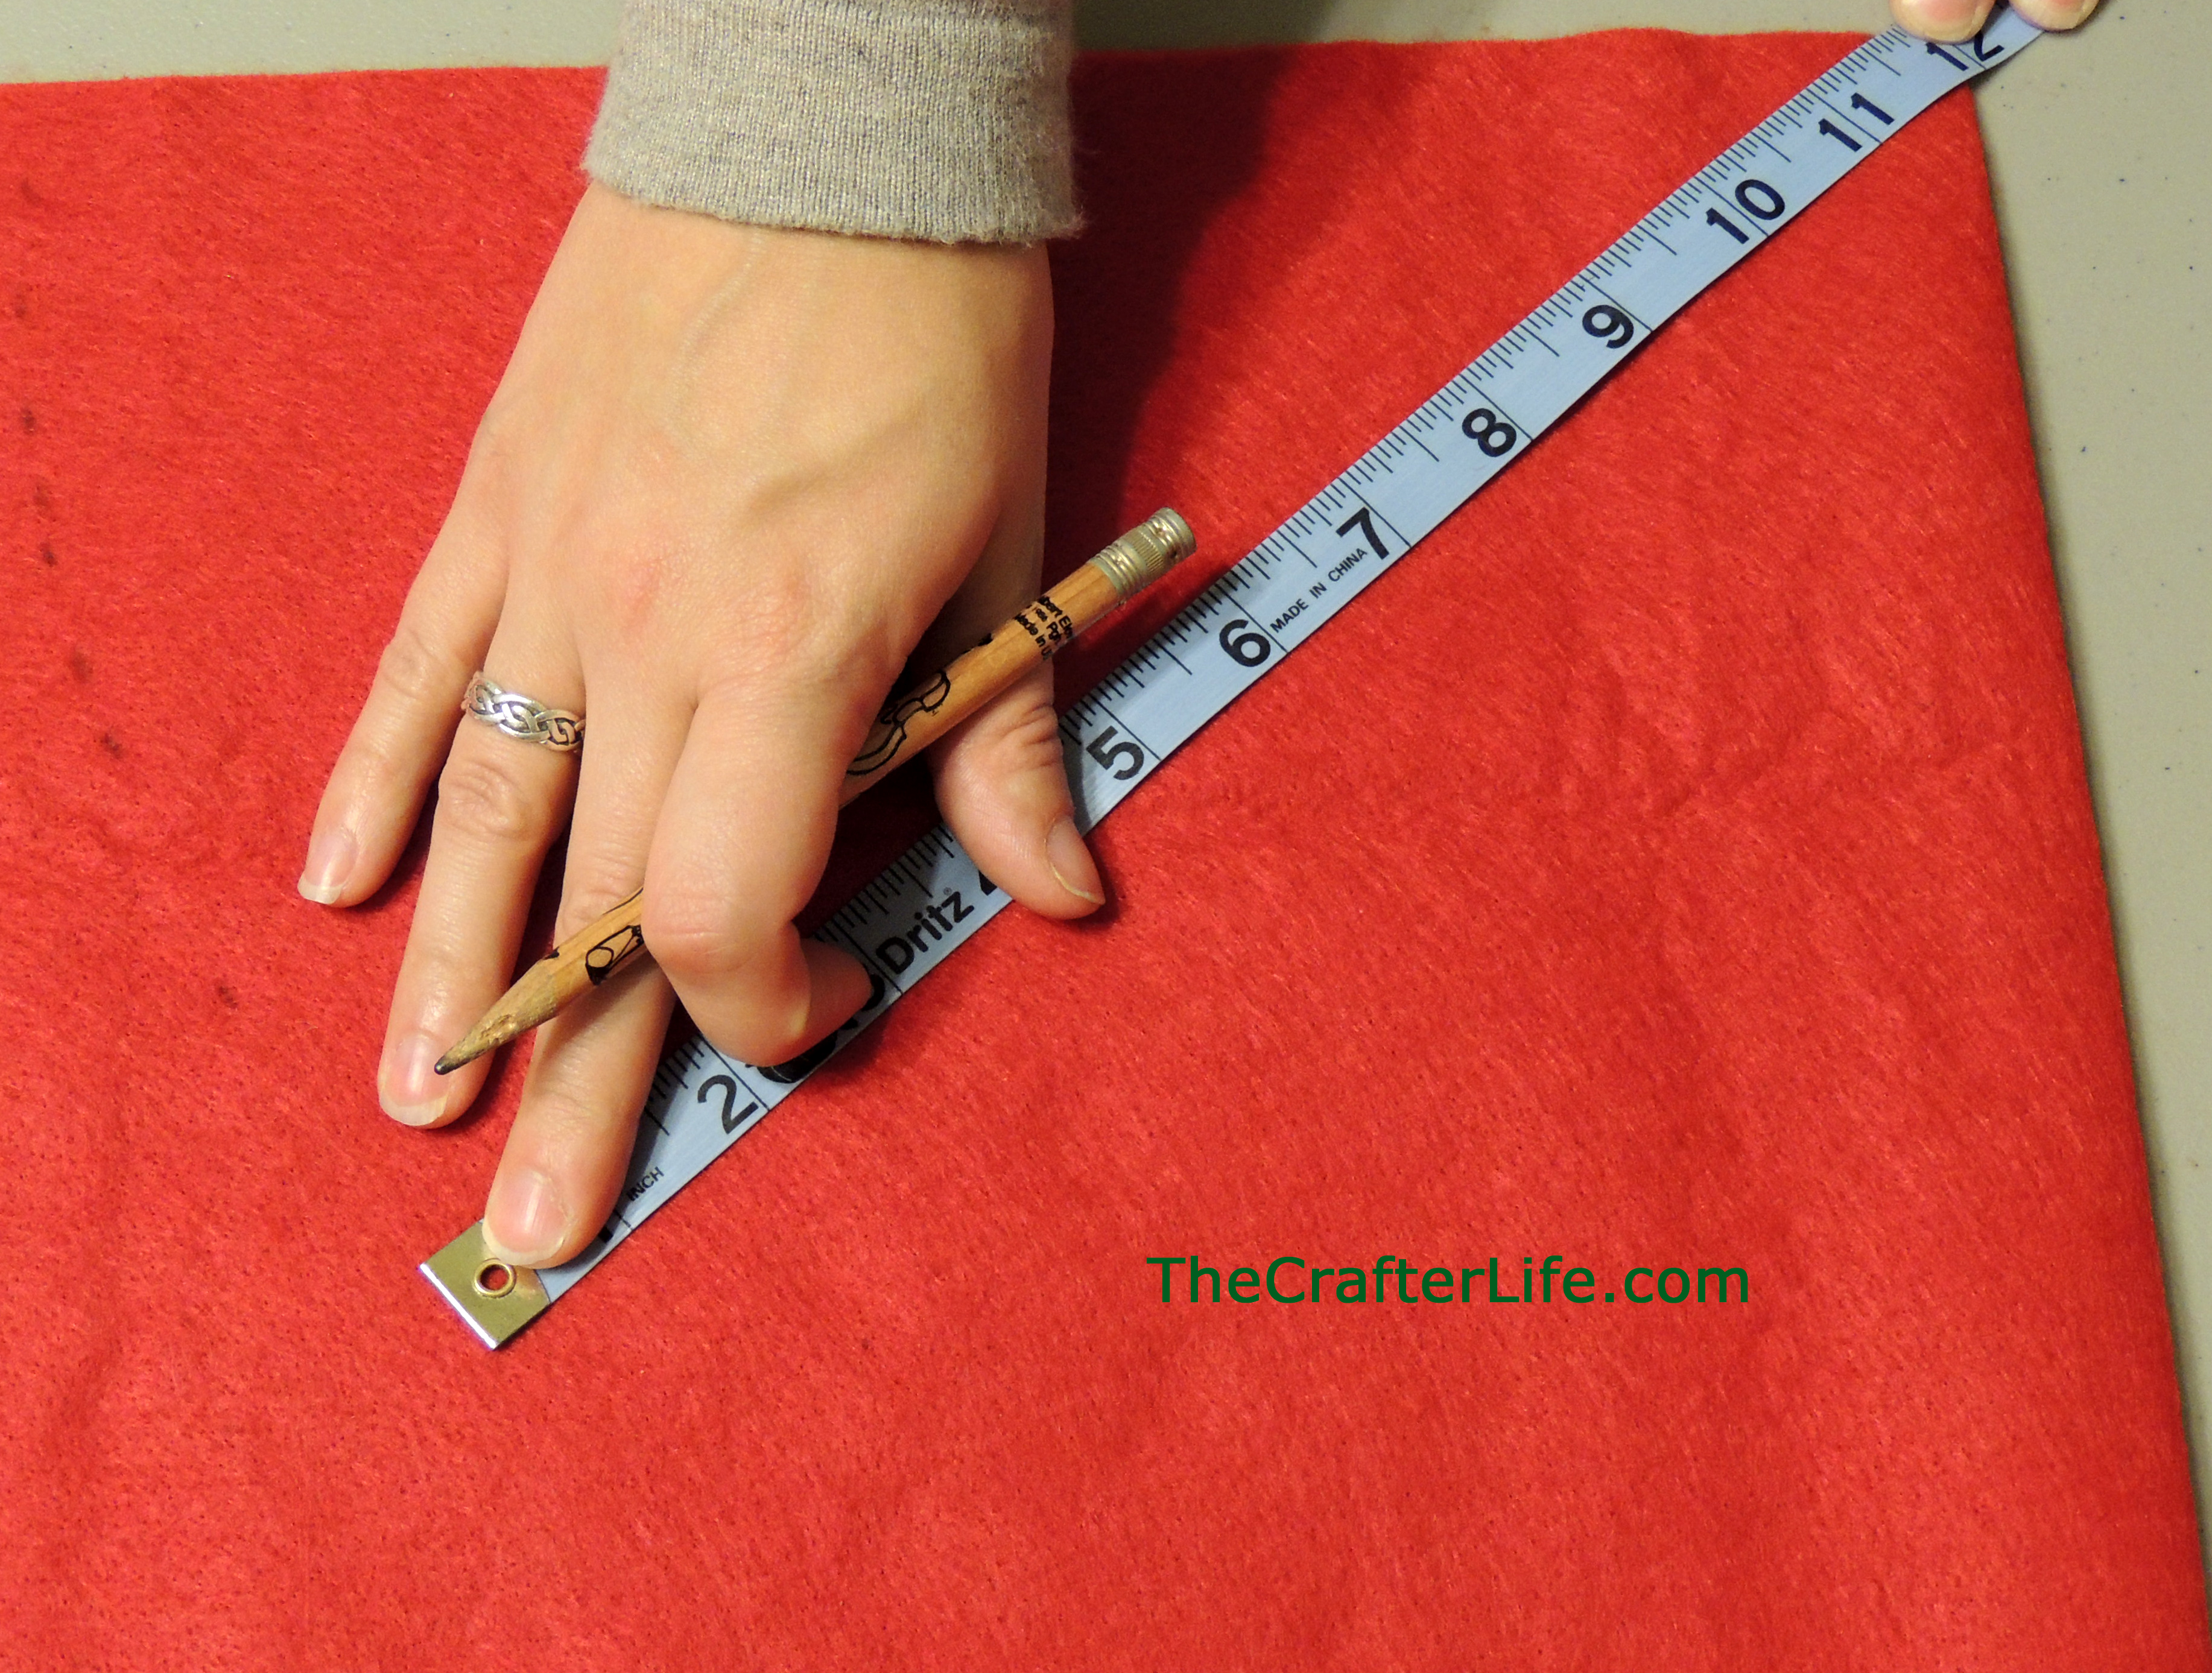
3. Stretch your string or measuring tape representing the hat circumference from the mark you made for the hat height on the folded edge of the felt to wherever it intersects with a point along the arc (make sure to keep your string/measuring tape straight). Make a mark at this point on your arc. The picture below shows this for a hat with a circumference of 10 inches (I used 10 inches instead of 12 inches for the picture so I could zoom in more).
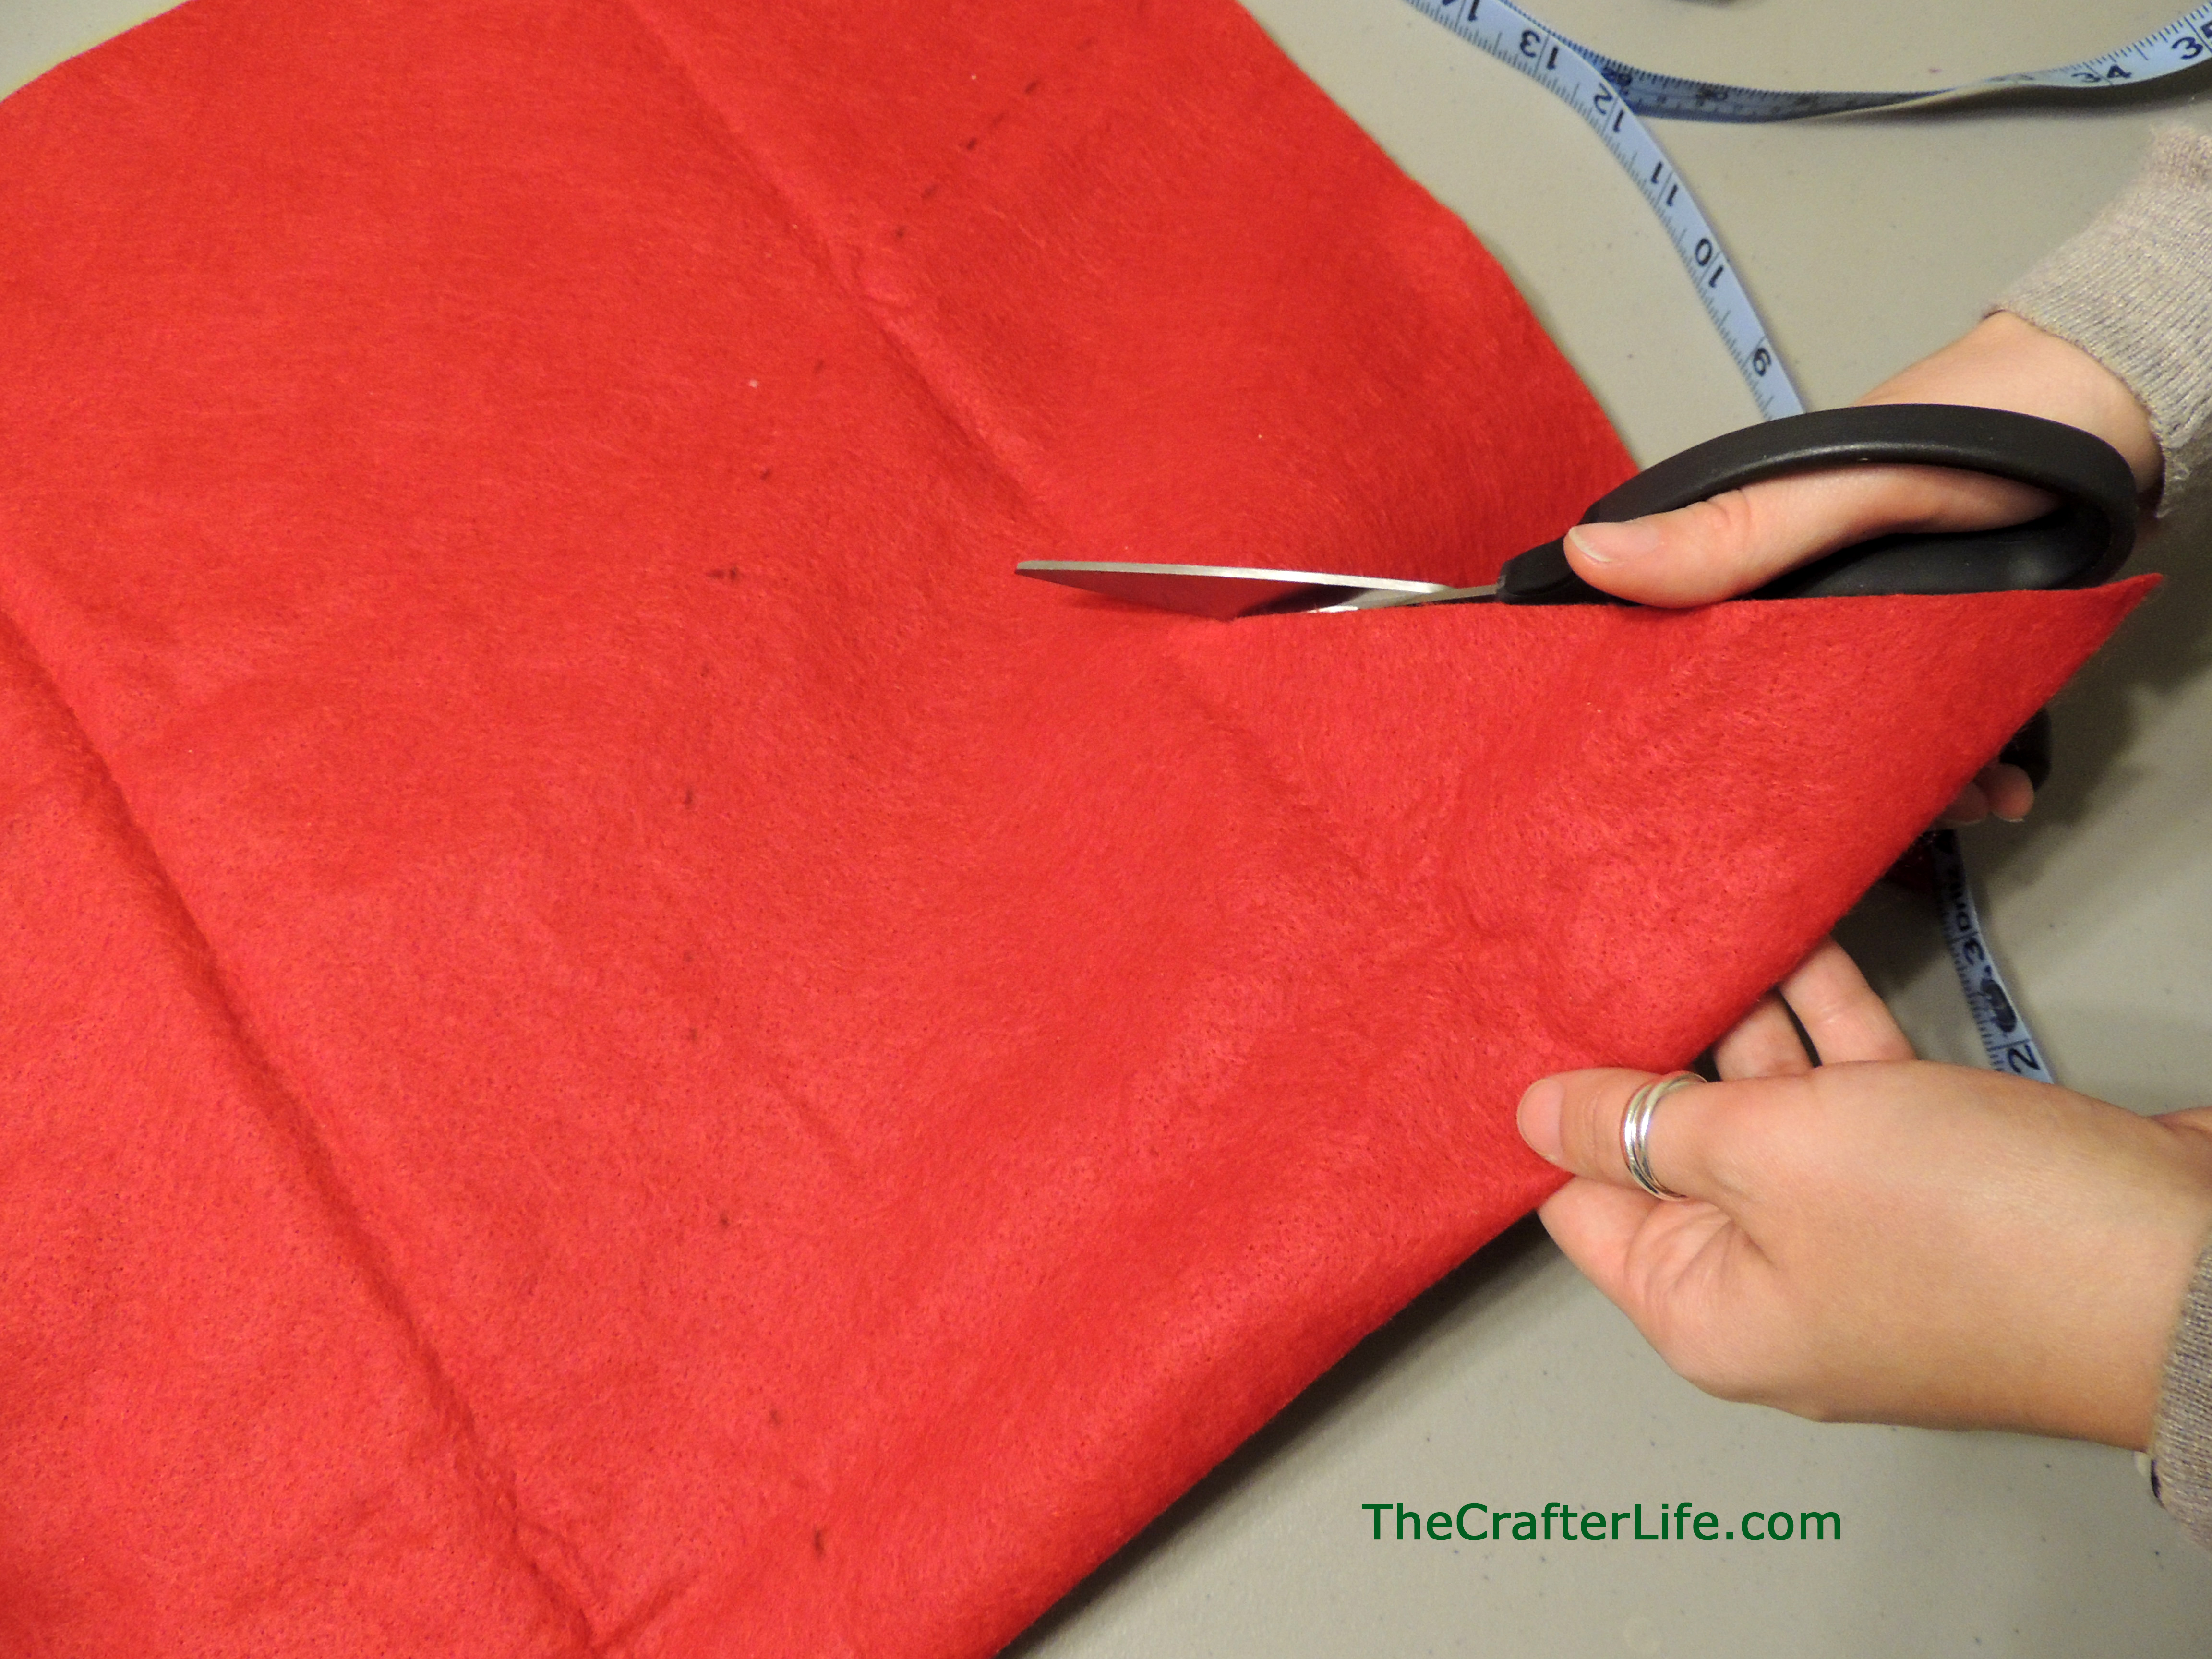
4. Use the mark you just made on your arc and draw a straight line connecting it to the top corner of the folded side of the felt.
5. Cut along the line you just drew and along the arc towards the folded side of the felt. This will create the main hat body.

6. Unfold the red piece of felt you cut and place a green piece of felt over it to begin making the green stripes of the hat. I made the stripes for my daughter’s hat measure 2 inches.
7. Measure from the tip of the hat down 2 inches onto the green felt and mark a point. Using the tip of the hat as the point of rotation, trace an arc on the green felt using a 2 inch piece of string. Repeat this, but this time measure 4 inches from the tip of the hat to trace a second arc.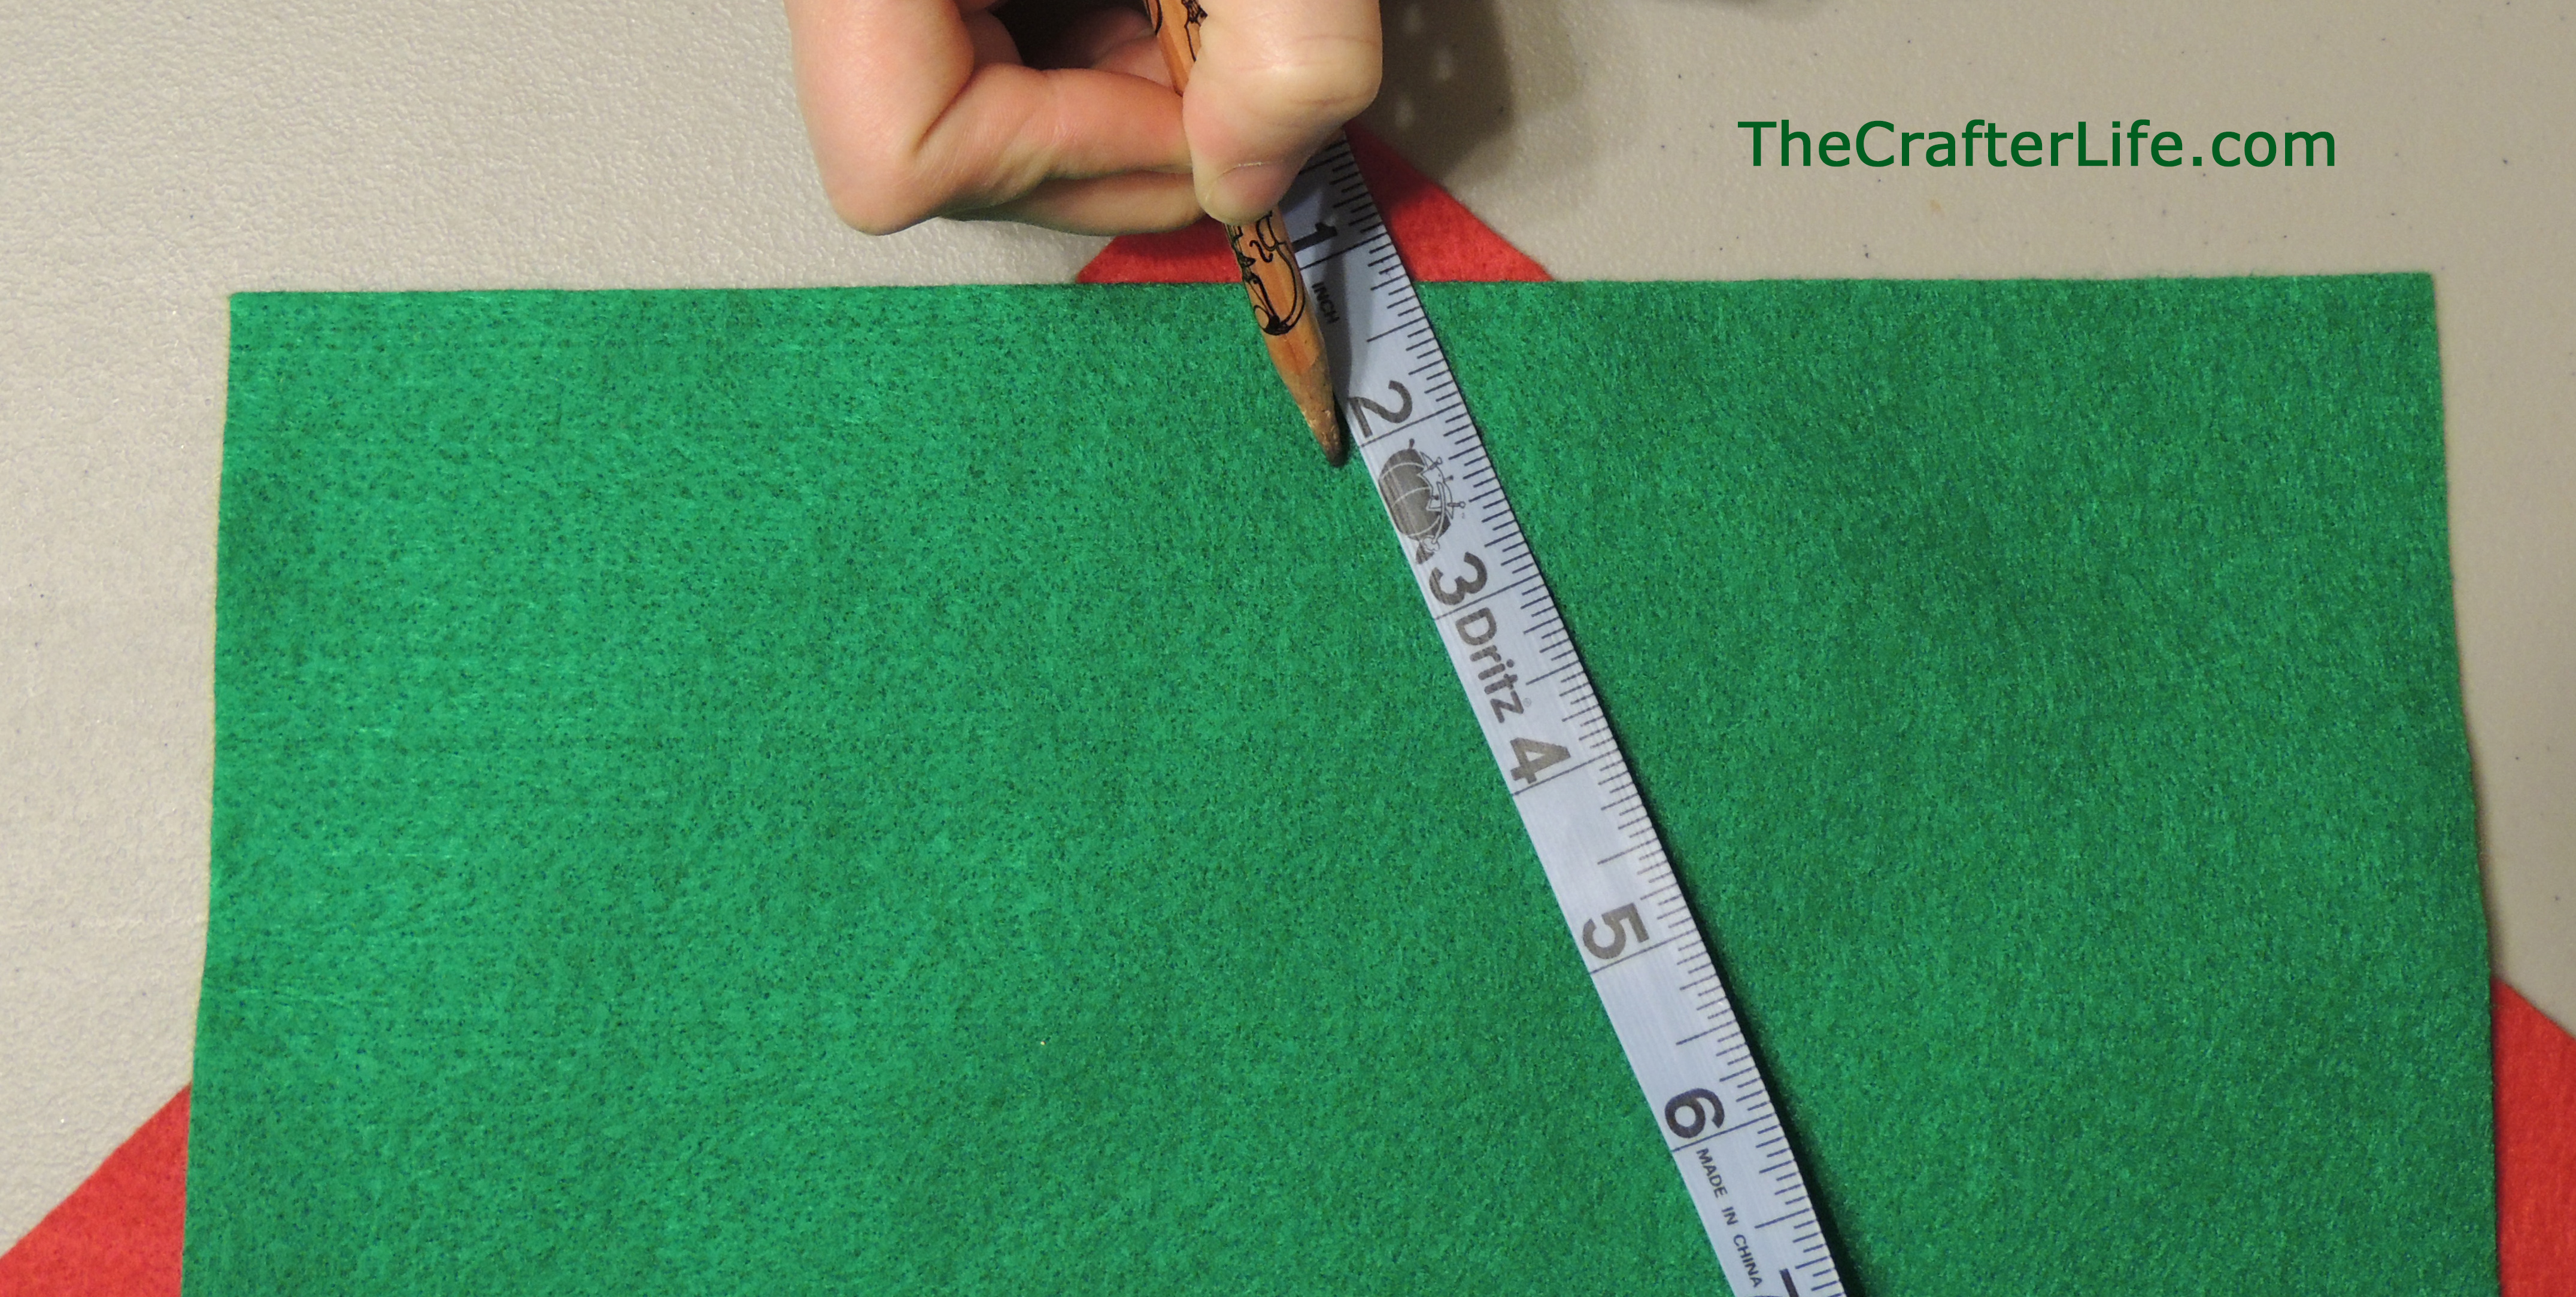
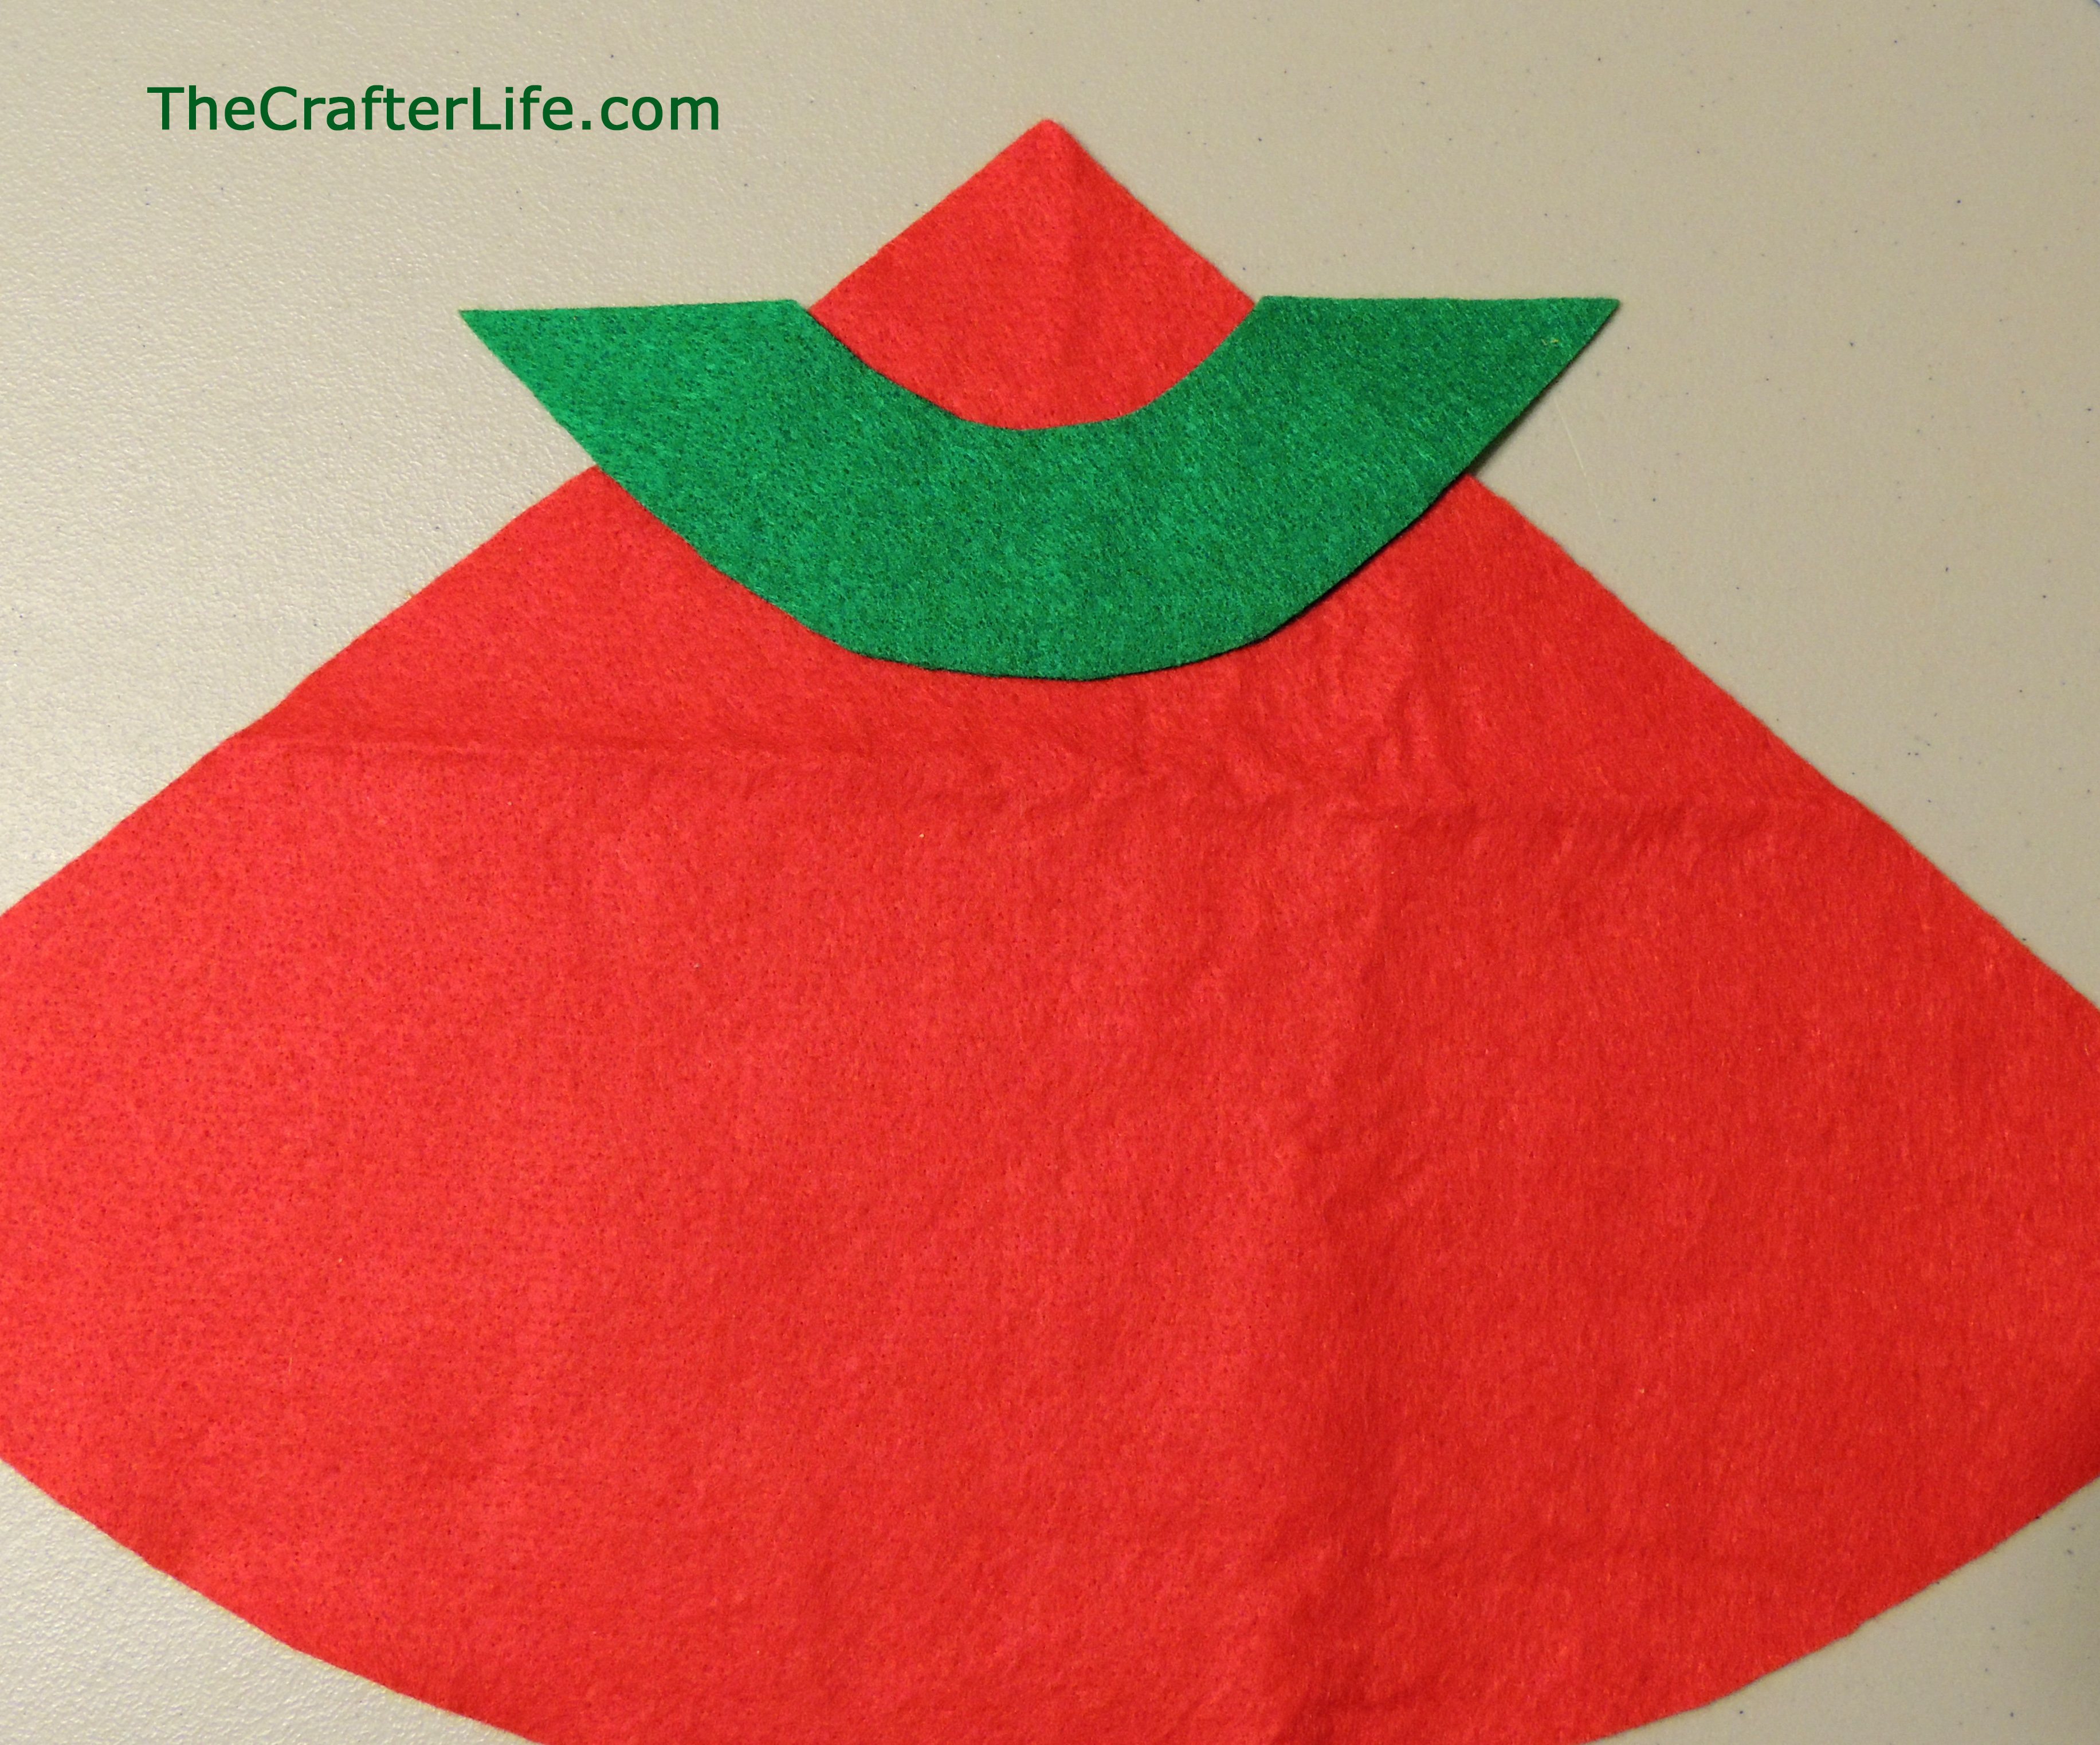
8. Cut along the arcs your drew and you will have your first stripe (see below).
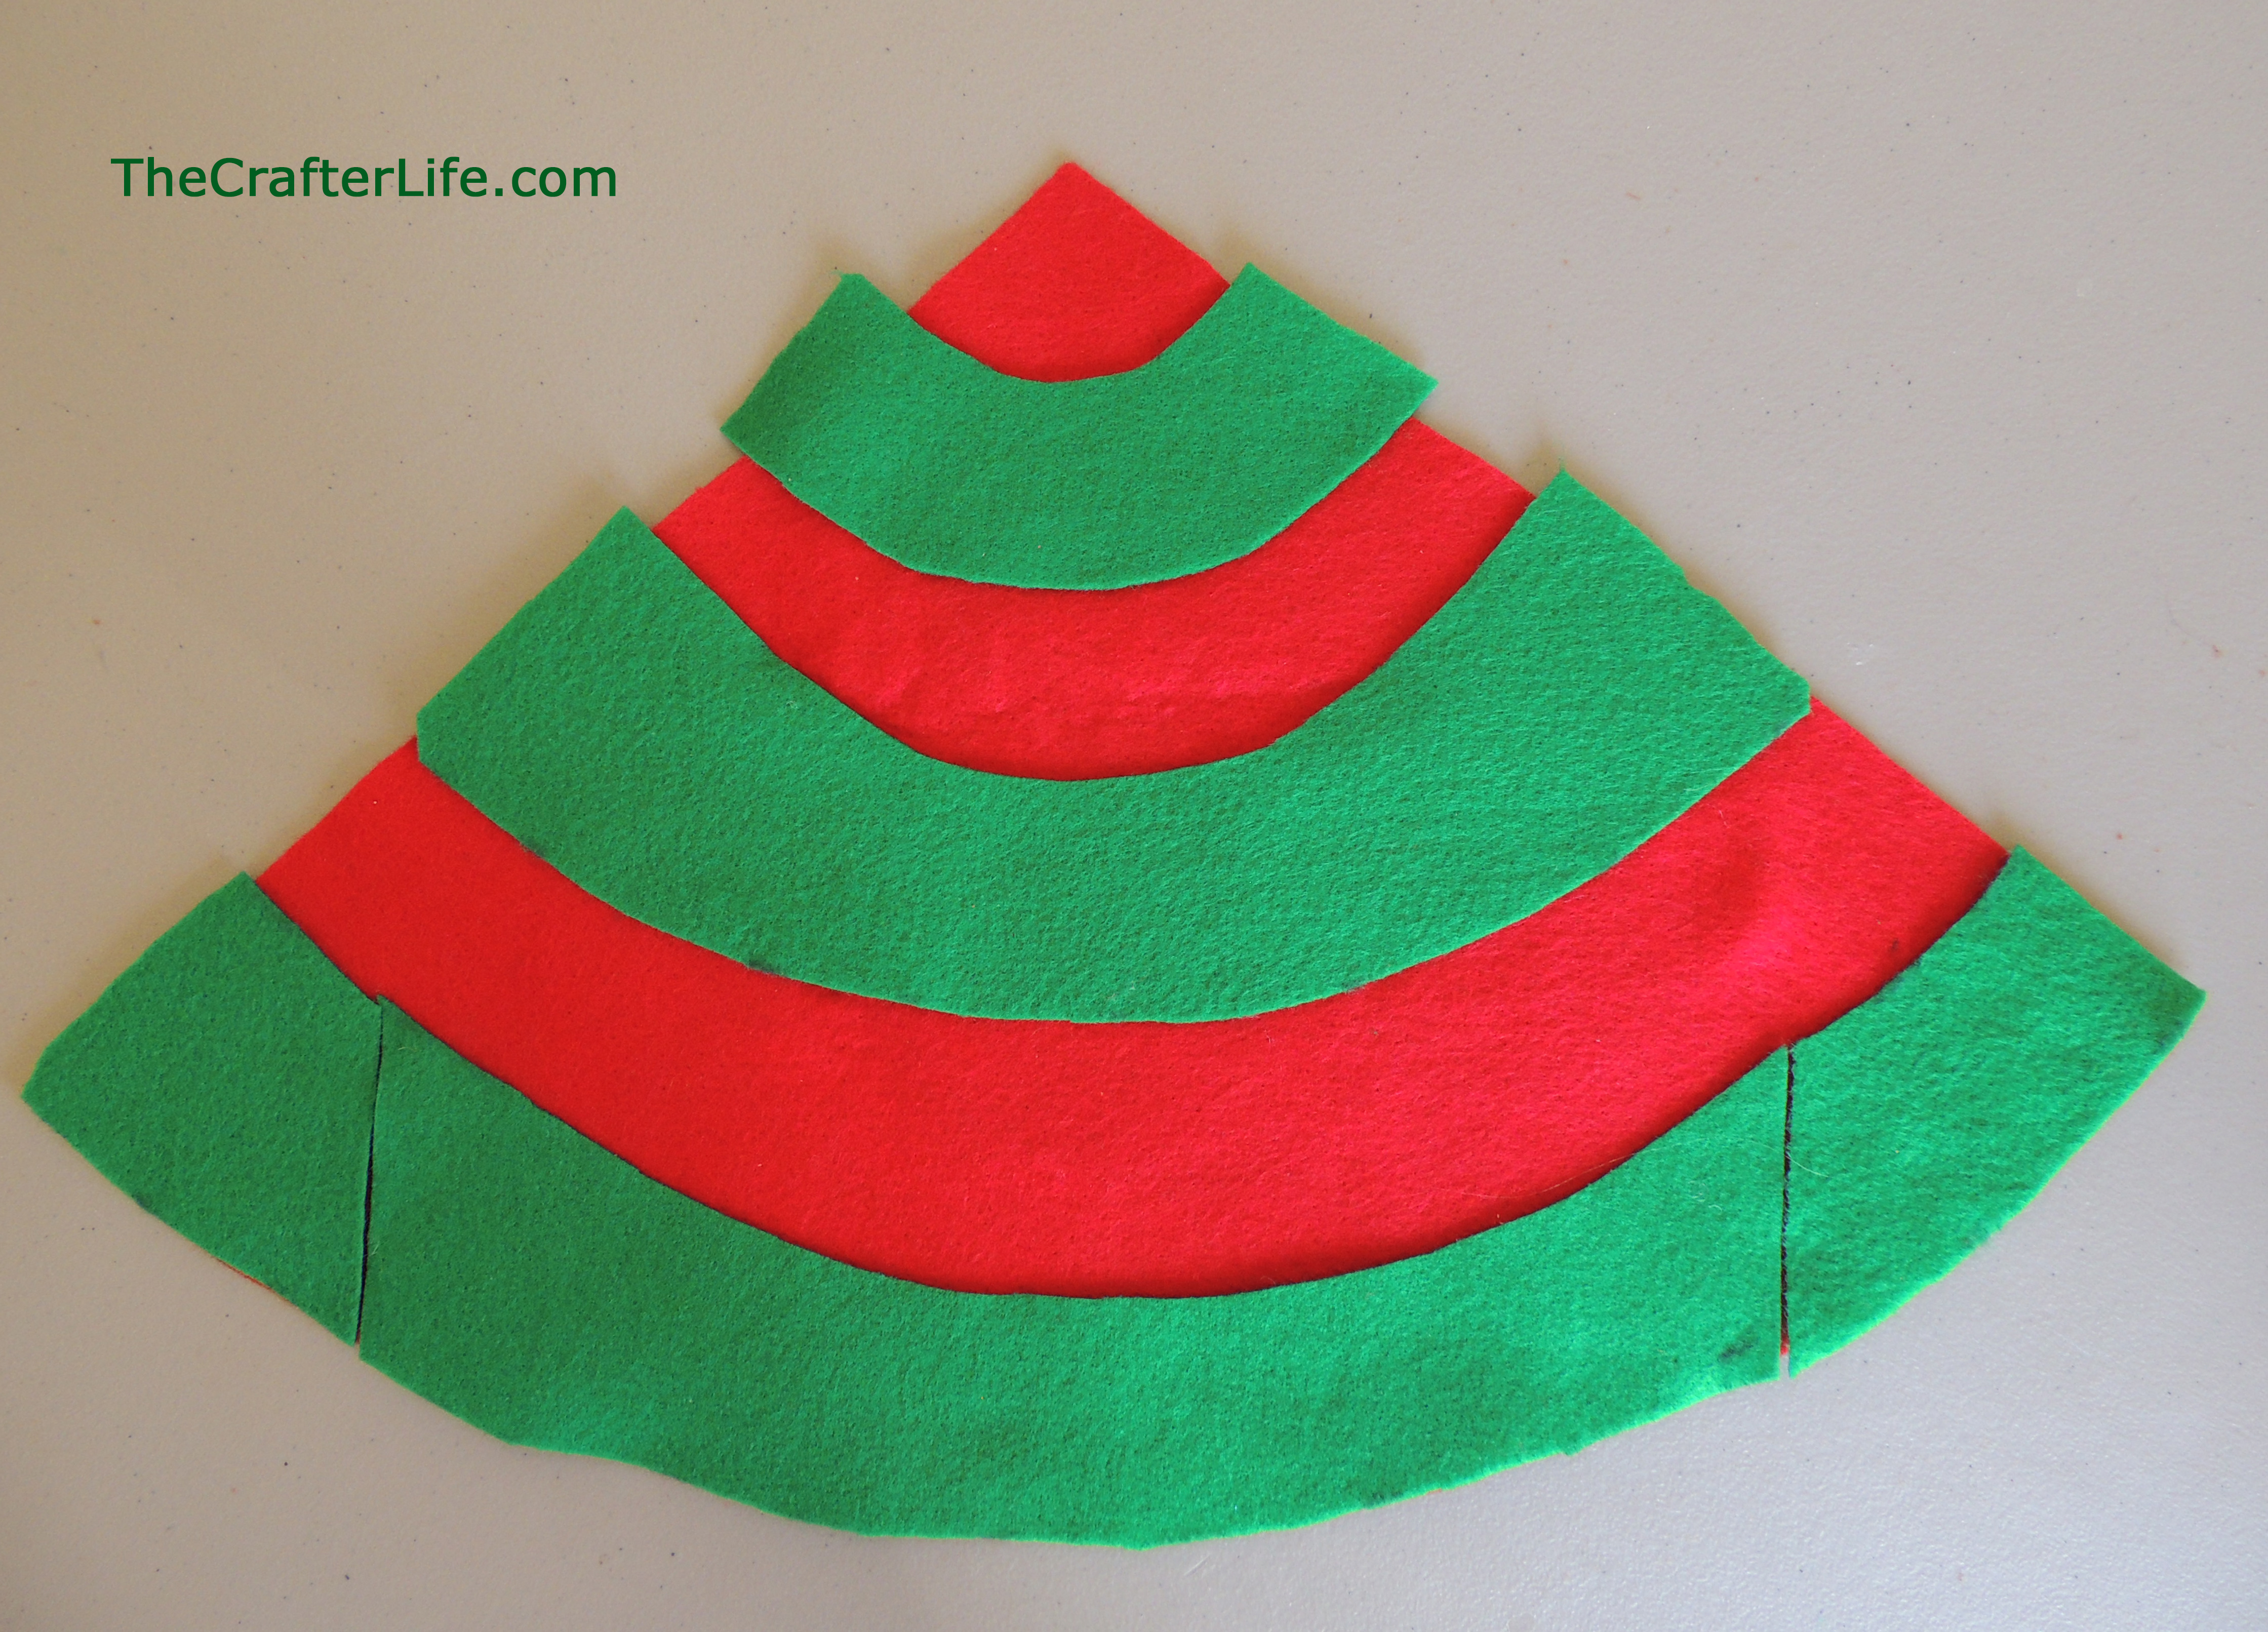
9. Place the leftover green piece of felt on top of the red felt leaving 2 inches (approximately) of red felt between the first green piece of felt you cut and the second. Then measure 8 inches from the tip of the red felt onto the green piece of felt and draw an arc to create the bottom of the second stripe of the hat. Cut the second stripe out from the green felt.
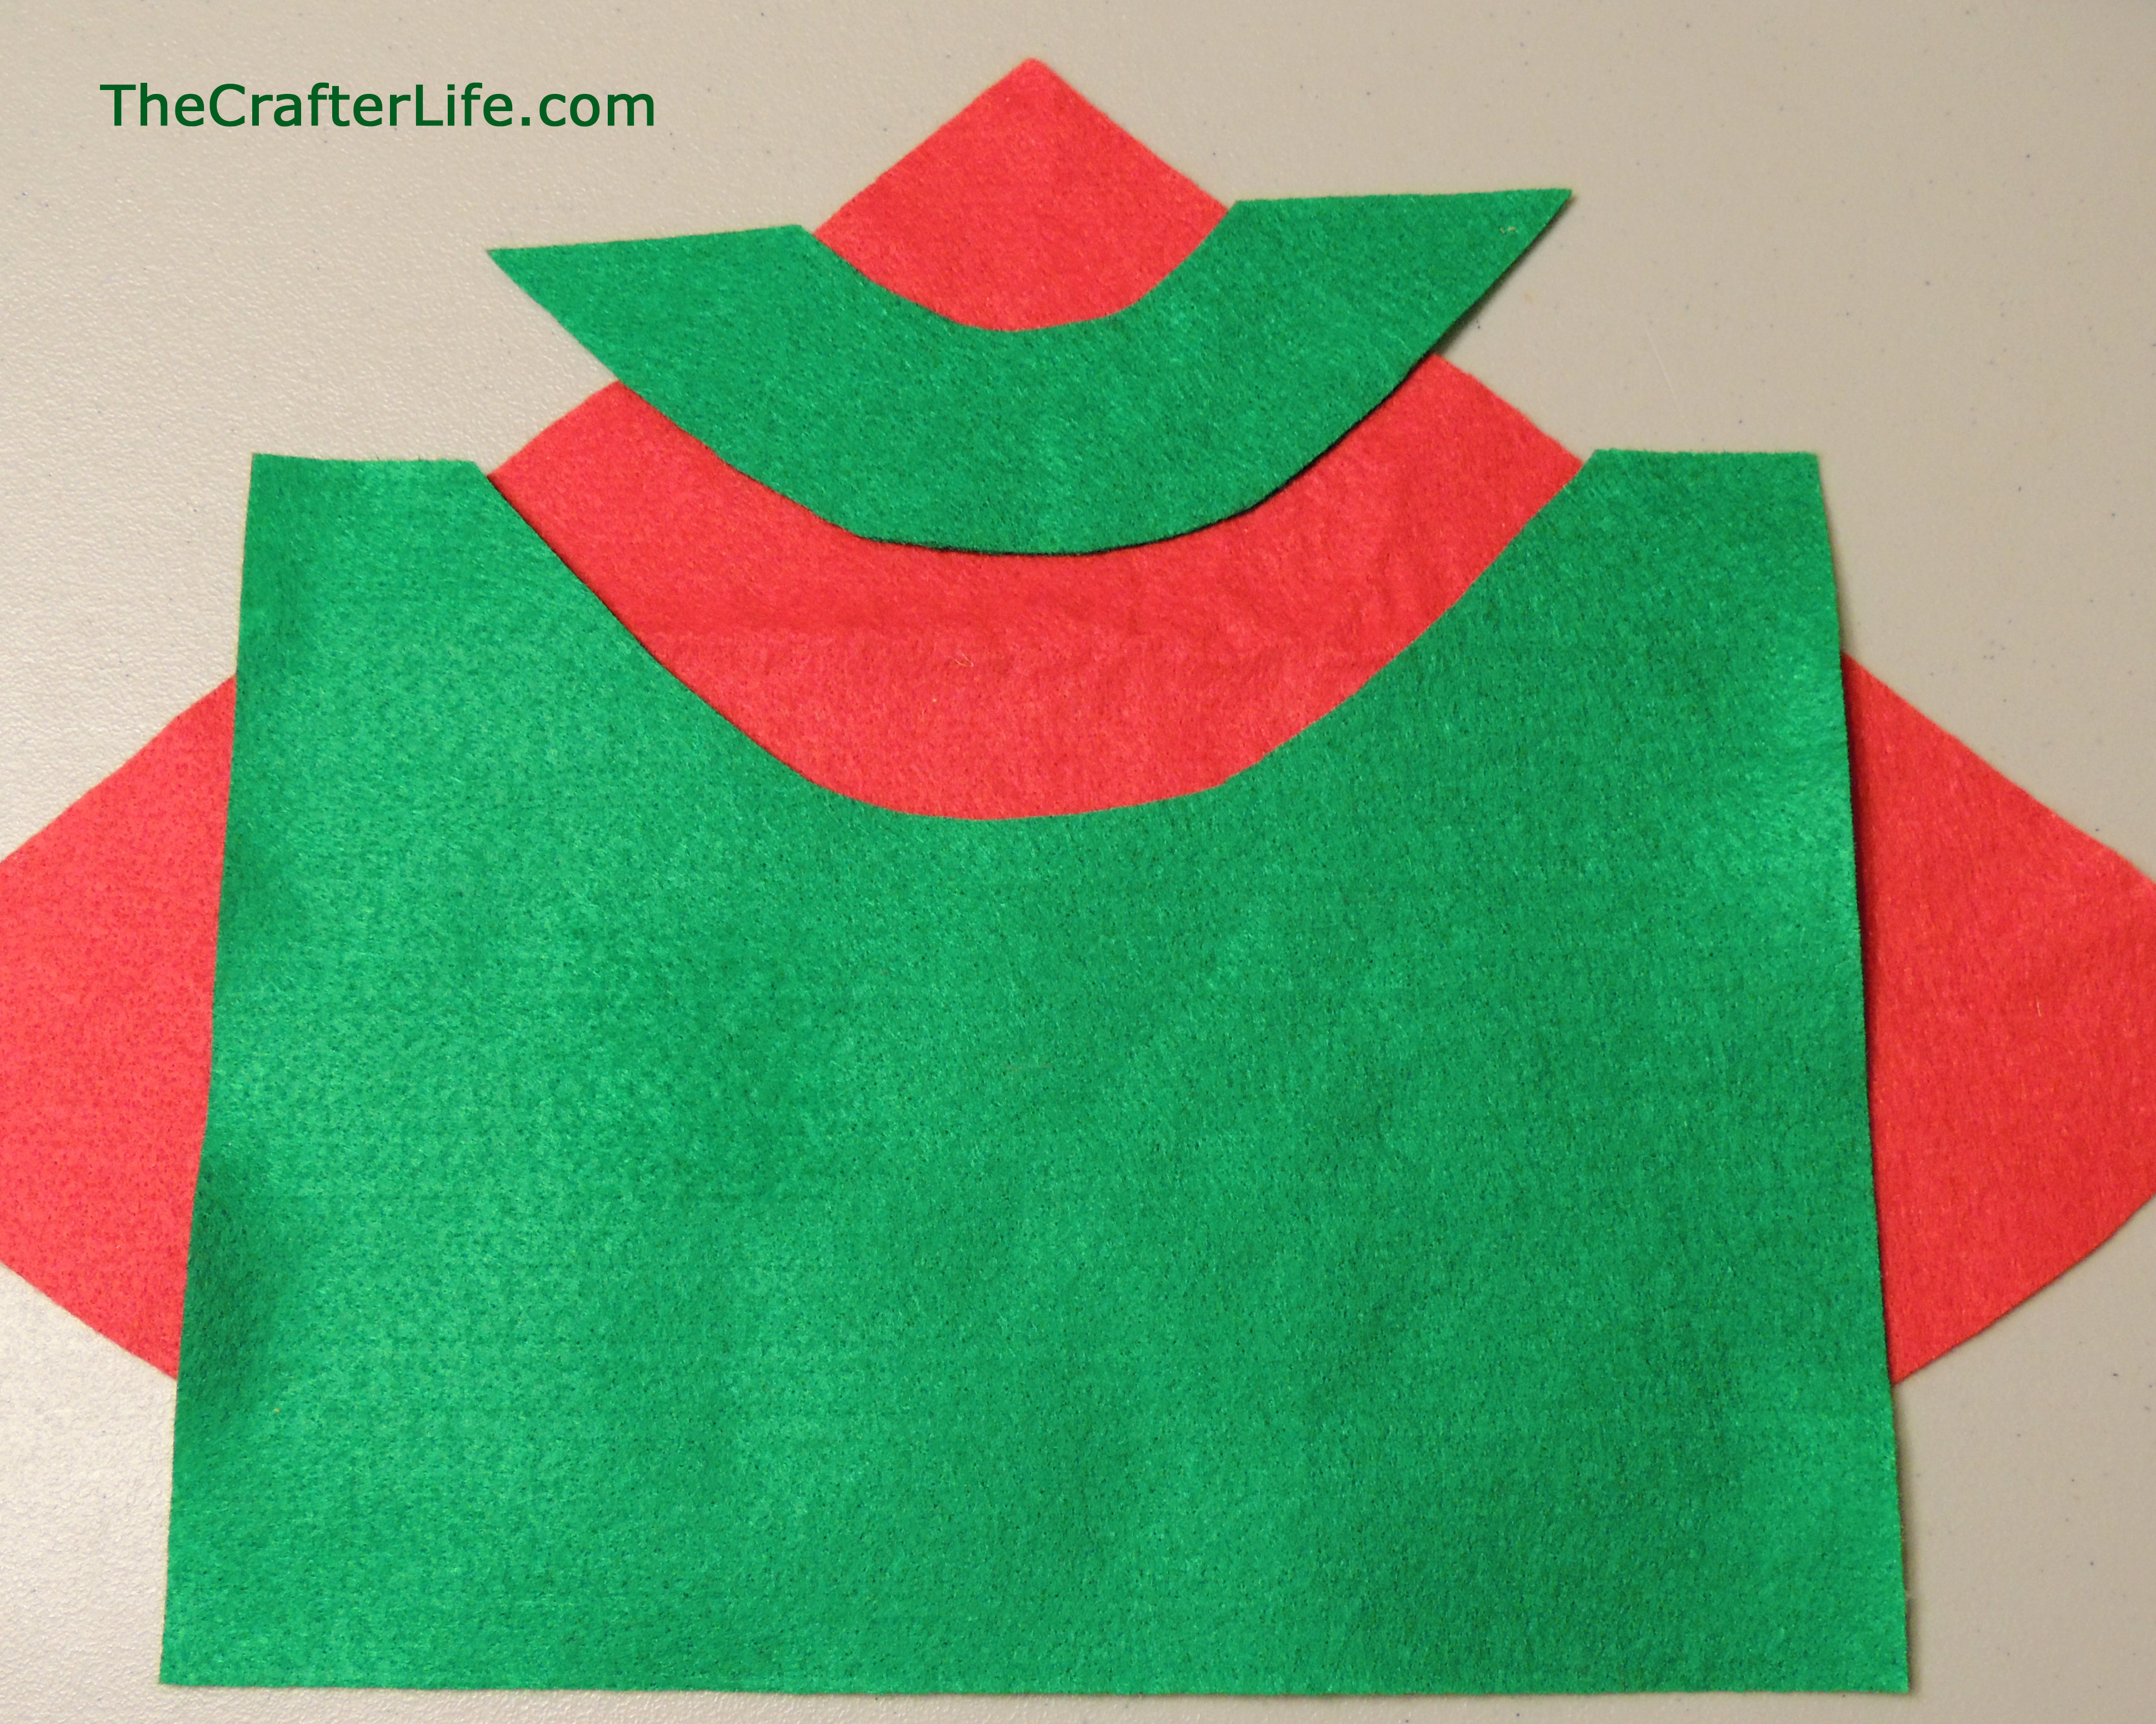
10. Repeat Step 9 again for the 3rd stripe, but measure 12 inches down from the tip of the hat to create the bottom arc of the stripe. In my case, this reached the bottom of the hat. I had to place two pieces of green felt on either side of the third stripe since the original piece of felt did not reach to both sides. I simply continued the curve of the stripe on both sides and cut those out. Ideally, you would want to use a larger piece of green felt so you wouldn’t have to do this, but I just used what I had on hand.
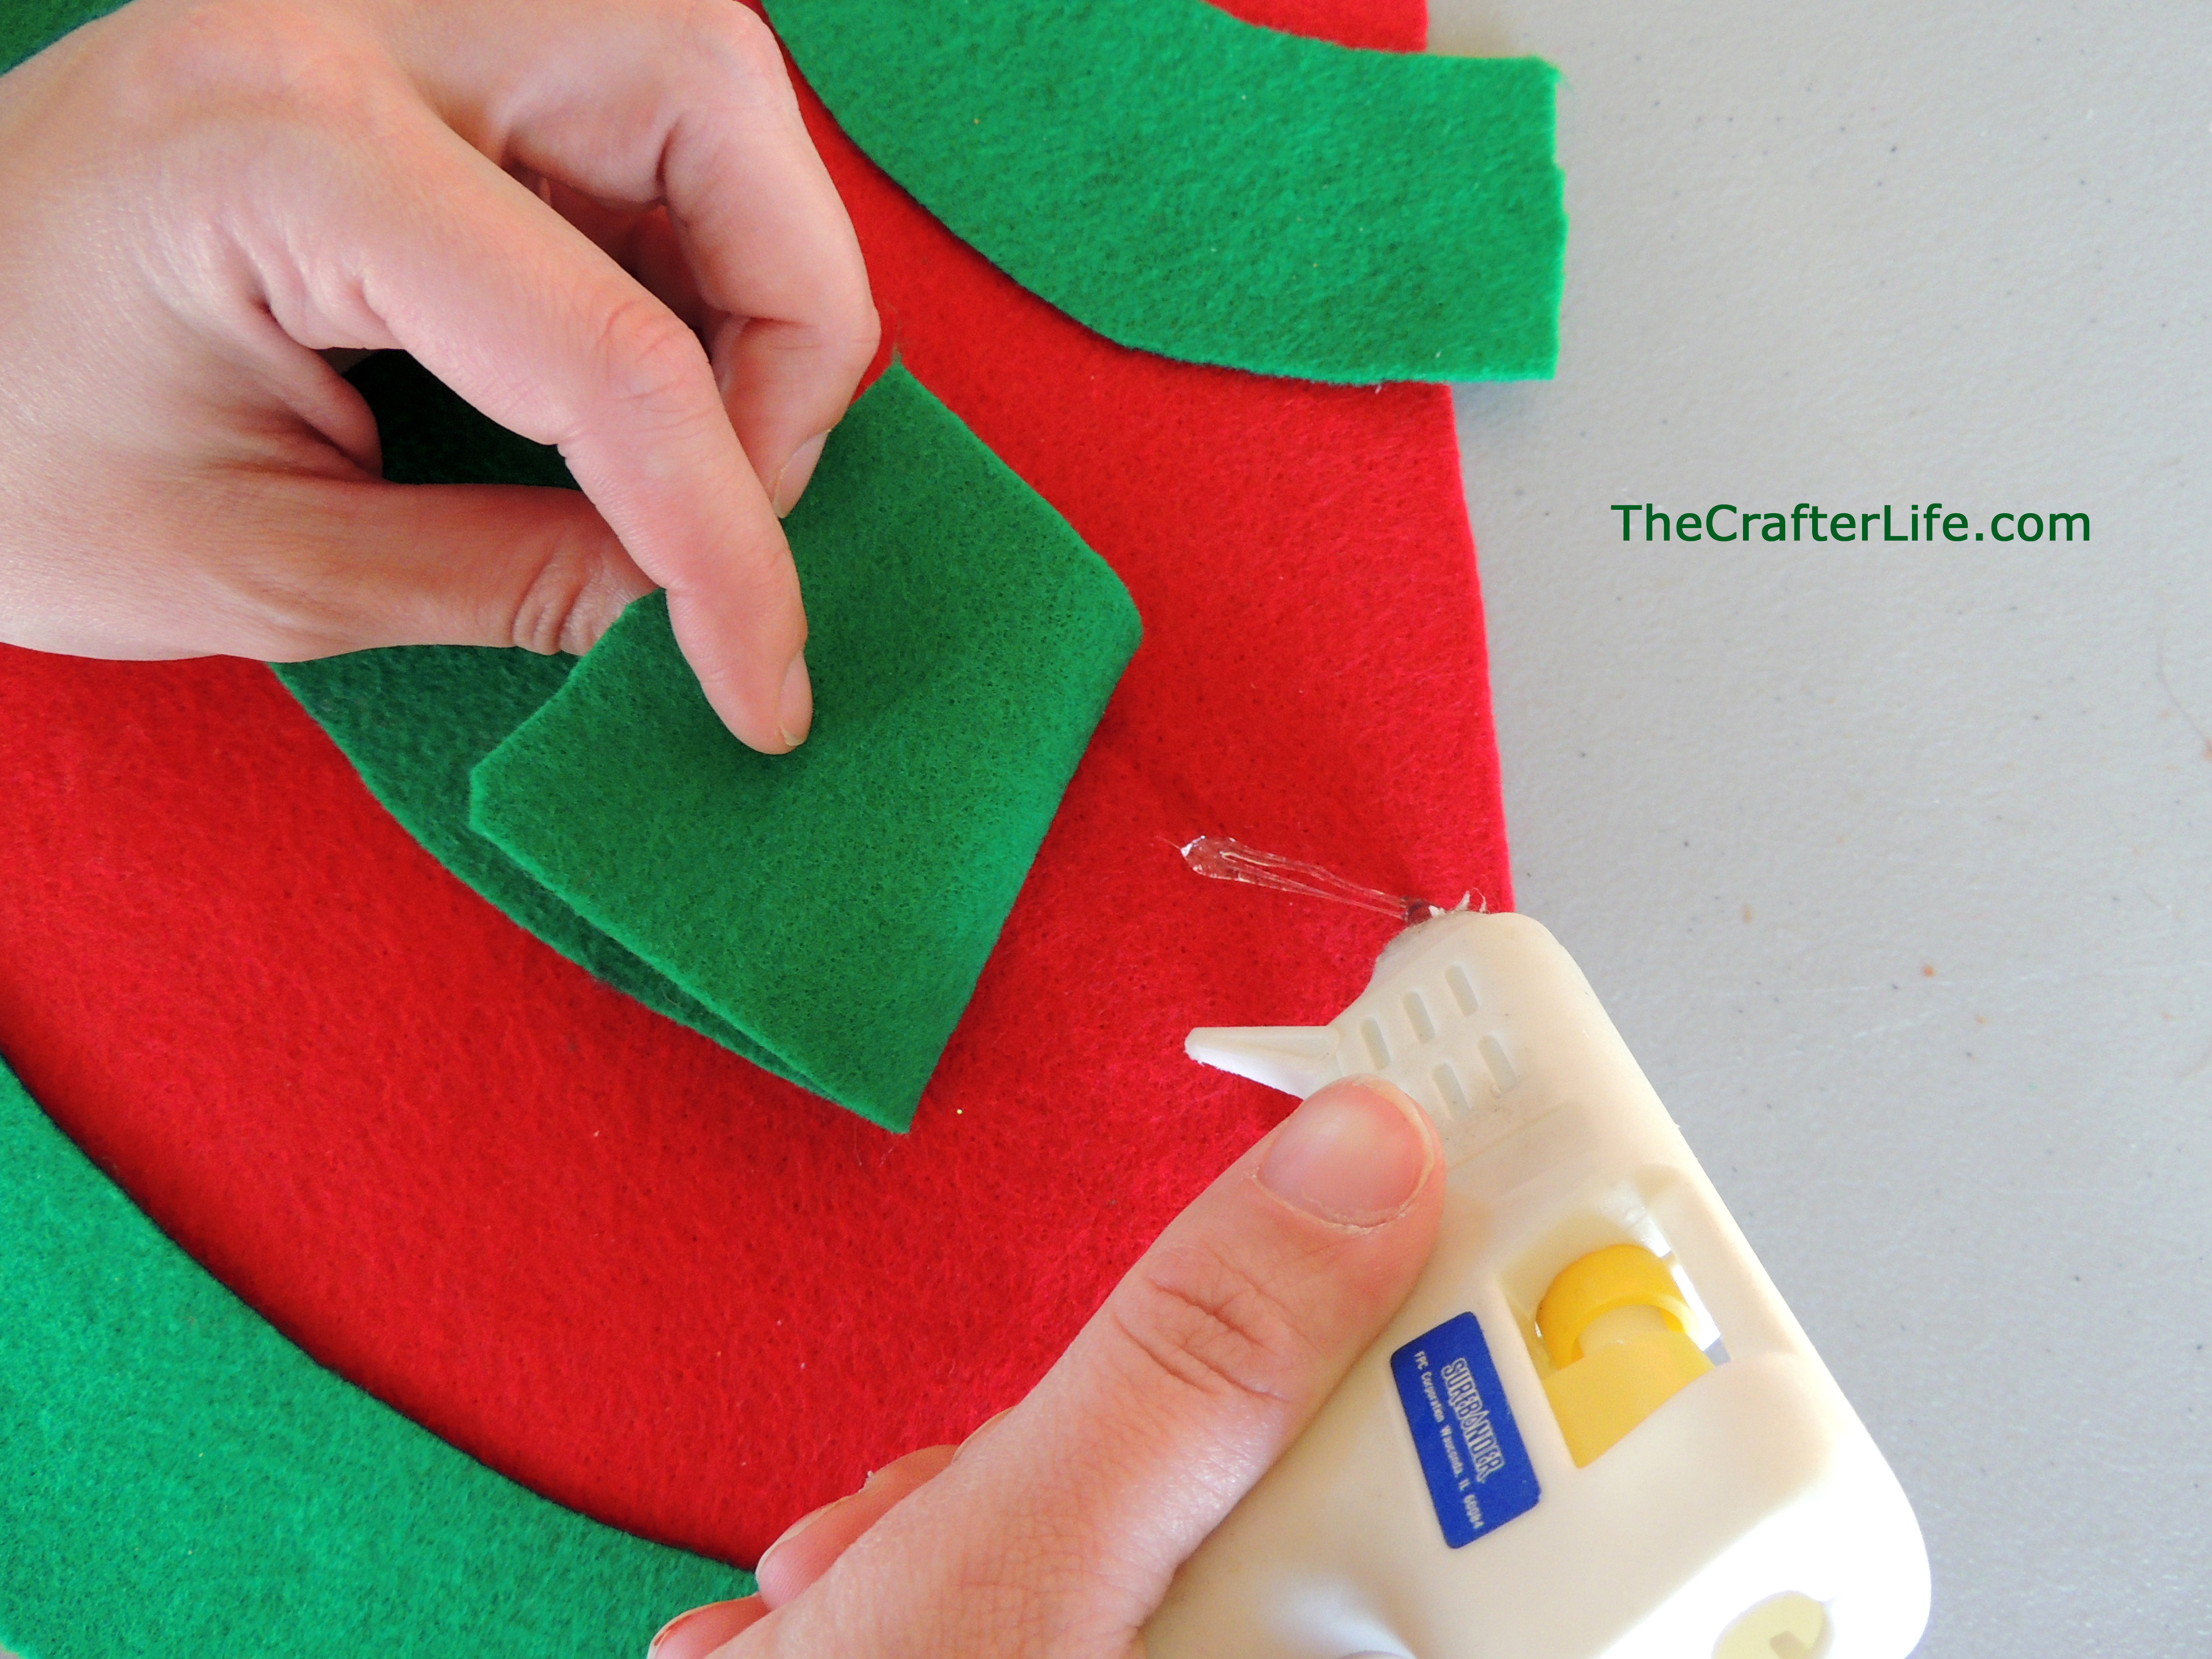
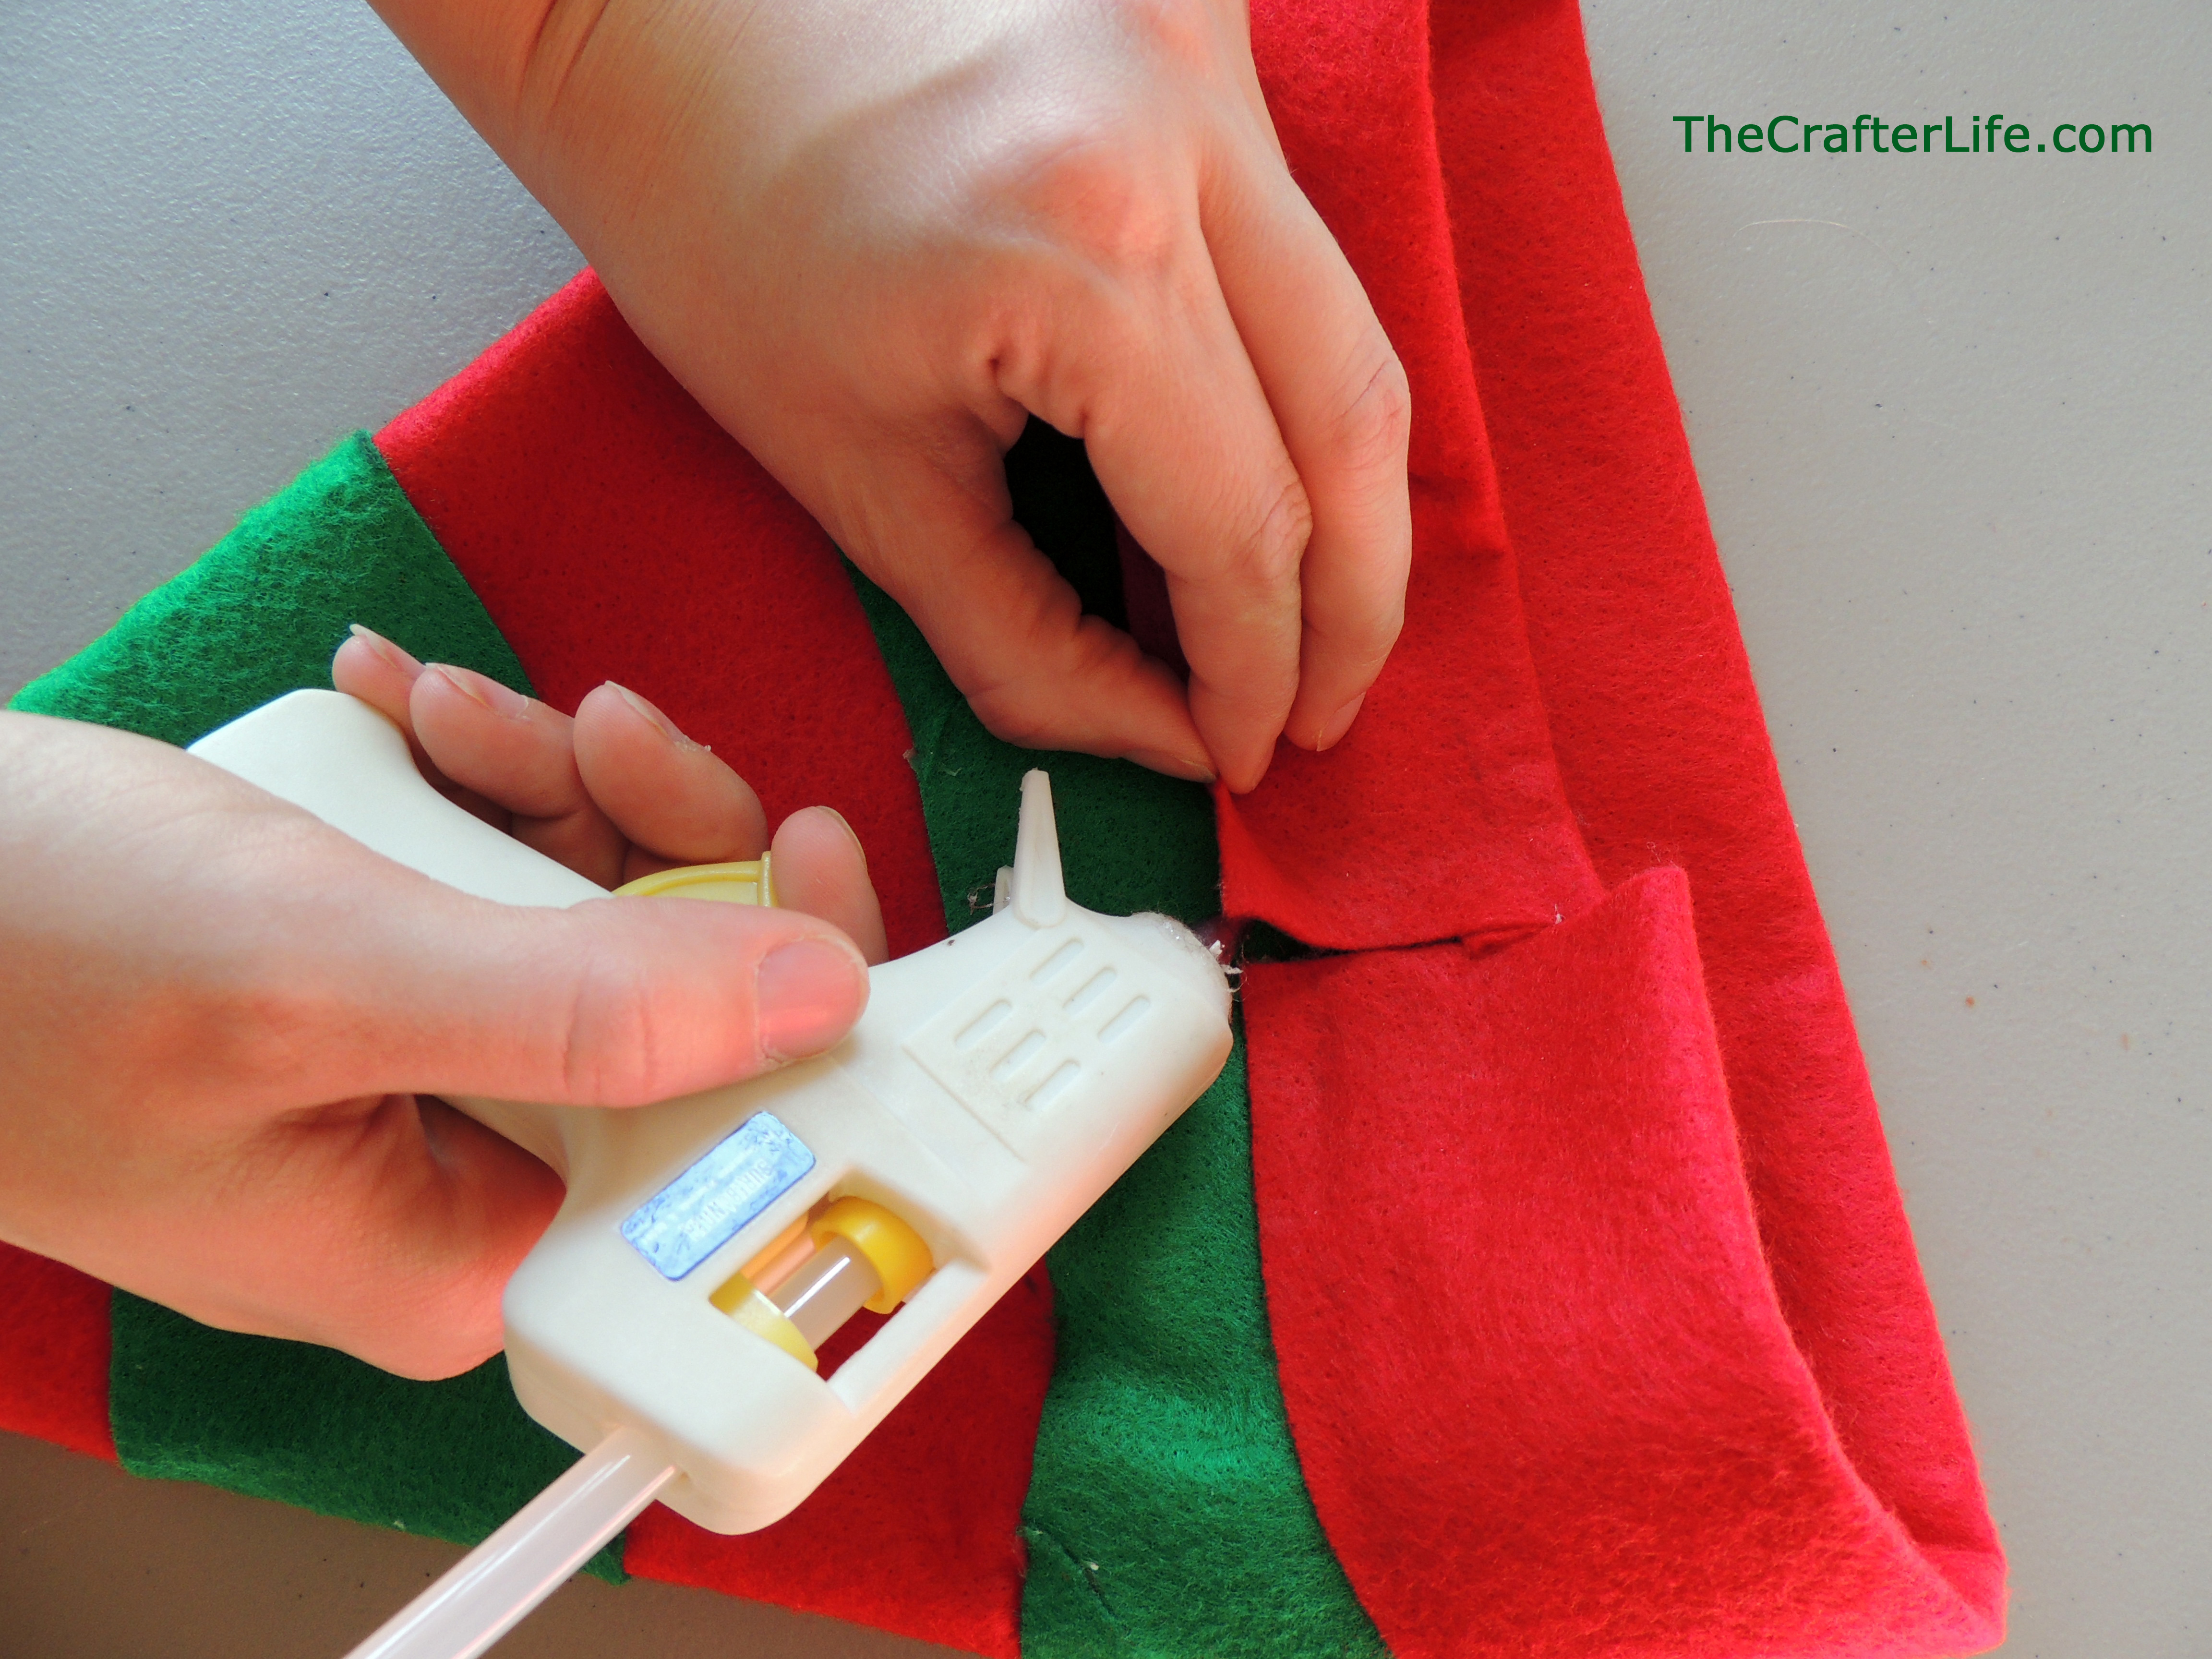
11. Using a hot glue gun, glue the green stripes in place on your hat.
12. Fold your hat so that the straight edges meet and so the stripes are on the inside. Hot glue the sides together along the edge to create a seam. Stop gluing before you reach the last stripe of your hat if you want to make a brim for your hat.

13. Turn your hat right-side out.
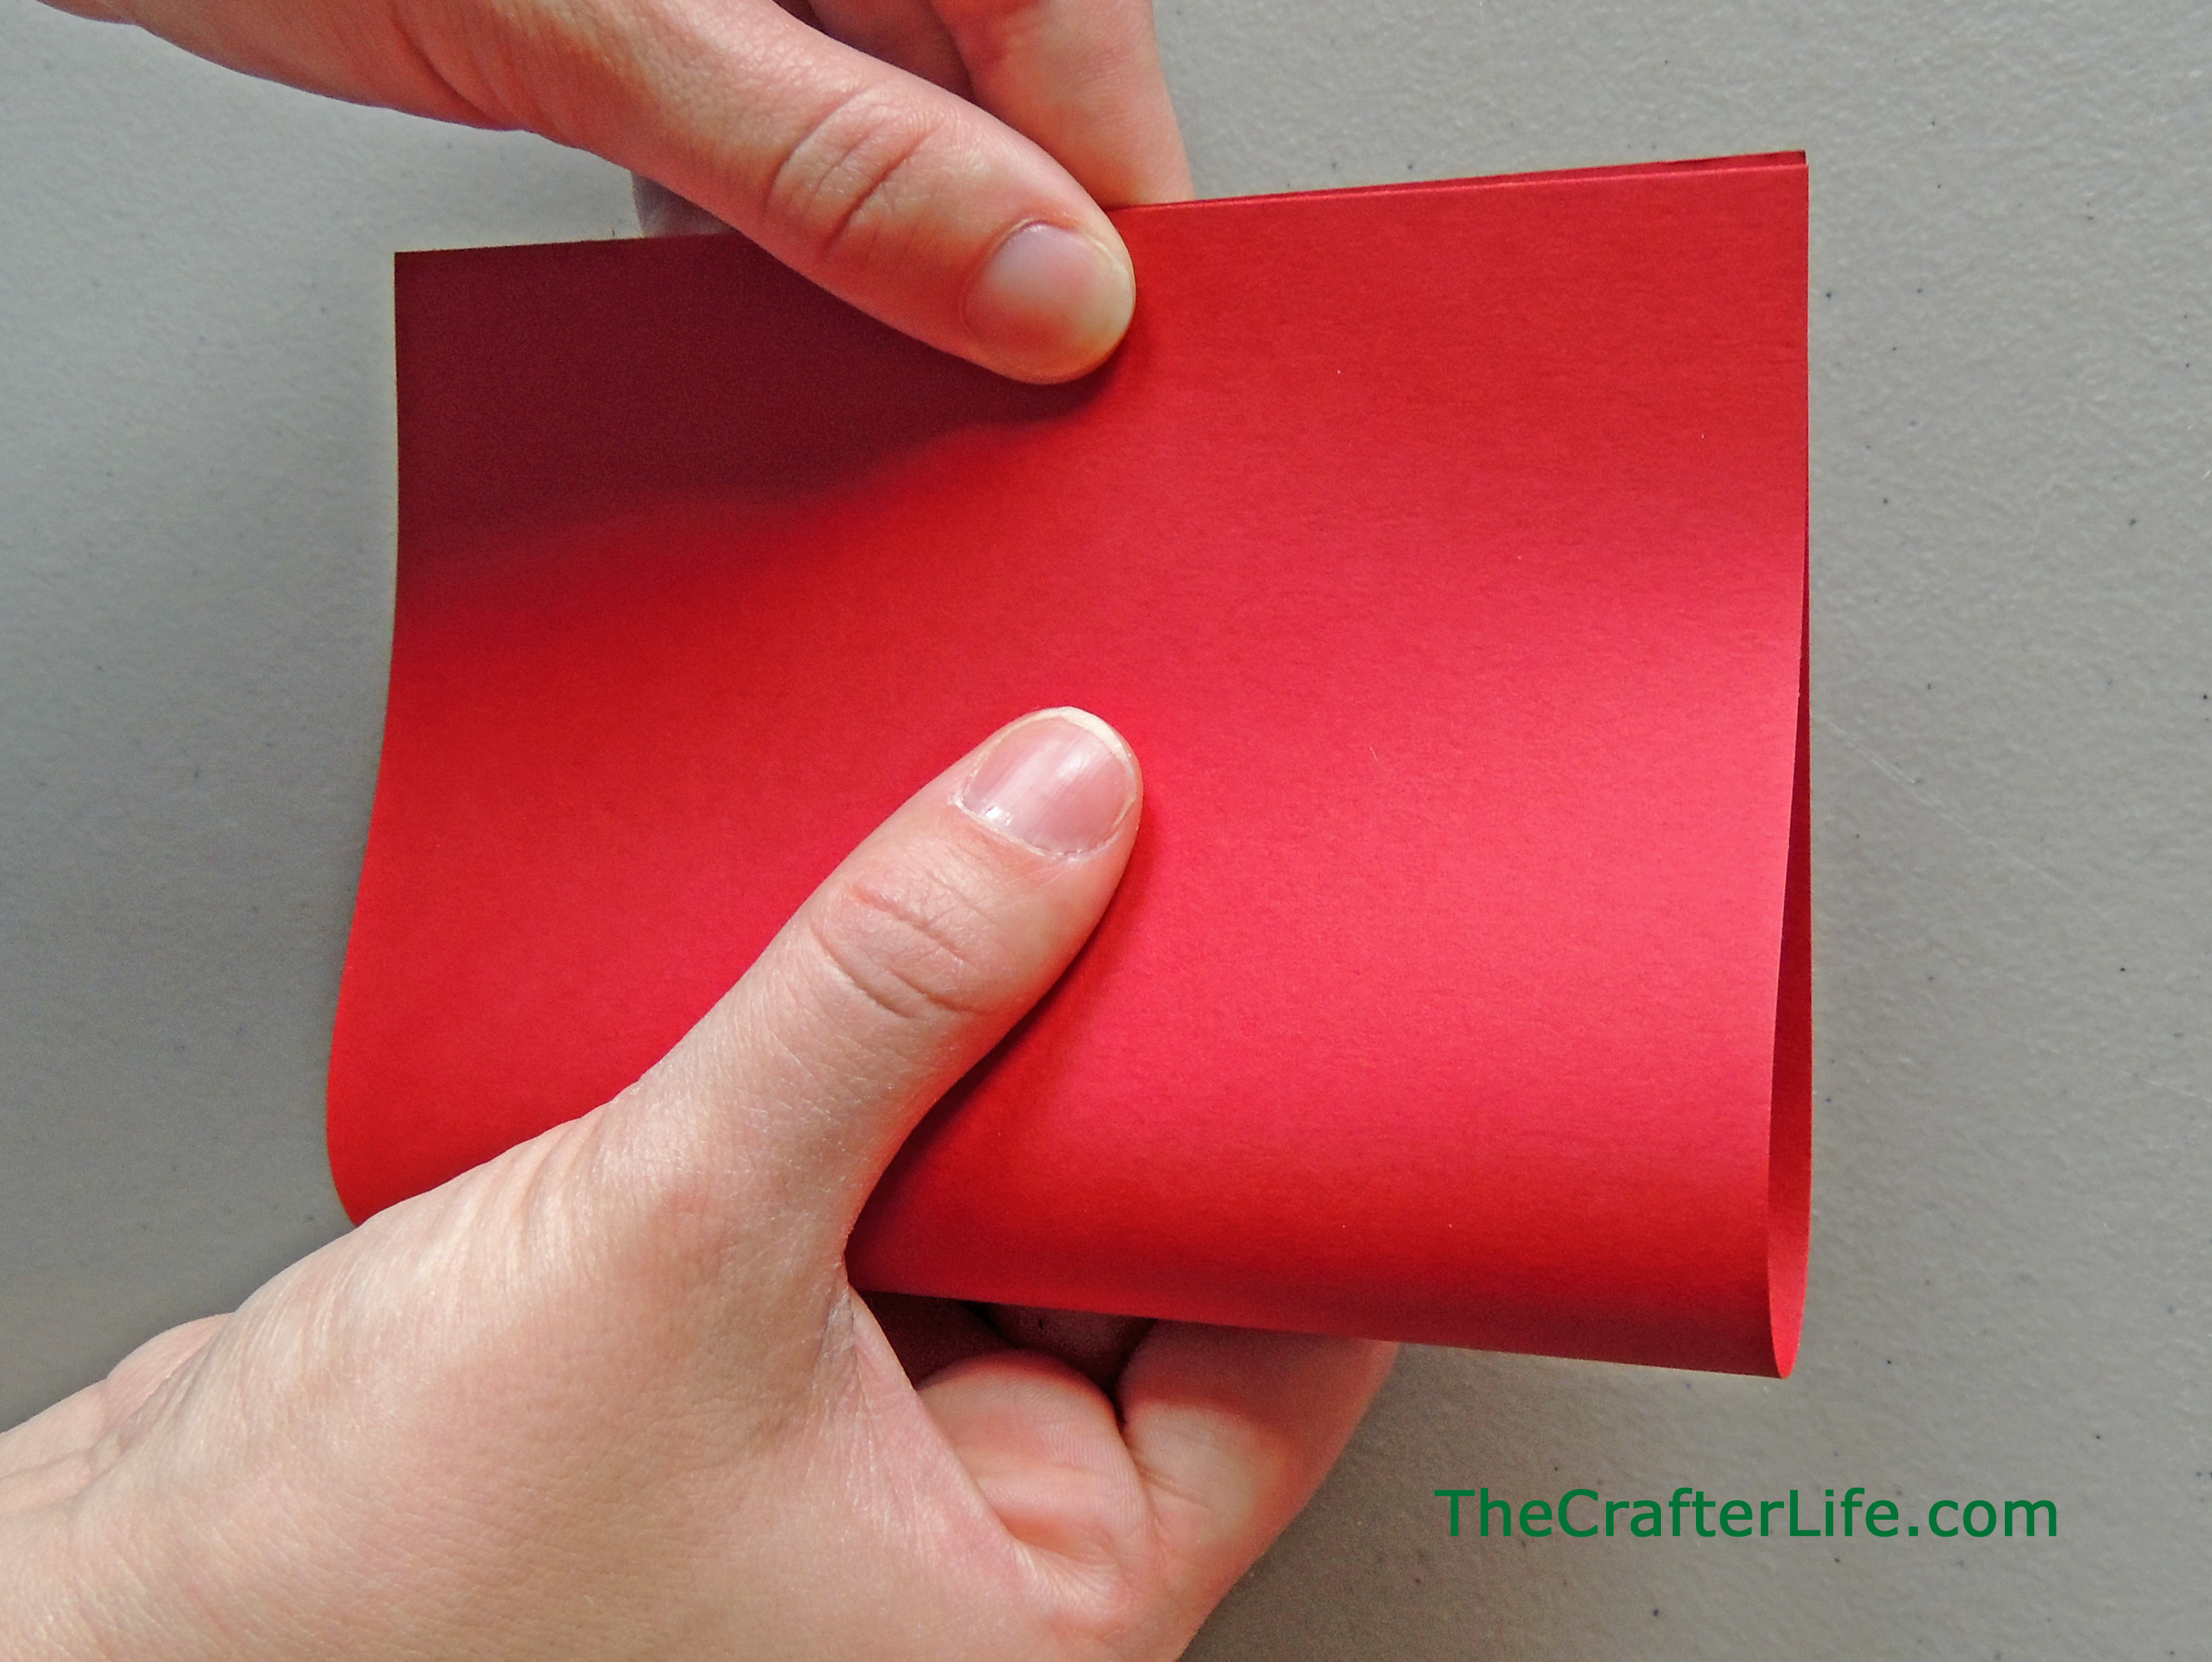
14. In order to make a brim for your hat, cut a piece of red felt that is one to two inches longer than the hat circumference. The piece of felt should be 4 inches wide to create a 2 inch brim.
15. Fold the brim as shown below and glue it together along the top edge.

16. Glue the brim around the bottom of the hat leaving some of the green felt showing. Fold the ends of the brim inward along the seam and glue the rest of the seam closed.
17. Glue a pom-pom to the top of the hat and add any other embellishments you wish to finish your hat.
Feel free to post comments here or put a picture of your hat on my Facebook page!
**If you like what you see, feel free to pin, share, and link back to my site. Thank you for visiting!

DIY Christmas Cards
You May Also Like
Throwback Thursday- Christmas Yarn-Wrapped Letters! ( from 2014)

Christmas Candy Repurpose: Don’t Toss It – Transform It!
