
Weight Loss Tracking with Crochet Marbles
![]()
Happy New Year! If your resolution involves losing weight or getting in shape, here is a great visual way to keep you on track to reach your goal! You can do this individually or make it a friendly competition/game with others (there is no limit to the number of people who can participate) to help keep you motivated. My husband and I did this a few years ago but we used colored dice I had from teaching since we didn’t have marbles. This time, I decided to crochet some marbles for us to use since they are prettier and less bulky than the dice. If you are ready to lose your “marbles”, read below to find out how this works and how to make your own visual tracking system.
How it works:
In this system, each marble represents a pound. Decide how many pounds you want to lose, then place that same amount of marbles in a glass jar. This jar will represent the pounds you still have left to lose (you may want to label the jar, “Pounds to Lose”). If you are doing this with others, each person should pick a different color for all of their marbles. Each person can either place their marbles in their own glass jar or everyone can place their marbles in one starting jar together. In the picture above, my husband and I decided to put our marbles in separate jars because it makes it easier to see our individual progress. Next, you just need one more glass jar to represent the pounds you lose (you may want to label this jar, “Pounds Lost”). Decide on how often you are going to record/check your weight (weekly works pretty well). Each time you check your weight, move a marble for every pound you lost from your jar representing the weight you still need to lose to the jar representing the pounds you lost. That’s it! Have fun watching the marbles disappear from your jar and build up in the jar representing your weight loss.
Materials
– 1 glass jar for each person participating (we used large baby food jars)
– 1 large glass jar (we used a mason jar)
– Paper for labeling the jars
– Marbles (directions for crochet marbles below)
– Optional: Circle cutter for label on bottom of lid, yarn for decorating the jar lids + hot glue gun/double-sided tape
Directions
1. Create a label for the larger glass jar representing pounds lost. I simply typed and printed my label that reads, “Pounds Lost” in the main picture above. I cut it out and taped it to the inside of the jar.
2. You may want to create labels for each individual’s jar as well. You could place each person’s name on them or simply write “Pounds to Lose” on the jars. Instead of labeling the outside of the jars, you could put the labels on the bottom of the jar lids.
3. We chose to place our starting weights and goal weights on the bottom of the baby food jar lids. I just cut a circle the same size as the bottom of the lid and taped it in place. Then we wrote our information on the paper.
![]()
4. I yarn-wrapped the baby food jar lids using double-sided tape and some hot glue with the same colors of yarn I used to make the marbles. If you are interested in how to yarn wrap a jar lid, see my Halloween Baby Food Jar Candy Dish post.
5. Place your marbles in your jar(s). See below for my crochet marble pattern.
Crochet Marble Pattern
![]()
MATERIALS
– 3.25 MM (D) hook
– Yarn in your choice of colors (I used Loops & Threads Impeccable Glitter yarn in Ultra Violet and Loops & Threads Impeccable Glitter yarn in Ice Queen)
– Tapestry needle for weaving in loose ends
– Scissors
– Optional: Fiberfill
ABBREVIATIONS
– ch = chain
– dec = decrease
– rnd = round
– sc = single crochet
– slst = slip stitch
– st = stitch
SPECIAL NOTES
– Each marble is made using continuous rounds (no joins or chains). You can use a stitch marker to keep track of rounds if needed.
– Make sure to weave in initial loose end and turn the marble right-side out after round 2.
– If you choose, you can stuff each marble with fiberfill before fastening off (I chose not to since they kept their shape pretty well).
DIRECTIONS
Rnd 1: Magic circle, ch 1, 4 sc in magic circle, place marker. (4 sc)
Rnd 2: Place 2 sc in each sc around. At this point, you should weave in and cut initial loose end. (8 sc)
Rnd 3: Sc in each st around. You may choose to stuff with fiberfill at this point. (8 sc)
Rnd 4: Sc dec four times, slst to next st, fasten off and weave in loose end. (4 sc dec)
***If you sell products using my patterns or mention my patterns/ideas please link back to my site. Please do not sell my patterns or claim them as your own.***
Feel free to post comments here or put a picture on my Facebook page!
**If you like what you see, feel free to pin, share, and link back to my site. Thank you for visiting!
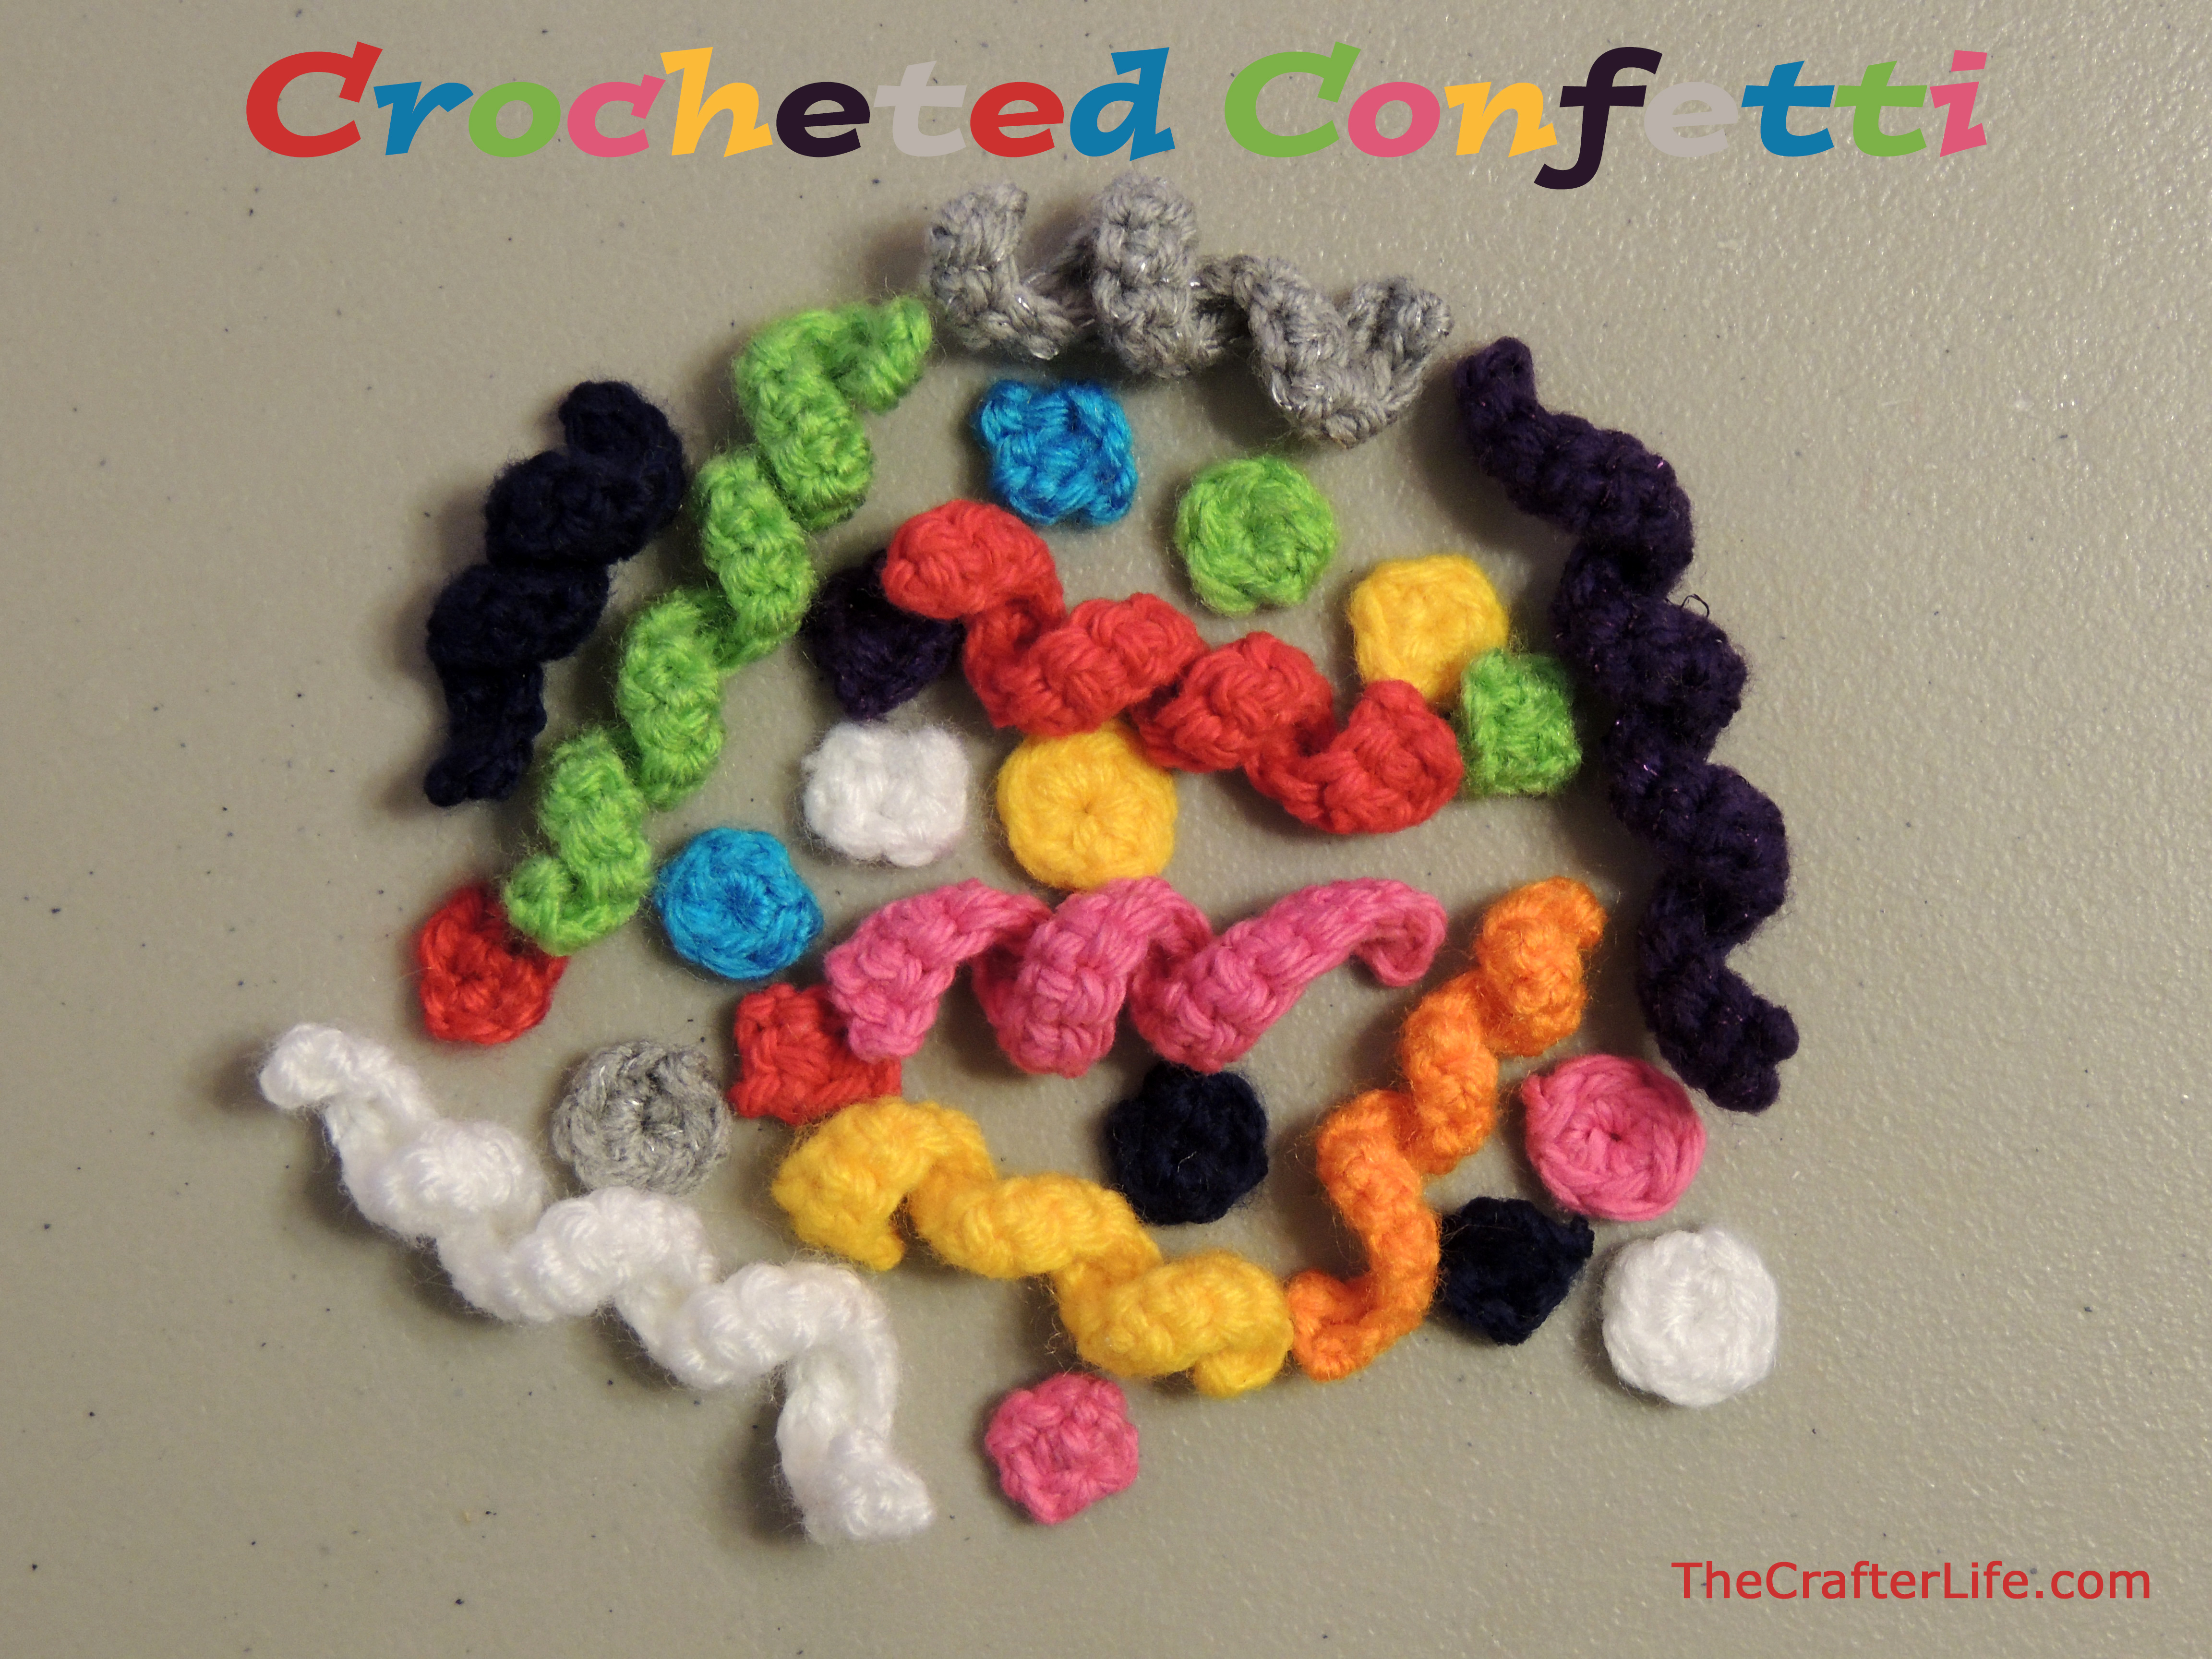
Crocheted Confetti
You May Also Like

Quick DIY Halloween Tree Topper

Wrapping LOL Surprise Dolls
One Comment
Pingback: