Shamrock Button-On Appliqué
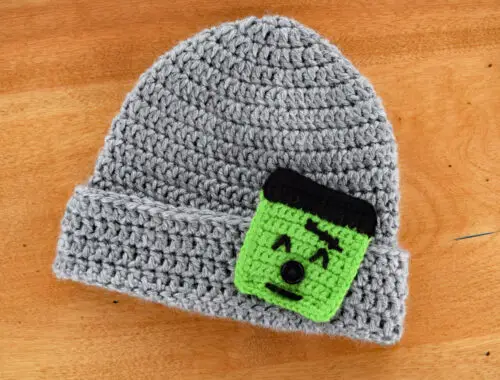
“Sham-Rock” my new button-on appliqué on your next project! The next addition to my line of Cute-As-A-Button crochet button-on appliqués is this cute shamrock! Simply attach a ½-inch button to your crochet piece and you are ready to Sham-rock ’n’ roll with this one! See below for the pattern.
Here is the link to my Hot Beverage Sleeve pattern.
I also made a really simple headband for my daughter to wear with the shamrock button-on appliqué. Its pattern can be found below the pattern for the shamrock.
Shamrock Button-On
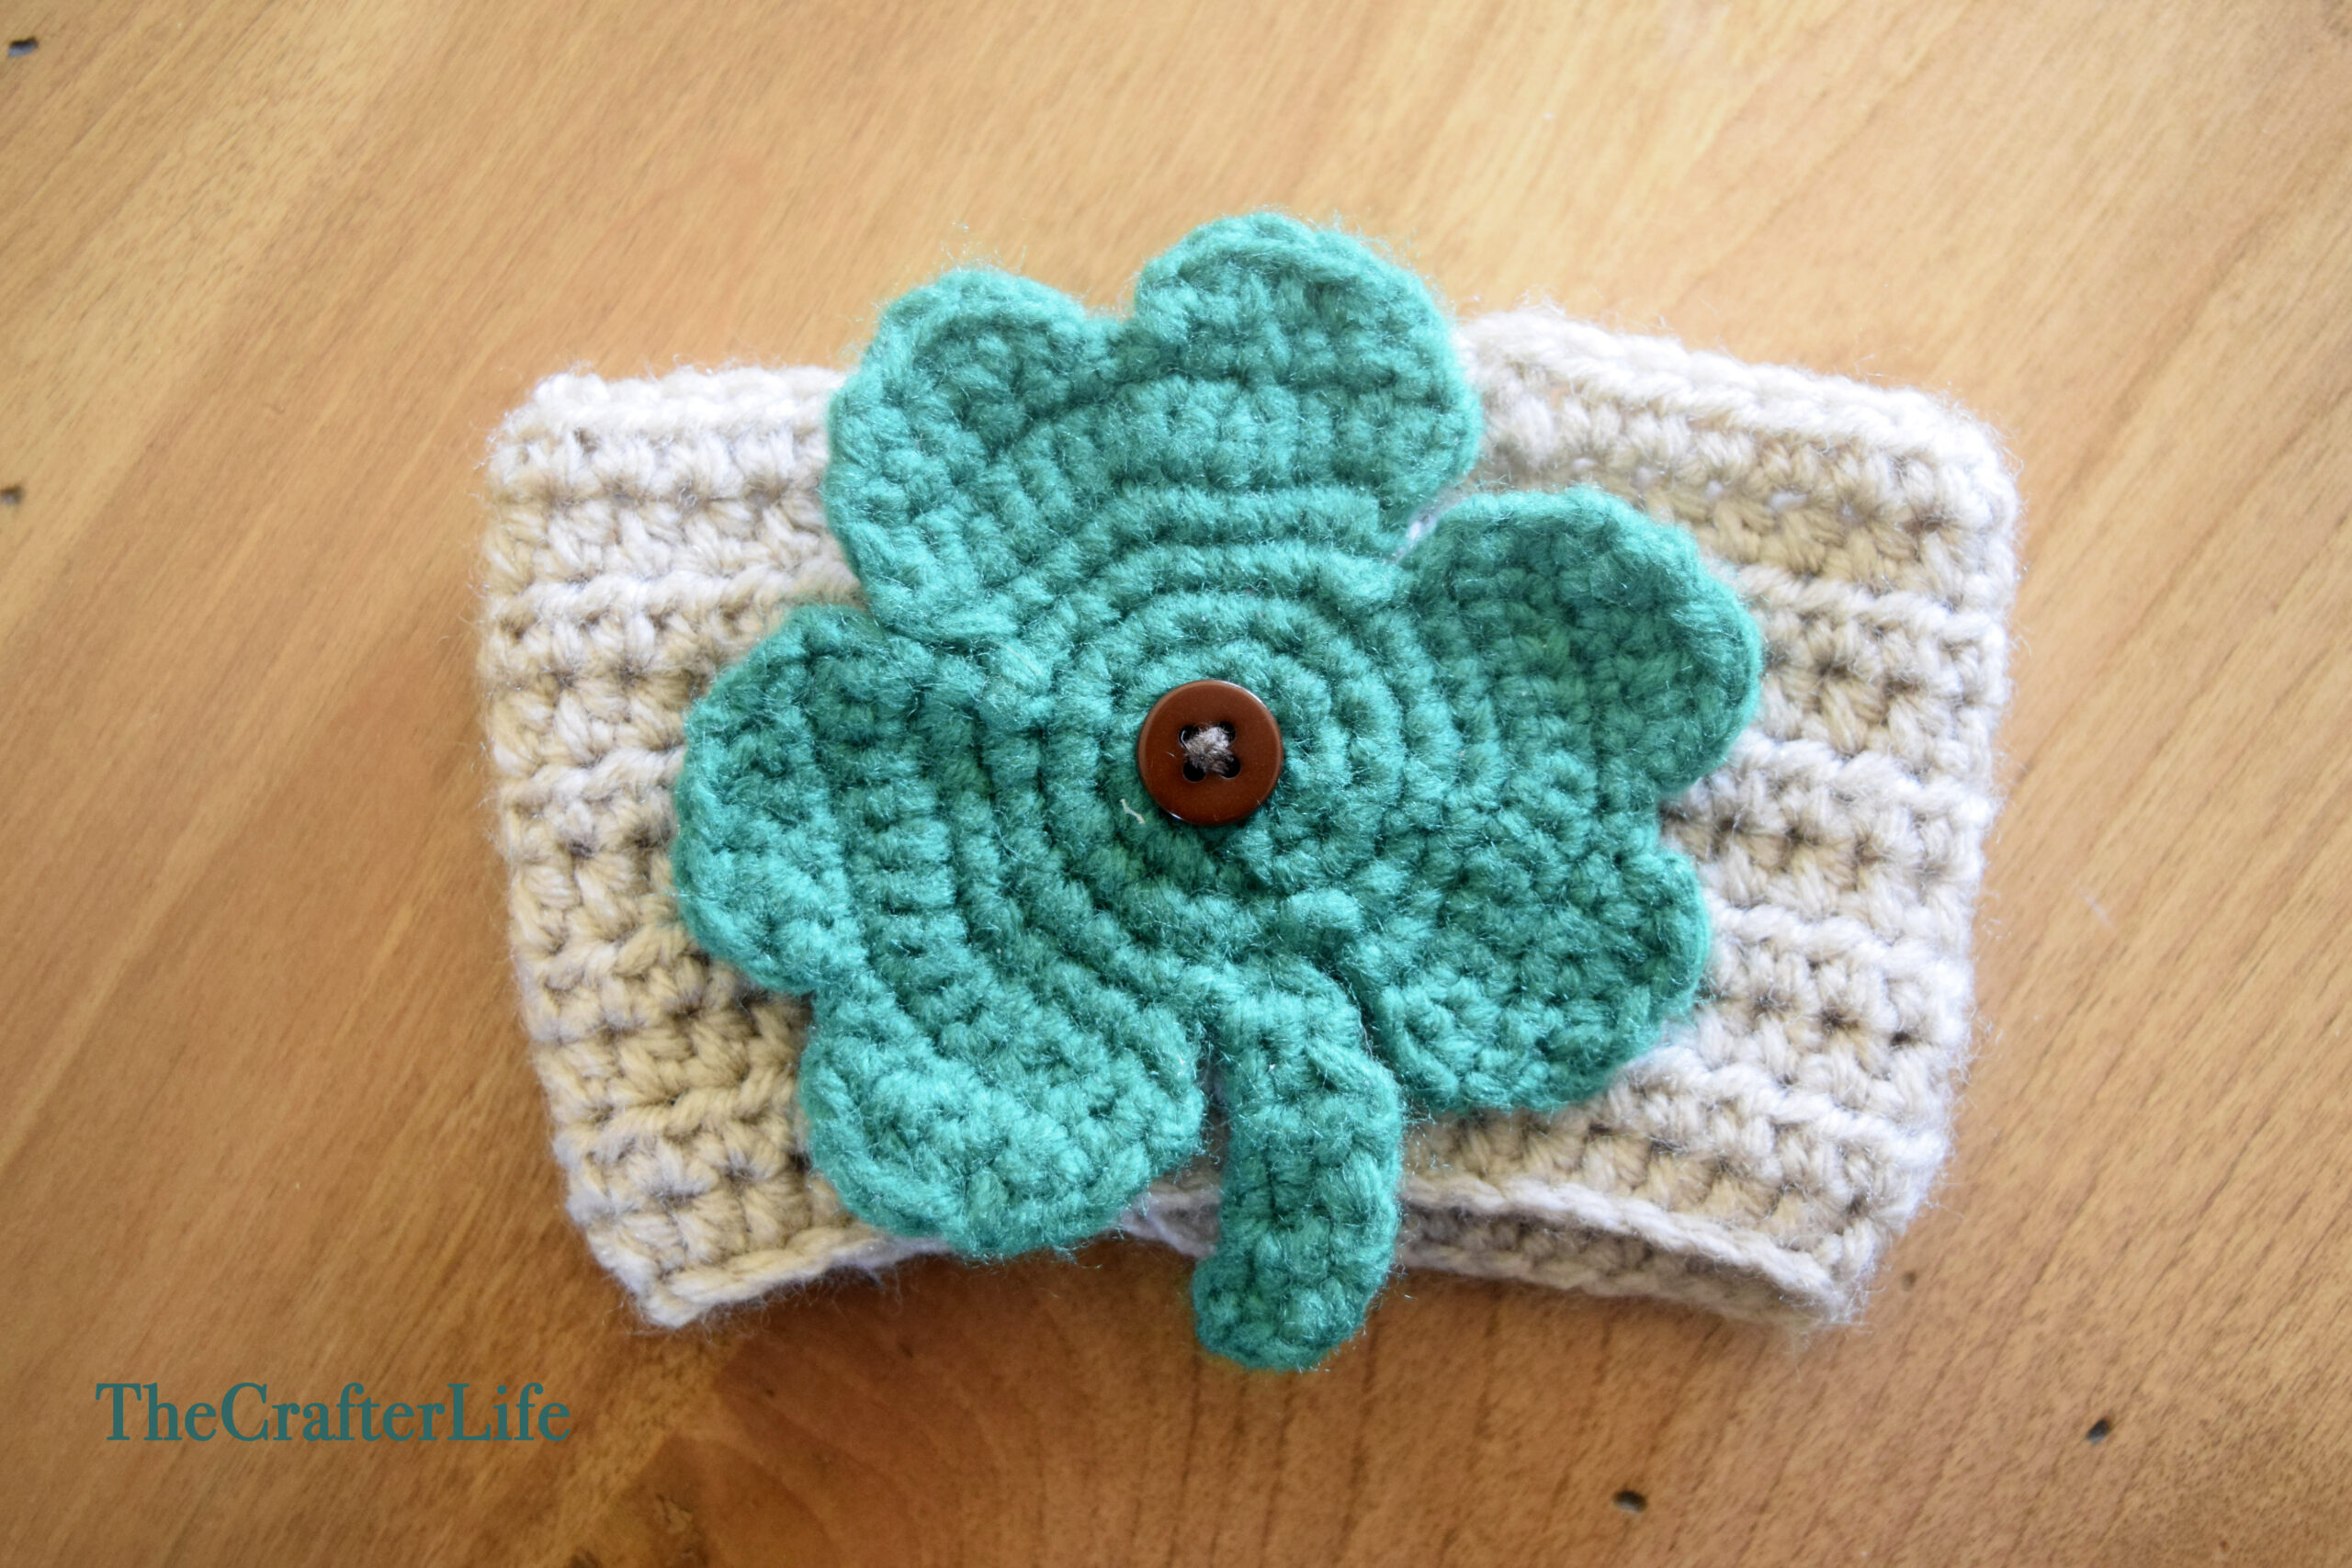
This shamrock button-on appliqué pattern is written to fit a standard ½-inch green (or your choice of color) button.
FINISHED MEASUREMENTS
The shamrock button-on appliqué is about 3½ inches tall and 3¼ inches wide.
MATERIALS
– Size 3.00 mm crochet hook or size needed to obtain gauge
– Worsted weight (4) acrylic yarn in Green (I used Loops & Threads Impeccable yarn in Kelly Green.)
– Scissors
– Tapestry needle for weaving in ends
– Stitch markers
– Measuring tape
ABBREVIATIONS
– ch = chain
– chs = chains
– dc = double crochet
– hdc = half double crochet
– sc = single crochet
– sc2tog = single crochet 2 together (single crochet decrease)
– slst = slip stitch
– st = stitch
– sts = stitches
GAUGE
3 rounds wide of sc = ½ inch
PATTERN NOTES
- The shamrock button-on appliqué is first made in continuous rounds. Do not join continuous rounds unless otherwise stated. Simply work the first stitch of each round in the first stitch of the previous round. Attach a stitch marker to mark rounds and move marker as you complete each round.
- The leaves of the shamrock are made in rows.
- Parentheses ( ) indicate a series of stitches worked in one stitch. They also indicate total stitch counts at the end of each round/row.
- Brackets [ ] indicate portions of the pattern to be repeated.
DIRECTIONS
Body of Shamrock
*Use your 3.00 mm hook and green worsted weight yarn to complete the body of the shamrock.
*The shamrock body is worked in continuous rounds. Work first stitch of round in first stitch of previous round. Use a stitch marker if needed.
*In Round 1, make sure to work your single crochet stitches in the chain stitches and not in the ring.
Round 1: Ch 8, slst in first ch to form a ring, work 2 sc in each ch around. (16 sc)
Round 2: Repeat [sc in next st, 2 sc in next st] around. (24 sc)
Round 3 creates the beginning of each of the three leaves and also completes the stem of the shamrock.
Round 3: Repeat [slst in next st, (slst, ch 1, 2 sc) in next st, sc in next 2 sts, 2 sc in next st, sc in next st, 2 sc in next st] 3 times, slst in next st, (slst, ch 1, sc) in next st, sc in next st, do not fasten off.
Leave yarn on hook after completing Round 3 and follow the directions for Rows 1 – 6 below to complete the stem.
Rows 1 – 2: Ch 1, turn, sc in next 2 sts. (2 sc)
Row 3: Ch 1, turn, sc in first st, 2 sc in next st. (3 sc)
Row 4: Ch 1, turn, sc in first st, sc2tog. (1 sc, 1 sc2tog; 2 total sts)
Row 5: Ch 1, turn, sc in first st, 2 sc in next st. (3 sc)
Row 6: Ch 1, turn, sc in first st, sc2tog, fasten off and weave in loose ends. (1 sc, 1 sc2tog; 2 total sts)
- You should now have the main body and stem of the shamrock complete. Follow the directions below to complete the leaves.
Shamrock Leaf (Repeat 3 times for each leaf on body)
With front side of work facing, attach your green yarn to the 1st stitch of a leaf section from Round 3. Then follow the pattern below.
Row 1: Ch 1, 2 sc in same st, sc in next 3 sts, 2 sc in next st, sc in next 3 sts, 2 sc in last st. (12 sc)
Row 2: Ch 1, turn, 2 sc in first st, sc in next 4 sts, 2 sc in next st, sc in next 5 sts, 2 sc in last st. (15 sc)
Row 3: Ch 1, sc in next 3 sts, sc2tog, sc in next 5 sts, sc2tog, sc in next 3 sts. (11 sc, 2 sc2tog; 13 total sts)
Row 4: Ch 1, turn, sc2tog, sc in next 4 sts, slst in next st, ch 1, sc in next 4 sts, sc2tog. (2 sc2tog, 8 sc, 1 slst; 11 total sts)
Row 5: Ch 1, turn, sc2tog, hdc in next st, 2 dc in next st, sc in next st, fasten off, weave in loose ends. (1 sc2tog, 1 hdc, 2 dc, 1 sc; 5 total sts)
*You should now have the first bump on the end of the leaf complete. Follow the directions below for Part 2 of Round 5 to create the second bump on the leaf.
With back (wrong side) of work facing, attach yarn to the 5th stitch of Row 4 (do not work in the ch-1 or slst from Row 4).
Row 5 (Part 2): Turn work so wrong side (back) is facing, attach yarn to 5th st of Row 4 (do not work in ch-1 or slst from Row 4), ch 1, sc in same st (5th st of Row 4), 2 dc in next st, hdc in next st, sc2tog, fasten off and weave in loose ends. (1 sc, 2 dc, 1 hdc, 1 sc2tog; 5 total sts)
***Once you finish weaving in all loose ends, your shamrock button-on appliqué is ready to be placed on a ½-inch button.
Baby Headband
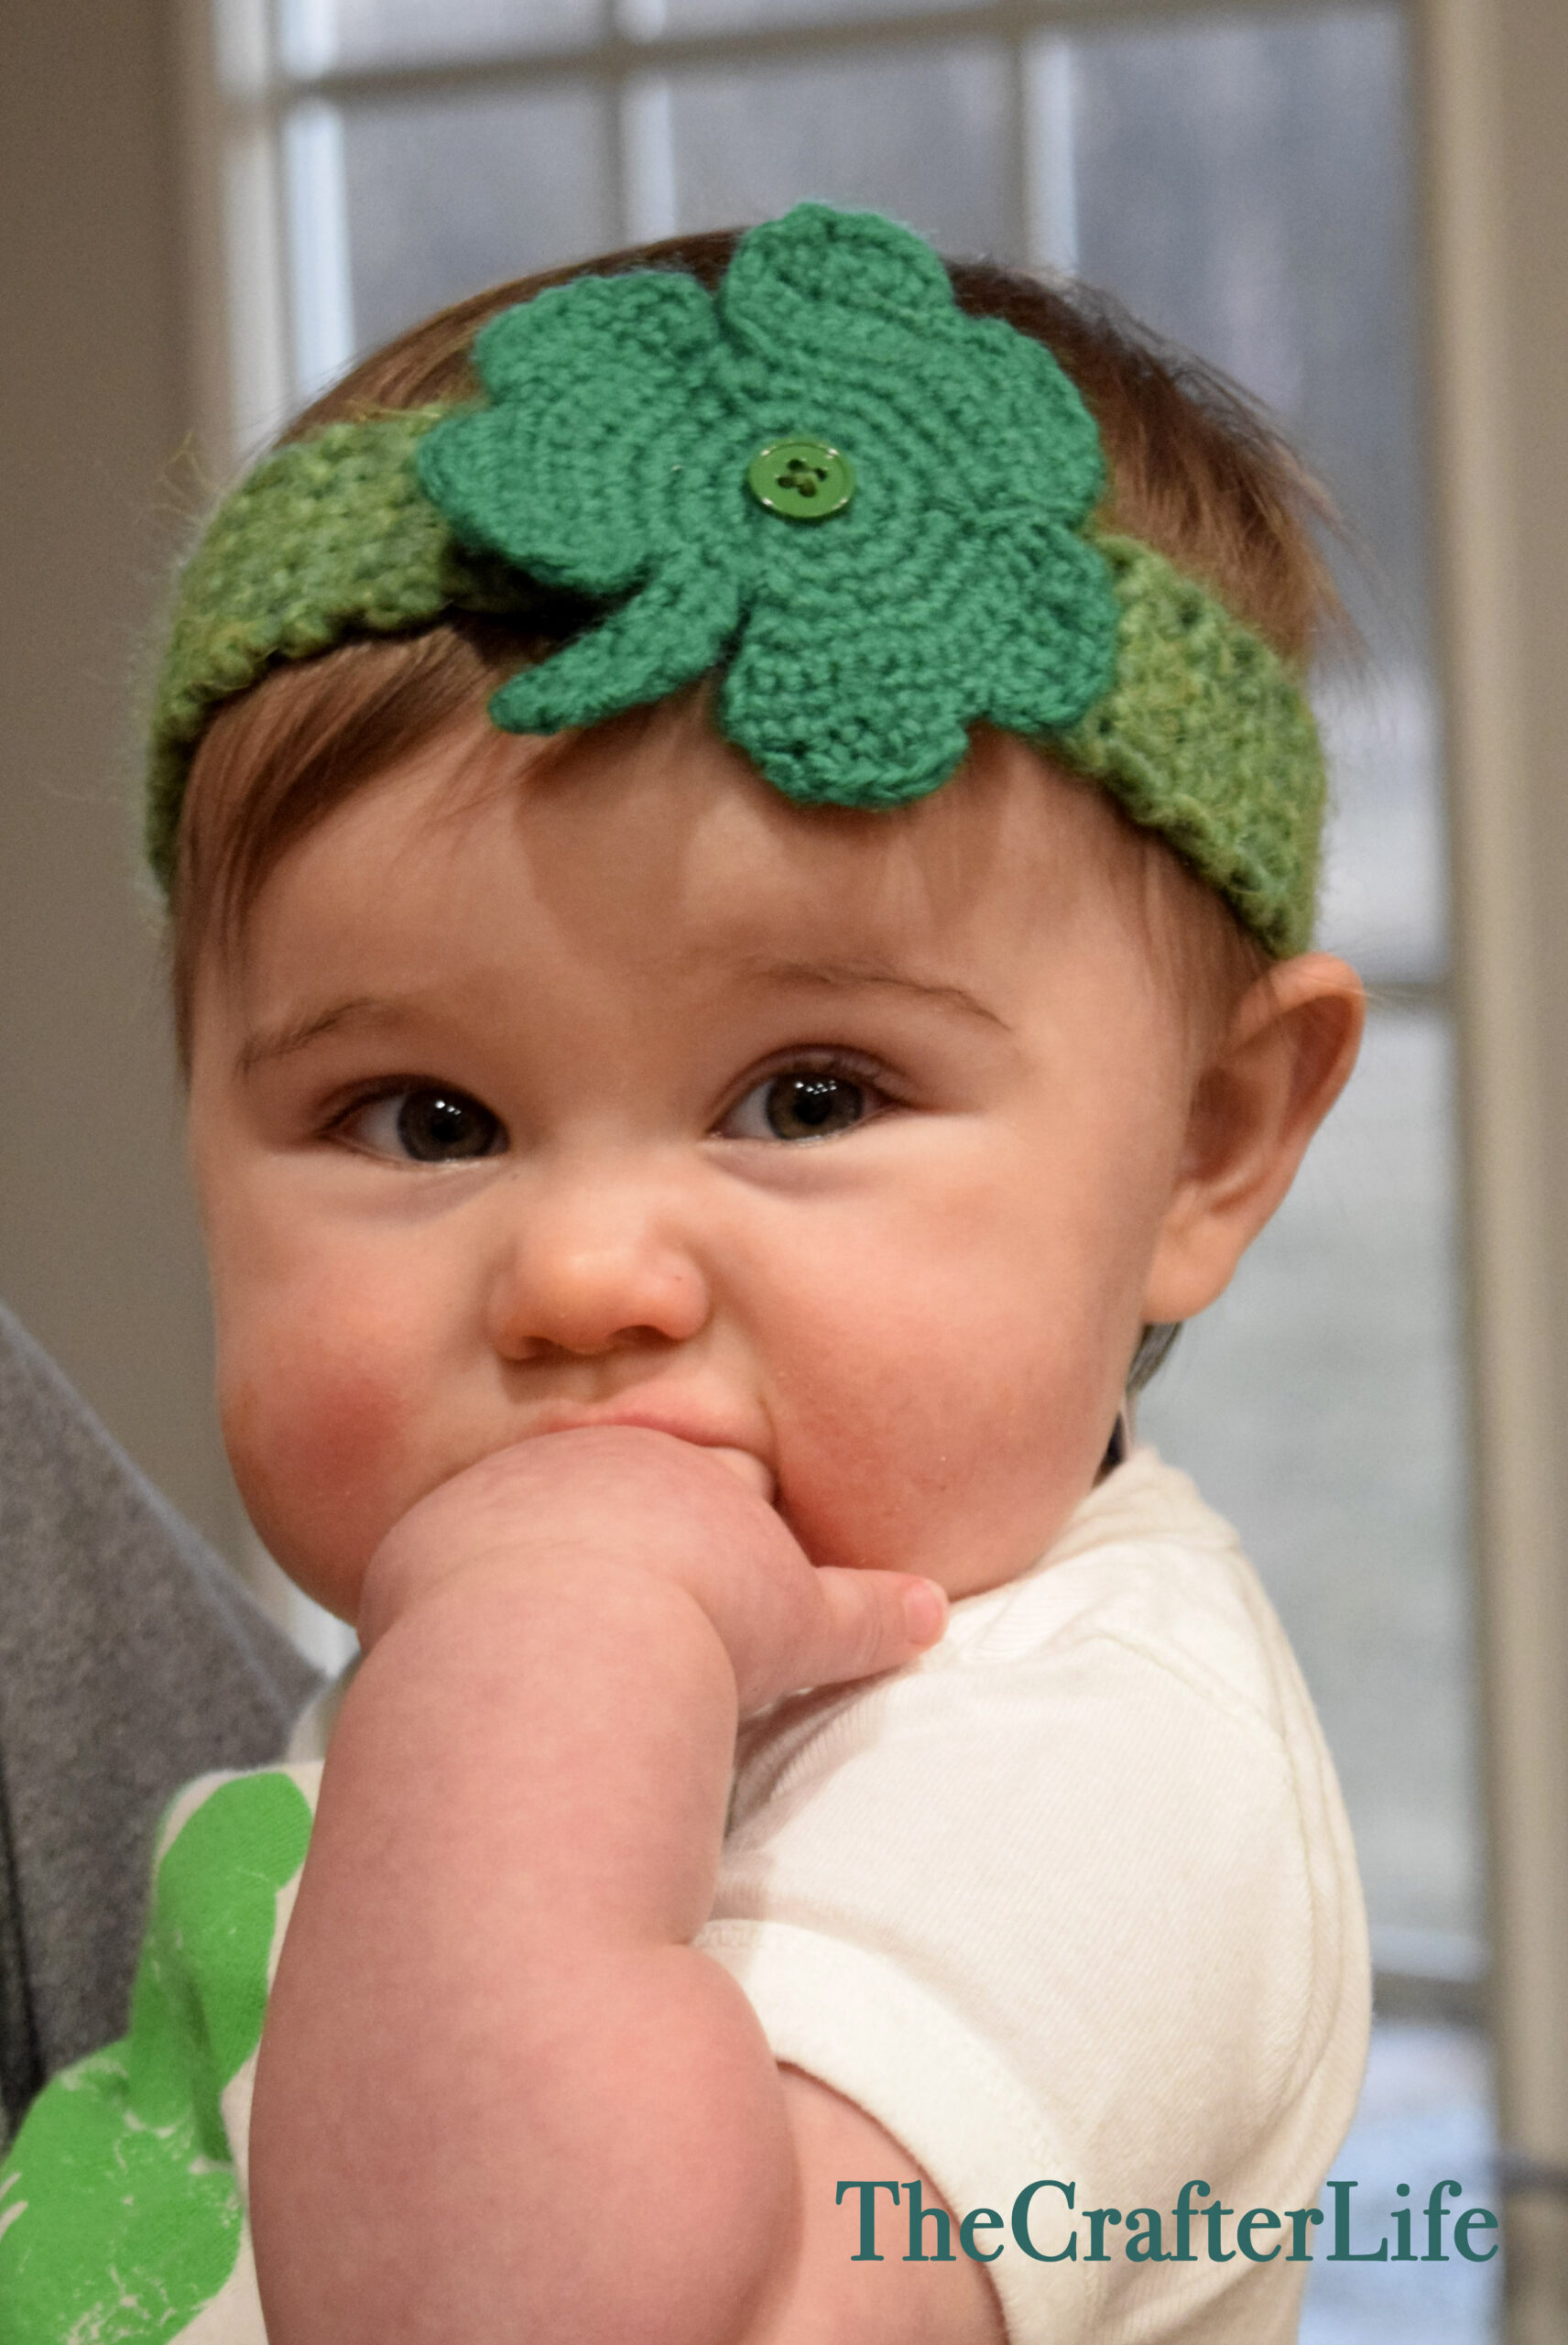
This headband pattern in written to fit most 6-to-9-month-old babies. It can be easily adjusted for other sizes by deleting or adding rows.
FINISHED MEASUREMENTS
The shamrock button-on appliqué is about 1½ inches wide. It can be made as long as needed so that it fits around the head.
MATERIALS
– Size 5.50 mm crochet hook or size needed to obtain gauge
– Bulky weight (5) acrylic blend yarn in Green (I used Patons Alpaca Blend Yarn in Turf.)
– Scissors
– Tapestry needle for weaving in ends
– Stitch markers
– Measuring tape
– ½-inch button(s) in the color you need to match your button appliqués (if you are making this to wear with interchangeable button-on appliqués)
– Lace weight (0) yarn or sewing thread in button color (if you are making this to wear with interchangeable button-on appliqués)
– Thin tapestry needle/sewing needle (if you are making this to wear with interchangeable button-on appliqués)
ABBREVIATIONS
– ch = chain
– chs = chains
– dc = double crochet
– hdc = half double crochet
– sc = single crochet
– sc2tog = single crochet 2 together (single crochet decrease)
– slst = slip stitch
– st = stitch
– sts = stitches
GAUGE
4 sc = 1 inch
4 rows of sc = 1 inch
PATTERN NOTES
- The headband is made in rows of single crochet.
DIRECTIONS
Body of Headband
*Use your 5.50 mm hook and your bulky weight yarn.
*Add or delete rows as needed for a custom fit so that band reaches around head.
Row 1: Ch 6, sc in 2nd ch from hook and in next 4 chs. (5 sc)
Rows 2-68: Ch 1, turn, sc in each st across. (5 sc)
At the end of Row 68 (or your last row), turn work and then fold the band so that the first row meets the last row (make sure the band isn’t twisted and that you match up each stitch from the last row with a corresponding stitch from the first row). Then, with your yarn still on the hook after completing the last stitch of the last row, ch 1 and sc the corresponding stitches together from the first and last row to create the seam of the headband. Make sure to work your sc stitches in both corresponding stitches simultaneously by inserting your hook under both loops of the stitch from the last row and both loops of the corresponding stitch from the first row before pulling up your loop. Once you have worked your way across all of the stitches, fasten off and weave in/secure your yarn in the seam. Flip the headband around so the seam is on the inside. The headband is now complete!
*If you are choosing to use the headband with button-on appliqués, sew a ½-inch button in the middle of the outside of the headband halfway around from the seam. Secure your thread on the inside of the headband and then you are ready to attach your button-on appliqué to the headband.
The pattern and photos of this item are the property of TheCrafterLife. This pattern and design are subject to copyright, and are for personal, non-commercial use only. You may not distribute, sell this pattern, or claim it as your own under any circumstances.
You may not sell my patterns or claim them as your own. You may make items to sell (i.e. on Etsy) from my patterns but I ask that you link back to my site and provide credit for the pattern. You are welcome to share my patterns on social media as long as you link back directly to my site by providing the link. No copying and pasting of any patterns will be allowed under any circumstances.