Bunny Button-On Appliqué & Bonnet
Hoppin’ down the “button-on” trail is my new Bunny Button-On Appliqué pattern! Adorn your spring project with this cute face! All you have to do is attach it to a standard ½-inch button.
Bunny Button-On
This bunny button-on appliqué pattern is written fit a standard ½-inch button.
FINISHED MEASUREMENTS
The bunny button-on appliqué is about 3 inches tall (from top of ears to bottom of head) and about 2 inches wide.
MATERIALS
– Size 3.00 mm crochet hook or size needed to obtain gauge
– Worsted weight (4) acrylic yarn in main color of your choice (I used Red Heart Super Saver yarn in White.)
– Worsted weight (4) acrylic yarn in eye/mouth color of your choice (I used Red Heart Super Saver yarn in Black.)
– Scissors
– Tapestry needle for weaving in ends
– Stitch markers (Optional – if needed for counting/marking stitches)
– Measuring tape
ABBREVIATIONS
– ch = chain
– chs = chains
– dc = double crochet
– hdc = half double crochet
– sc = single crochet
– slst = slip stitch
– st = stitch
– sts = stitches
GAUGE
3 rounds wide of sc = ½ inch
PATTERN NOTES
- The bunny button-on appliqué is first made in continuous rounds. Do not join continuous rounds unless otherwise stated. Simply work the first stitch of each round in the first stitch of the previous round. Attach a stitch marker to mark rounds and move marker as you complete each round.
- Brackets [ ] indicate portions of the pattern to be repeated.
DIRECTIONS
Head of Bunny
*Use your 3.00 mm hook and main color worsted weight yarn (I used white yarn) to complete the head of the bunny.
*The bunny head is worked in continuous rounds. Work first stitch of round in first stitch of previous round. Use a stitch marker if needed.
*In Round 1, make sure to work your single crochet stitches in the chain stitches and not in the ring.
Round 1: Ch 8, slst to first ch to form a ring, 2 sc in each ch around. (16 sc)
Round 2: Repeat [sc in next st, 2 sc in next st] around. (24 sc)
Round 3: Repeat [sc in next 2 sts, 2 sc in next st] around. (32 sc)
Round 4: Repeat [sc in next 3 sts, 2 sc in next st] around, slst in first st of round, do not fasten off, leave yarn on hook. (32 sc)
*With your yarn still on hook, follow directions below to make the first ear.
EAR 1: With yarn still on hook, ch 9, hdc in 2nd ch from hook, dc in next 4 chs, hdc in next 2 chs, sc in last ch, slst in next st from Round 4 of head (2nd st of Round 4), fasten off, weave in loose ends. (3 hdc, 4 dc, 1 sc, 1 slst; 9 total sts)
*Ear 1 is now complete. Follow the directions below to make the second ear.
Ear 2
*Attach your white (main color) yarn to the 6th st of Round 4 of head (this should be 4 stitches over from the other ear). Then follow the same pattern as for Ear 1. See below for the specific directions.
Ear 2: Attach yarn to 6th st of Round 4 of head, ch 9, hdc in 2nd ch from hook, dc in next 4 chs, hdc in next 2 chs, sc in last ch, slst in next st from Round 4 of head (7th st of Round 4), fasten off, weave in loose ends. (3 hdc, 4 dc, 1 sc, 1 slst; 9 total sts)
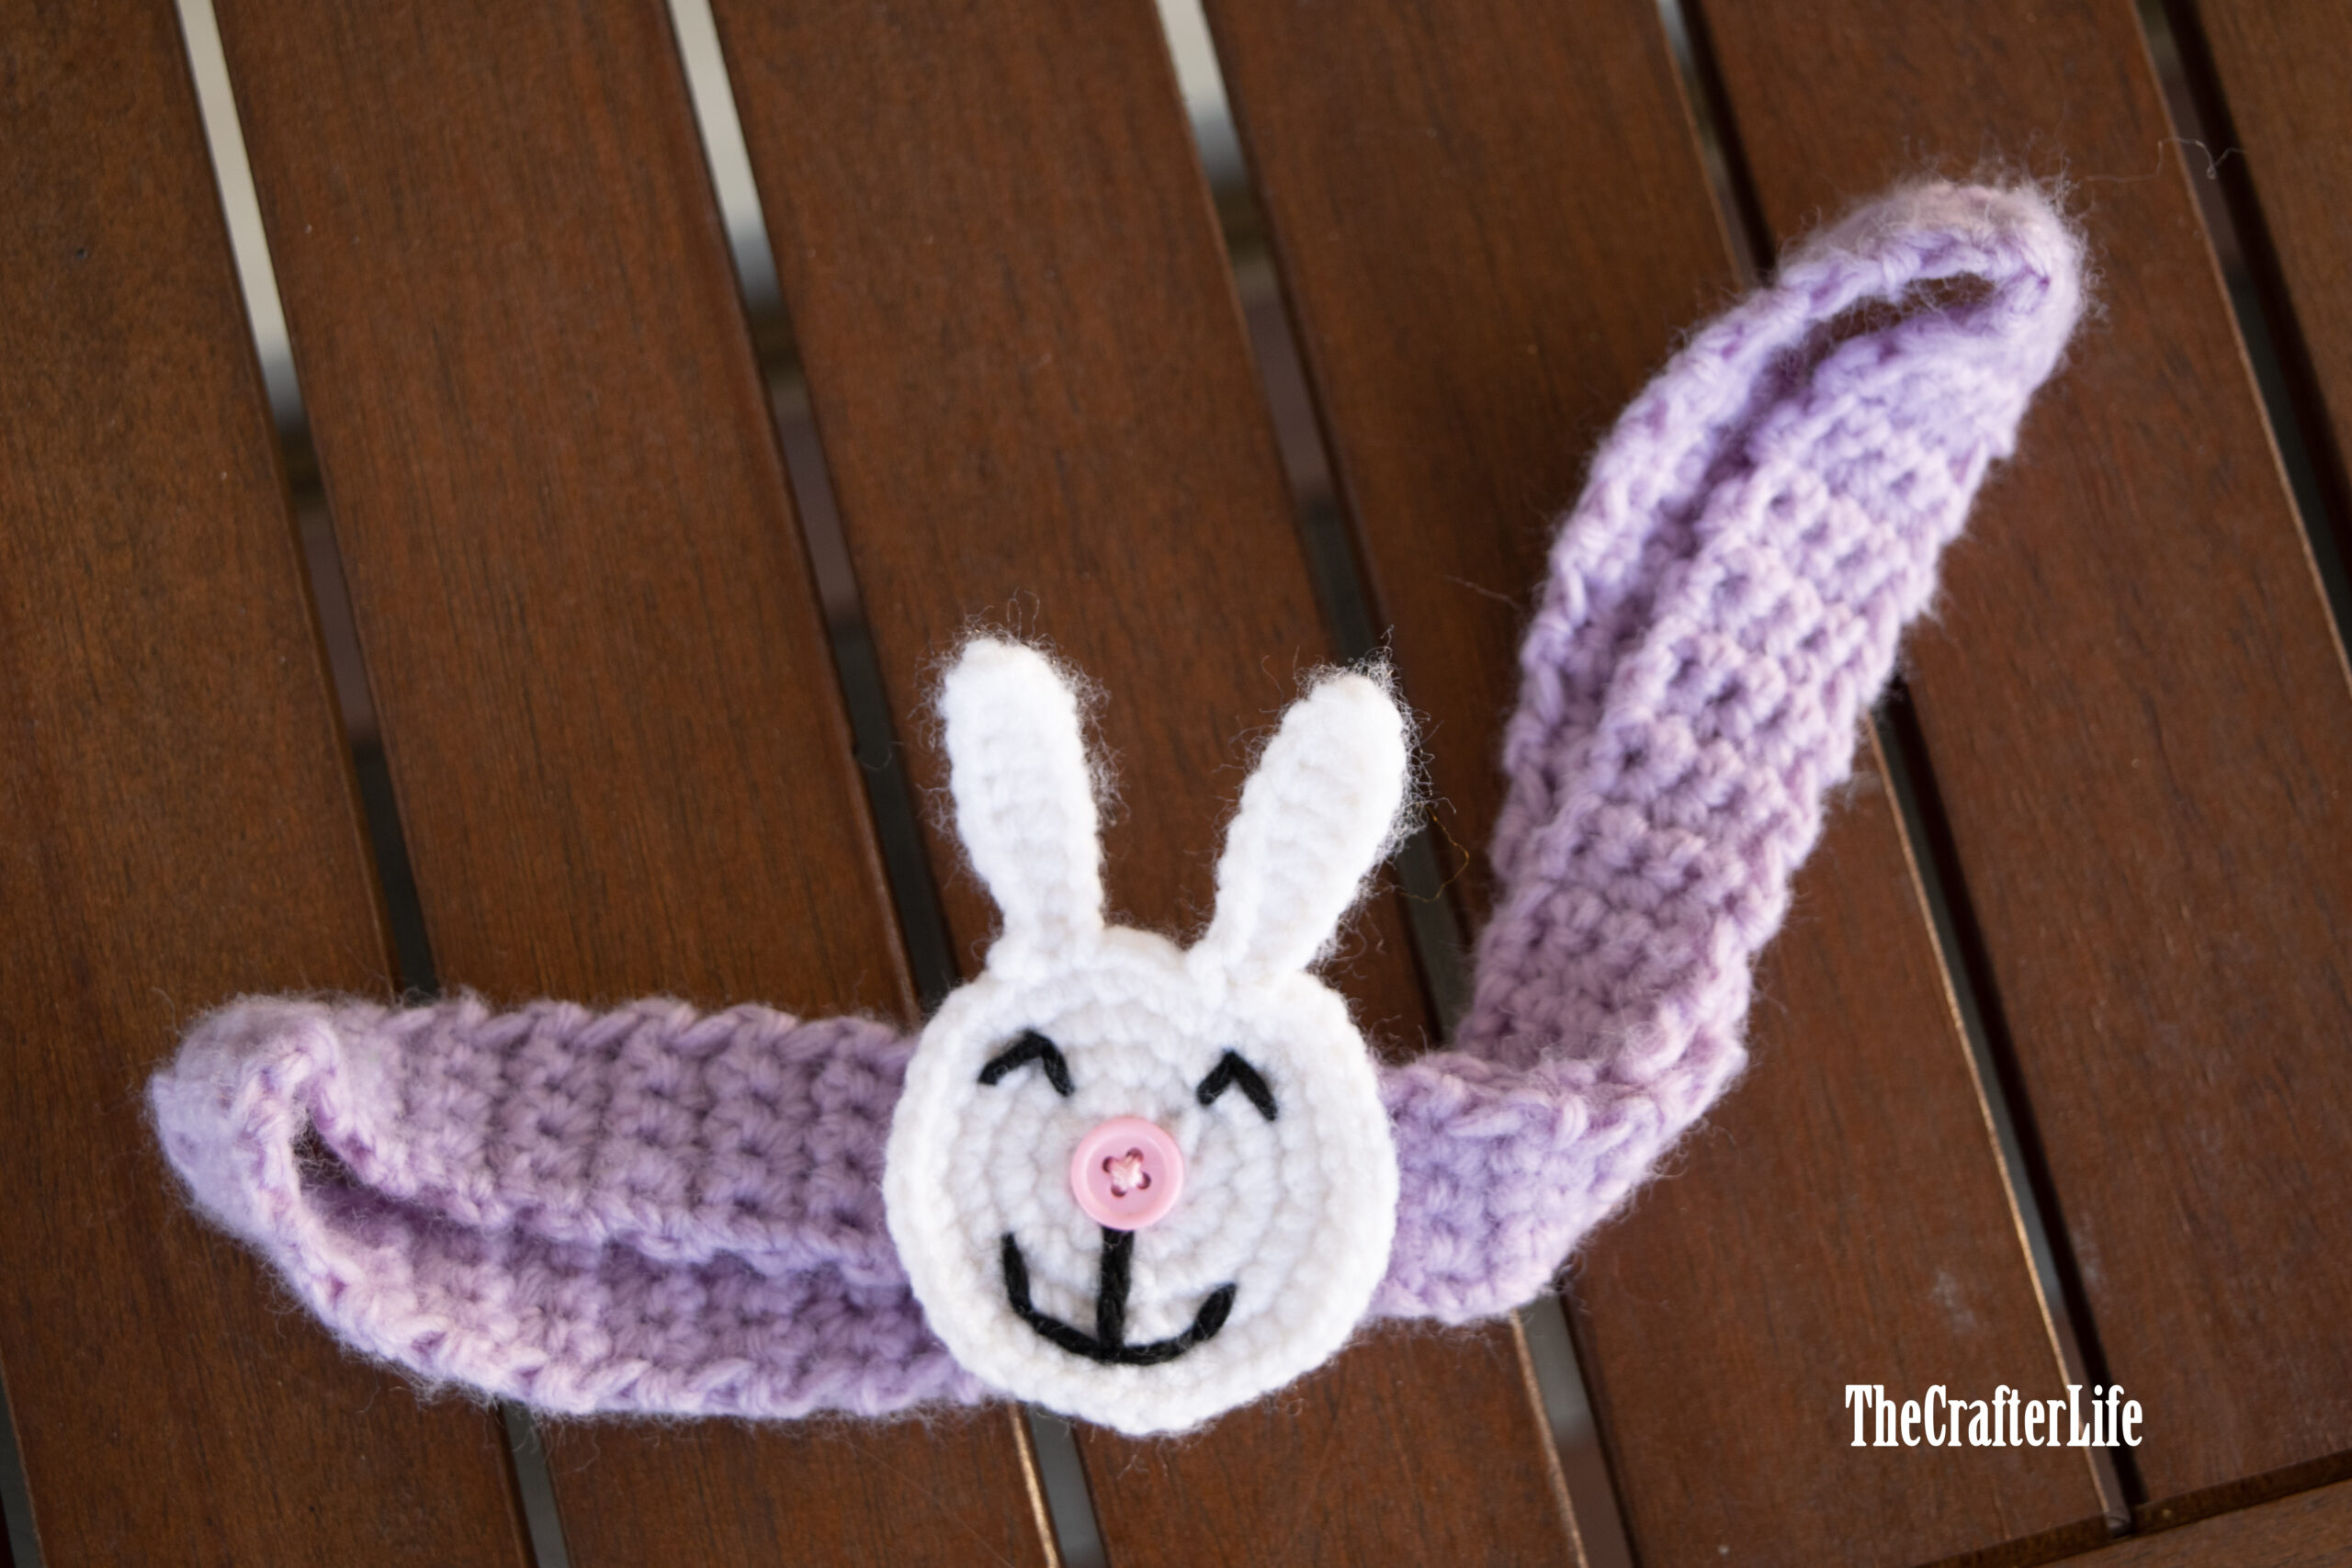
Face Stitching
* Use a small tapestry needle and eye/mouth color yarn (I used black yarn) to stitch on the mouth and eyes.
1. Use a long strand of black yarn and small tapestry/sewing needle to stitch on the mouth first. Draw the yarn up to the front side, right under the button hole, making sure it is centered between the ears. Then take your yarn back down between Rounds 3 and 4 of the head (making sure it forms a straight vertical line. Next, using the same strand of yarn, stitch on one side of the smile. Draw your yarn up through the middle of Rounds 3 and 4, about 2 stitches over from the vertical line you made. Then take the yarn back down the same hole as the bottom of the vertical line. For the second stitch of the smile on the same side, draw the yarn up through the middle of Rounds 2 and 3, so it will be about the same length as the first stitch. Then take the yarn back down through the same hole you brought the yarn up through to make the first stitch. Now do the same thing for the other side of the smile. Make sure the sides look as symmetrical as possible.
2. Use a short strand of black yarn to stitch on the first eye so that it makes an upside down V shape. Bring your yarn up between Rounds 2 and 3 of the head, level with about the 4th stitch around from the right of the first ear. Then take the yarn back down between Rounds 2 and 3, level with about the 2nd stitch around from the right of the first ear. Draw the yarn back up between Rounds 1 and 2, level with the bottom of the first stitch you made for the eye. Then take the yarn back down through the same hole as the top of the first stitch you made for the eye. You should now have the eye complete to make an upside down V shape. Do not secure your yarn on the back until you have stitched the second eye and are satisfied with the positioning/placement of both eyes. Use a separate strand of yarn for the second eye. Do the same thing for the second eye, making sure the button hole is centered between both eyes. Once you have both eyes complete and you are satisfied with them, secure your yarn on the back. You should have two loose strands on the back for each eye that you could choose to tie together before weaving in for extra security.
***Once you finish stitching on the face and weaving in all loose ends, your Bunny Button-On Appliqué is ready to be placed on a ½-inch button.
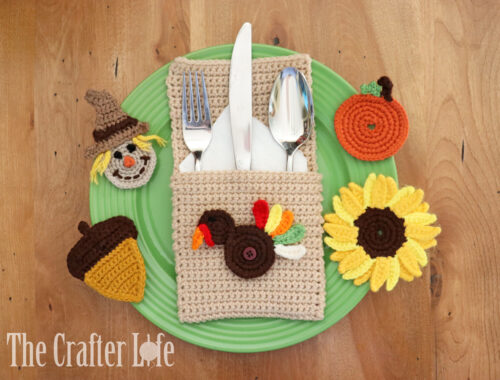
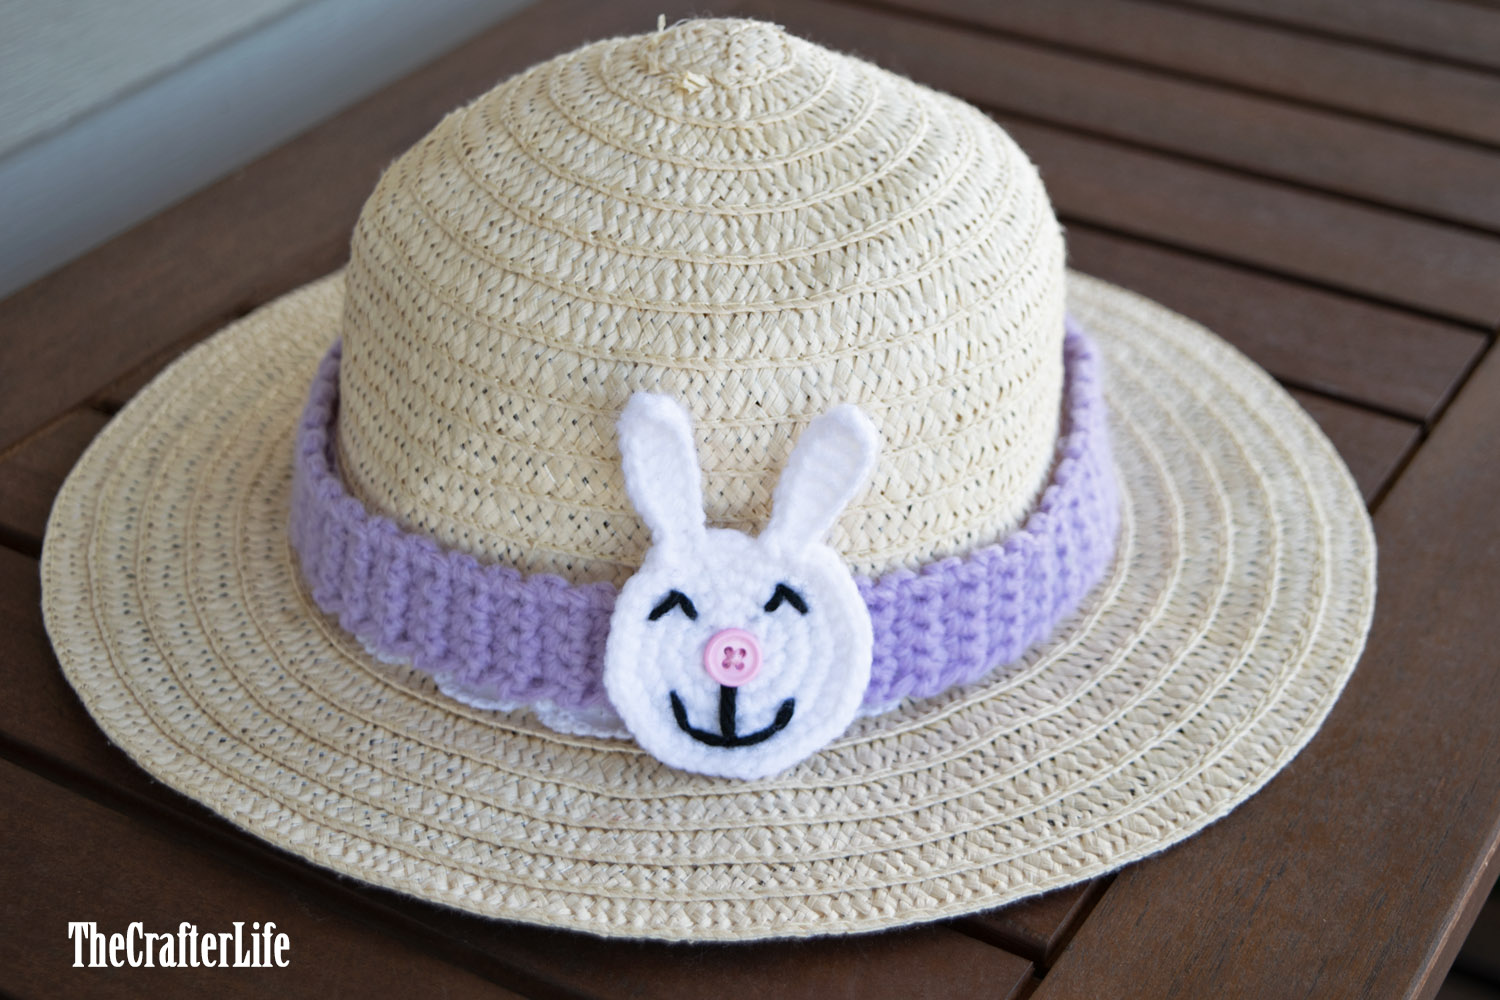
I thought my Bunny Button-On Appliqué would look cute displayed on a bonnet so I decided to make a “bonnet band” to fit on my daughter’s bonnet. I attached a pink button on the outside in order to attach my bunny button-on and give him a cute pink nose. It’s a new and fun way to wear/display my line of Cute-As-A-Button crochet button-on appliqués. Just in time for Easter! If you are interested in making one, see below for the really easy pattern!
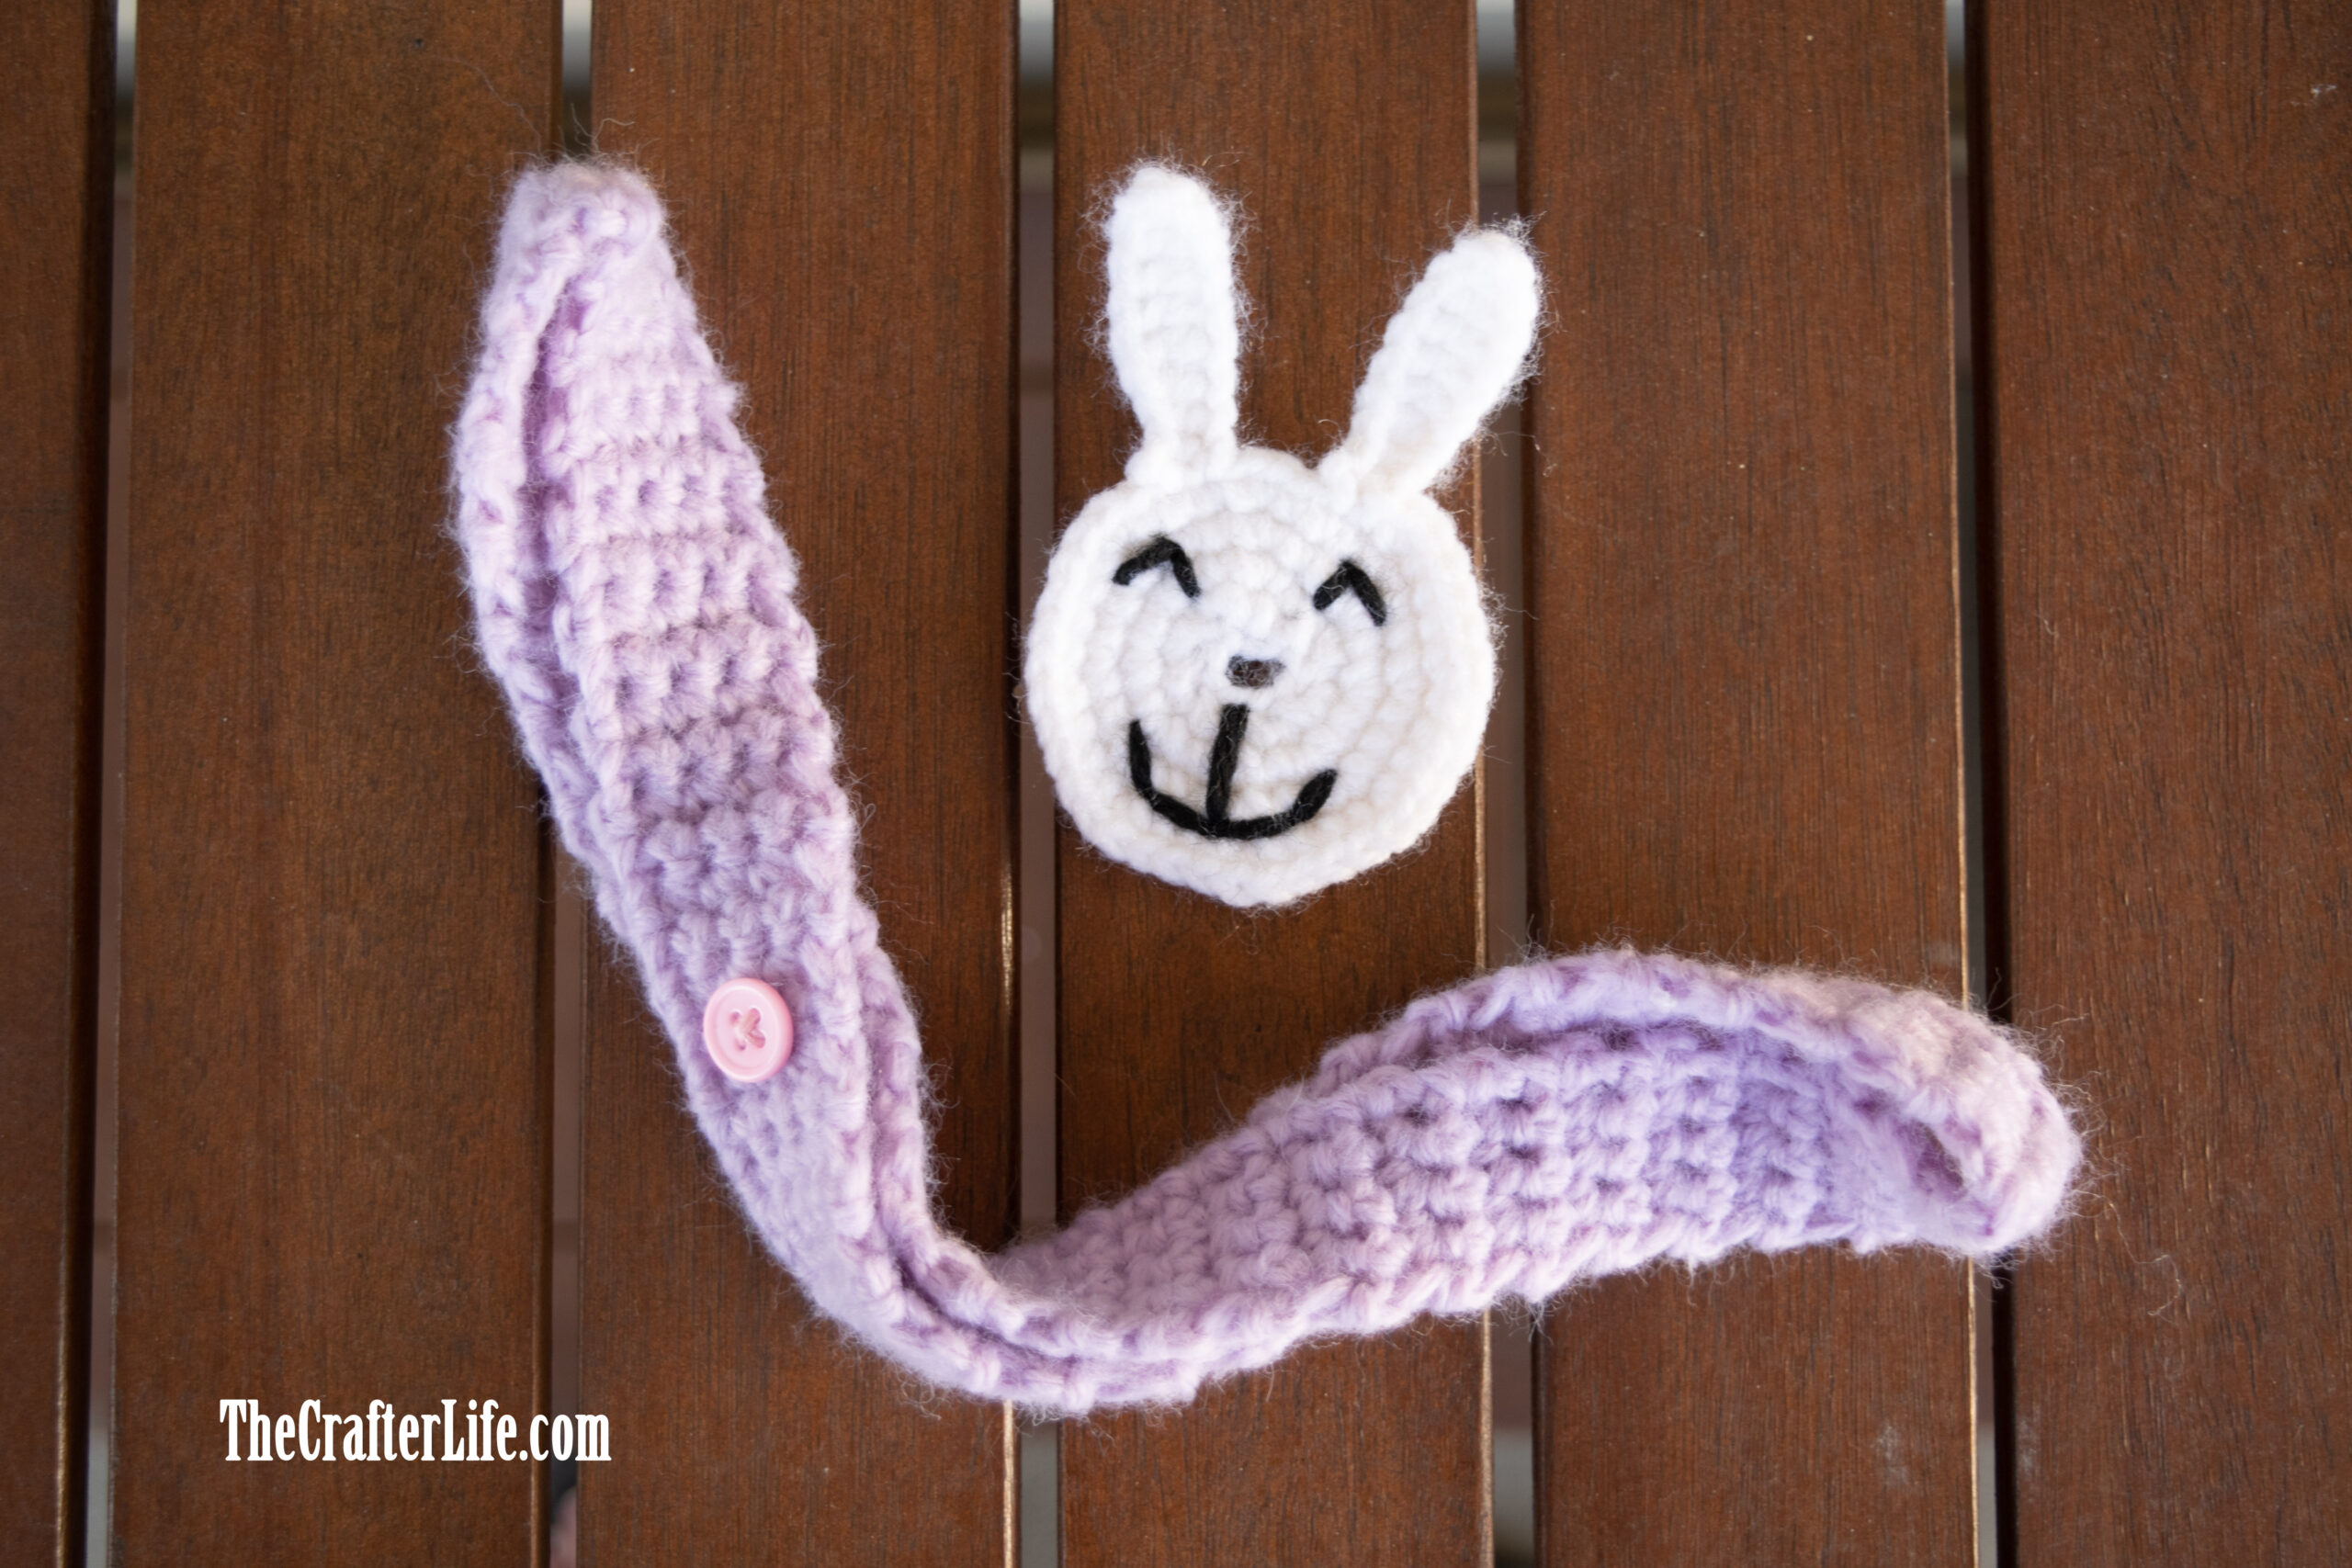
Bonnet Band
This bonnet band pattern is written fit a children’s bonnet. It can be easily modified to fit smaller or larger bonnets by deleting or adding rows. If you choose, you can use it to display button-on appliqués.
FINISHED MEASUREMENTS
The bonnet band is about 23 inches long and about 1 inch wide.
MATERIALS
– Size 5.00 mm crochet hook or size needed to obtain gauge
– Worsted weight (4) acrylic yarn in main color of your choice (I used Red Heart Super Saver yarn in Lilac.)
– Scissors
– Tapestry needle for weaving in ends
– Measuring tape
– Sewing needle/small tapestry needle for sewing button(s) onto scarf
– OPTIONAL (if planning to use to display button-on appliqués): ½” button to use with button-on appliqué, matching thread to attach it, and a small tapestry/sewing needle
ABBREVIATIONS
– ch = chain
– chs = chains
– sc = single crochet
– st = stitch
– sts = stitches
GAUGE
4 sc = 1 inch
5 rows of sc = 1 inch
PATTERN NOTES
- The bonnet band is made in rows of single crochet stitches.
DIRECTIONS
Body of Band
*Use your 5.00 mm hook and your main color worsted weight yarn to complete the body of the band.
*Add or subtract rows to fit larger or smaller bonnets. Check the fit of the band as you work by wrapping it around your bonnet. It is finished when it reaches all the way around so that both ends touch.
Row 1: With main color yarn, ch 5, sc in 2nd ch from hook and in next 3 chs. (4 sc)
Rows 2-105: Ch 1, turn, sc in each st across. (4 sc)
*At the end of Row 105, fasten off and leave a long tail for sewing the two ends together.
ASSEMBLY
Make sure the band is the correct side by wrapping it around your bonnet so that both ends touch. Use your tapestry needle and the long tail you left after fastening off on your last row to sew the two ends together (make sure the band isn’t twisted when you sew the ends together). Once you sew the two ends together to create the seam of the band, weave in and secure your yarn on the inside of the band.
*Your band is now finished and ready to be placed on your bonnet! If you are planning to use the band to display a button-on appliqué, follow the directions below.
Attaching the Button(s)
*If you are using the band to display a button-on appliqué, you will need to attach a ½” button of the color needed for your appliqué using matching thread and a small tapestry/sewing needle. This button will be placed on the outside of the band. You may choose to place it on the very front (opposite the seam) or more to the side, depending on where you want to display the appliqué. You may also choose to place a few different colored buttons close together on this if you plan to use it for different button-on appliqués (just make sure each appliqué will cover the other buttons once attached). Make sure to secure the thread on the inside of the band.
***Once you attach your button(s), your bonnet band is ready to decorate a bonnet. Simply wrap it around the bonnet and attach your button-on appliqué.

The pattern and photos of this item are the property of TheCrafterLife. This pattern and design are subject to copyright, and are for personal, non-commercial use only. You may not distribute, sell this pattern, or claim it as your own under any circumstances.
You may not sell my patterns or claim them as your own. You may make items to sell (i.e. on Etsy) from my patterns but I ask that you link back to my site and provide credit for the pattern. You are welcome to share my patterns on social media as long as you link back directly to my site by providing the link. No copying and pasting of any patterns will be allowed under any circumstances.