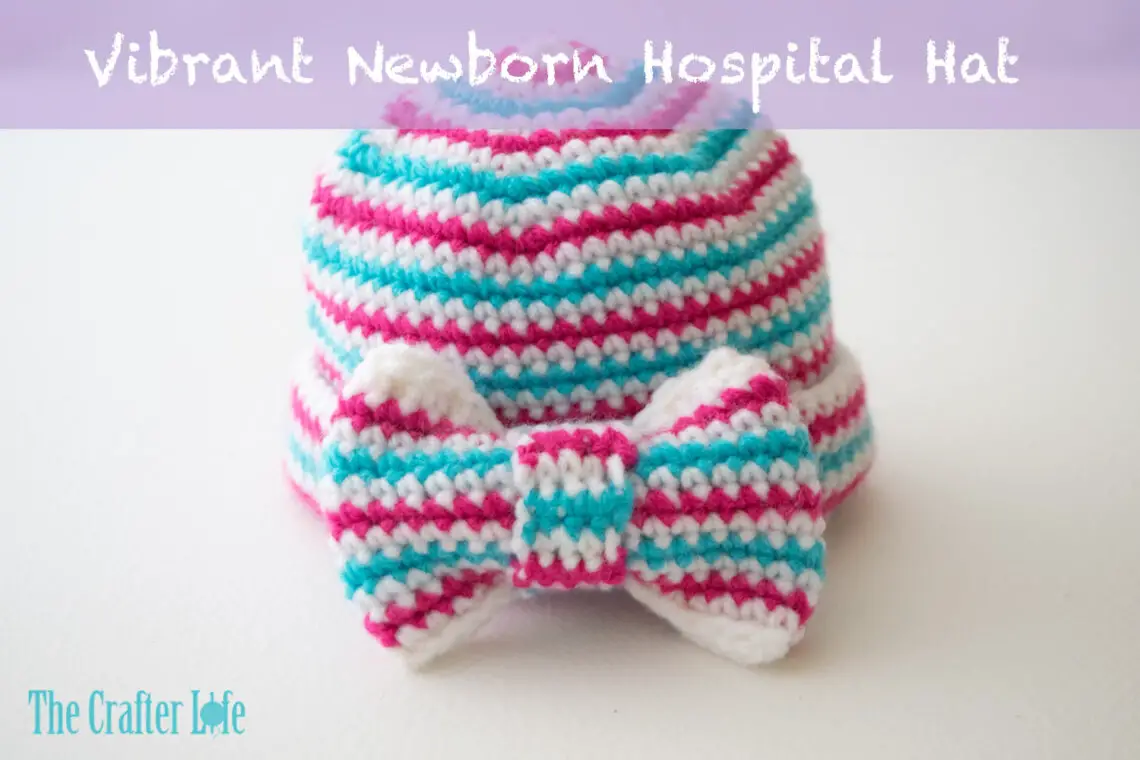
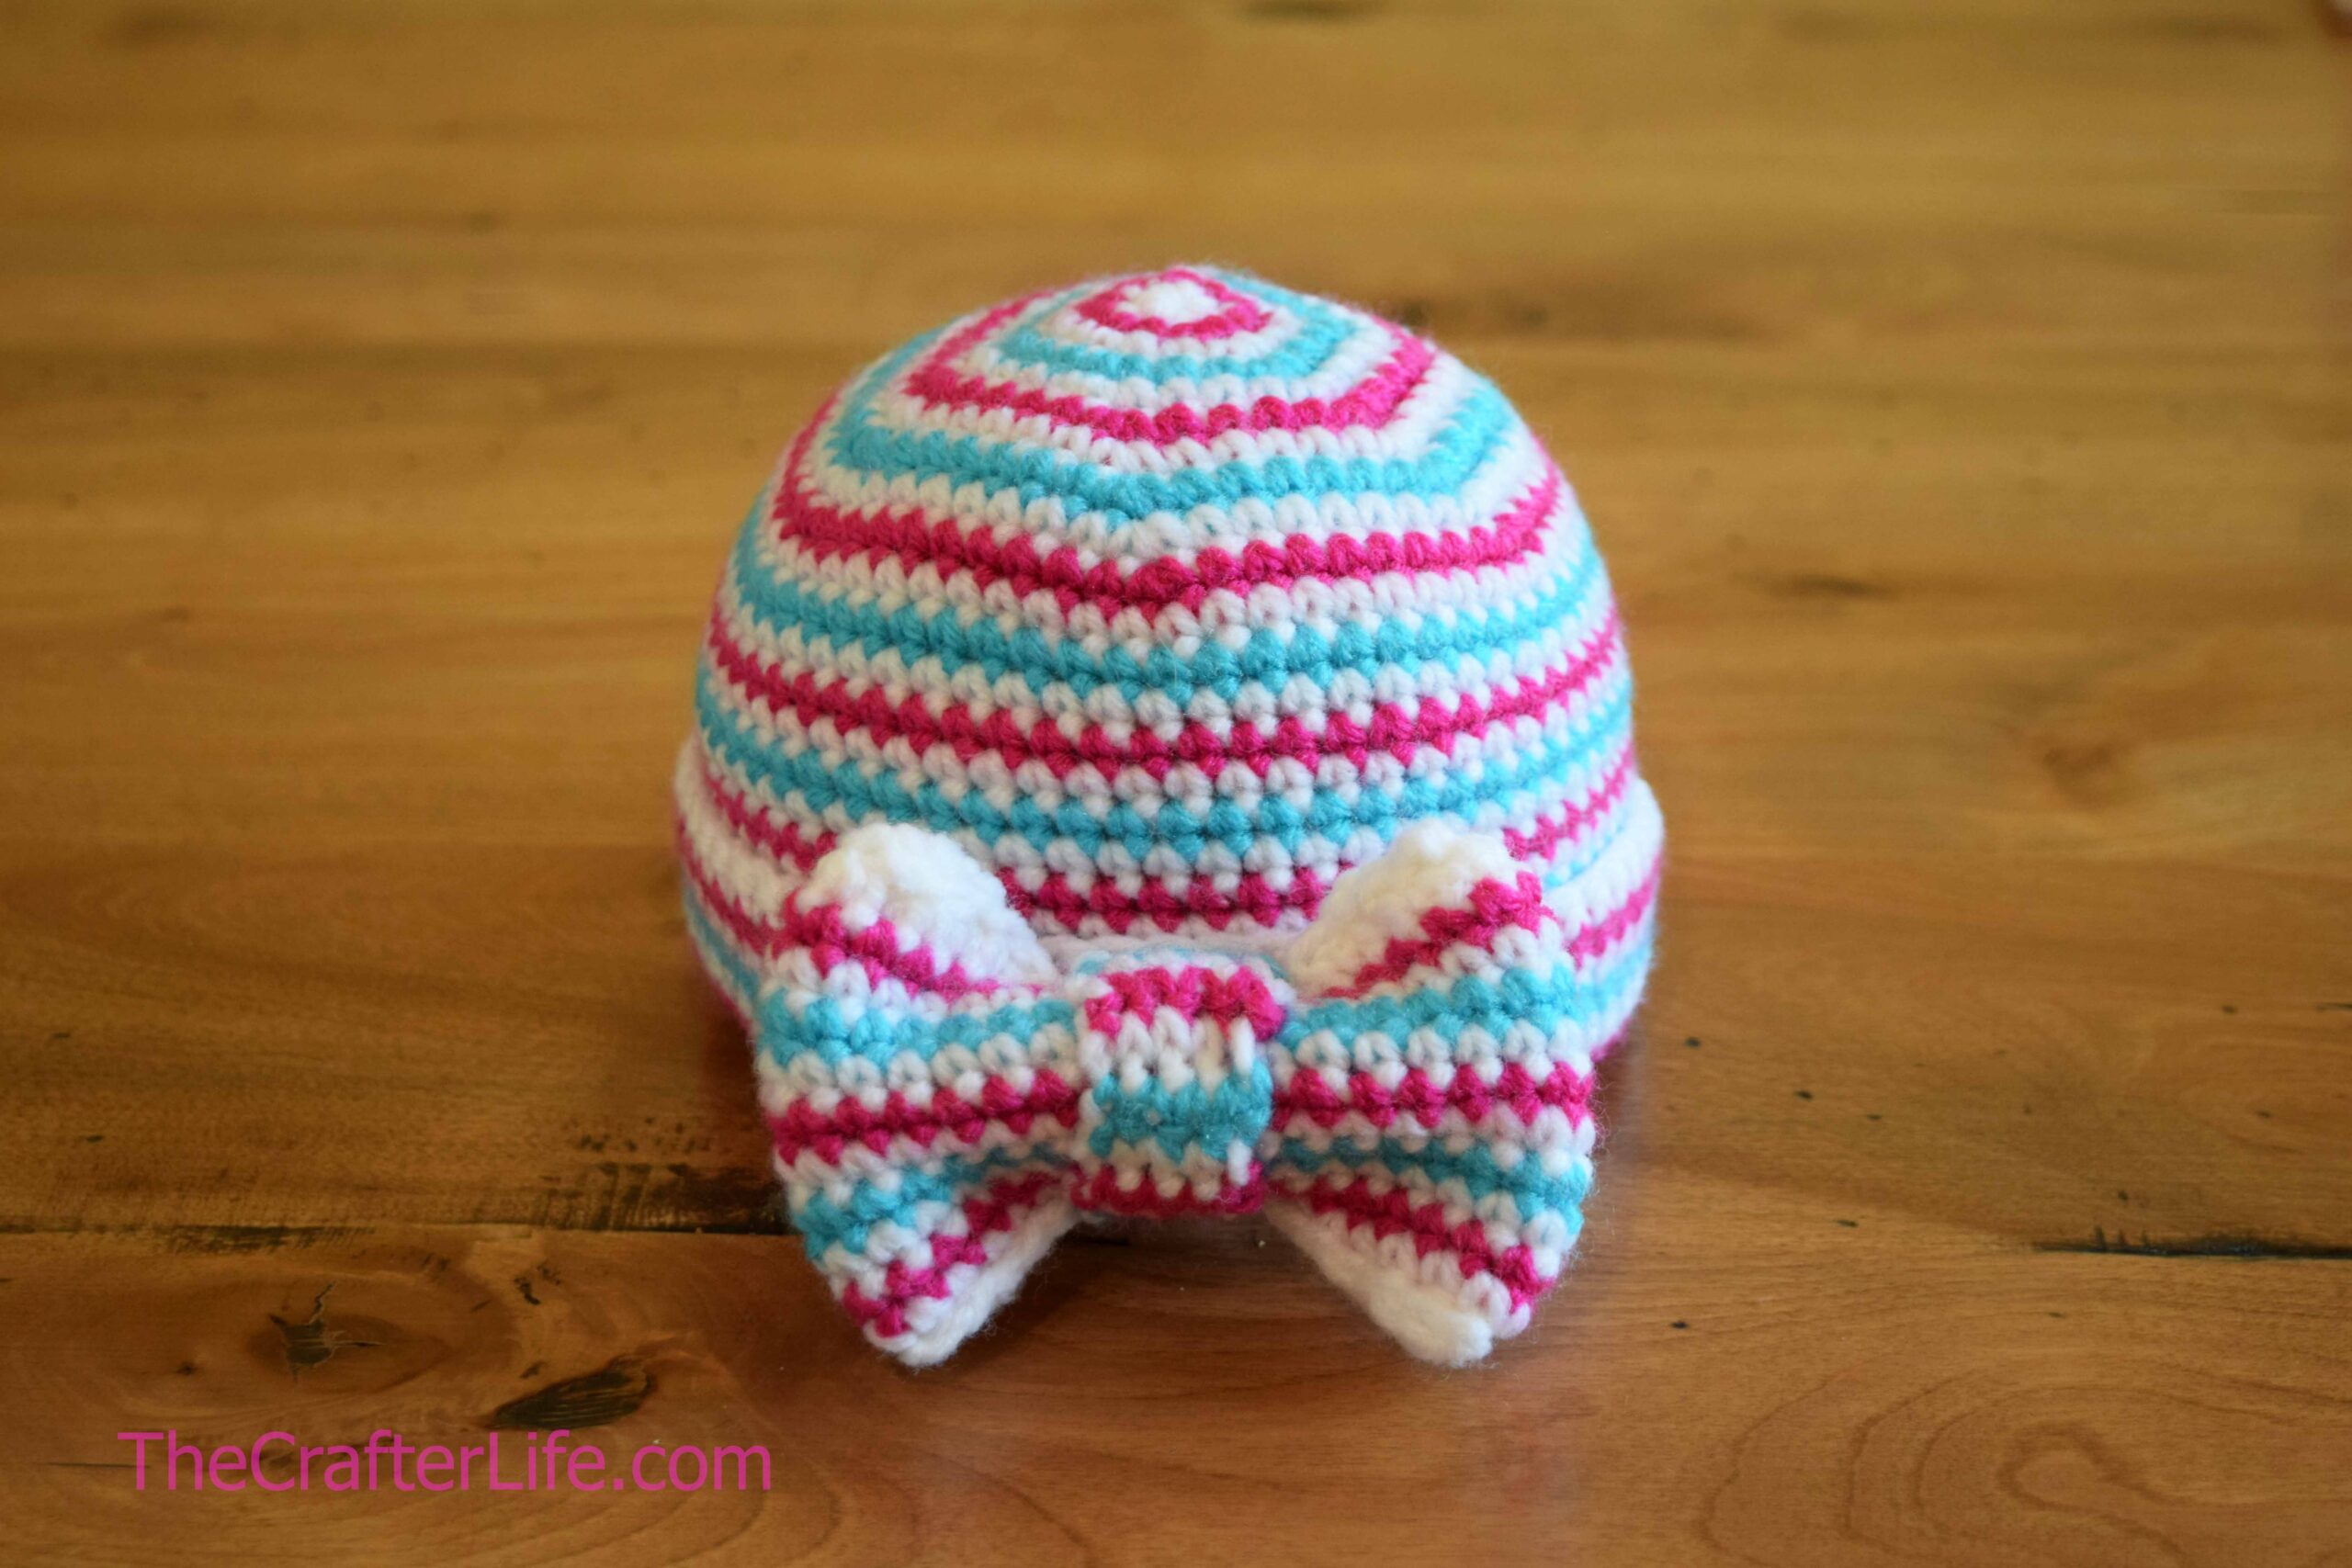
Vibrant Newborn Hospital Hat
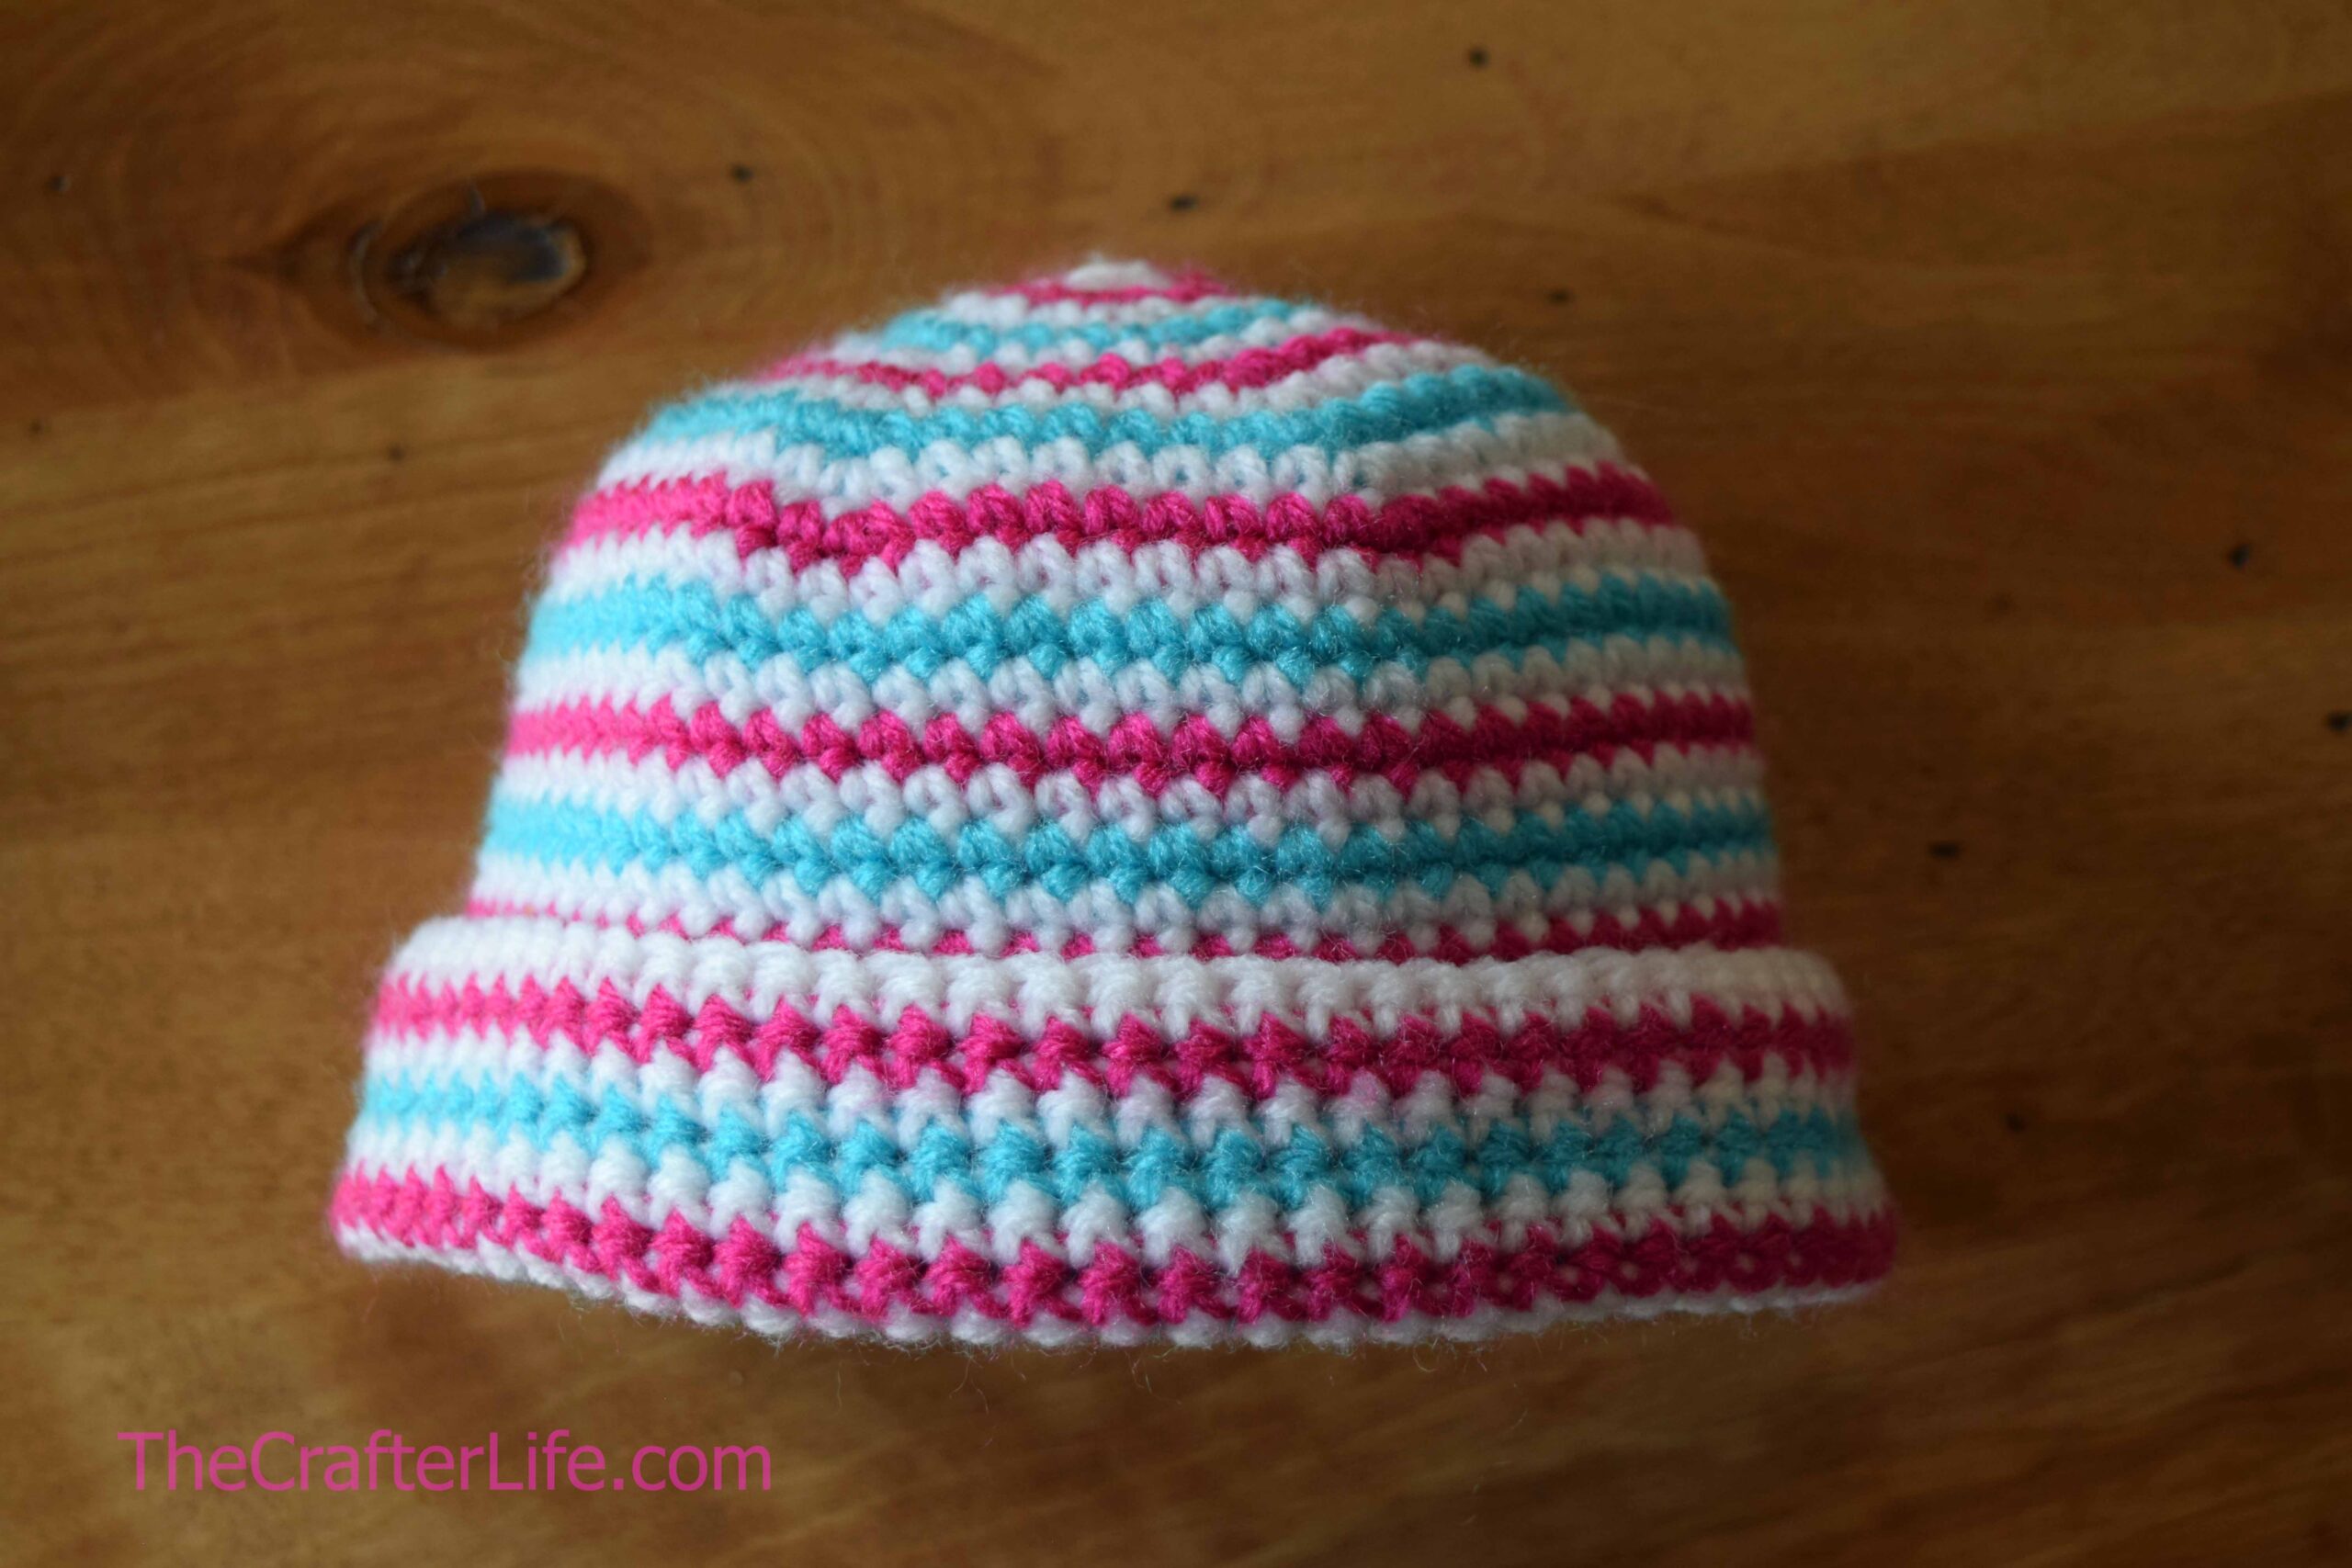
I’m trying to get back into the swing of things since having a baby girl last month. I finally finished a hat I made for her and wanted to share the pattern. I love the newborn hospital hats with bows for baby girls that I have seen in pictures so I decided to make a version of my own. I used brighter colors for my hat which gives it a summery vibe. It is pretty simple to make with basic single crochet stitches. You can also make the hat without the bow for a more typical unisex version of a hospital hat. See below for my pattern.

This hat pattern is written to fit most newborns.
FINISHED MEASUREMENTS
The hat is about 5 inches tall once the brim is folded up at the bottom. The diameter of the hat is about 4¼ inches.
MATERIALS
– Size H/8/5.00mm crochet hook or size needed to obtain gauge
– Worsted weight (4) yarn in White (I used Red Heart Super Saver in White.)
– Worsted weight (4) yarn in Pink (I used Red Heart With Love in Hot Pink.)
– Worsted weight (4) yarn in Blue (I used Red Heart Super Saver in Turqua.)
– Tapestry needle
– Scissors
– Measuring tape
Optional Items:
– Stitch markers (if needed for marking/counting stitches or rounds)
ABBREVIATIONS
– ch = chain
– chs = chains
– sc = single crochet
– slst = slip stitch
– st = stitch
– sts = stitches
GAUGE
5 sc = 1 inch; 5 rounds = 1 inch
PATTERN NOTES
- The striped body of the hat is made first with joined rounds of single crochet stitches. Each round is completed with a slip stitch to the first stitch of the round (do not count the slip stitch used to join each round as a stitch).
- The first stitch of each round is made in the very first stitch of the previous round (the same stitch in which the join/slip stitch and ch-1 was made).
- When changing color, join the new color while completing the last sc (single crochet) of the previous color (by pulling through the new color when you have two loops on the hook in the previous color to complete the final sc).
DIRECTIONS
Main Hat Body
*The main body of the hat is worked in joined rounds of single crochet stitches. Join to the first stitch of each round with a slip stitch.
*A color change is made at the end of each round. The rows follow/repeat the color pattern [white, pink, white, blue].
*You can cut the yarn at the end of each round when changing colors or you can carry the yarn under your stitches. However, during the last 6 rounds make sure to cut the yarn at the end of each round because those are the rounds that will be folded up to make the brim of the hat. If you carry your yarn up for those last 6 rounds, you will be able to see it on the outside of your hat.
Round 1: Using white yarn, form a magic circle, ch 1, work 6 sc in circle, change to pink yarn when completing the last st, close circle, join to first sc with slst. (6 sc)
Round 2: Ch 1, 2 sc in each st around, join to first st of round with slst, change to white yarn when completing the last st of round, join to first st of round with a slst. (12 sc)
Round 3: Ch 1, repeat [sc in next st, 2 sc in next st] around, slst to first st of round, change to blue yarn when completing the last st of round, join to first st of round with a slst. (18 sc)
Round 4: Ch 1, repeat [sc in next 2 sts, 2 sc in next st] around, change to white yarn when completing the last st of round, join to first st of round with a slst. (24 sc)
Round 5: Ch 1, repeat [sc in next 3 sts, 2 sc in next st] around, change to pink yarn when completing the last st of round, join to first st with a slst. (30 sc)
Round 6: Ch 1, repeat [sc in next 4 sts, 2 sc in next st] around, change to white yarn when completing the last st of round, join to first st of round with a slst. (36 sc)
Round 7: Ch 1, repeat [sc in next 5 sts, 2 sc in next st] around, change to blue yarn when completing the last st of round, join to first st of round with a slst. (42 sc)
Round 8: Ch 1, repeat [sc in next 6 sts, 2 sc in next st] around, change to white yarn when completing the last st of round, join to first st of round with a slst. (48 sc)
Round 9: Ch 1, repeat [sc in next 7 sts, 2 sc in next st] around, change to pink yarn when completing the last st of round, join to first st of round with a slst. (54 sc)
Round 10: Ch 1, repeat [sc in next 8 sts, 2 sc in next st] around, change to white yarn when completing the last st of round, join to first st of round with a slst. (60 sc)
Rounds 11–31: Ch 1, sc in each st around, change yarn color when completing the last st of round to follow color pattern, join to first st of round with slst. (60 sc)
*At the end of Round 31, fasten off, fold up the bottom of the hat along the 26th round to create the brim and then weave in loose ends on the inside of the brim/hat so you don’t see them from the outside.
***Your hat is now finished and ready to wear if you don’t want to add a bow.
Bow
Main Bow Body
*The main body of the bow is a band made in rounds of single crochet stitches, following the same striped color pattern as the body of the hat.
*You can carry your yarn up (you don’t have to cut after each color change) your work since the top and bottom of the band will be sewn together so you don’t see the inside.
Round 1: With white yarn, ch 50, join to first ch with a slst to make a ring, sc in each ch around, change to pink yarn when completing the last (50th) sc of round, join to first st of round with a slst. (50 sc)
Round 2: Ch 1, sc in each st around, change to white yarn when completing the last (50th) sc of round, join to first st of round with a slst. (50 sc)
Round 3: Ch 1, sc in each st around, change to blue yarn when completing the last (50th) sc of round, join to first st of round with a slst. (50 sc)
Round 4: Ch 1, sc in each st around, change to white yarn when completing the last (50th) sc of round, join to first st of round with a slst. (50 sc)
Rounds 5–11: Ch 1, sc in each st around, change yarn color when completing the last st of the round to follow color pattern, join to first st of round with a slst. (50 sc)
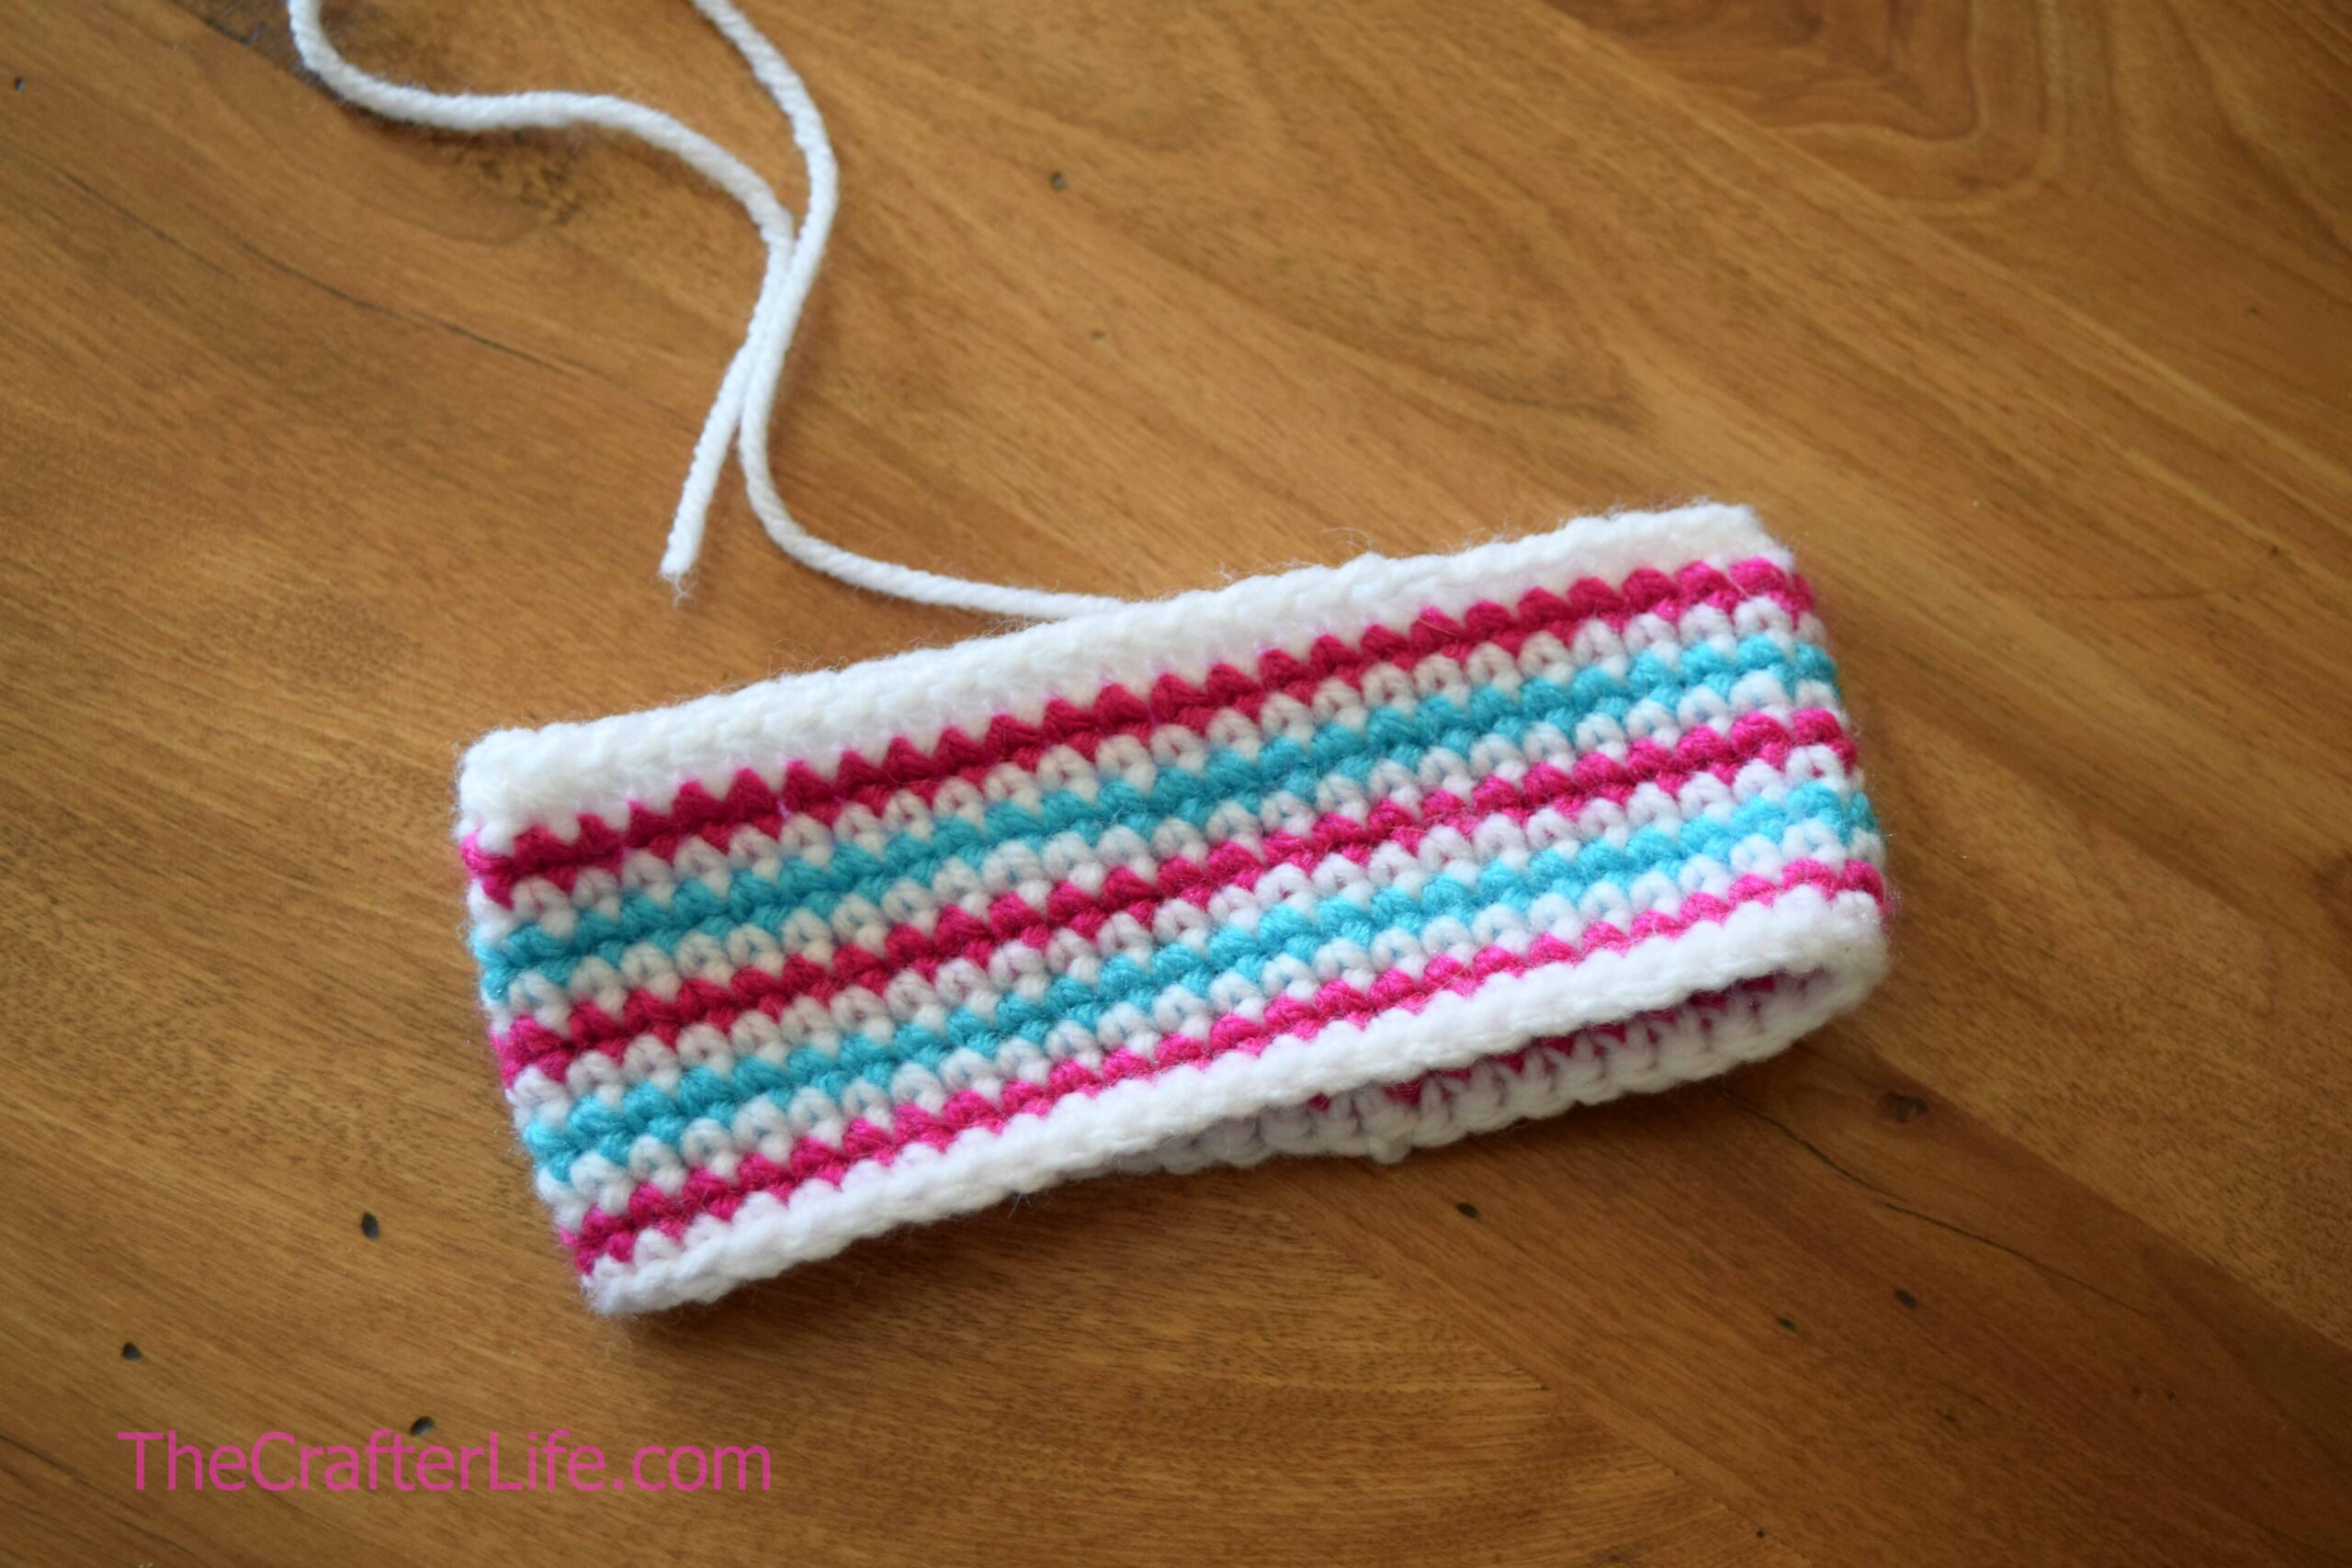
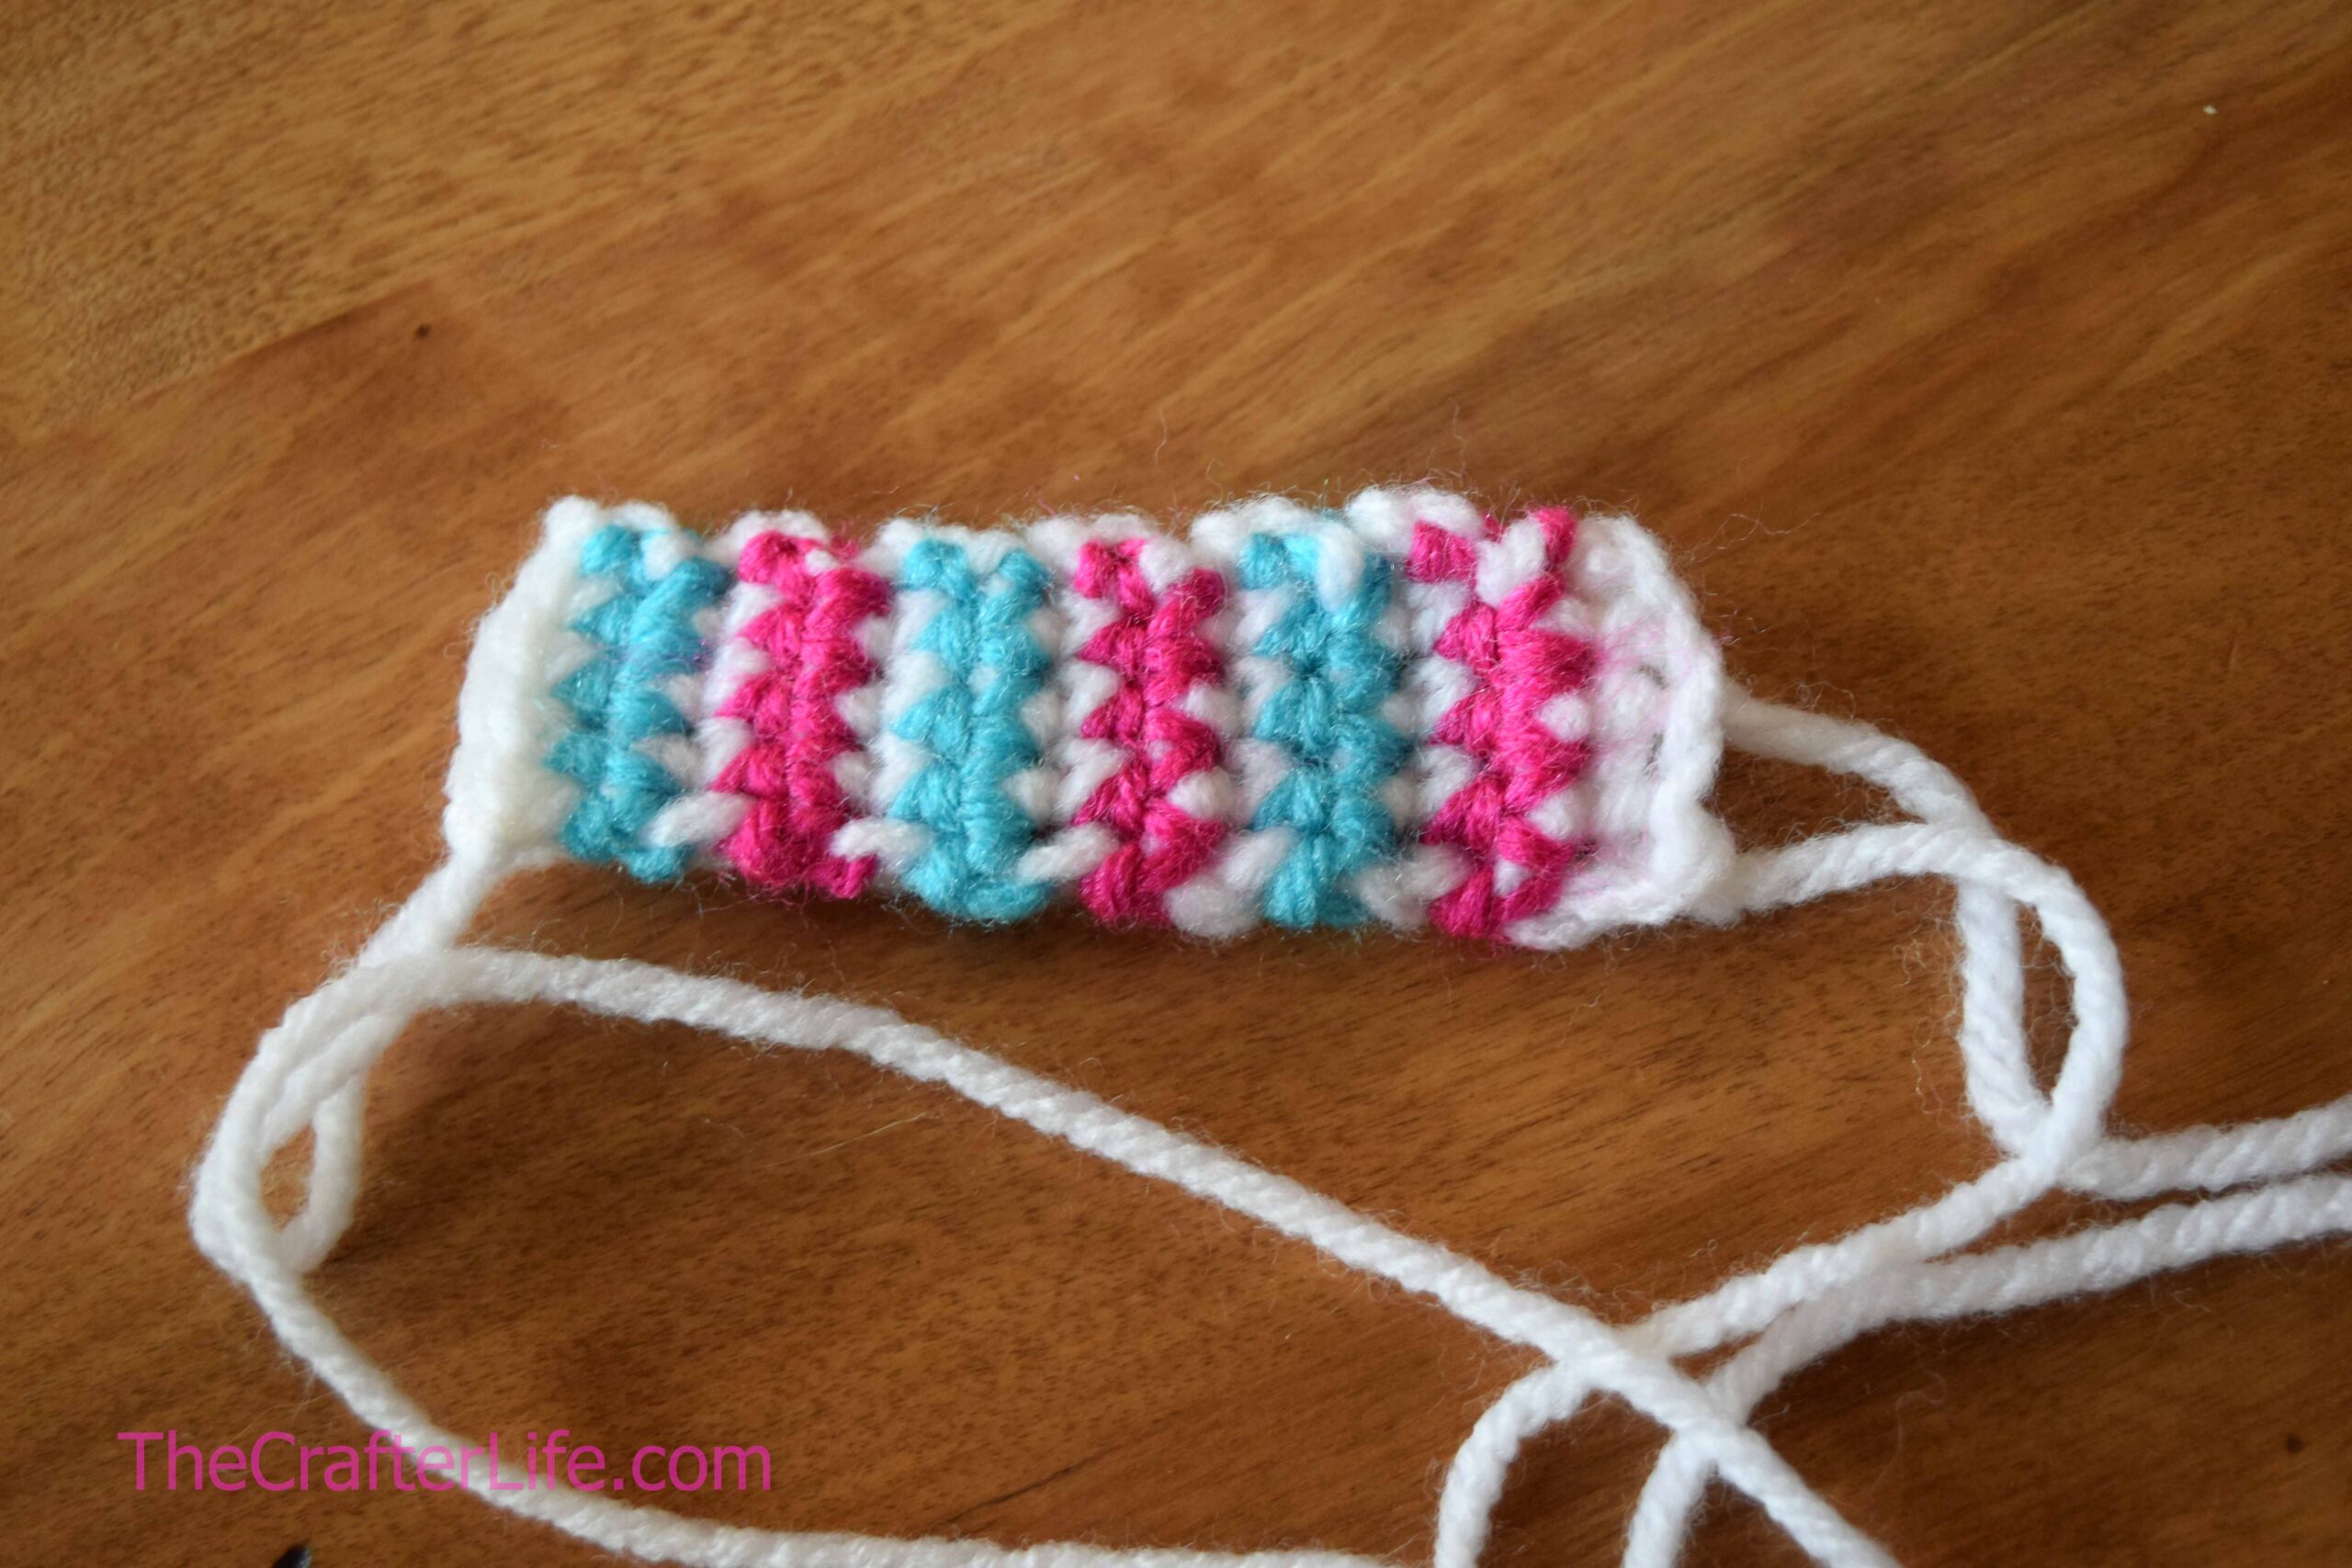
*At the end of Round 11, fasten off and weave in loose ends on the inside. Flatten the band so the seam is in the back center, Round 1 is at the top, and Round 11 is at the bottom. Use your tapestry needle and a long piece of white yarn to sew the top open end (Round 1) of the band together by going under the top loops of each pair of stitches from Round 1. Fasten off and secure/weave in ends. Do the same thing for the bottom open end (Round 11). You should now have a closed rectangle as the main body of the bow. Follow the directions below to make the middle piece of the bow.

Middle Piece of Bow
*The middle piece of the bow is made of rows of single crochet stitches. The rows follow the same color pattern as the hat and main bow body [white, pink, white, blue].
Row 1: With white yarn, ch 5, sc in 2nd ch from hook and in next 3 chs, change to pink yarn when completing the last sc of row. (4 sc)
Rows 2–13: Ch 1, turn, sc in each st across, change yarn color when completing the last st of the row to follow color pattern. (4 sc)
*At the end of Row 13, fasten off and leave a long tail for sewing onto the main bow body.
Bow Construction and Hat Attachment
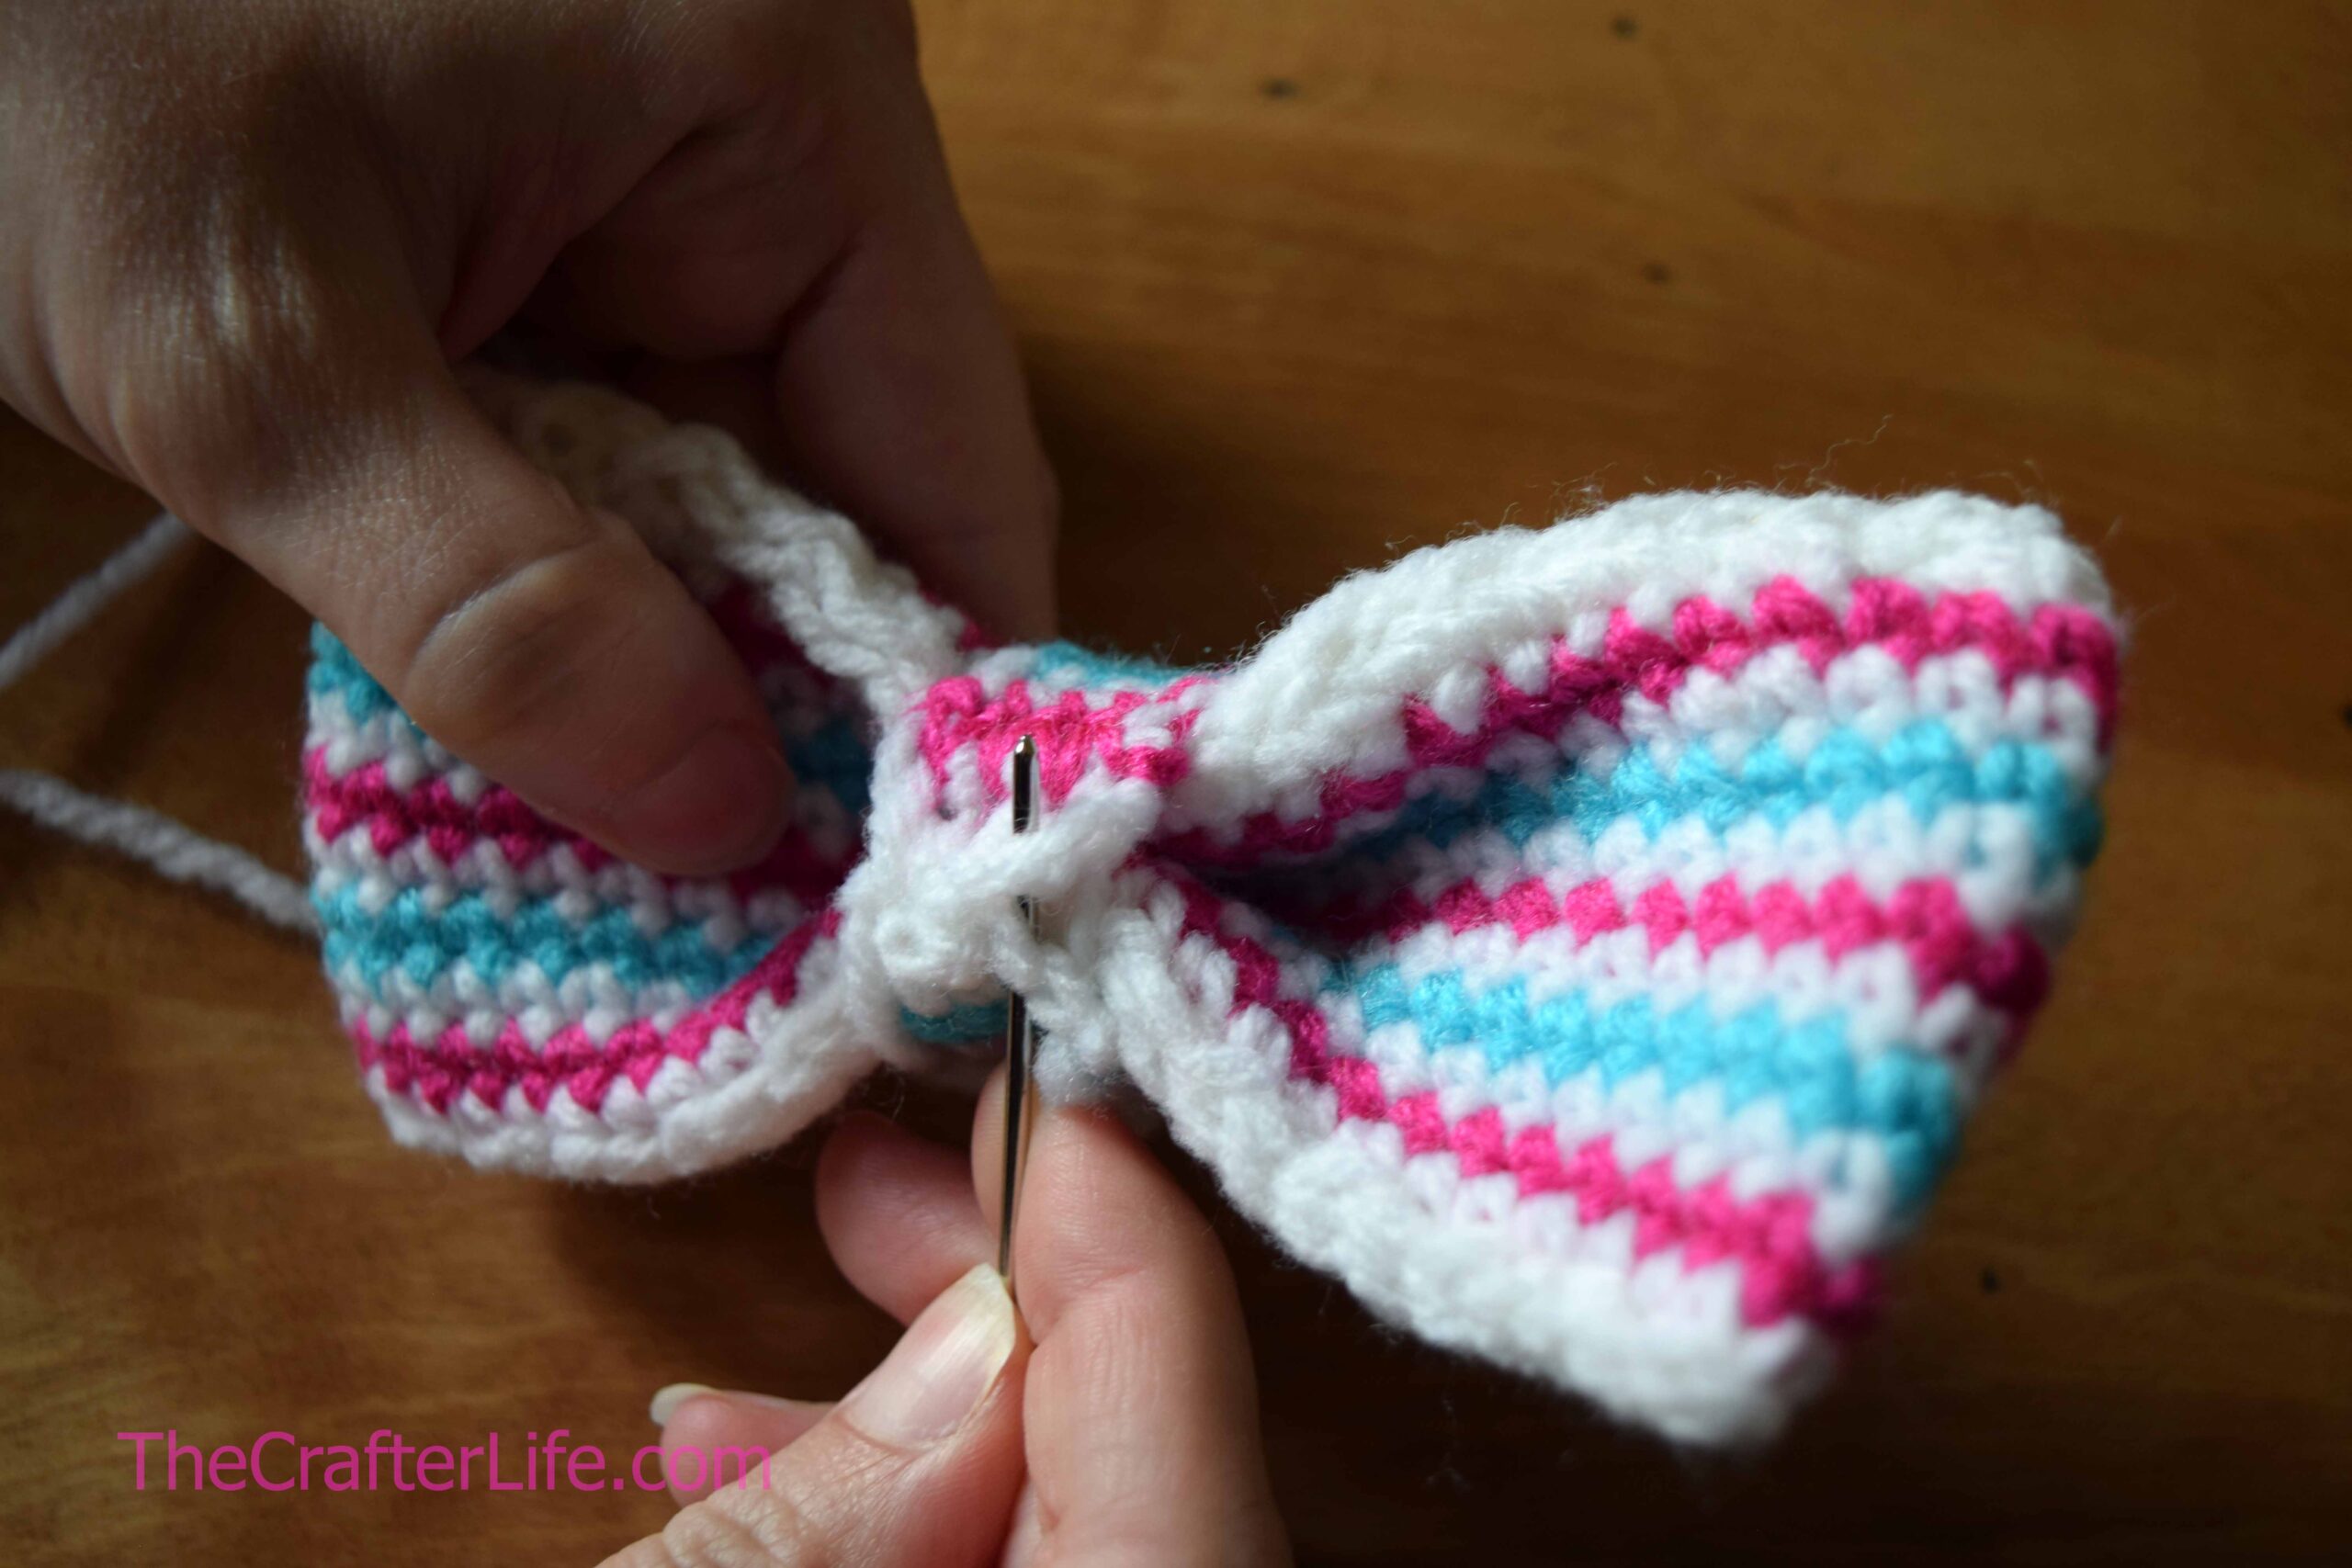
Hold the main bow body piece so that the seam is in the back center. Find the middle of the bow and wrap the middle piece of the bow so its two ends meet in the back and so it pinches the main body in the middle. Sew the two ends together tightly using your tapestry needle and the long tail you left on the middle piece of the bow.
Once you are finished sewing the two ends together, use the same yarn tail to sew the bow onto the hat. Attach it to the brim on the front side of the hat (the seam of the hat should be the back). When sewing, make sure your needle goes through the brim and all the way through to the inside of the hat. Sew it tightly and securely to the hat before fastening off and securing your yarn on the inside of the hat.
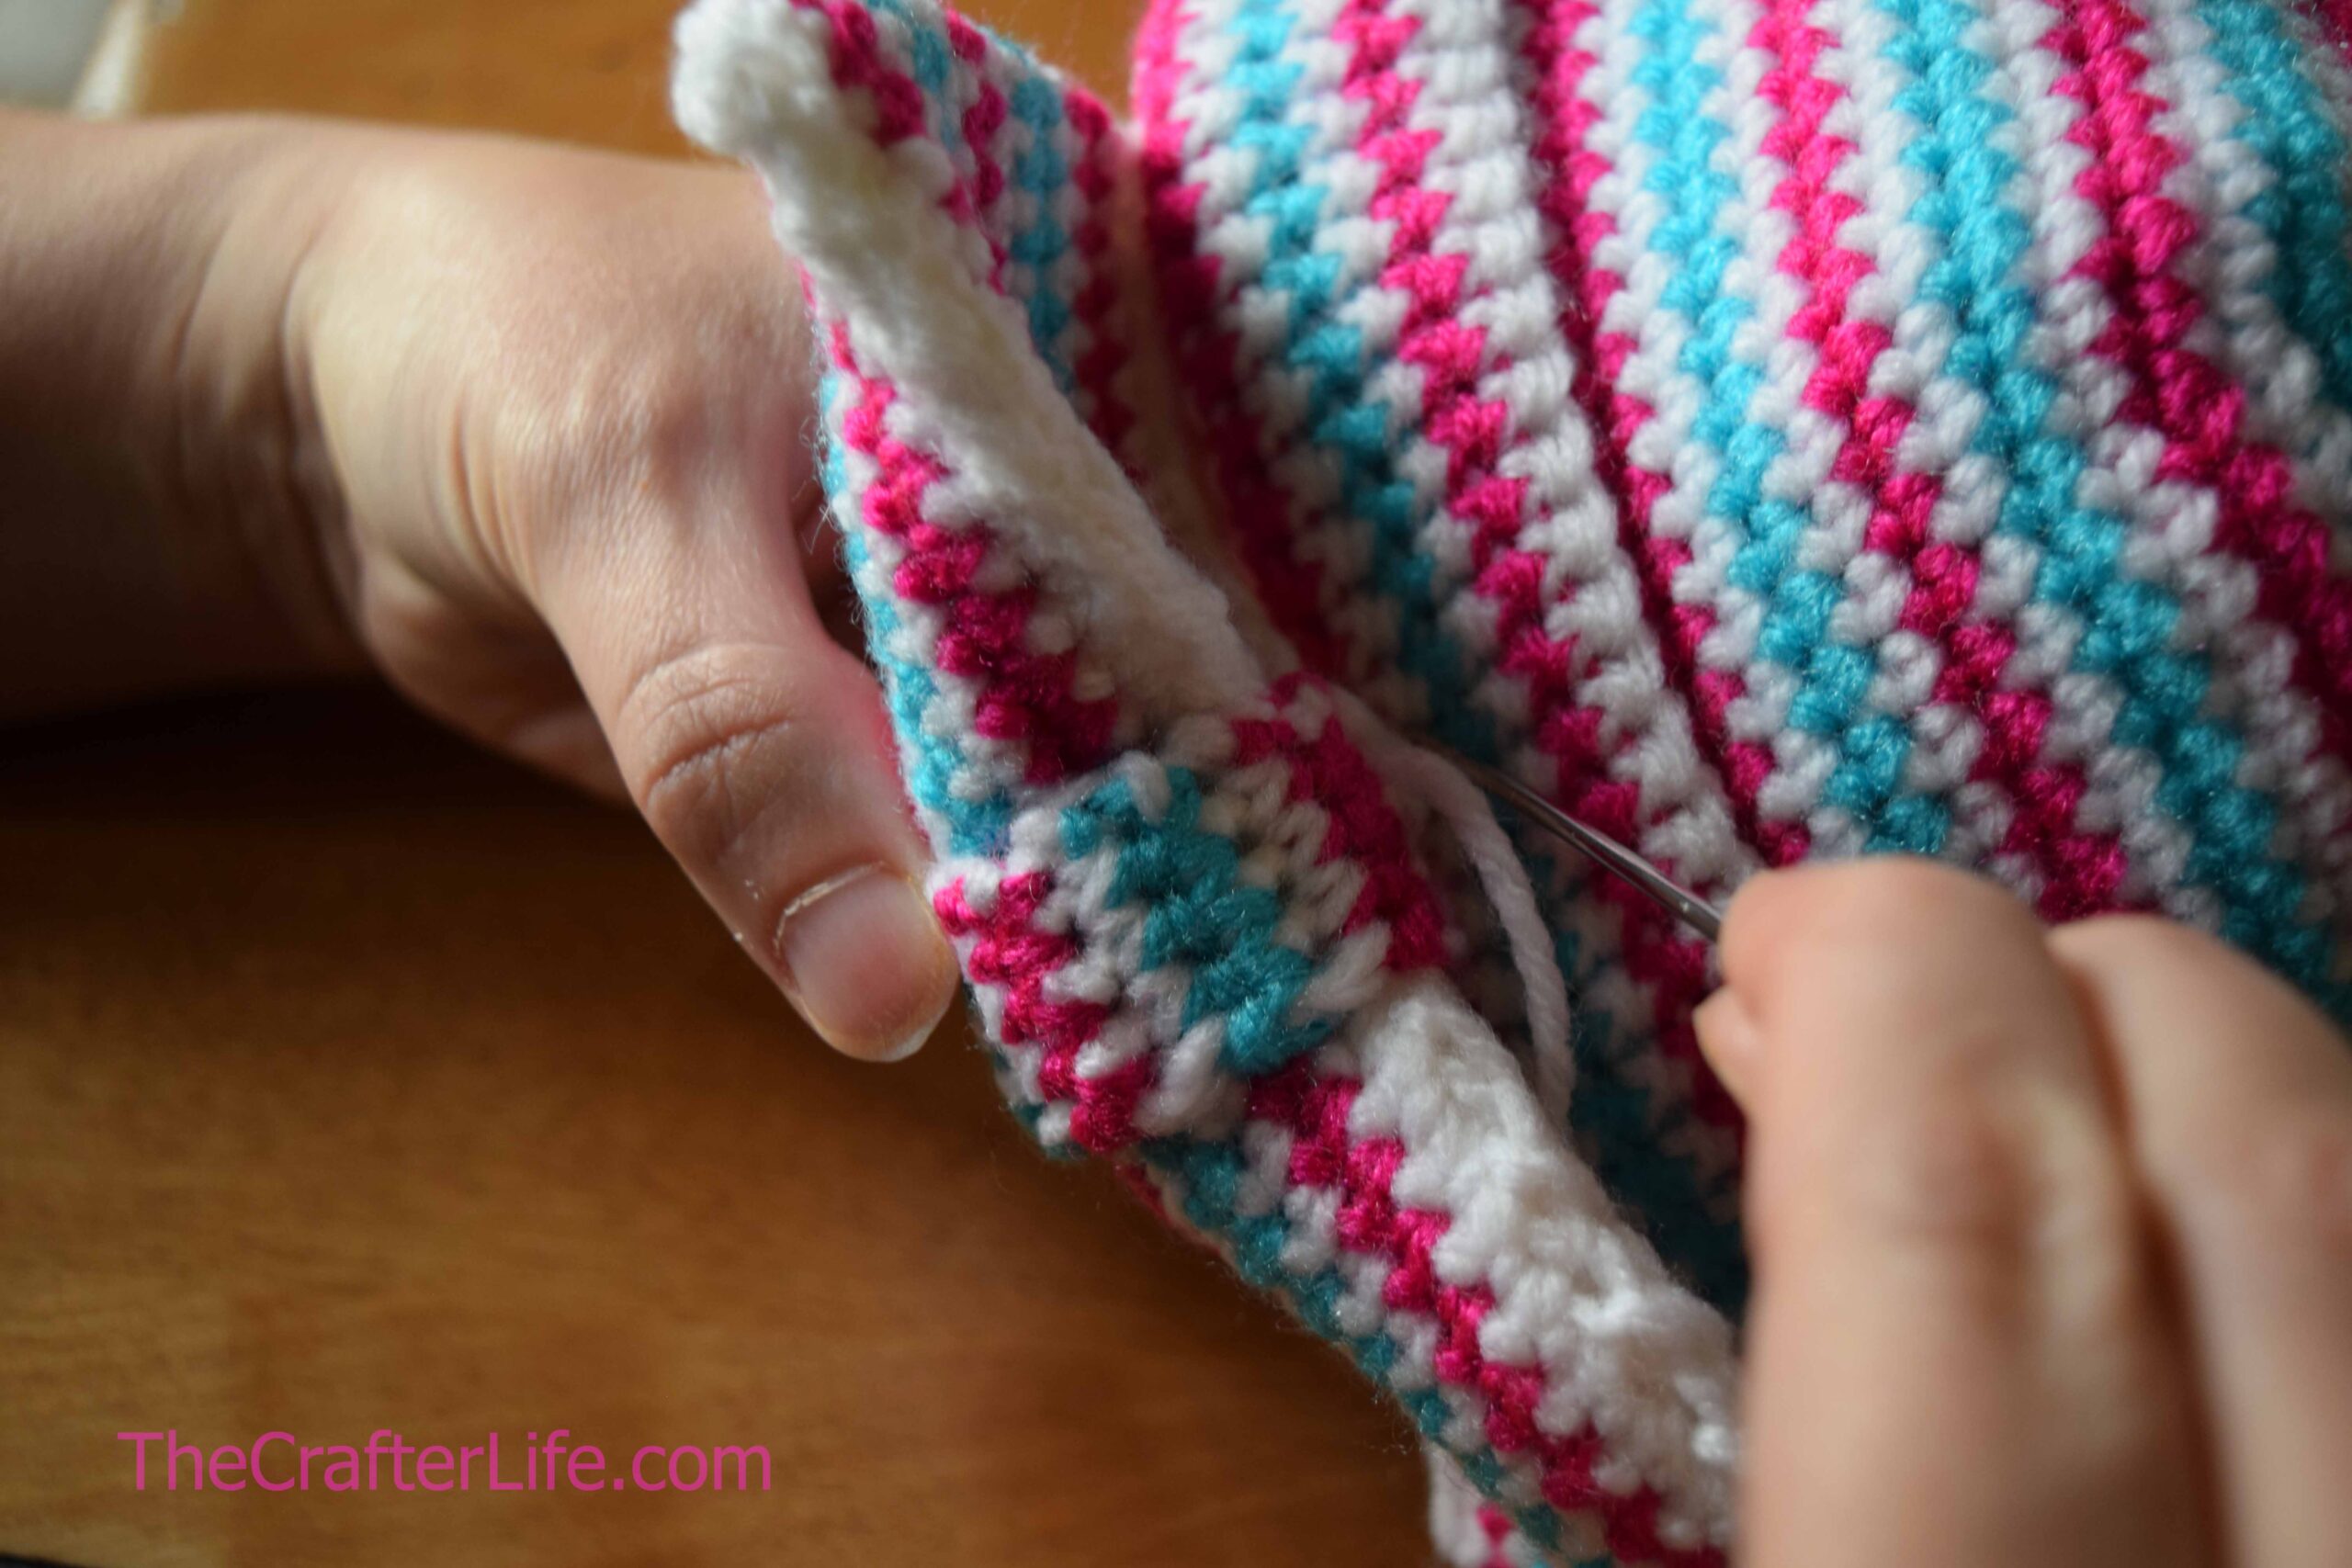
Next, to shorten the sides of the bow and give it better shape, fold the two ends back about an inch. Use your tapestry needle and a piece of white yarn to sew the top edge of one side together. Fasten off and secure your yarn. Then use your tapestry needle and a piece of white yarn to sew the bottom edge of the same side together. Fasten off and secure your yarn. Do the same thing for the top and bottom edges of the other side of the bow.
Once you have fastened off and secured all of your loose ends, the hat is finished and ready to wear!

This pattern is property of TheCrafterLife.com
You may not sell my patterns or claim them as your own. You may make items to sell (i.e. on Etsy) from my patterns but I ask that you link back to my site (TheCrafterLife.com) and provide credit for the pattern. You are welcome to share my patterns on social media as long as you link back directly to my site by providing the link. No copying and pasting of any patterns will be allowed under any circumstances