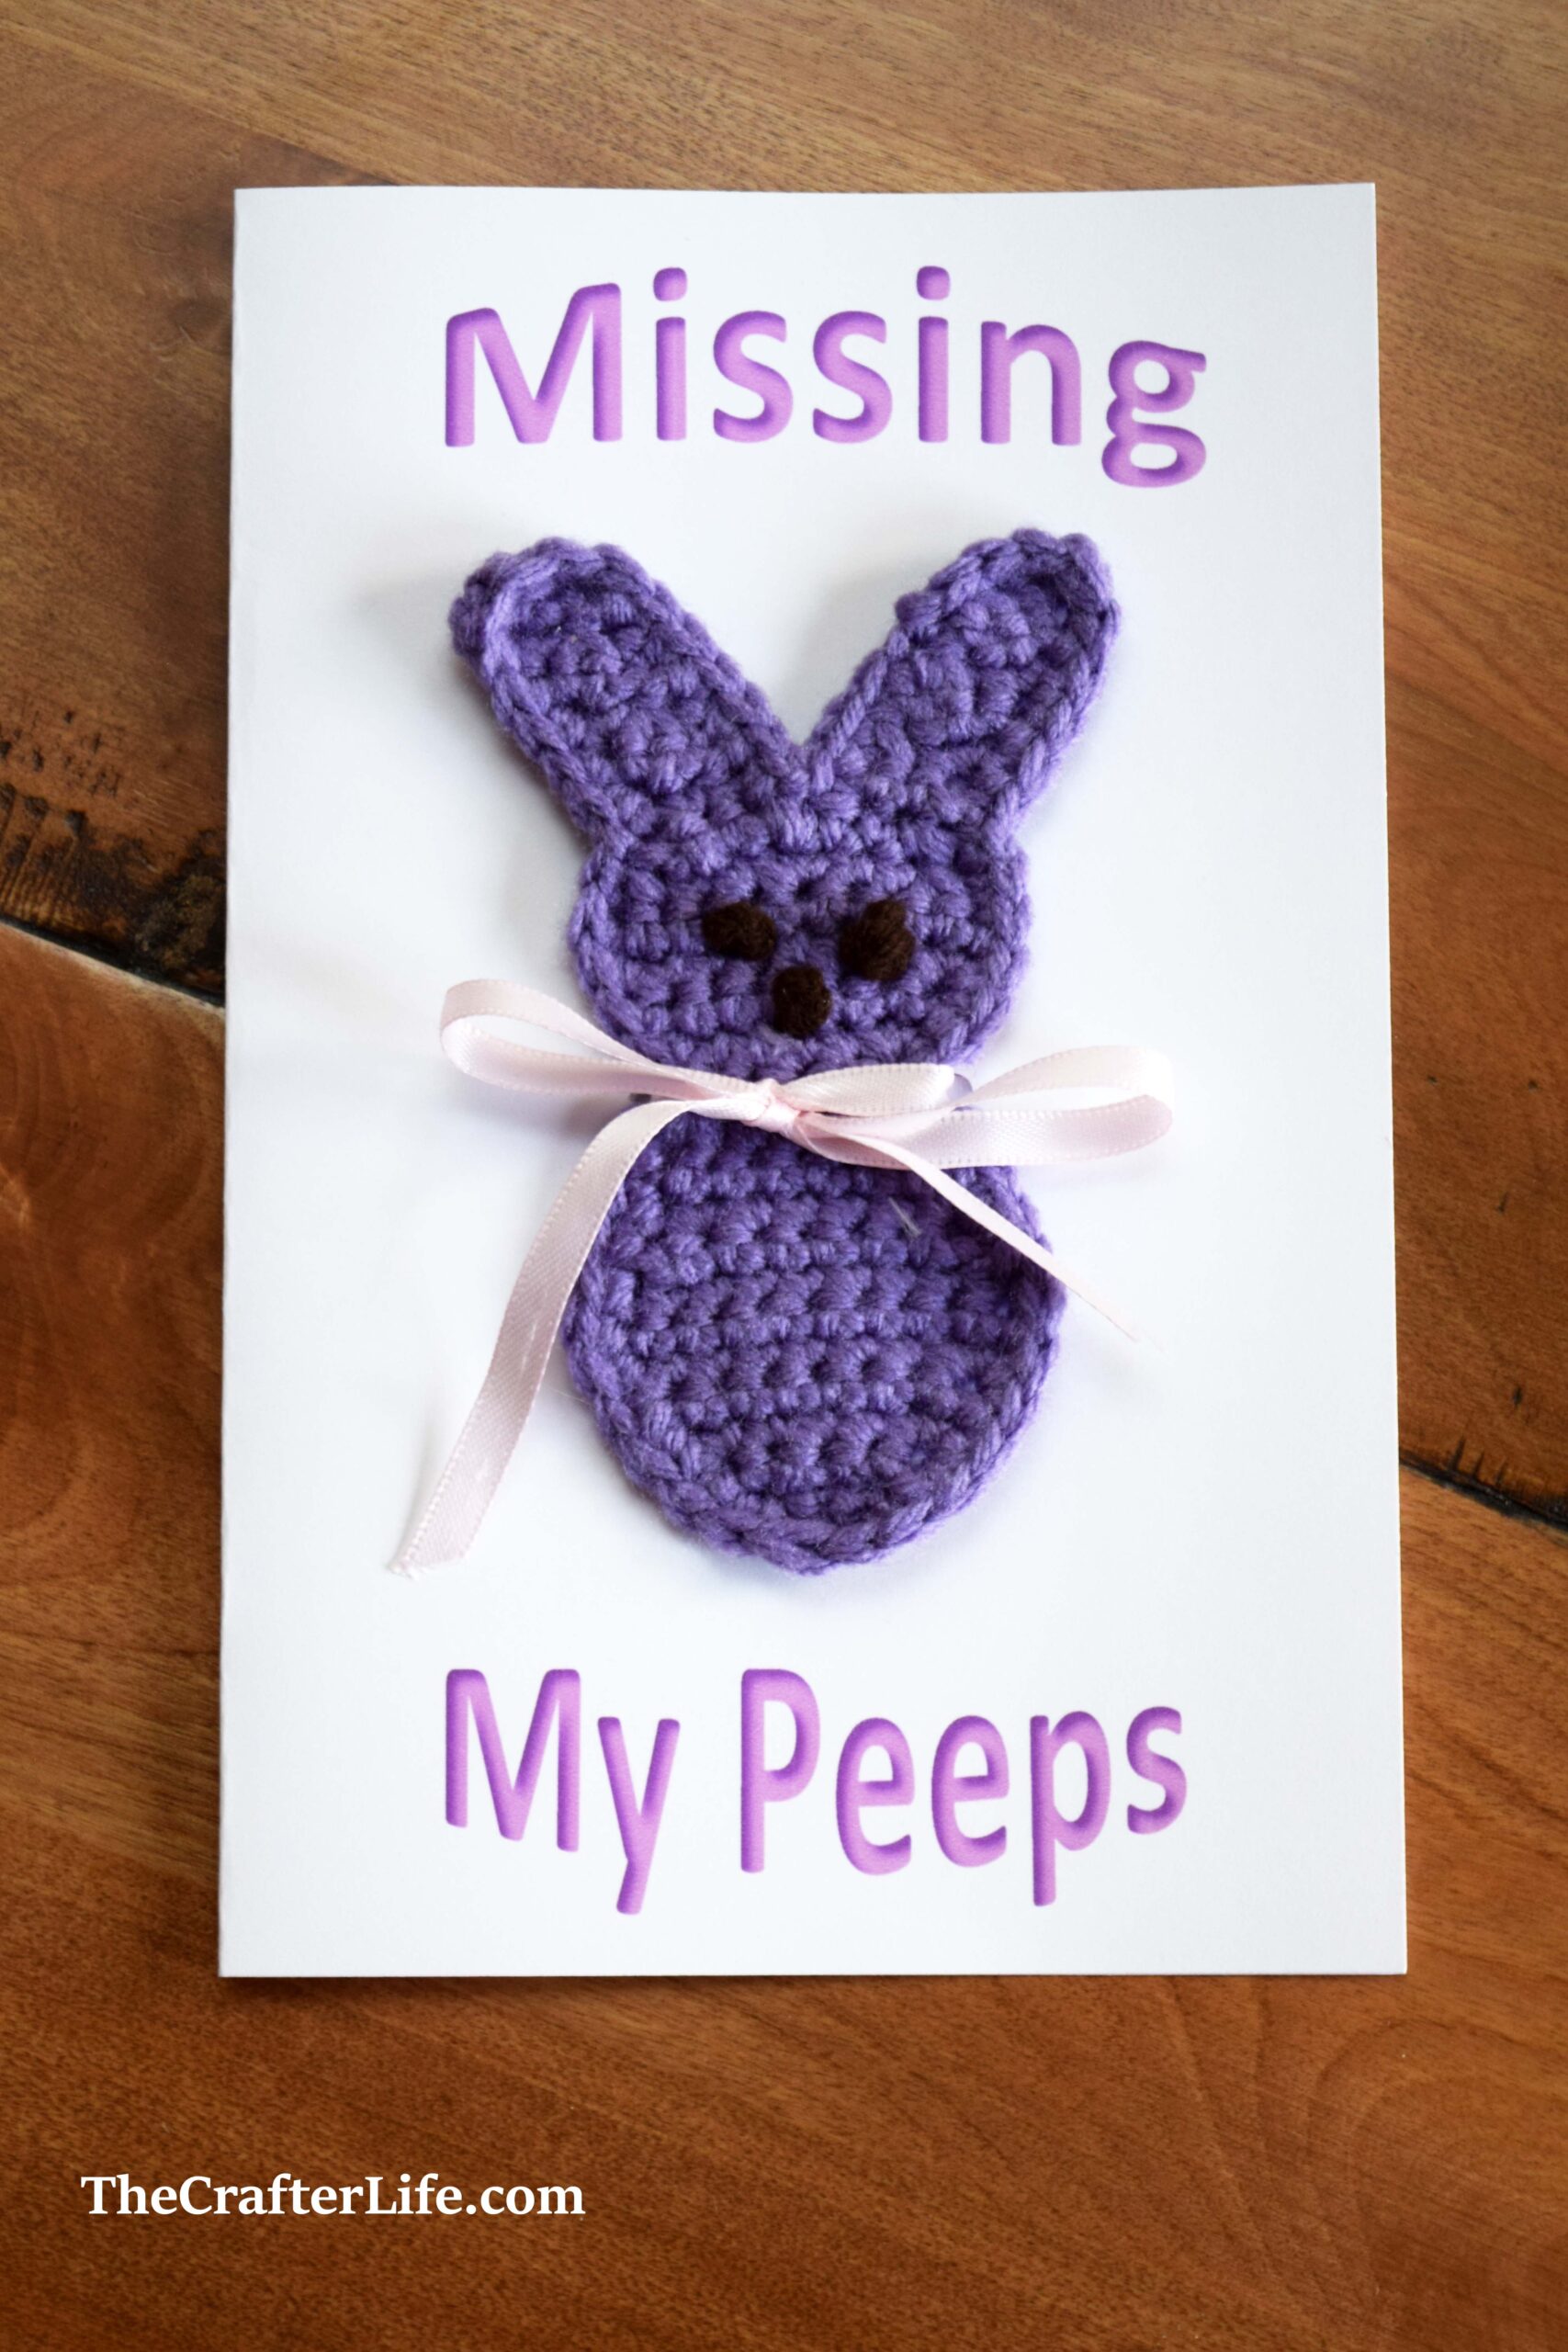
Missing My Peeps
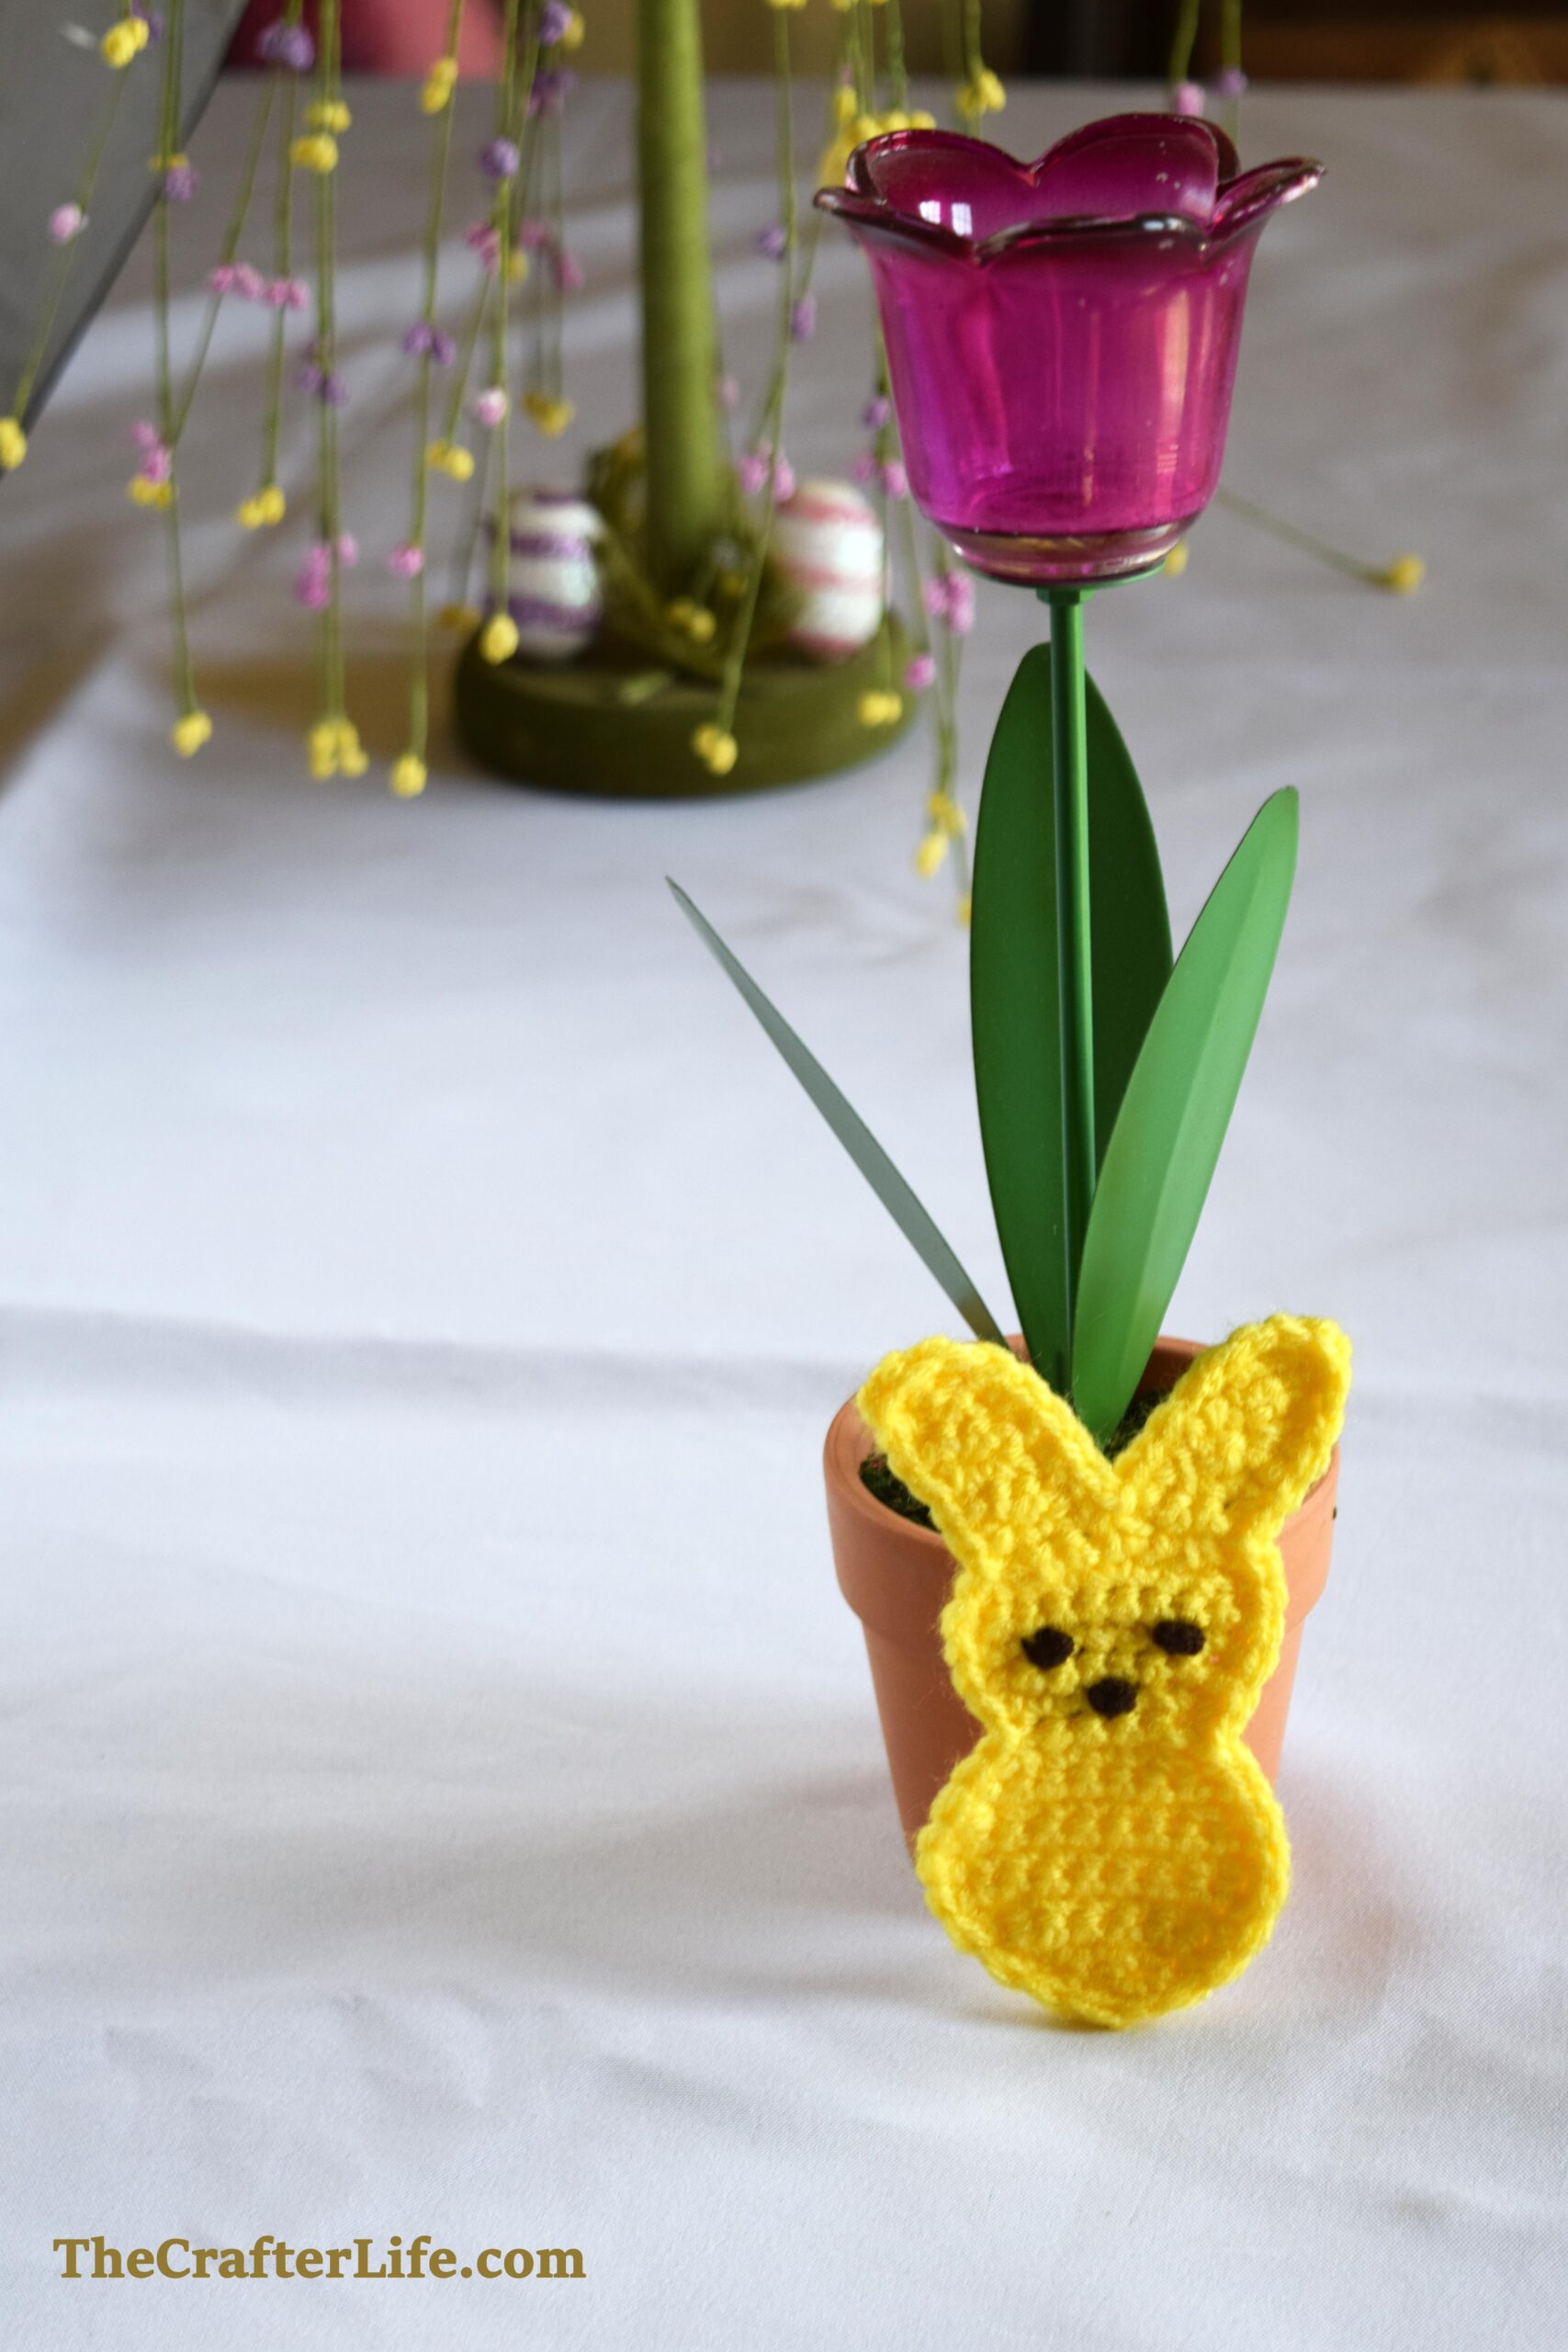
I realized that I wouldn’t make it out to the store this year to buy any Easter cards, so I decided I would make my own. I thought placing a crocheted magnet on the front would be cute so the receiver can use it as an Easter decoration on the fridge. At first, I was going to do a white bunny magnet, but then I thought a peep magnet would be cute since I am going to miss seeing all my “peeps” this Easter due to the pandemic.

Feel free to use this peep applique however you decide. Of course, you can use it for other projects – you don’t have to turn yours into a magnet. If you make several, a banner would be cute! It is a quick and fun project to do if you are at home and looking for an easy Easter project to make. The nice thing is it doesn’t require a lot of yarn nor a specific color so you can use scrap yarn you already have at home. I hope making these cute peeps helps to bring a little cheer and stress-relief to you during this unfortunate time. Stay safe and healthy!
See below for the crochet pattern for the peep. I also included a printable and directions on how I made my greeting card.
Peep Applique
This pattern is for an applique of an Easter Peep. It can be used as an embellishment for many different projects or as a quick and fun project on its own. You can also use different hook sizes to create slightly smaller or larger peeps.
FINISHED MEASUREMENTS
About 4½ inches tall x 2¼ inches wide
MATERIALS
– Size 4.00 crochet hook or size needed to obtain gauge (you can use a slightly larger or smaller hook to create a larger or smaller peep)
– Worsted weight (4) yarn in your color choice for main body of peep (I used Red Heart Super Saver yarn in various colors.)
– Worsted weight (4) yarn in dark brown yarn (I used Red Heart Super Saver in Coffee)
– Tapestry needle for weaving in ends
– Scissors
– Measuring tape
ABBREVIATIONS
– ch = chain
– chs = chains
– sc = single crochet
– sc2tog = single crochet 2 together (single crochet decrease)
– slst = slip stitch
– st = stitch
– sts = stitches
GAUGE
5 sc = 1 inch
6 rows = 1 inch
DIRECTIONS
Main Body of Peep
*Use your 4.00 mm hook and worsted weight yarn in your main color choice to make the main body of the peep.
Row 1: Ch 4, sc in 2nd ch from hook, sc in each remaining ch across. (3 sc)
Row 2: Ch 1, turn, 2 sc in first st, sc in next st, 2 sc in last st. (5 sc)
Row 3: Ch 1, turn, 2 sc in first st, sc in next 3 sts, 2 sc in last st. (7 sc)
Row 4: Ch 1, turn, sc in each st across. (7 sc)
Row 5: Ch 1, turn, 2 sc in first st, sc in next 5 sts, 2 sc in last st. (9 sc)
Row 6: Ch 1, turn, sc in each st across. (9 sc)
Row 7: Repeat Row 6.
Row 8: Ch 1, turn, sc2tog, sc in next 5 sts, sc2tog. (7 sc)
Row 9: Ch 1, turn, sc in each st across. (7 sc)
Row 10: Ch 1, turn, sc2tog, sc in next 3 sts, sc2tog. (5 sc)
Row 11: Ch 1, turn, sc in each st across. (5 sc)
Row 12: Ch 1, turn, 2 sc in first st, sc in next 3 sts, 2 sc in last st. (7 sc)
Row 13: Ch 1, turn, sc in each st across. (7 sc)
Row 14: Ch 1, turn, 2 sc in first st, sc in next 5 sts, 2 sc in last st. (9 sc)
Row 15: Ch 1, turn, sc in each st across. (9 sc)
Row 16: Ch 1, turn, sc2tog, sc in next 2 sts, 2 sc in next st, sc in next 2 sts, sc2tog. (8 sc)
*Row 17 starts the first ear. You will not continue across the entire row of 8 stitches (you will stop halfway across the row and turn).
Row 17: Ch 1, turn, sc2tog, sc in next 2 sts. (3 sc)
Row 18: Ch 1, turn, sc in each st across. (3 sc)
Row 19: Ch 1, turn, 2 sc in first st, sc2tog. (3 sc)
Row 20: Ch 1, turn, sc2tog, 2 sc in next st. (3 sc)
Row 21: Ch 1, turn, 2 sc in first st, sc2tog. (3 sc)
Row 22: Ch 1, turn, sc2tog, 2 sc in next st. (3 sc)
Row 23: Ch 1, turn, 2 sc in first st, sc2tog, fasten off and weave in tail. (3 sc)
*Now you will start the second ear. Hold your work so the first ear is on the left. Attach your yarn on the right side (to the 1st stitch of Row 16). Then repeat Rows 17-23 to make the second ear. DO NOT fasten off once you finish Row 23. With your yarn still on your hook, sc evenly around the entire perimeter of the peep to finish it. Place slip stitches in the “pinched points” where each ear meets the head and on each side where the head meets the body (the neck). Once you reach back to where you started, slst in the next two stitches and fasten off. Weave in all loose ends.
Eyes and Nose (Make 3)
*Use your 4.00 mm hook and worsted weight yarn in your main color choice to make the main body of the peep.
*Leave a longer beginning tail when you make your slip knot so you can use it for tying a knot with the ending tail.
Row 1: Ch 1, fasten off, leaving a long tail to tie with your beginning tail you left at the start of the slip knot. (1 ch)
Tie your beginning tail together with your ending tail to make a larger knot. You can keep tying them together as many times as you want to get your desired size for the nose/eyes. (I only tied them together once.)
*Once you have your two eyes and nose made, use your tapestry needle and the two tails on each one to attach them in place to the face of your peep. I attached the nose first to make sure it was centered and then attached the eyes. Make sure to secure your yarn on the back (I knotted the two tails on the back of the peep together and then wove them under the back stitches to secure).
Your peep applique is now finished and ready to use!
Greeting Card Directions

***If using a full-size sheet of card stock like I did, keep in mind that if you are mailing the card, you will need a large envelope and extra postage due to the size and weight of the card.
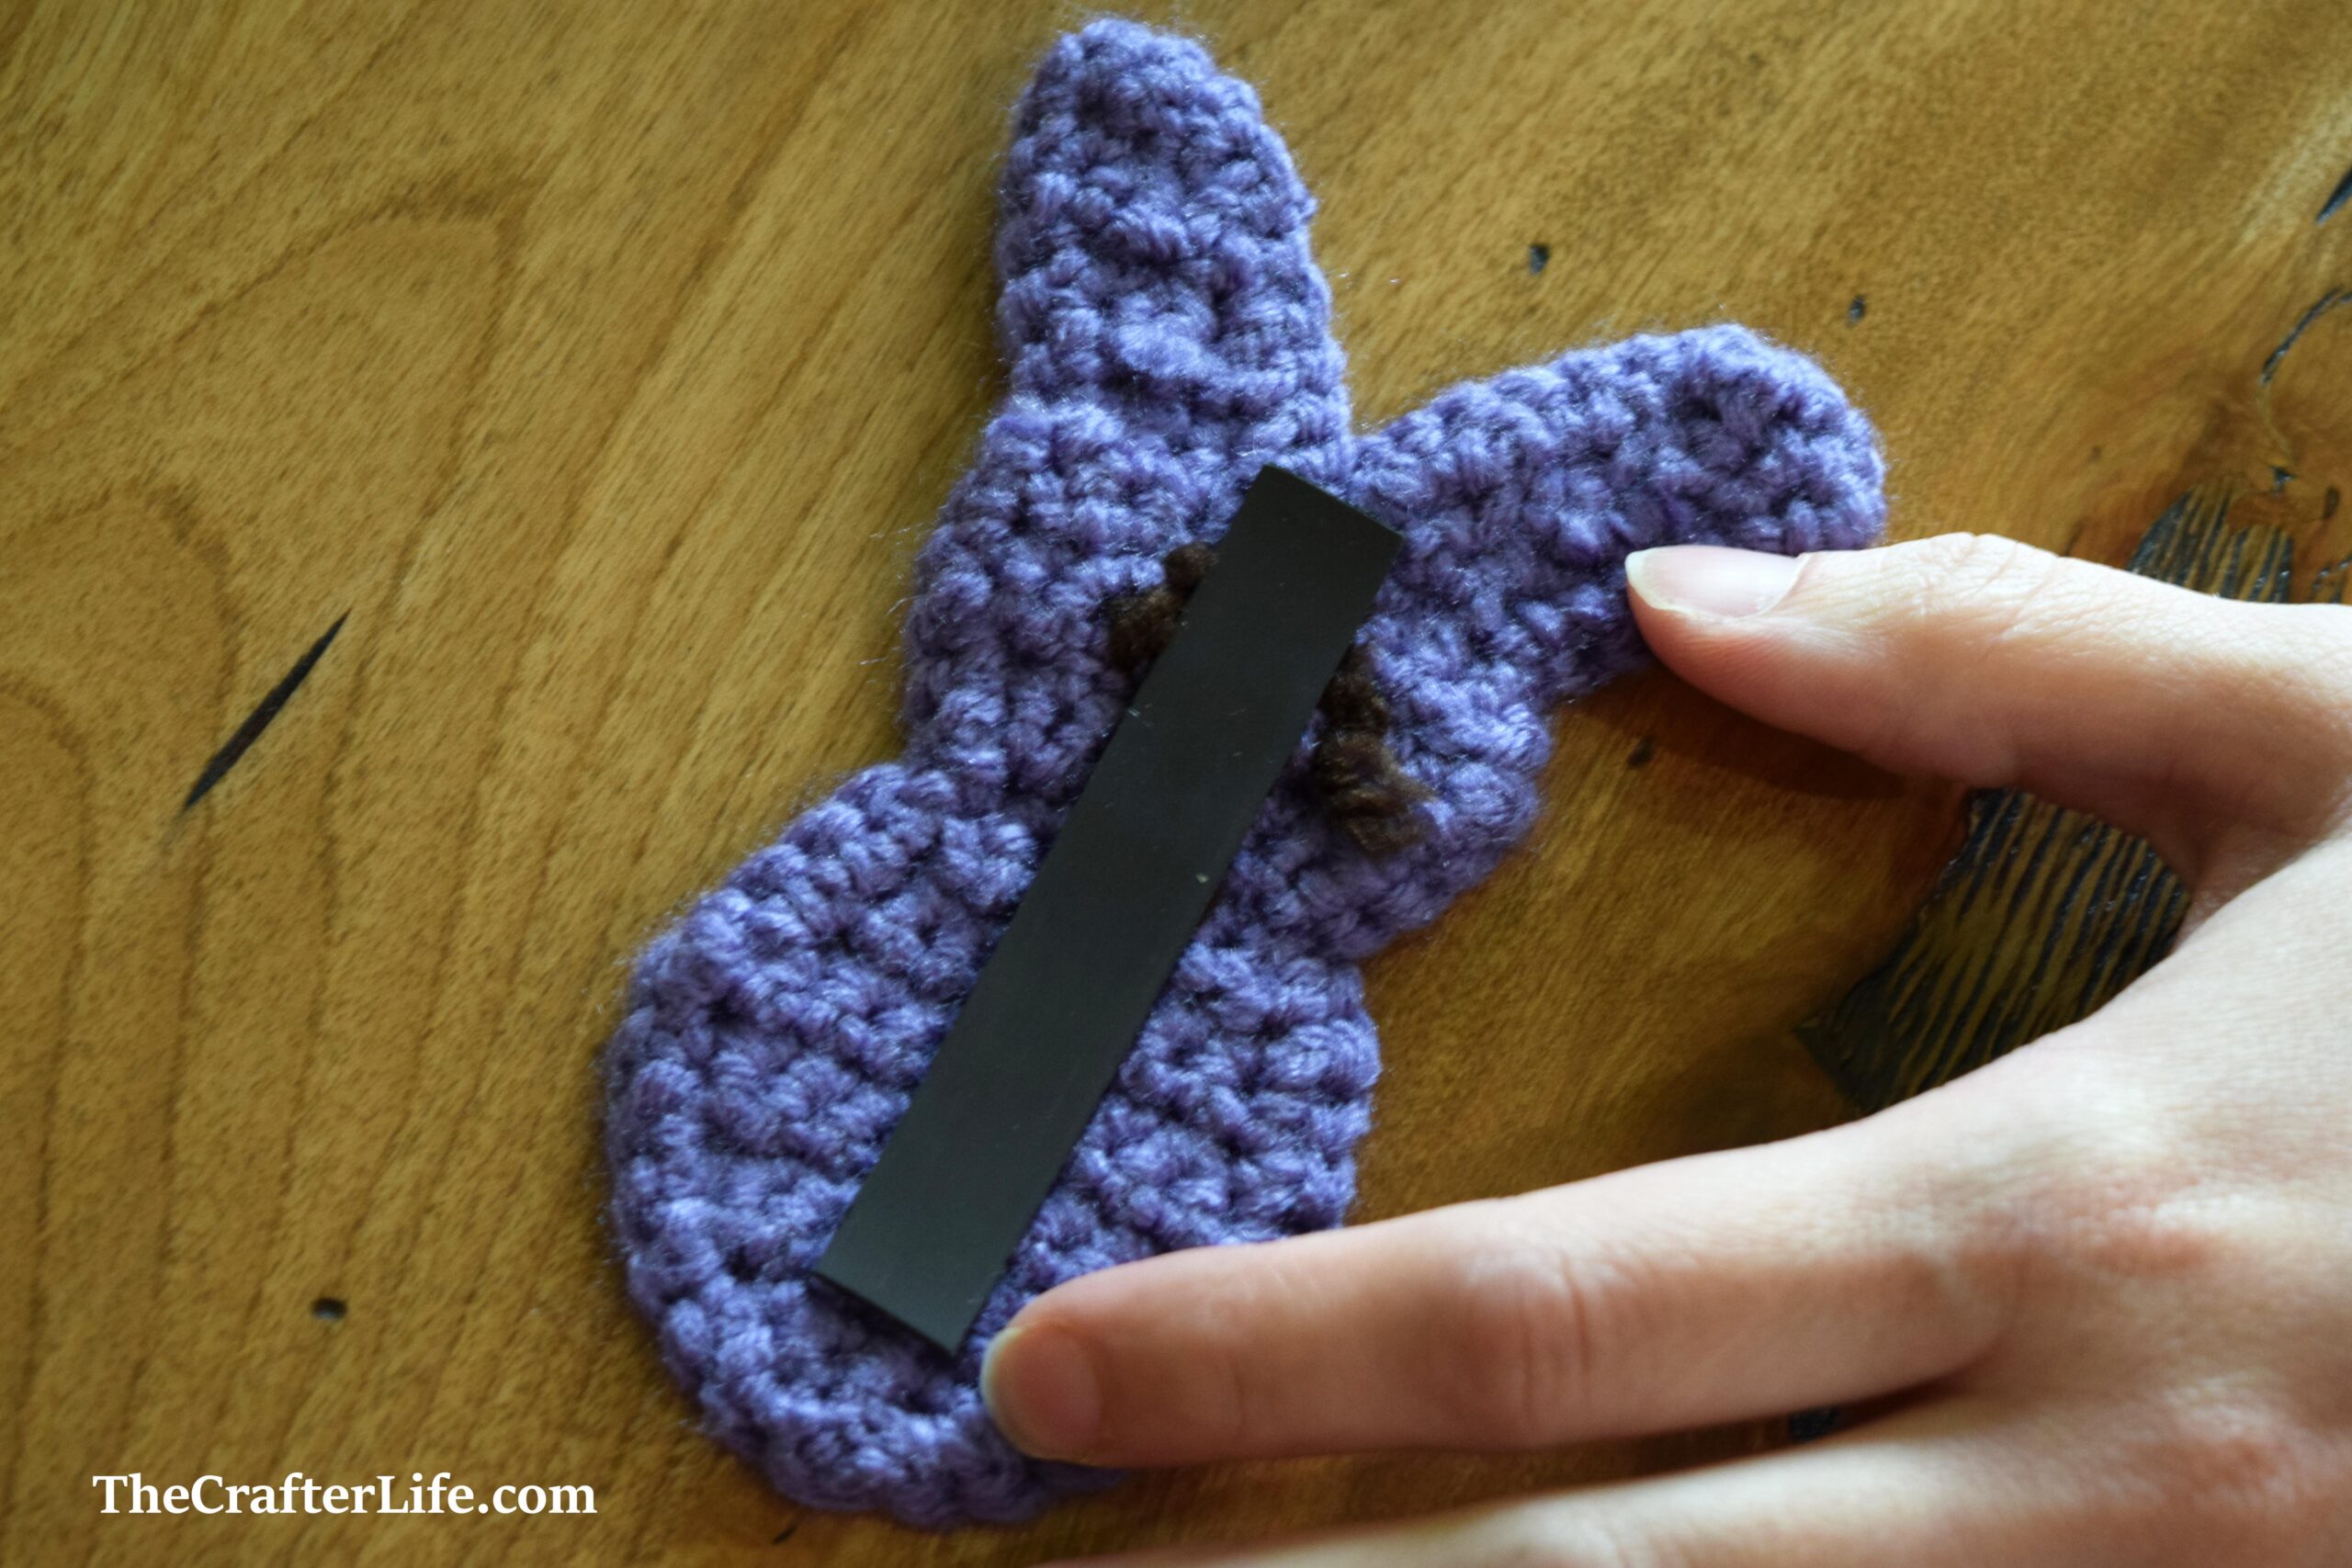
- I placed a magnet on the back of the peep. I cut my magnet from a roll of adhesive magnetic strip (since that is what I already had at my house) but you can use pretty much any type of magnet. Even though my magnet strip was sticky on the back, I also glued it to the back of the peep to ensure it stays/holds in place.
2. I used Microsoft Word to type the front and inside message of the card. I used Word Art for the front. I printed the card on white card stock (you may want to print a test card on a regular sheet of paper to help you figure out which way to insert the paper to get it to print on the other side for the inside of the card). When you fold the paper in half so that the front shows, the inside message should be on the right half. Below is the printable of the exact card I made.
GreetingCardFront GreetingCardInside
3. After folding my card in half, I positioned the peep magnet in the center of the front. Then I punched two small holes on either side of the neck of the peep. I pulled each end of a ribbon through the front of the holes and tied them tightly around the neck of the peep in order to hold it in place on the front of the card. I then cut the ends of the ribbon to my desired length.
4. I then signed the card. I plan to notify the receivers of the cards that the peep is a magnet they can remove (in case they don’t notice by looking at the card.

This pattern is property of TheCrafterLife.com
You may not sell my patterns or claim them as your own. You may make items to sell (i.e. on Etsy) from my patterns but I ask that you link back to my site (TheCrafterLife.com) and provide credit for the pattern. You are welcome to share my patterns on social media as long as you link back directly to my site by providing the link. No copying and pasting of any patterns will be allowed under any circumstances.