

“Mummy needs Coffee” Cup Sleeve
Dress up your cup and protect your hands this Halloween season with my festive “Mummy Needs Coffee” cup sleeve! Functional and cute, this sleeve would look great “wrapped” around the travel mug that contains your favorite hot fall beverage. Easily adjust it to fit larger or smaller cups. If you are interested in crocheting this project, see below for the pattern.
“Mummy Needs Coffee” Cup Sleeve
This mummy cup sleeve pattern is written to fit most standard-size cups/travel mugs that have a diameter of about 3¼ inches. It can be easily adjusted to larger or smaller cups by adding or deleting stitches.
FINISHED MEASUREMENTS
The mummy coffee sleeve has a diameter of about 3½ inches and is about 2¾ inches tall.
MATERIALS
– Size G/6/4.00mm crochet hook or size needed to obtain gauge
– Worsted weight (4) acrylic yarn in Dark Grey (I used Loops & Threads Impeccable yarn in Dark Charcoal.)
– Worsted weight (4) acrylic yarn in Cream (I used Loops & Threads Impeccable yarn in Aran.)
– Worsted weight (4) acrylic yarn in Bright Green (I used Red Heart Super Saver yarn in Spring Green.)
– Scissors
– Tapestry needle for weaving in ends and sewing eyes & wrap onto sleeve
– Stitch markers (Optional – if needed for counting/marking stitches)
Straight Pins (Optional – if needed for holding wrap in places before sewing)
– Measuring tape
ABBREVIATIONS
– ch = chain
– chs = chains
– hdc = half double crochet
– sc = single crochet
– slst = slip stitch
– sp = space
– st = stitch
– sts = stitches
GAUGE
5 hdc = 1 inch
3 rows of hdc = 1 inch
PATTERN NOTES
- The mummy coffee sleeve is made first in rows of half double crochet stitches. You can adjust the size of the sleeve by adding or deleting stitches in order to fit larger or smaller mugs.
- If you add or delete stitches from the body of the sleeve to make it larger or smaller, make sure to adjust the number of stitches on the wrap pieces by the same amount so they properly fit your sleeve.
- The eyes and wrap pieces are made separate and sewn onto the sleeve.
DIRECTIONS
Body of Sleeve
*Use your 4.00 mm hook and dark grey worsted weight yarn.
*If you aren’t sure what size sleeve you need for your cup, after working the first few rows, wrap the sleeve around your cup to see if it will reach. Take out or add stitches to each row of the sleeve, accordingly.
Row 1: Ch 46, hdc in 2nd ch from hook and in next 44 chs across. (45 hdc)
Rows 2-8: Ch 1, turn, hdc in each st across, at the end of Row 8, ch 1 and turn, do not fasten off. (45 hdc)
*The front side of the sleeve should be facing you after you chain 1 and turn at the end of Row 8. Do not fasten off the grey yarn yet because once you make and sew the eyes and wrap to the sleeve, you will place the yarn back on your hook to make the seam of the sleeve. Follow the directions below to make the eyes.
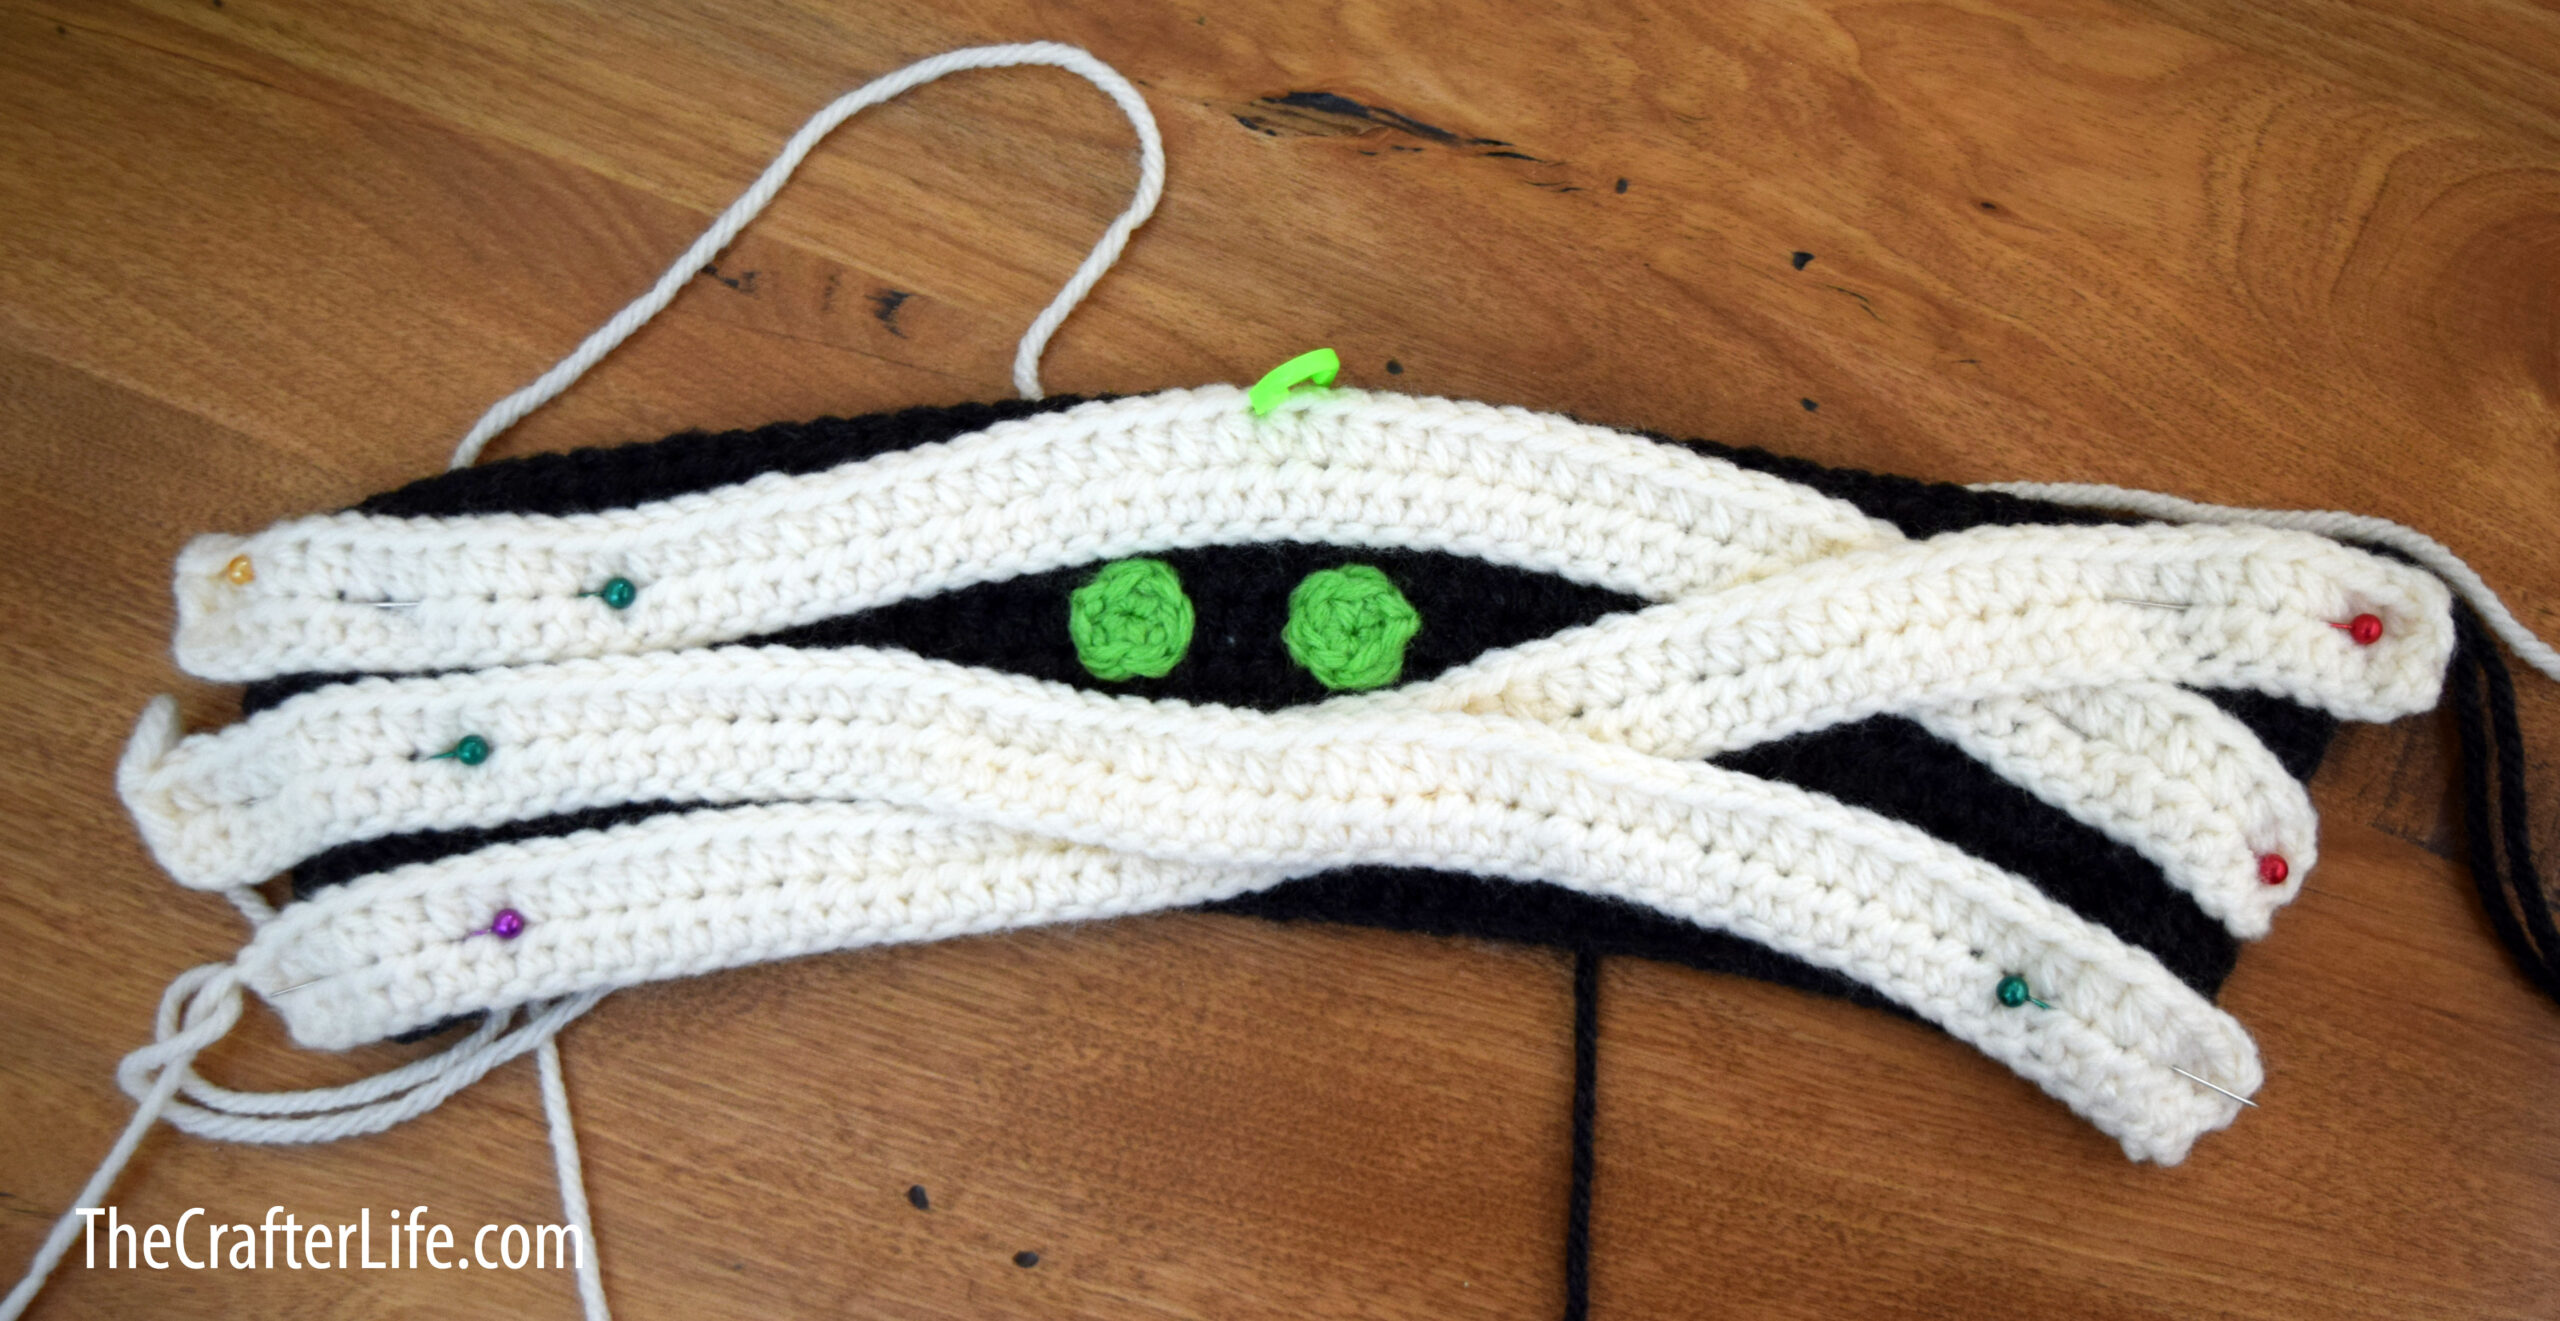
Eye (Make 2)
*Use your 4.00 mm hook and bright green worsted weight yarn.
Round 1: Form a magic ring, ch 1, work 6 sc in ring, pull ring closed, join to first sc with a slst, fasten off, leaving a long tail for sewing eye onto sleeve. (6 sc)
***You should now have two green eyes complete and ready to be sewn onto the sleeve. Follow the directions below to make the wrap pieces.
Wrap Piece (Make 3)
*Use your 4.00 mm hook and cream worsted weight yarn.
*If you had to add or delete stitches when making the body of the sleeve, you should add or delete the same amount of stitches when making each wrap piece.
Row 1: Ch 56, hdc in 2nd ch from hook and in next 54 chs across. (55 hdc)
Row 2: Ch 1, turn, hdc in each st across, fasten off, leaving long tail for sewing onto sleeve. (55 hdc)
***You should now have three wrap pieces complete and ready to be sewn onto the sleeve. Follow the directions below to assemble the sleeve.
ASSEMBLY
1. Use your tapestry needle and the tails you left on the eyes to sew each eye to the center of Row 5 of the body of the sleeve. If you are following the exact pattern provided as shown in the main picture (you worked the same number of stitches in each row of the sleeve body as the pattern states), the left eye should be centered over the 21st stitch of Row 5 and the right eye should be centered over the 25th stitch of Row 5. You may wish to use straight pins to hold the eyes in place before sewing. Once you are satisfied with the eye placement, neatly weave in and secure your yarn on the back of the sleeve.
2. Use your tapestry needle and the tails you left on each wrap piece to sew them to the sleeve by the stitches on their top rows. You may wish to use straight pins to help arrange them how you prefer and hold them in place before sewing. If you want to create the same look as the mummy sleeve in the main picture, the first wrap piece should be centered with the top of Row 8 of the body. Find the 28th (center) stitch of the wrap and the 23rd (center) stitch of Row 8 and use a stitch marker to hold them both together to help you center them together. The left side of the first wrap piece should dip slightly down (so the top is even with the top of Row 7 of the body) and then go back up to the top left corner of the sleeve. The right side of the first wrap piece should dip down and end at the edge of the wrap at about Rows 3 and 4 of the sleeve. The ends of the wrap piece should slightly hang over the edges of the sleeve so when you sew the edges of the sleeve together to create the seam, they will overlap/cover the seam. The second wrap piece should start at the bottom left corner of the sleeve, run across the bottom until about halfway, and then run up to the top right corner of the sleeve. Again, leave both ends of the wrap piece hang slightly over the edges of the sleeve. The third and final wrap piece should begin at about Rows 3 and 4 on the left side of the sleeve, run straight across until it is about 4 stitches over from the left eye, then dip down until it reaches the bottom corner of the right side of the sleeve. As before, lead both ends of the wrap piece hang slightly over the edges of the sleeve. Once you have the pieces in place, sew them onto the sleeve across their top edges (using the stitches in Row 2 of the wrap pieces). Don’t sew the wrap pieces along their bottom edges so they have room to stretch when the sleeve is placed on a mug. Don’t weave in the tails yet. You will use the tails to sew the ends of the wraps to the sleeve after creating the seam of the sleeve.
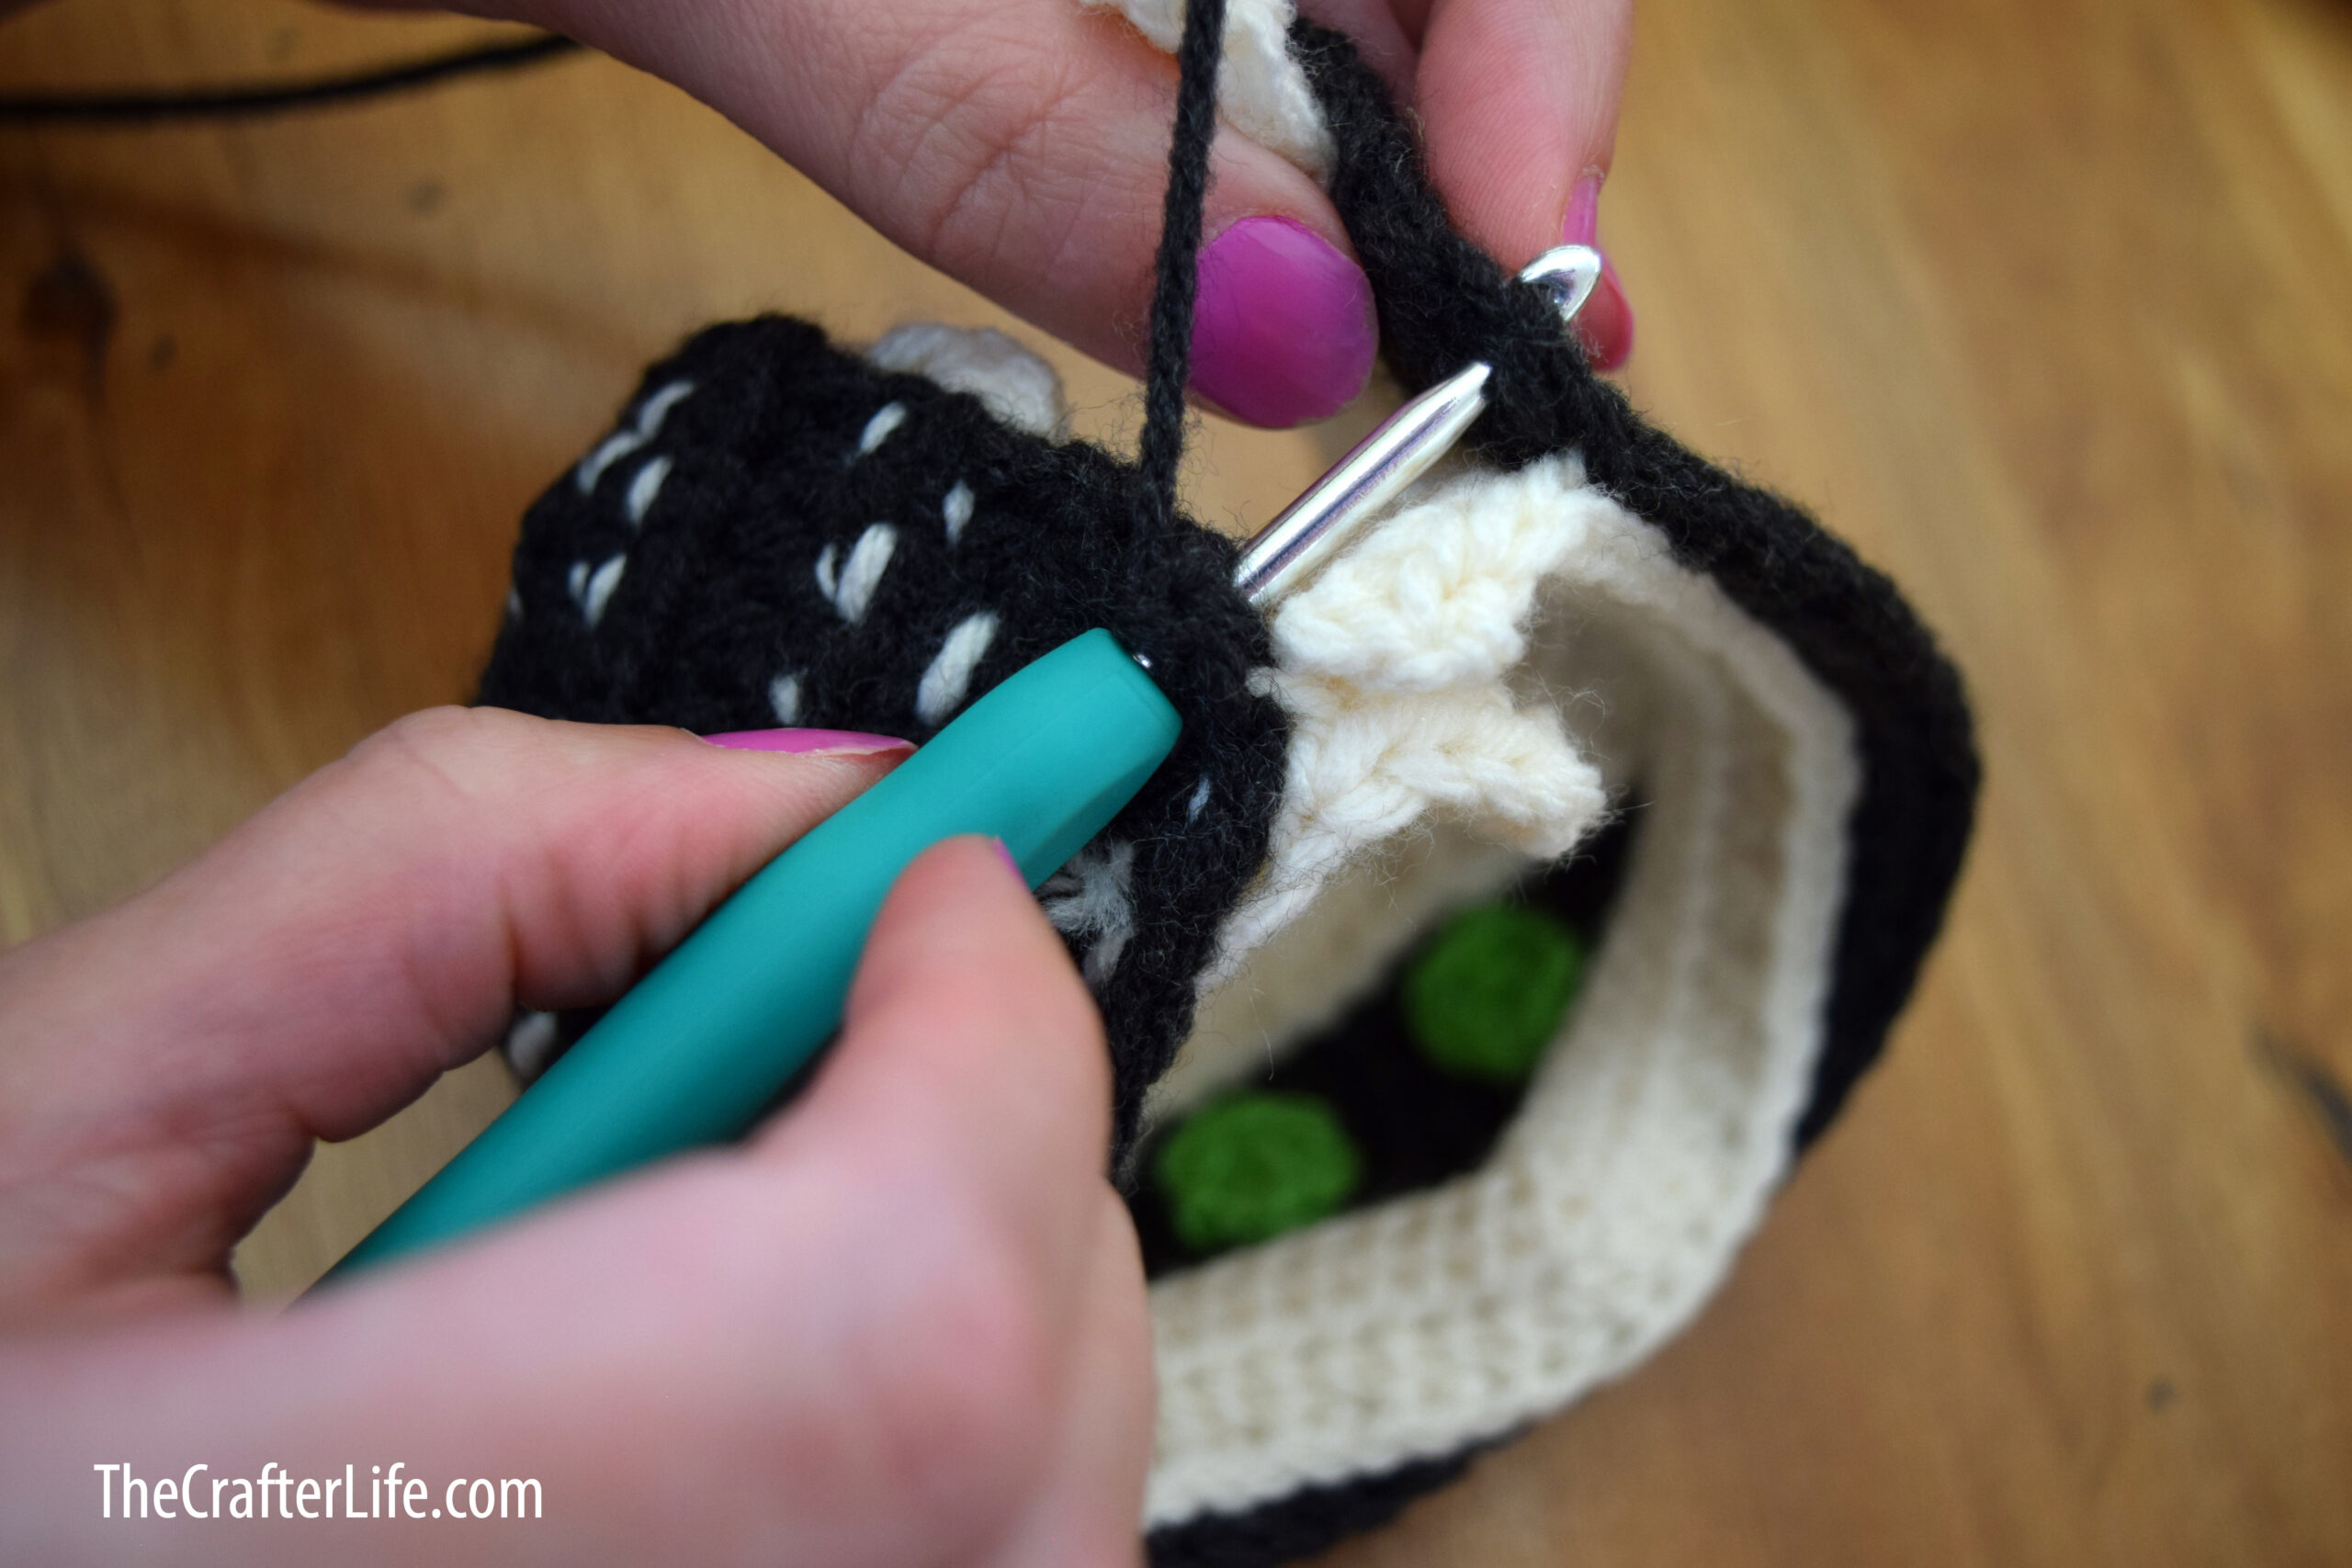
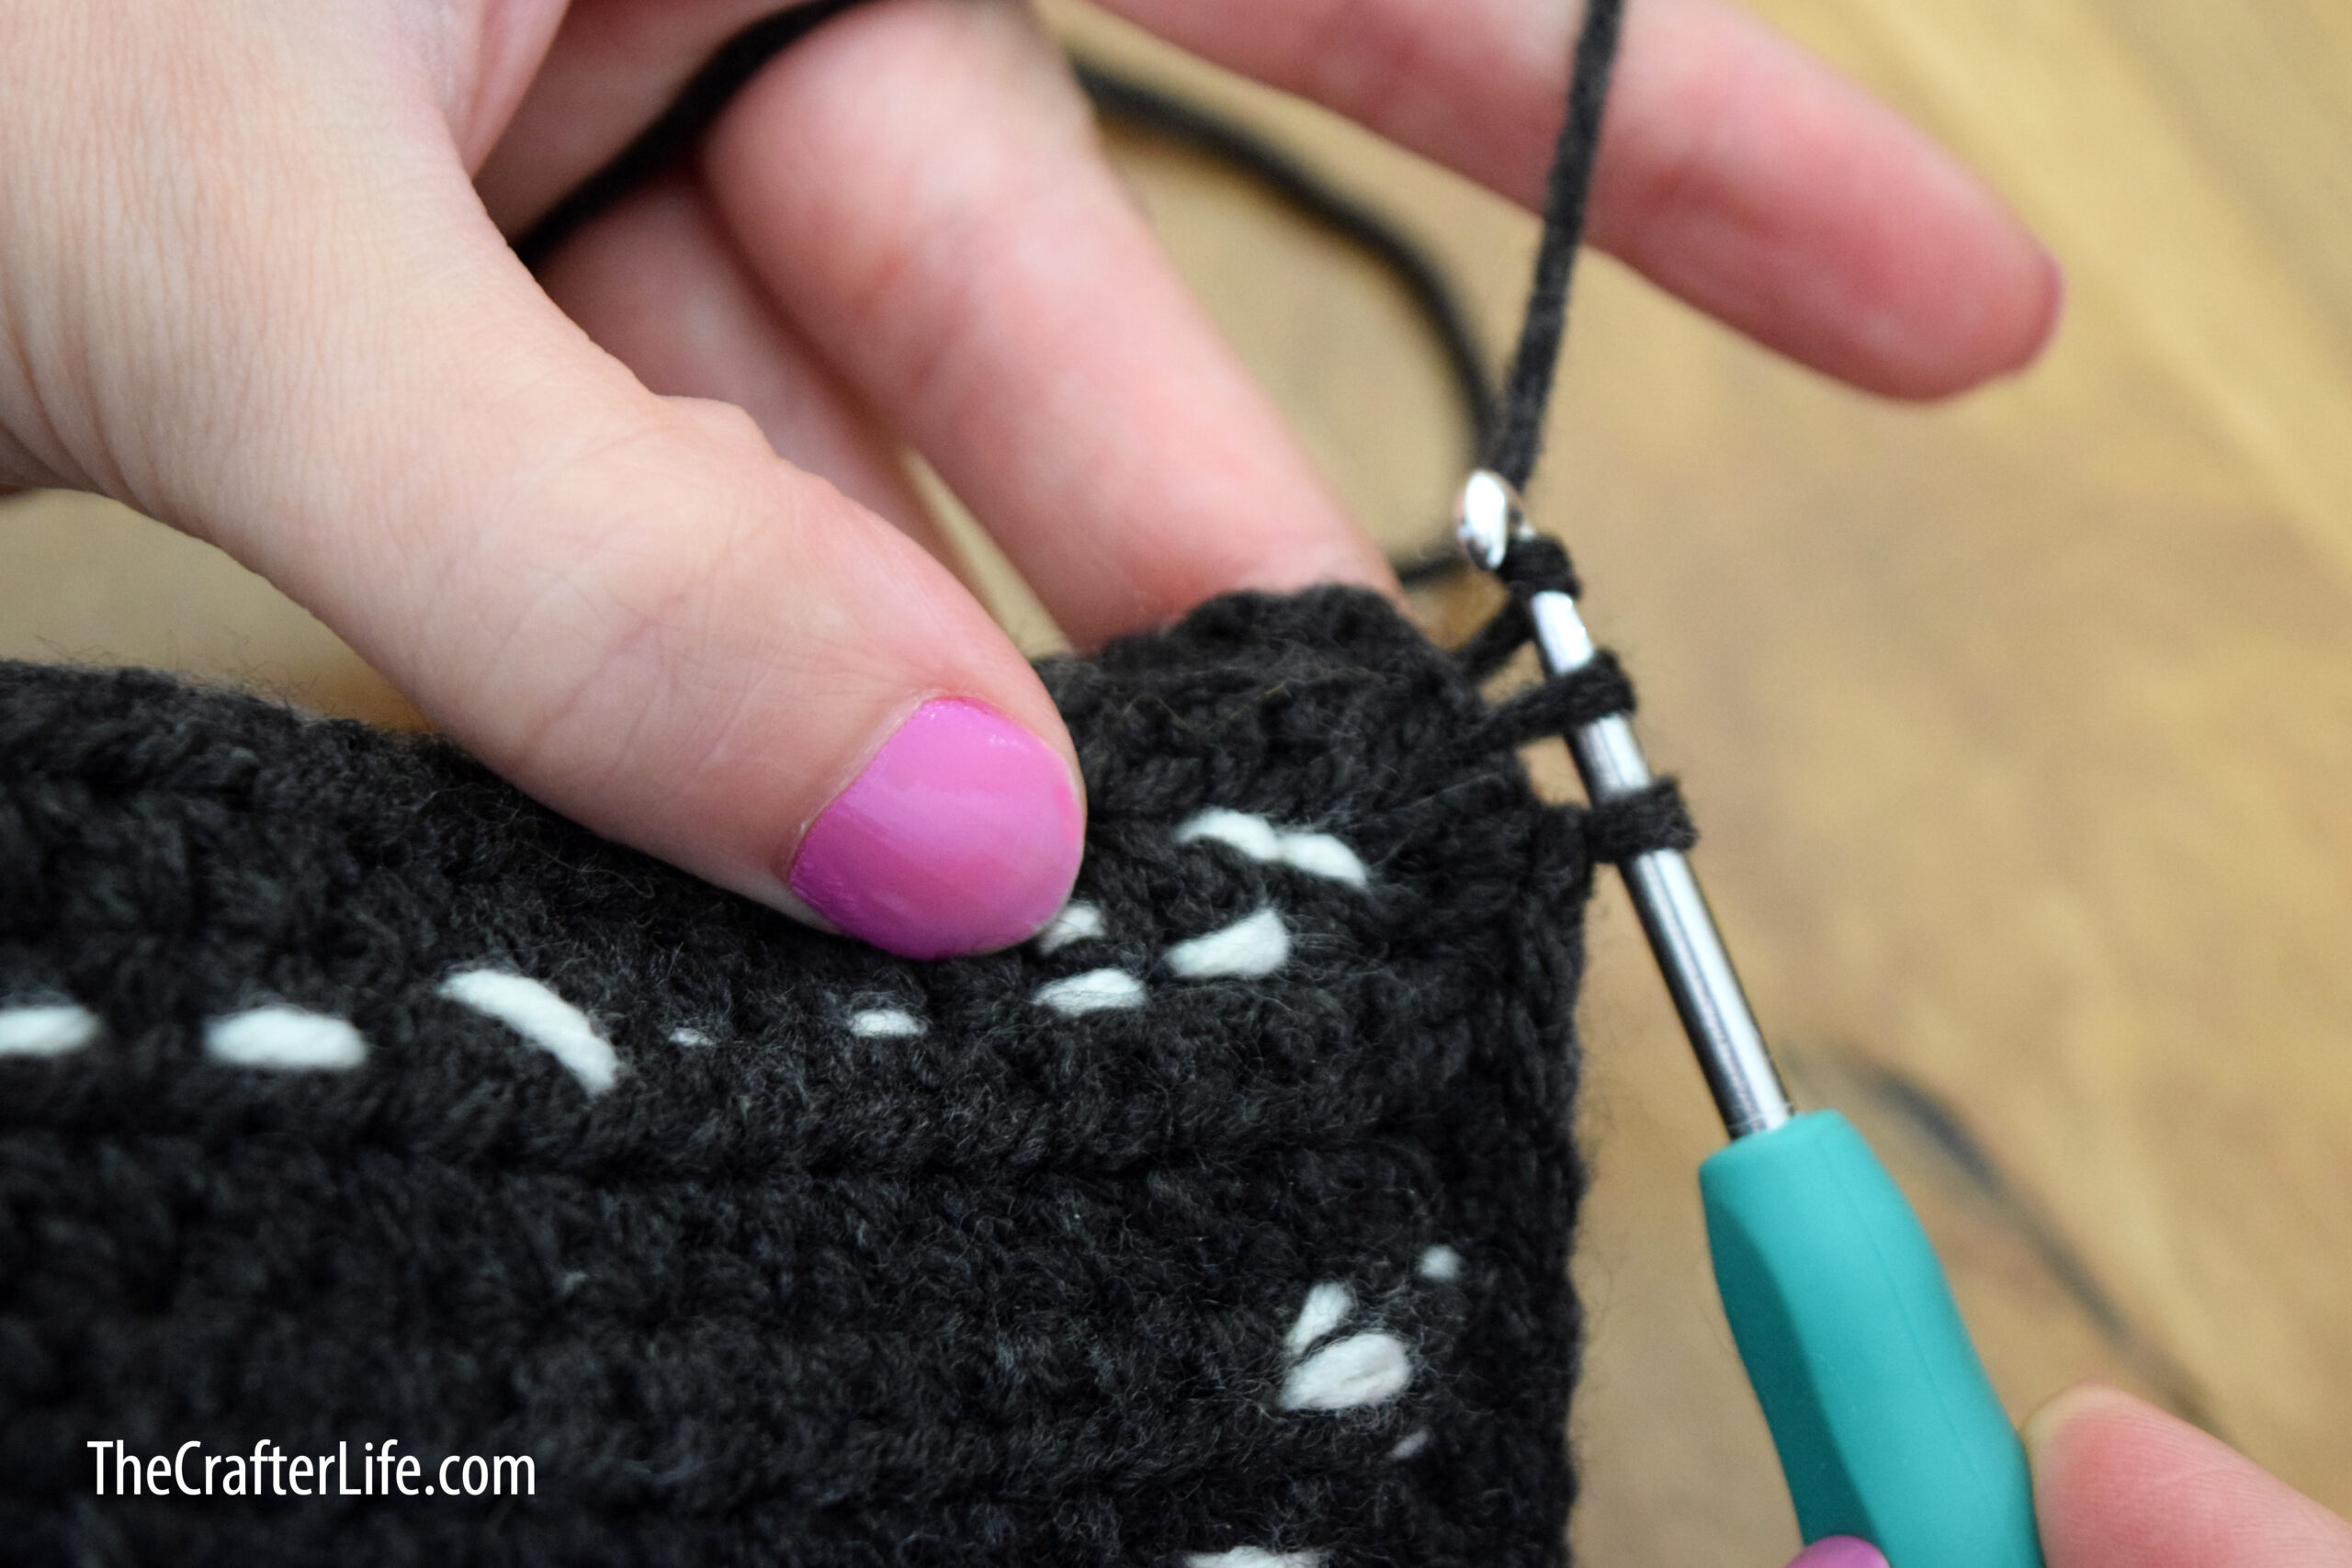
3. Use your 4.00 mm hook to pick up the yarn where you left off at the end of Row 8. Then, fold the sleeve so the ends of the corresponding rows match up (the left and right edges of the sleeve) and the front is on the inside of the fold.
4. With the loop on your hook from the chain-1 you made at the end of Row 8, use your hook to single crochet the corresponding row edges (the first and last stitches of each row) of the body of the sleeve together, to create a seam (make sure to only place your single crochet stitches in the corresponding sleeve body rows and not through the wrap pieces). Once you have the seam complete, neatly weave in and secure the yarn on the back of the sleeve.
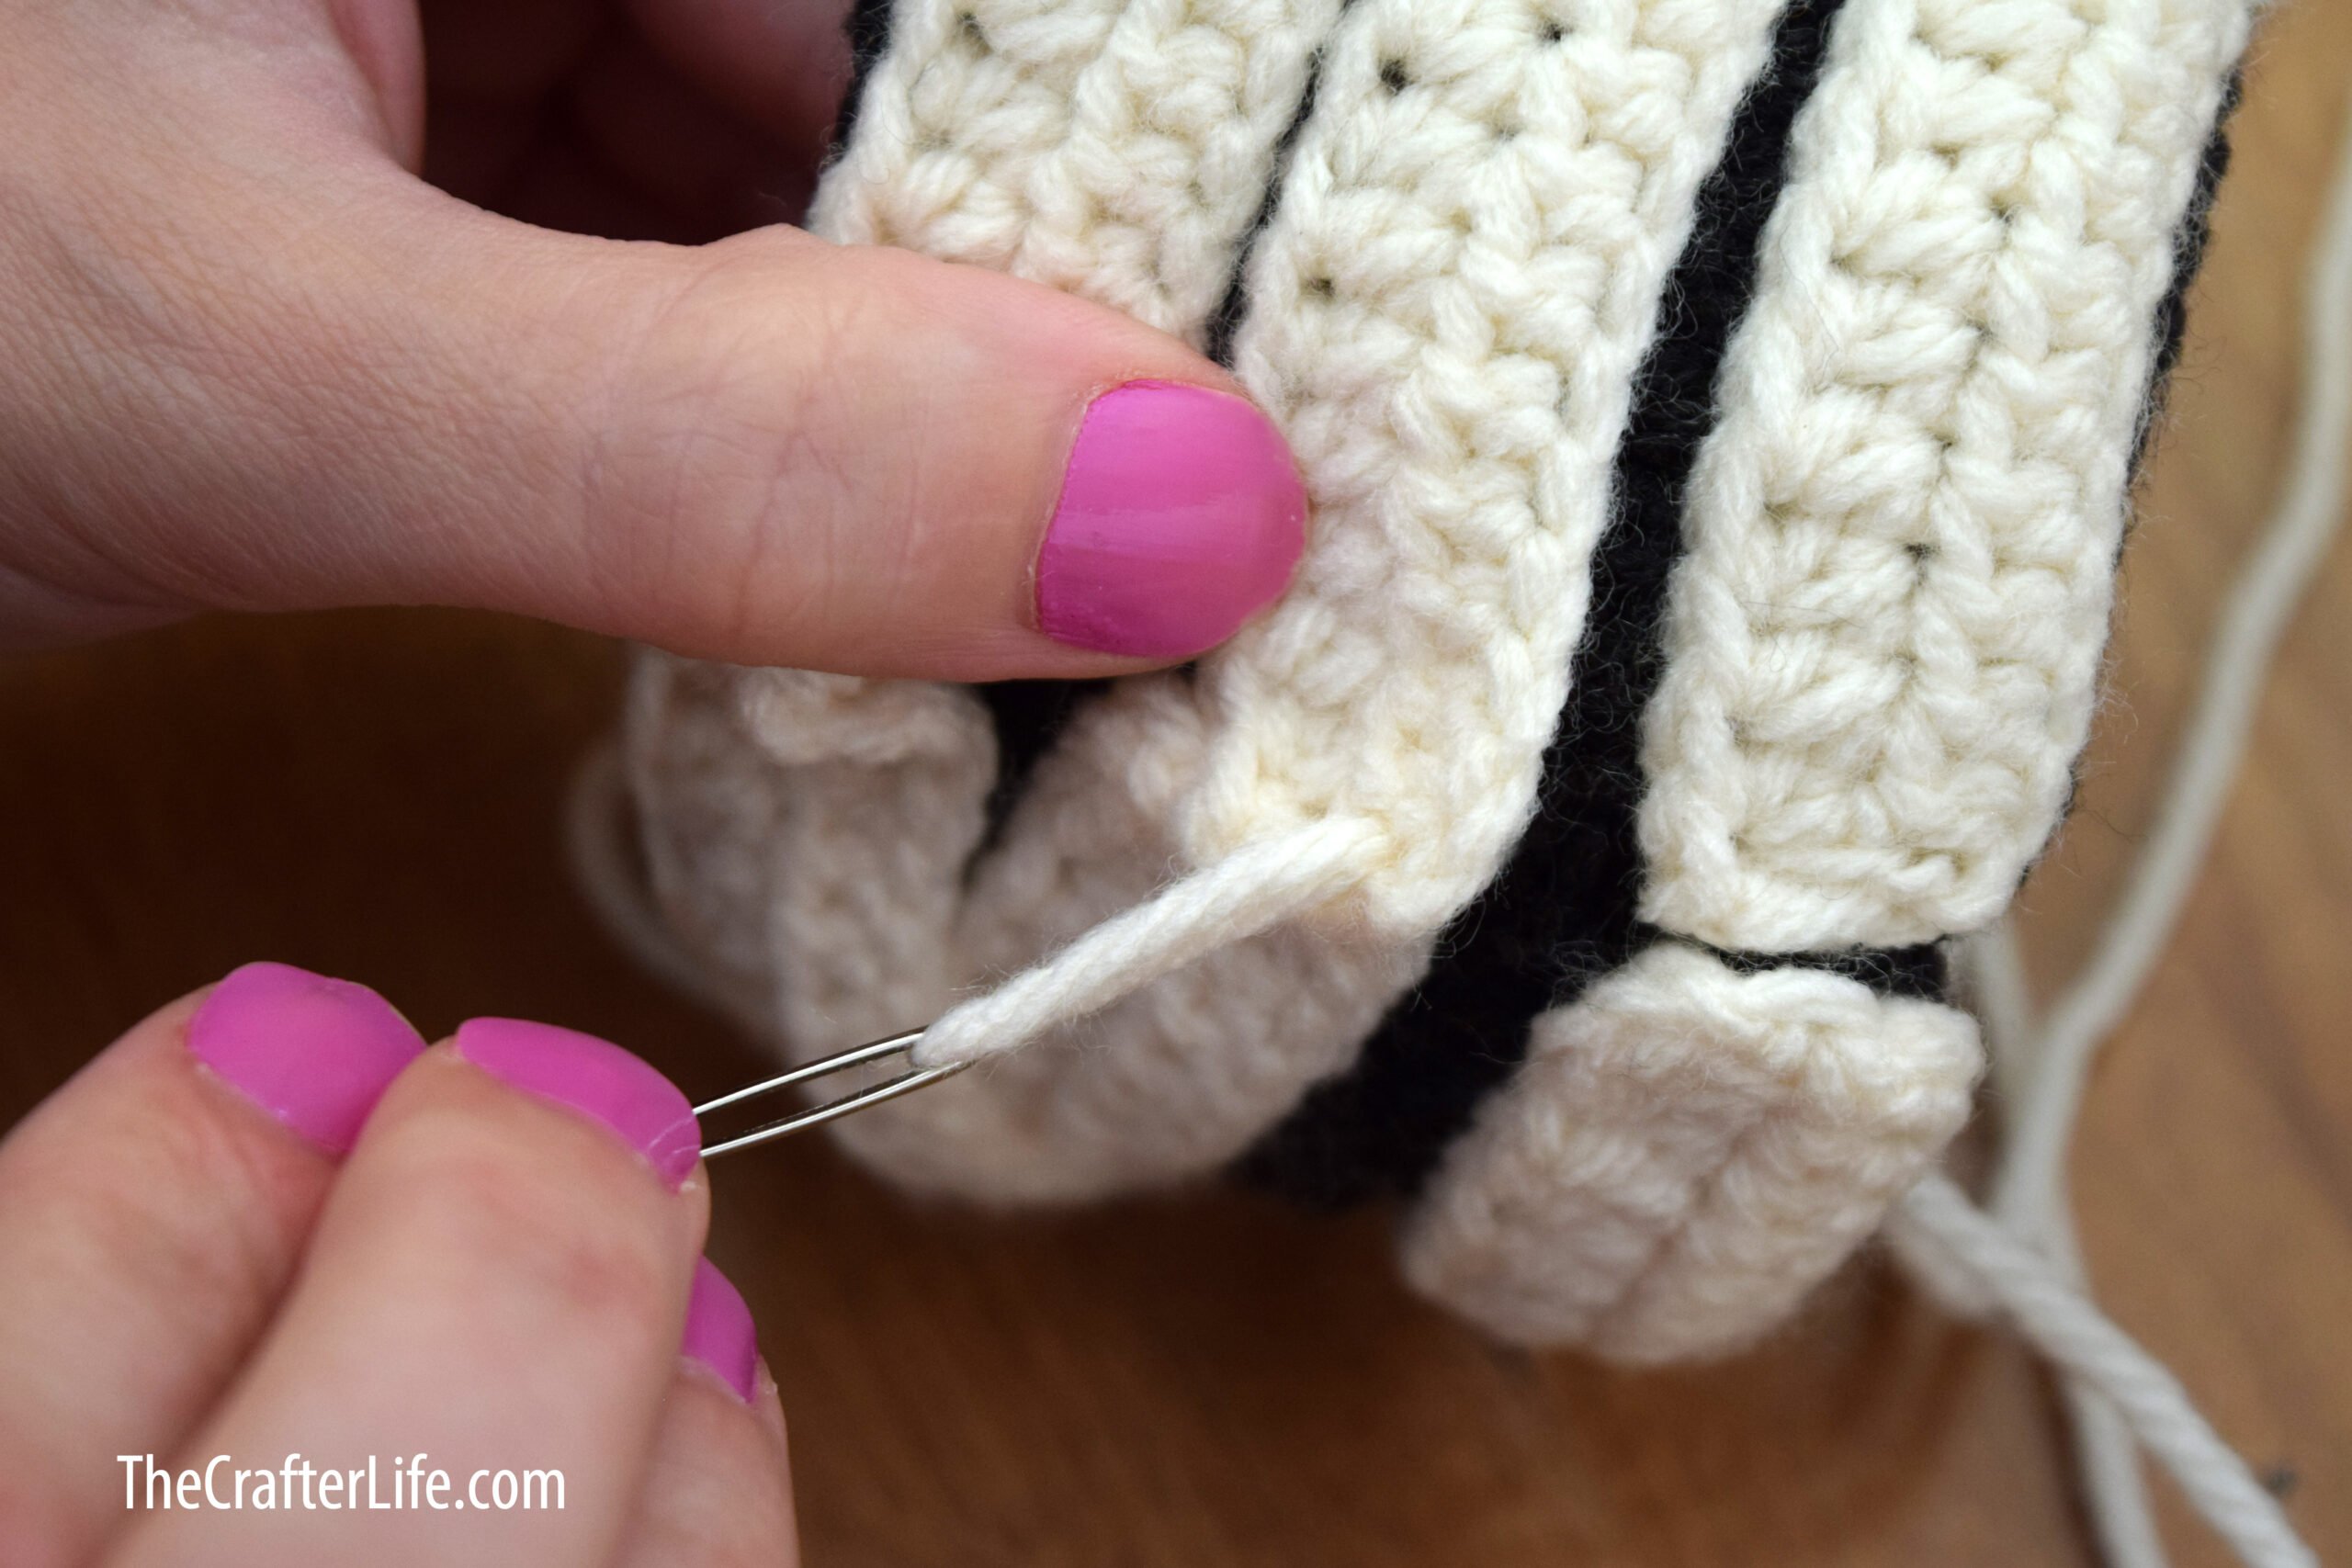
5. Turn the sleeve right-side-out (so that the eyes and wrap pieces are on the outside of the sleeve). Use your tapestry needle and the tail you left on each wrap piece to sew the ends of the wrap piece down on the outside of the sleeve to cover the seam and to make it look more like a mummy wrap. Neatly weave in and secure the yarn on the inside of the sleeve when finished.
*** That’s a wrap! After you weave in and secure all loose ends on the inside of the sleeve, your mummy coffee sleeve is ready to be “wrapped” around your favorite travel mug.

This pattern is property of TheCrafterLife.com
You may not sell my patterns or claim them as your own. You may make items to sell (i.e. on Etsy) from my patterns but I ask that you link back to my site (TheCrafterLife.com) and provide credit for the pattern. You are welcome to share my patterns on social media as long as you link back directly to my site by providing the link. No copying and pasting of any patterns will be allowed under any circumstances

Halloween Sucker Saver

You May Also Like
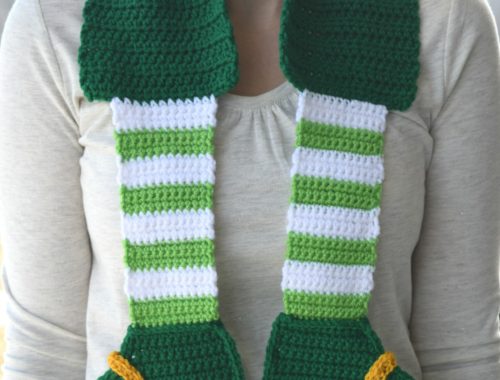
Leprechaun Legs Scarf
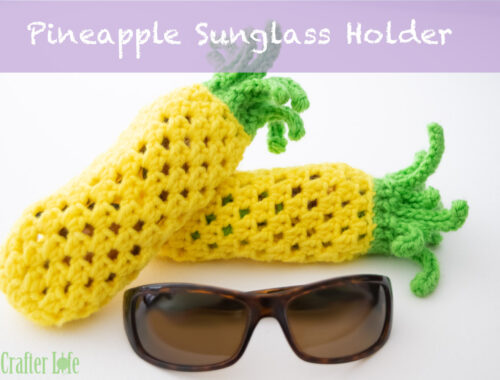
Pineapple Drawstring Sunglass Bag
