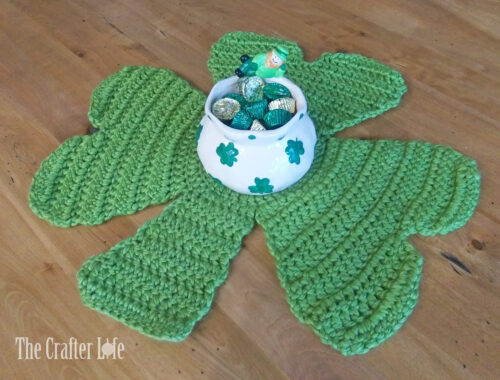
Heart Appliqué
I turned my Lovely Heart Button-On Crochet Appliqué into an appliqué that can be used on its own or as an embellishment on another project. It is quick to make and a great way to use up leftover Valentine’s Day yarn! Whether you make one or one hundred of these cute hearts, it is a project you are sure to love! See below if you are interested in the crochet pattern.
Heart Appliqué
FINISHED MEASUREMENTS
The heart appliqué is about 2¾ inches tall and about 2½ inches wide.
MATERIALS
– Size 3.00 mm crochet hook or size needed to obtain gauge
– Worsted weight (4) acrylic yarn in main color of your choice (I used Red Heart Super Saver yarn in Hot Red.)
– Scissors
– Tapestry needle for weaving in ends
– Stitch markers (Optional – if needed for counting/marking stitches)
– Measuring tape
ABBREVIATIONS
– ch = chain
– chs = chains
– sc = single crochet
– sc2tog = single crochet 2 together (single crochet decrease)
– slst = slip stitch
– st = stitch
– sts = stitches
GAUGE
6 sc = 1 inch
6 rows of sc = 1 inch
PATTERN NOTES
- The heart appliqué is made in rows of single crochet stitches.
DIRECTIONS
[rml_read_more]Body of Heart
*Use your 3.00 mm hook and your main color worsted weight yarn to complete the body of the heart.
Row 1: With main color yarn, ch 2, sc in 2nd ch from hook. (1 sc)
Row 2: Ch 1, turn, 3 sc in first st. (3 sc)
Row 3: Ch 1, turn, 2 sc in first st, sc in next st, 2 sc in last st. (5 sc)
Row 4: Ch 1, turn, 2 sc in first st, sc in next 3 sts, 2 sc in last st. (7 sc)
Row 5: Ch 1, turn, 2 sc in first st, sc in next 5 sts, 2 sc in last st. (9 sc)
Row 6: Ch 1, turn, sc in each st across. (9 sc)
Row 7: Ch 1, turn, 2 sc in first st, sc in next 7 sts, 2 sc in last st. (11 sc)
Rows 8: Ch 1, turn, sc in each st across. (11 sc)
Row 9: Ch 1, turn, 2 sc in first st, sc in next 9 sts, 2 sc in last st. (13 sc)
Row 10: Ch 1, turn, sc in each st across. (13 sc)
*Row 11 starts the first bump on top the heart. You will not continue across the entire row of 12 stitches (you will stop partway across the row and turn).
Row 11: Ch 1, turn, sc in first 6 sts. (6 sc)
Row 12: Ch 1, turn, 2 sc in first st, sc in next 4 sts, 2 sc in last st. (8 sc)
Row 13: Ch 1, turn, sc2tog, sc in next 4 sts, sc2tog. (2 sc2tog, 4 sc; 6 total sts)
Row 14: Ch 1, turn, sc2tog, sc in next 2 sts, sc2tog. (2 sc2tog, 2 sc; 4 total sts)
Row 15: Ch 1, turn, sc2tog, sc2tog, fasten off and weave in tail. (2 sc2tog)
*Now you will start the second bump. Hold/turn your work so the first bump is on the right. Attach your yarn on the left side (to the 1st stitch of Row 10). Then repeat Rows 11-15 to make the second bump. DO NOT fasten off after you finish Row 15. With your yarn still on your hook, sc evenly around the entire perimeter of the heart to finish it.
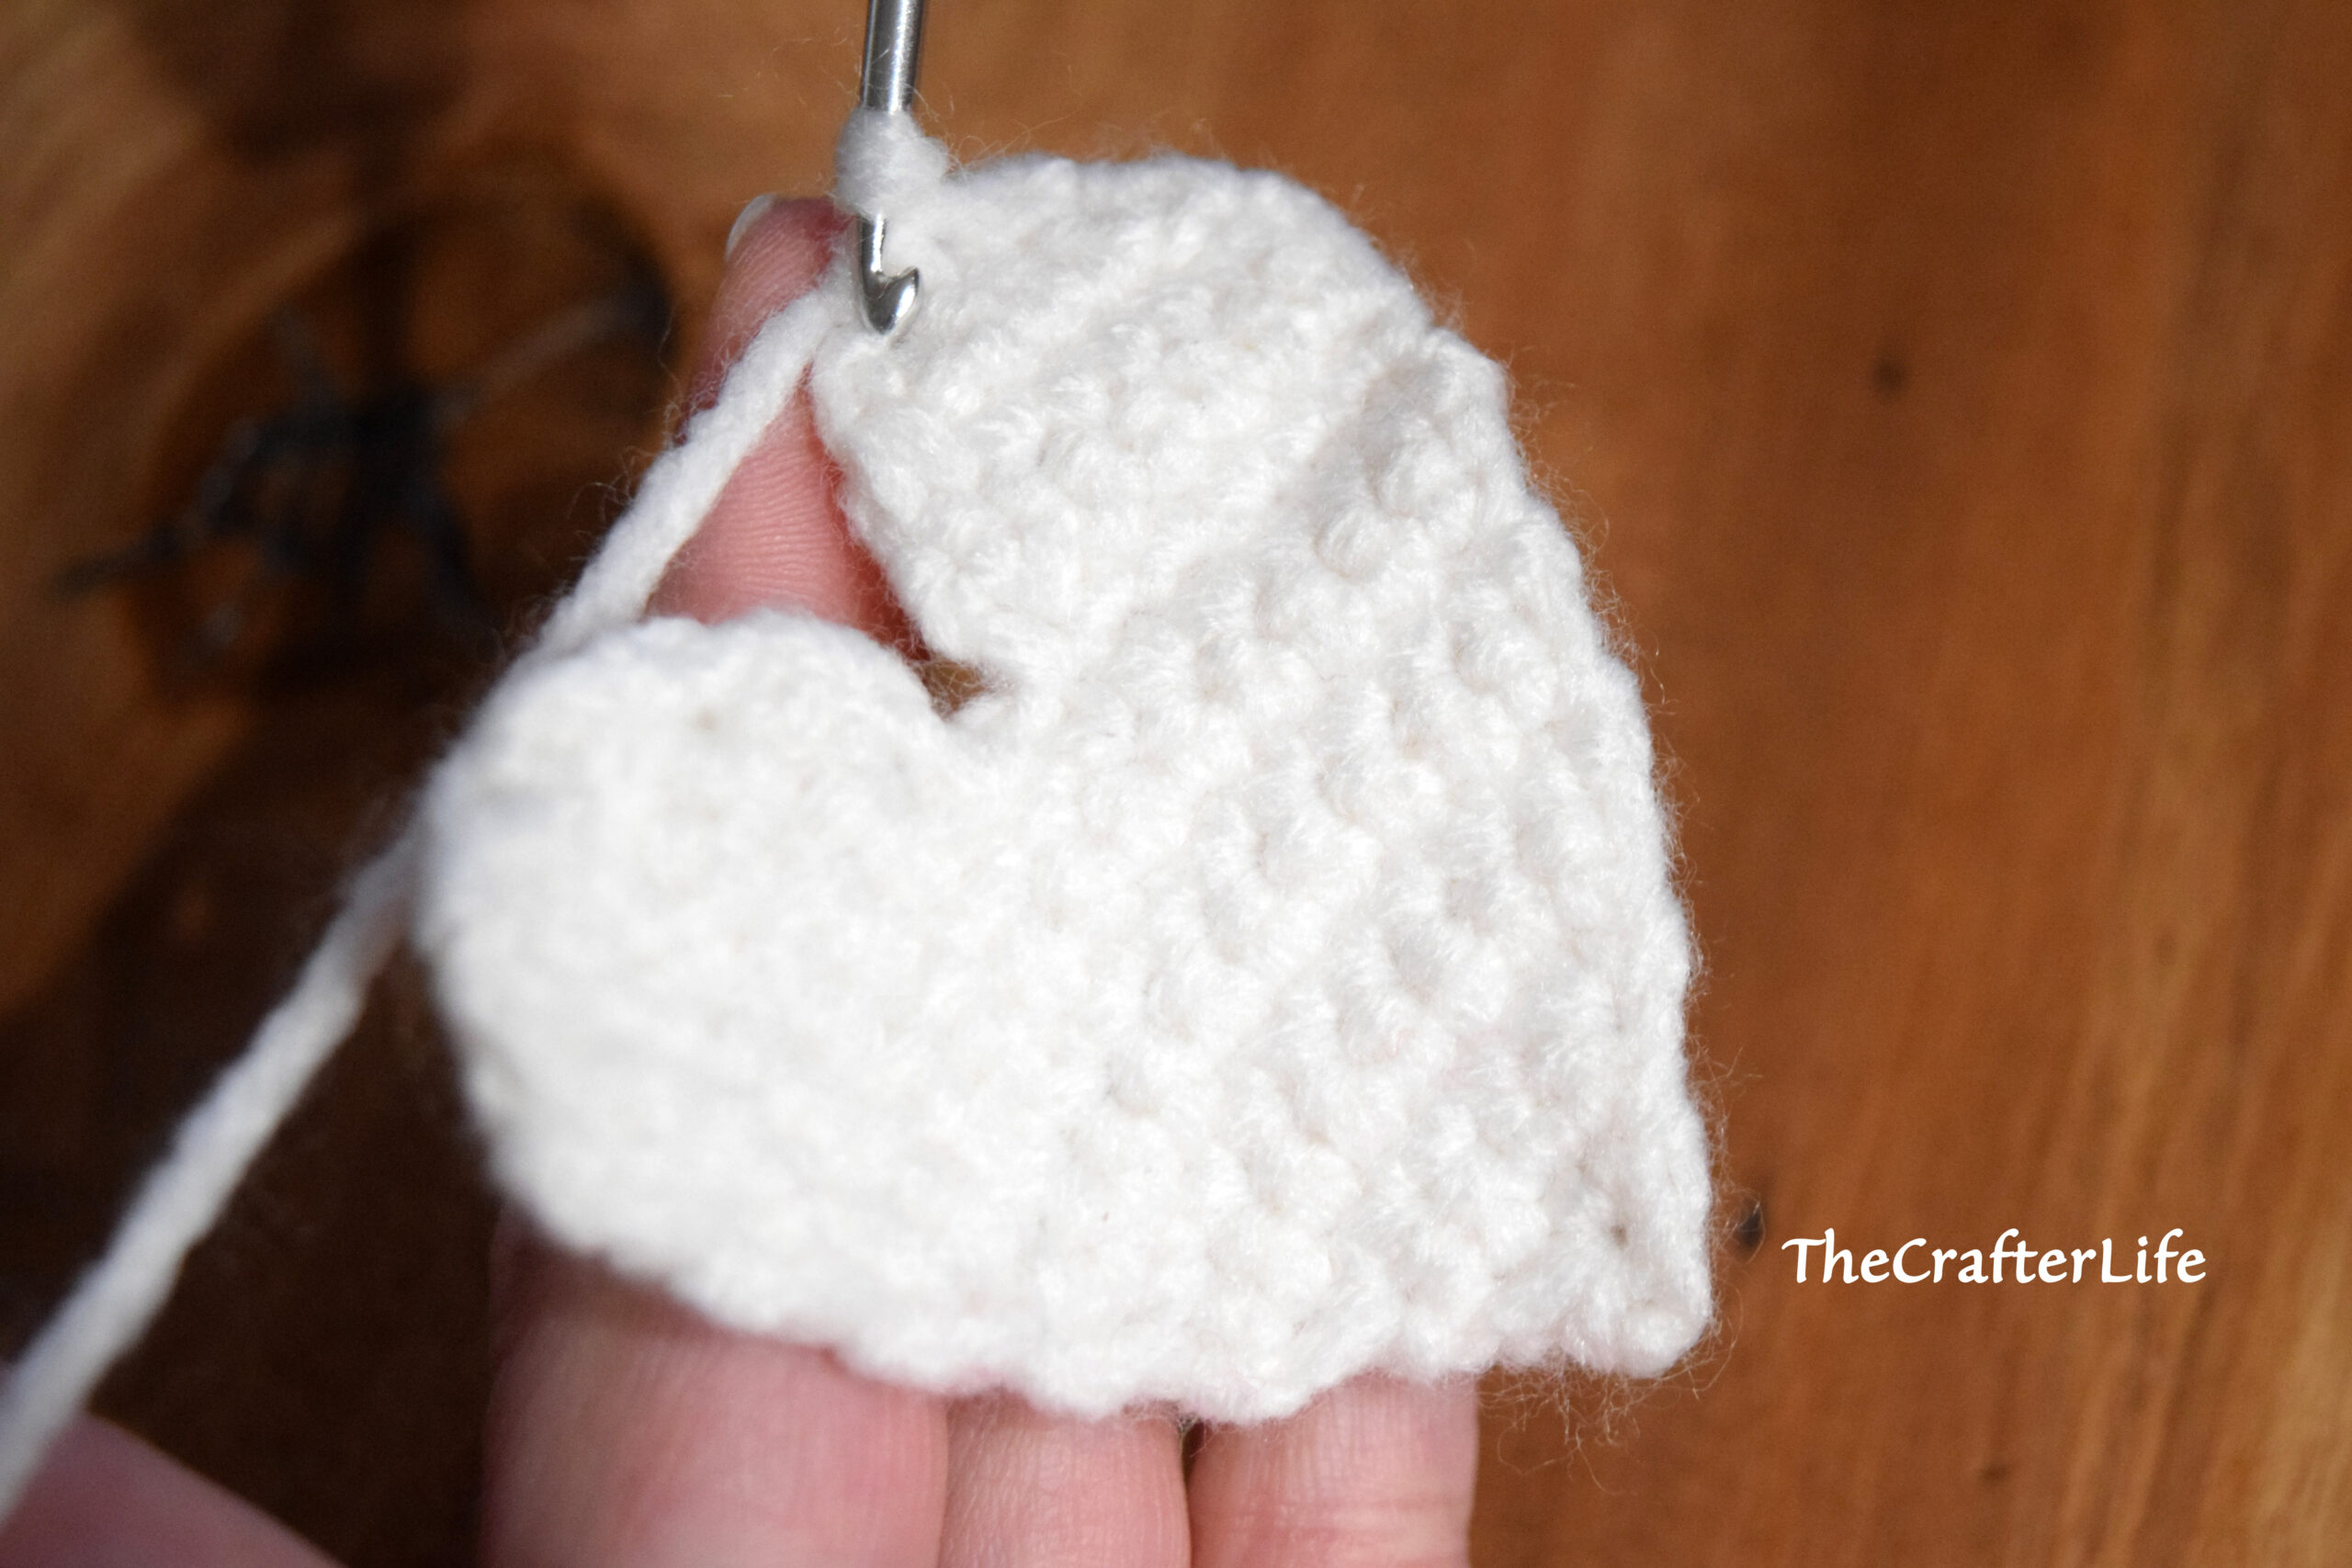
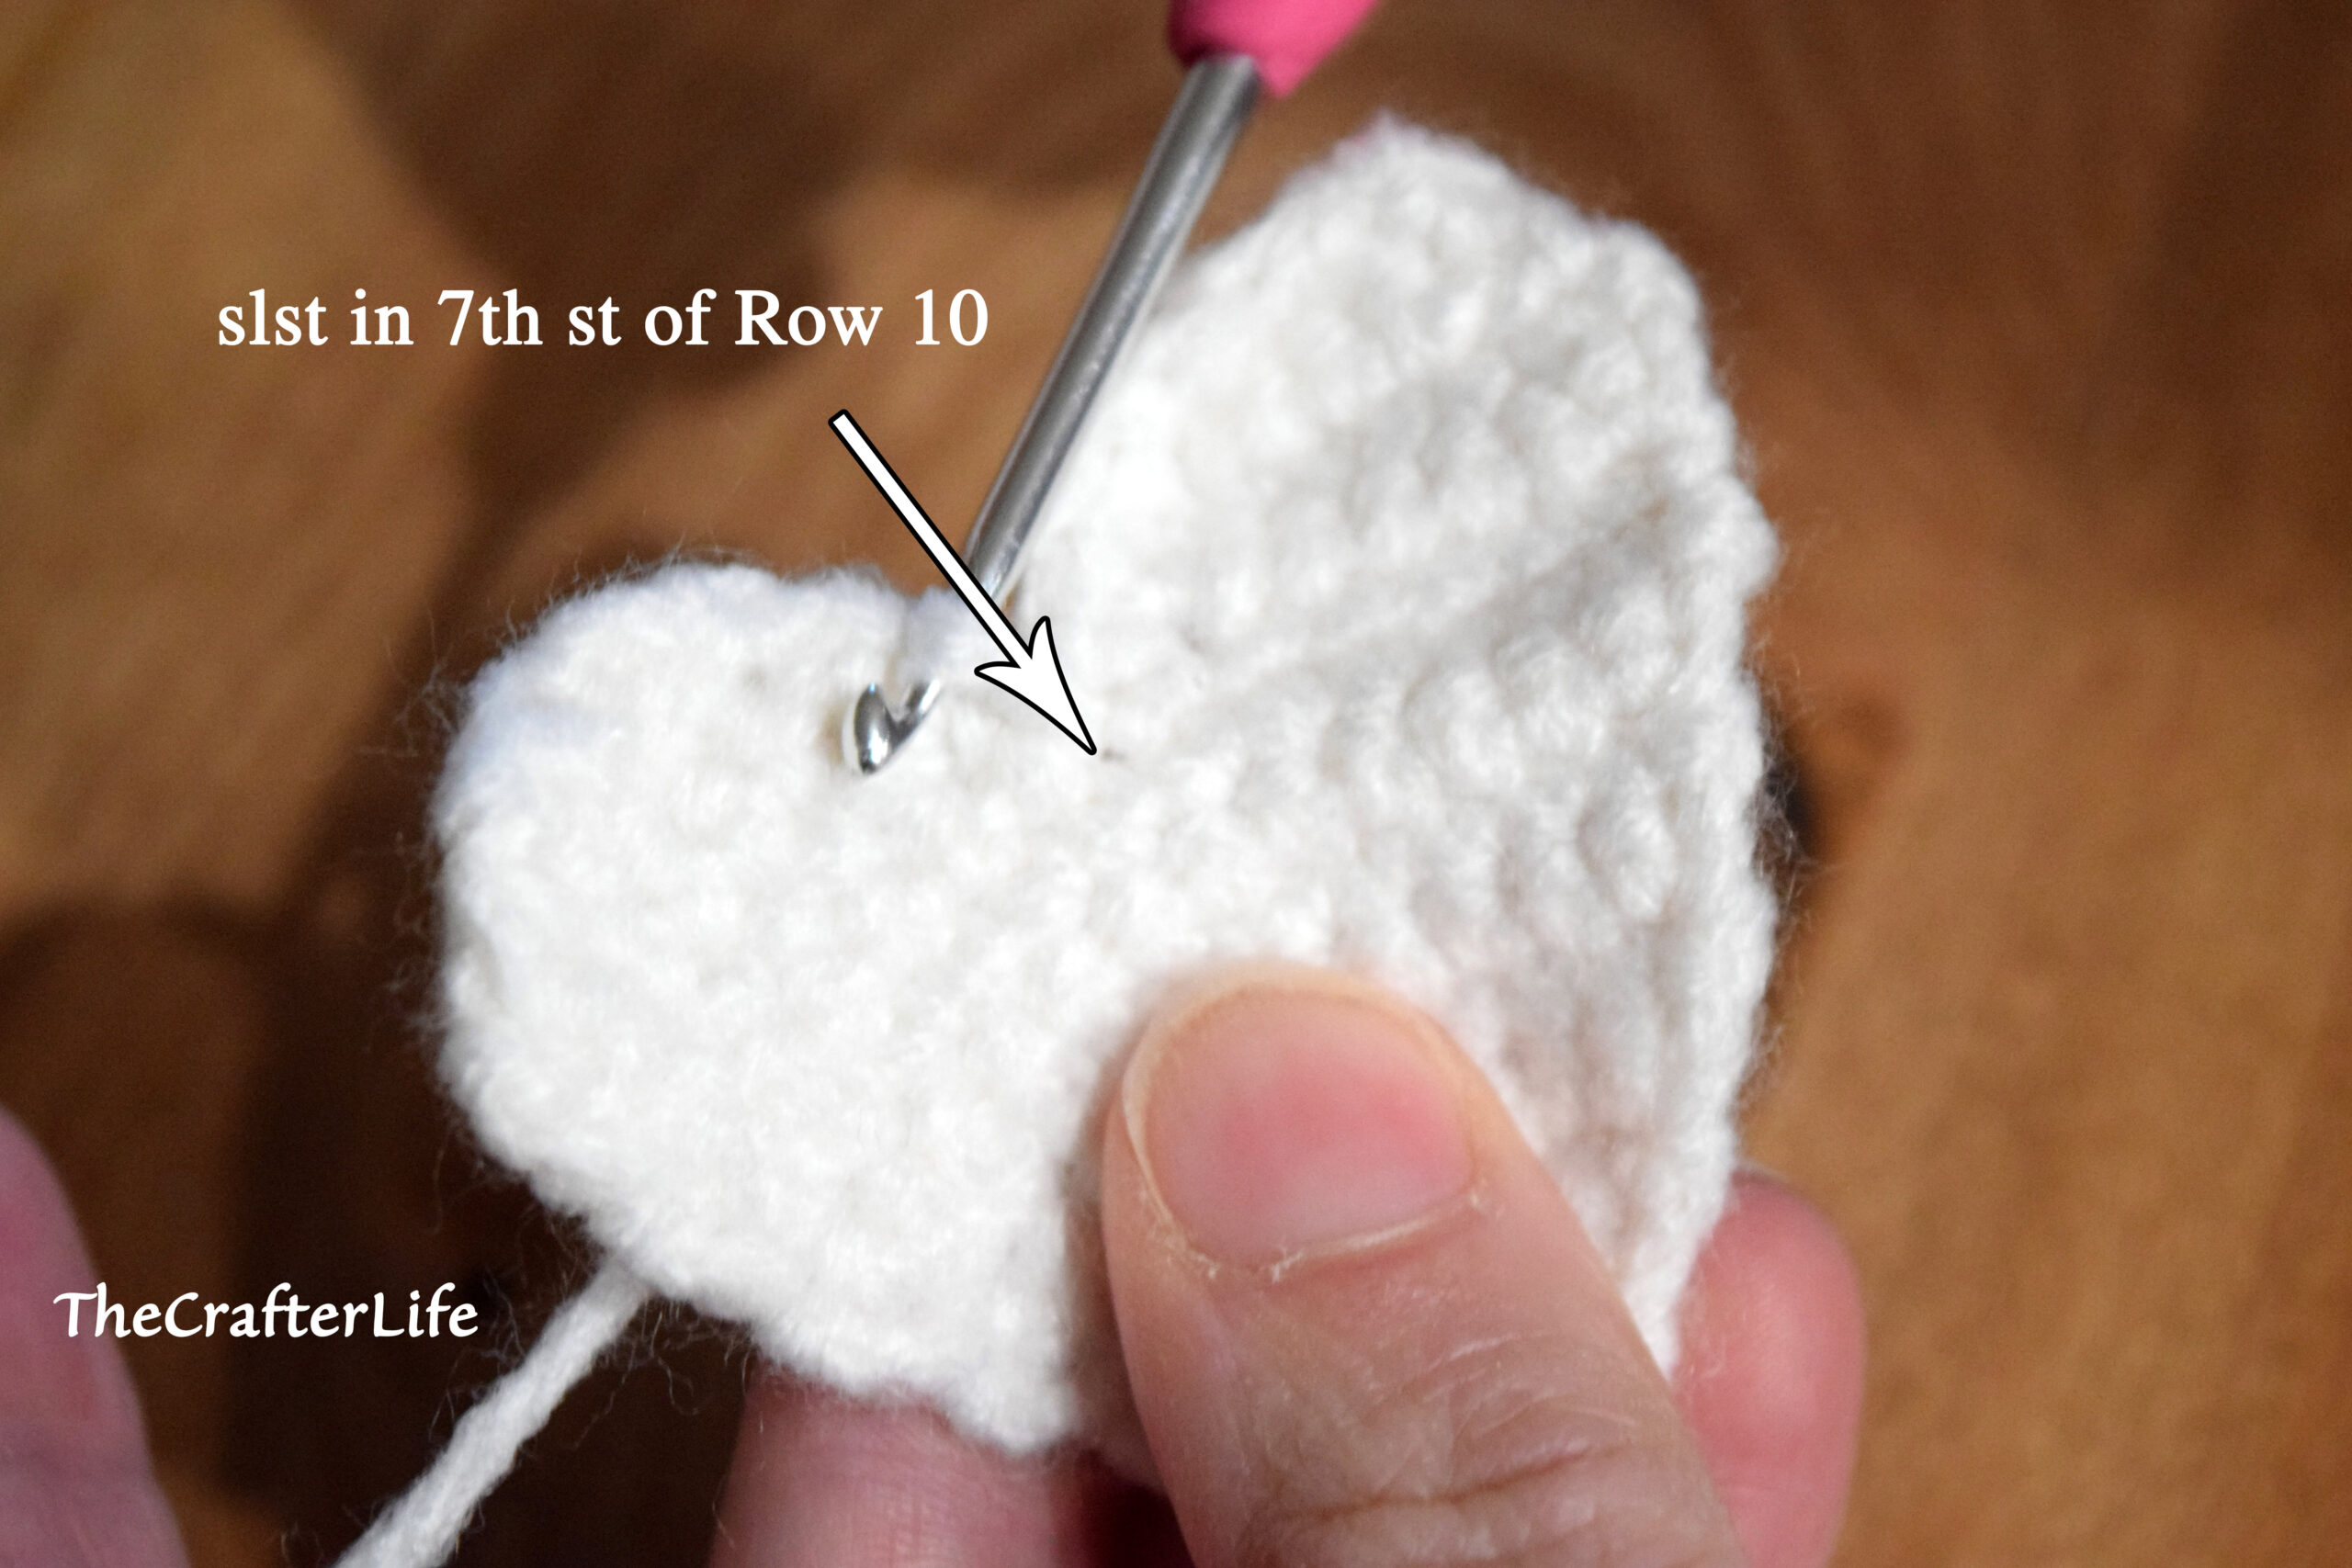
When working down the side of the second bump toward the middle of the two bumps, work a slip stitch in the middle stitch from Row 10 (the 7th stitch of Row 10 that was skipped in Row 11).
Then continue to sc evenly up the 1st bump. Work 4 sc in the bottom point of the heart to create a more pointed appearance. Once you reach back to where you started, slst in the first sc made when you started the edging and fasten off. Weave in all loose ends.

***Once you finish weaving in all loose ends, your heart appliqué is complete! 🙂

The pattern and photos of this item are the property of TheCrafterLife. This pattern and design are subject to copyright, and are for personal, non-commercial use only. You may not distribute, sell this pattern, or claim it as your own under any circumstances.
You may not sell my patterns or claim them as your own. You may make items to sell (i.e. on Etsy) from my patterns but I ask that you link back to my site and provide credit for the pattern. You are welcome to share my patterns on social media as long as you link back directly to my site by providing the link. No copying and pasting of any patterns will be allowed under any circumstances.