Birth Weights Baby Dumbbells
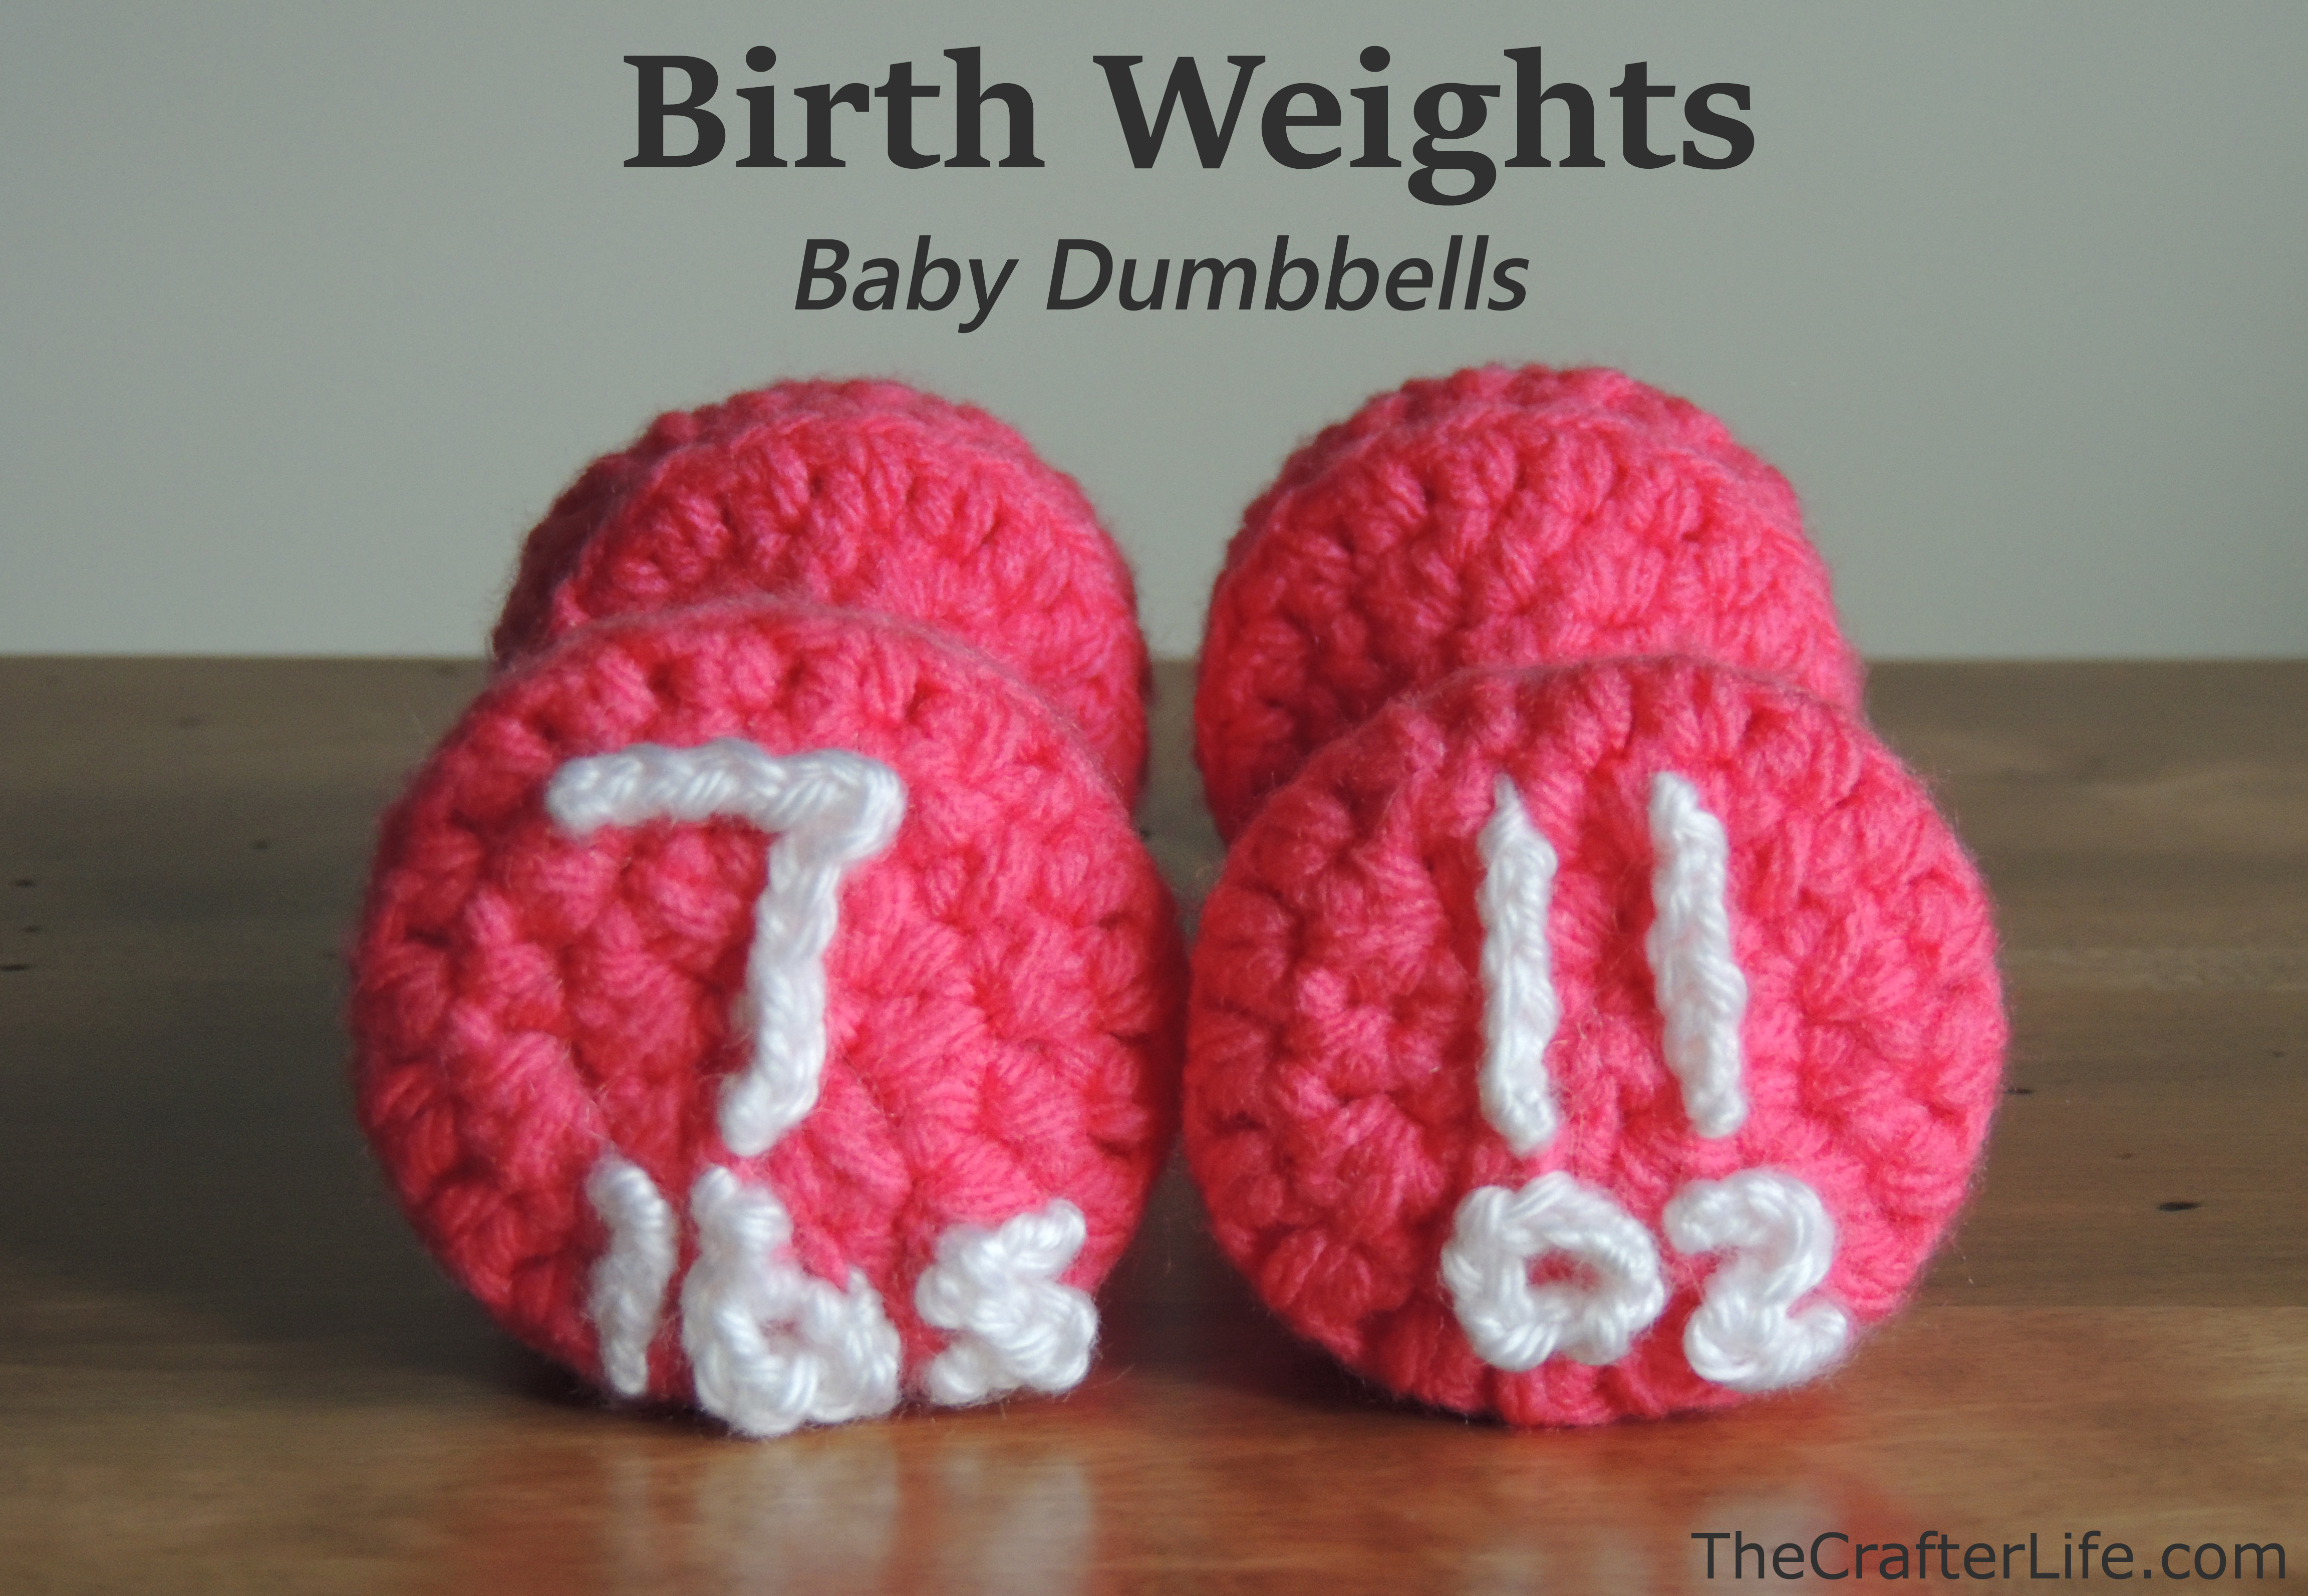
A family member recently asked me to crochet some dumbbells for a baby since she was going to a baby shower for parents who are active in fitness. I thought this was a really cute idea. After making them, I thought they would make a really cute photo prop for a newborn and would also be a great way to display a newborn’s birth weight – just sew/embroider it on the dumbbells!! If you are interested in making the dumbbells, please read below for my pattern. I also included a pattern for a slightly larger set that would be great for a toddler. Another idea would be to adjust the pattern to make a range of sizes and label them with pretend weights so your child has a whole rack of dumbbells!
BABY DUMBBELLS PATTERN
SIZE
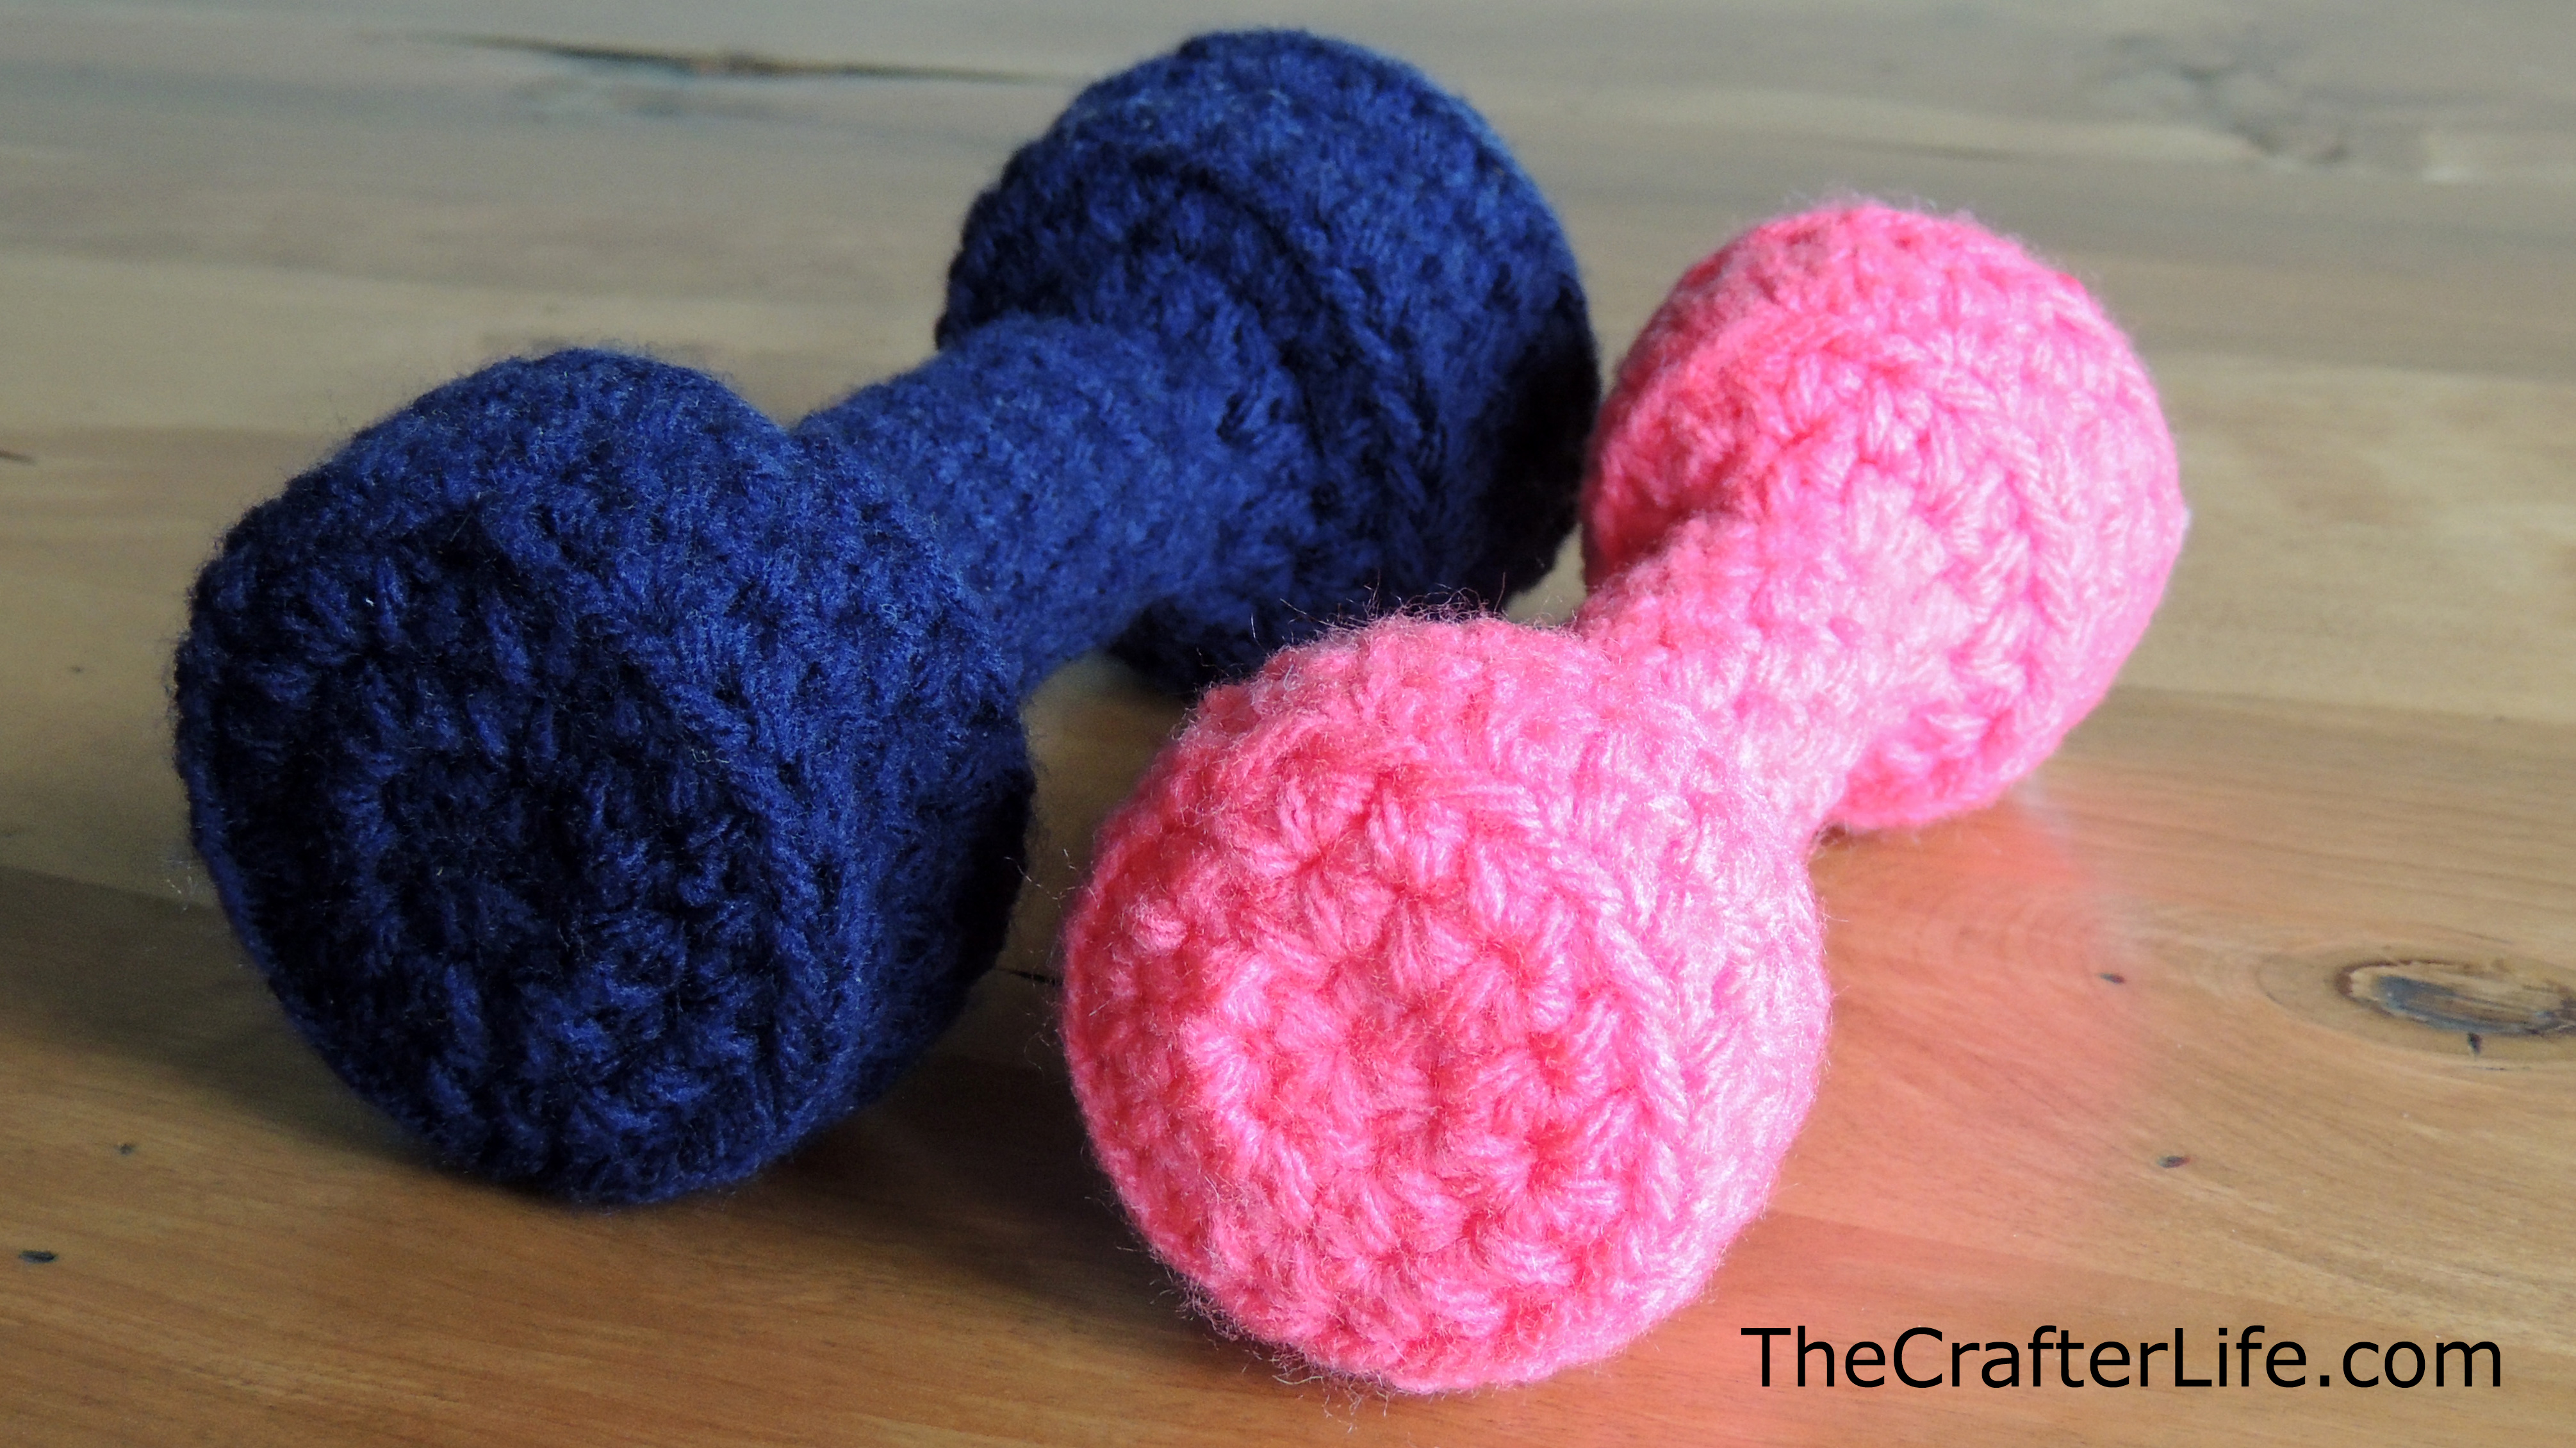
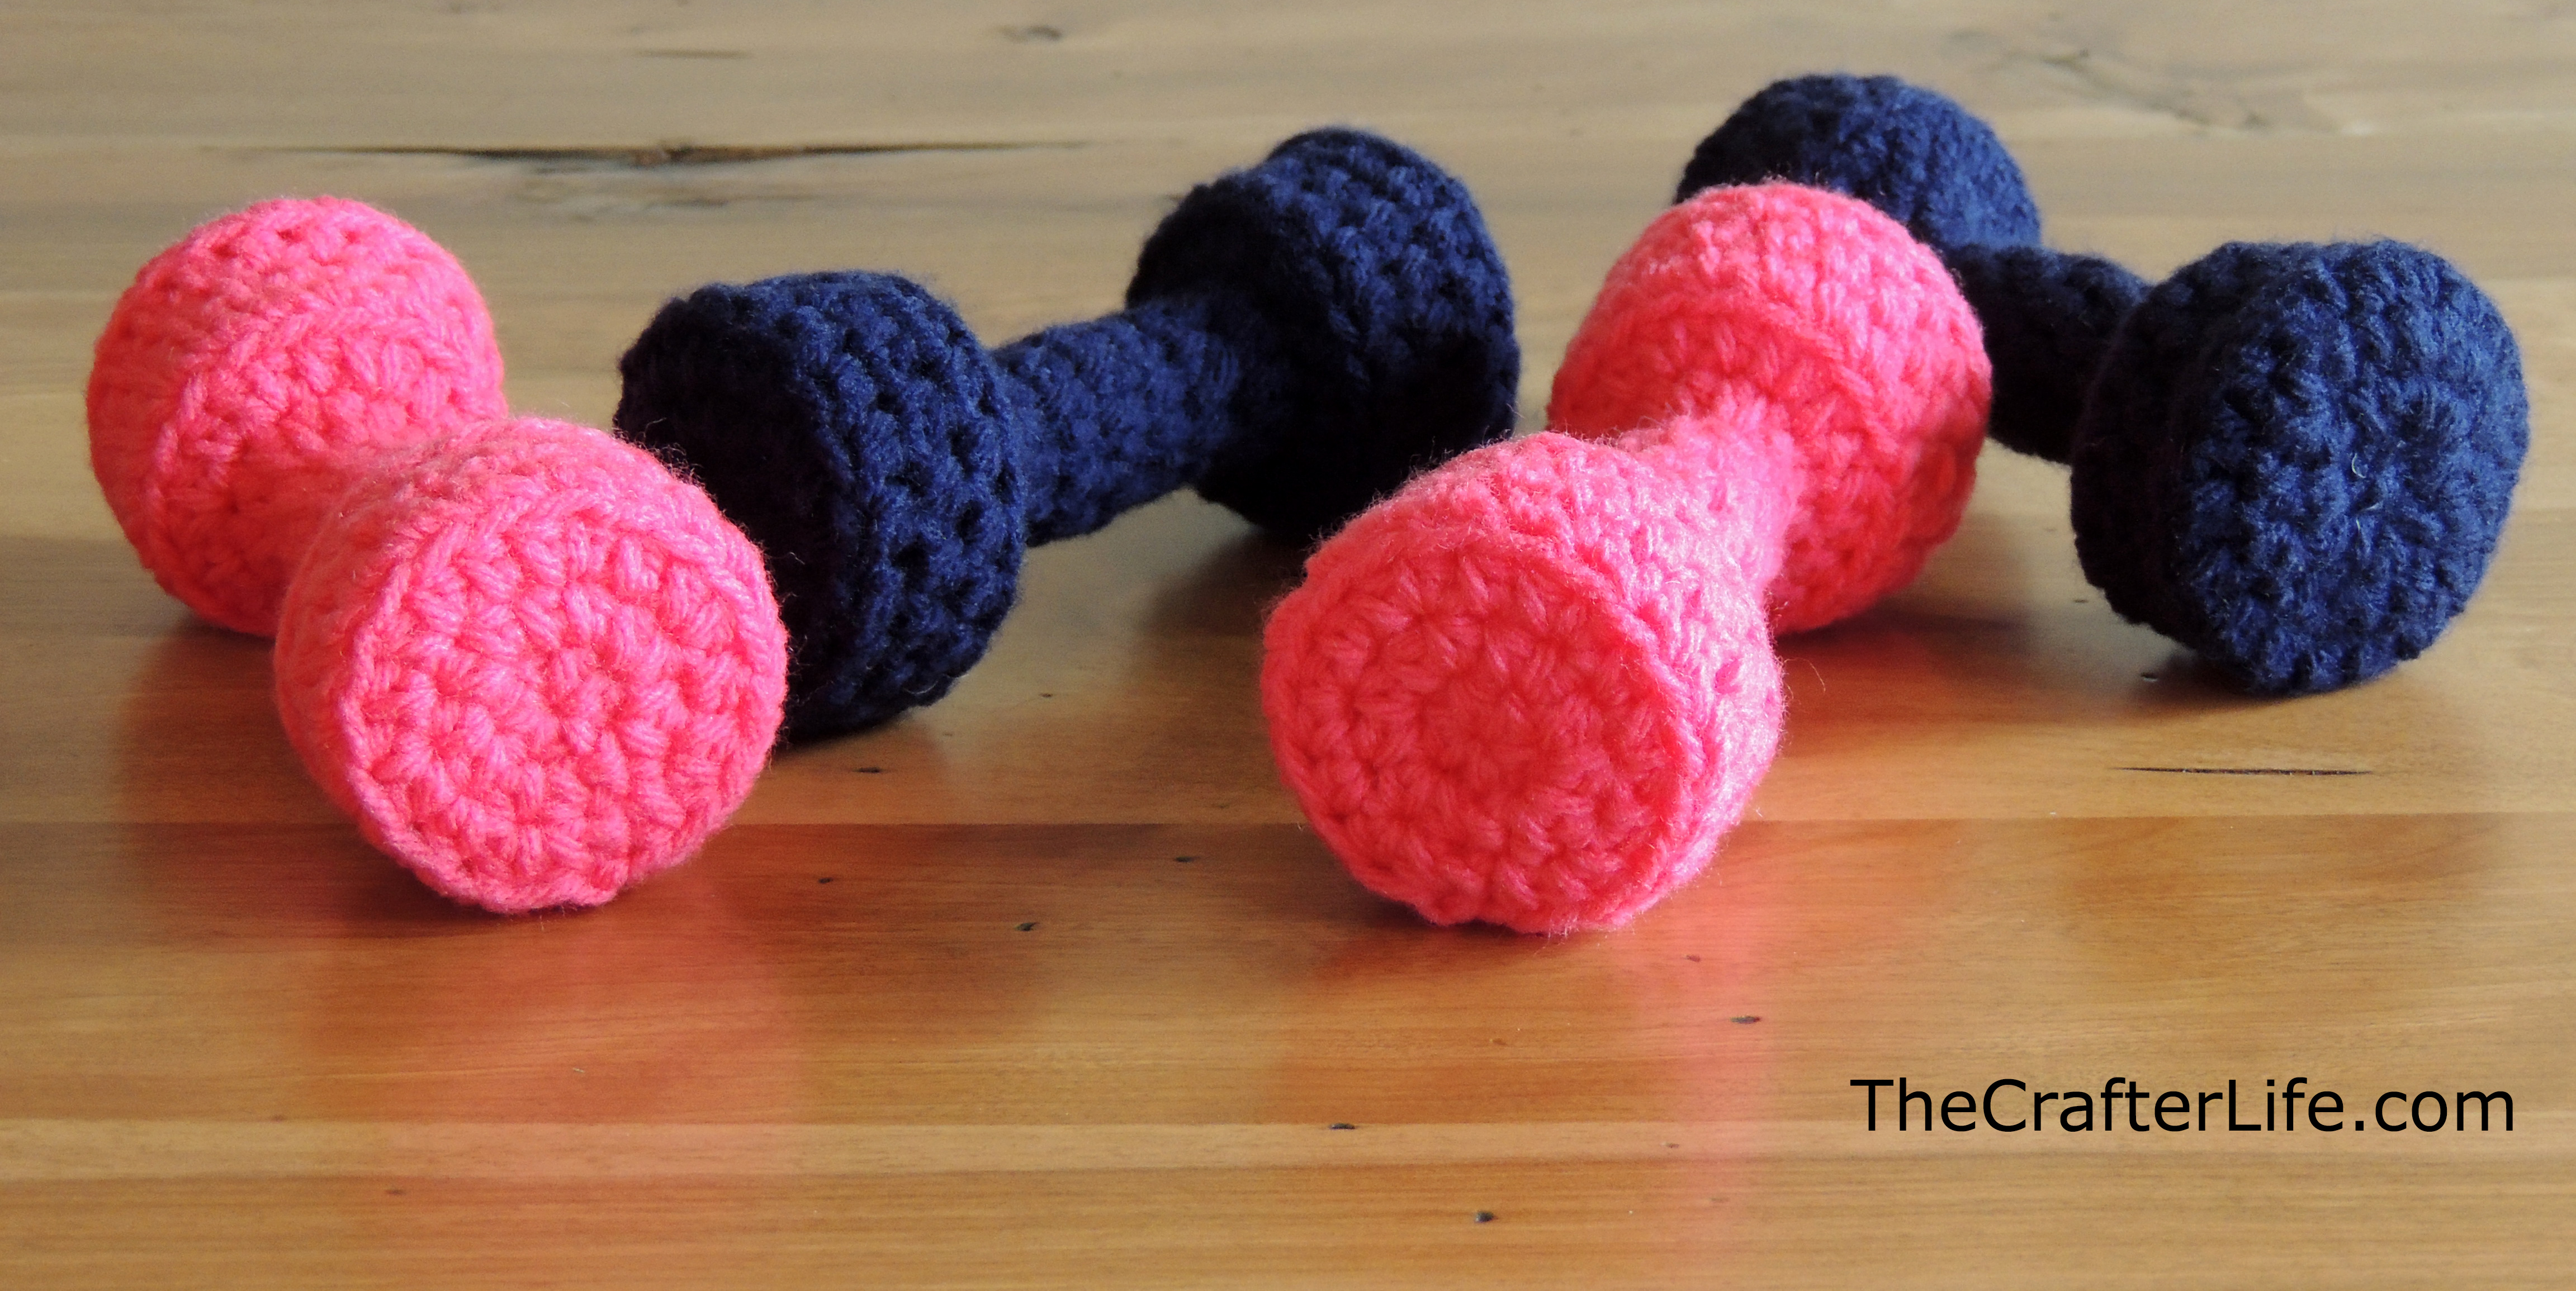
– Baby dumbbell measures approximately 5 inches in length and 2 inches in width
– Toddler dumbbell measures approximately 5.5 inches in length and 2.5 inches in width
**The toddler size is shown below in Navy next to the baby size.

MATERIALS
– Worsted weight yarn in your choice of color (I used Caron United yarn in Navy and Loops & Threads Impeccable yarn in Arbor Rose)
– **Yarn in whatever color you would like for the birth weight (I used Caron Simply Soft worsted weight (4) yarn in White).
– **3.25mm (D) hook
– Fiberfill
– Tapestry needle for sewing and weaving in ends
– Scissors
**These materials are needed only if you plan to display the birth weight on your set of dumbbells.
ABBREVIATIONS
– ch = chain
– hdc = half double crochet
– hdc dec = half double crochet decrease
– slst = slip stitch
– st = stitch
– sts = stitches
SPECIAL NOTES
– This pattern is written for the baby size. If you would like to make the toddler size, follow the stitch counts in brackets [ ]. It is the same pattern, but starts with a higher number of stitches.
– Join each round with a slip stitch.
– The first stitch of each round is done in the same stitch as the beginning chain. (All rounds start in same stitch as beginning chain 1).
PATTERN
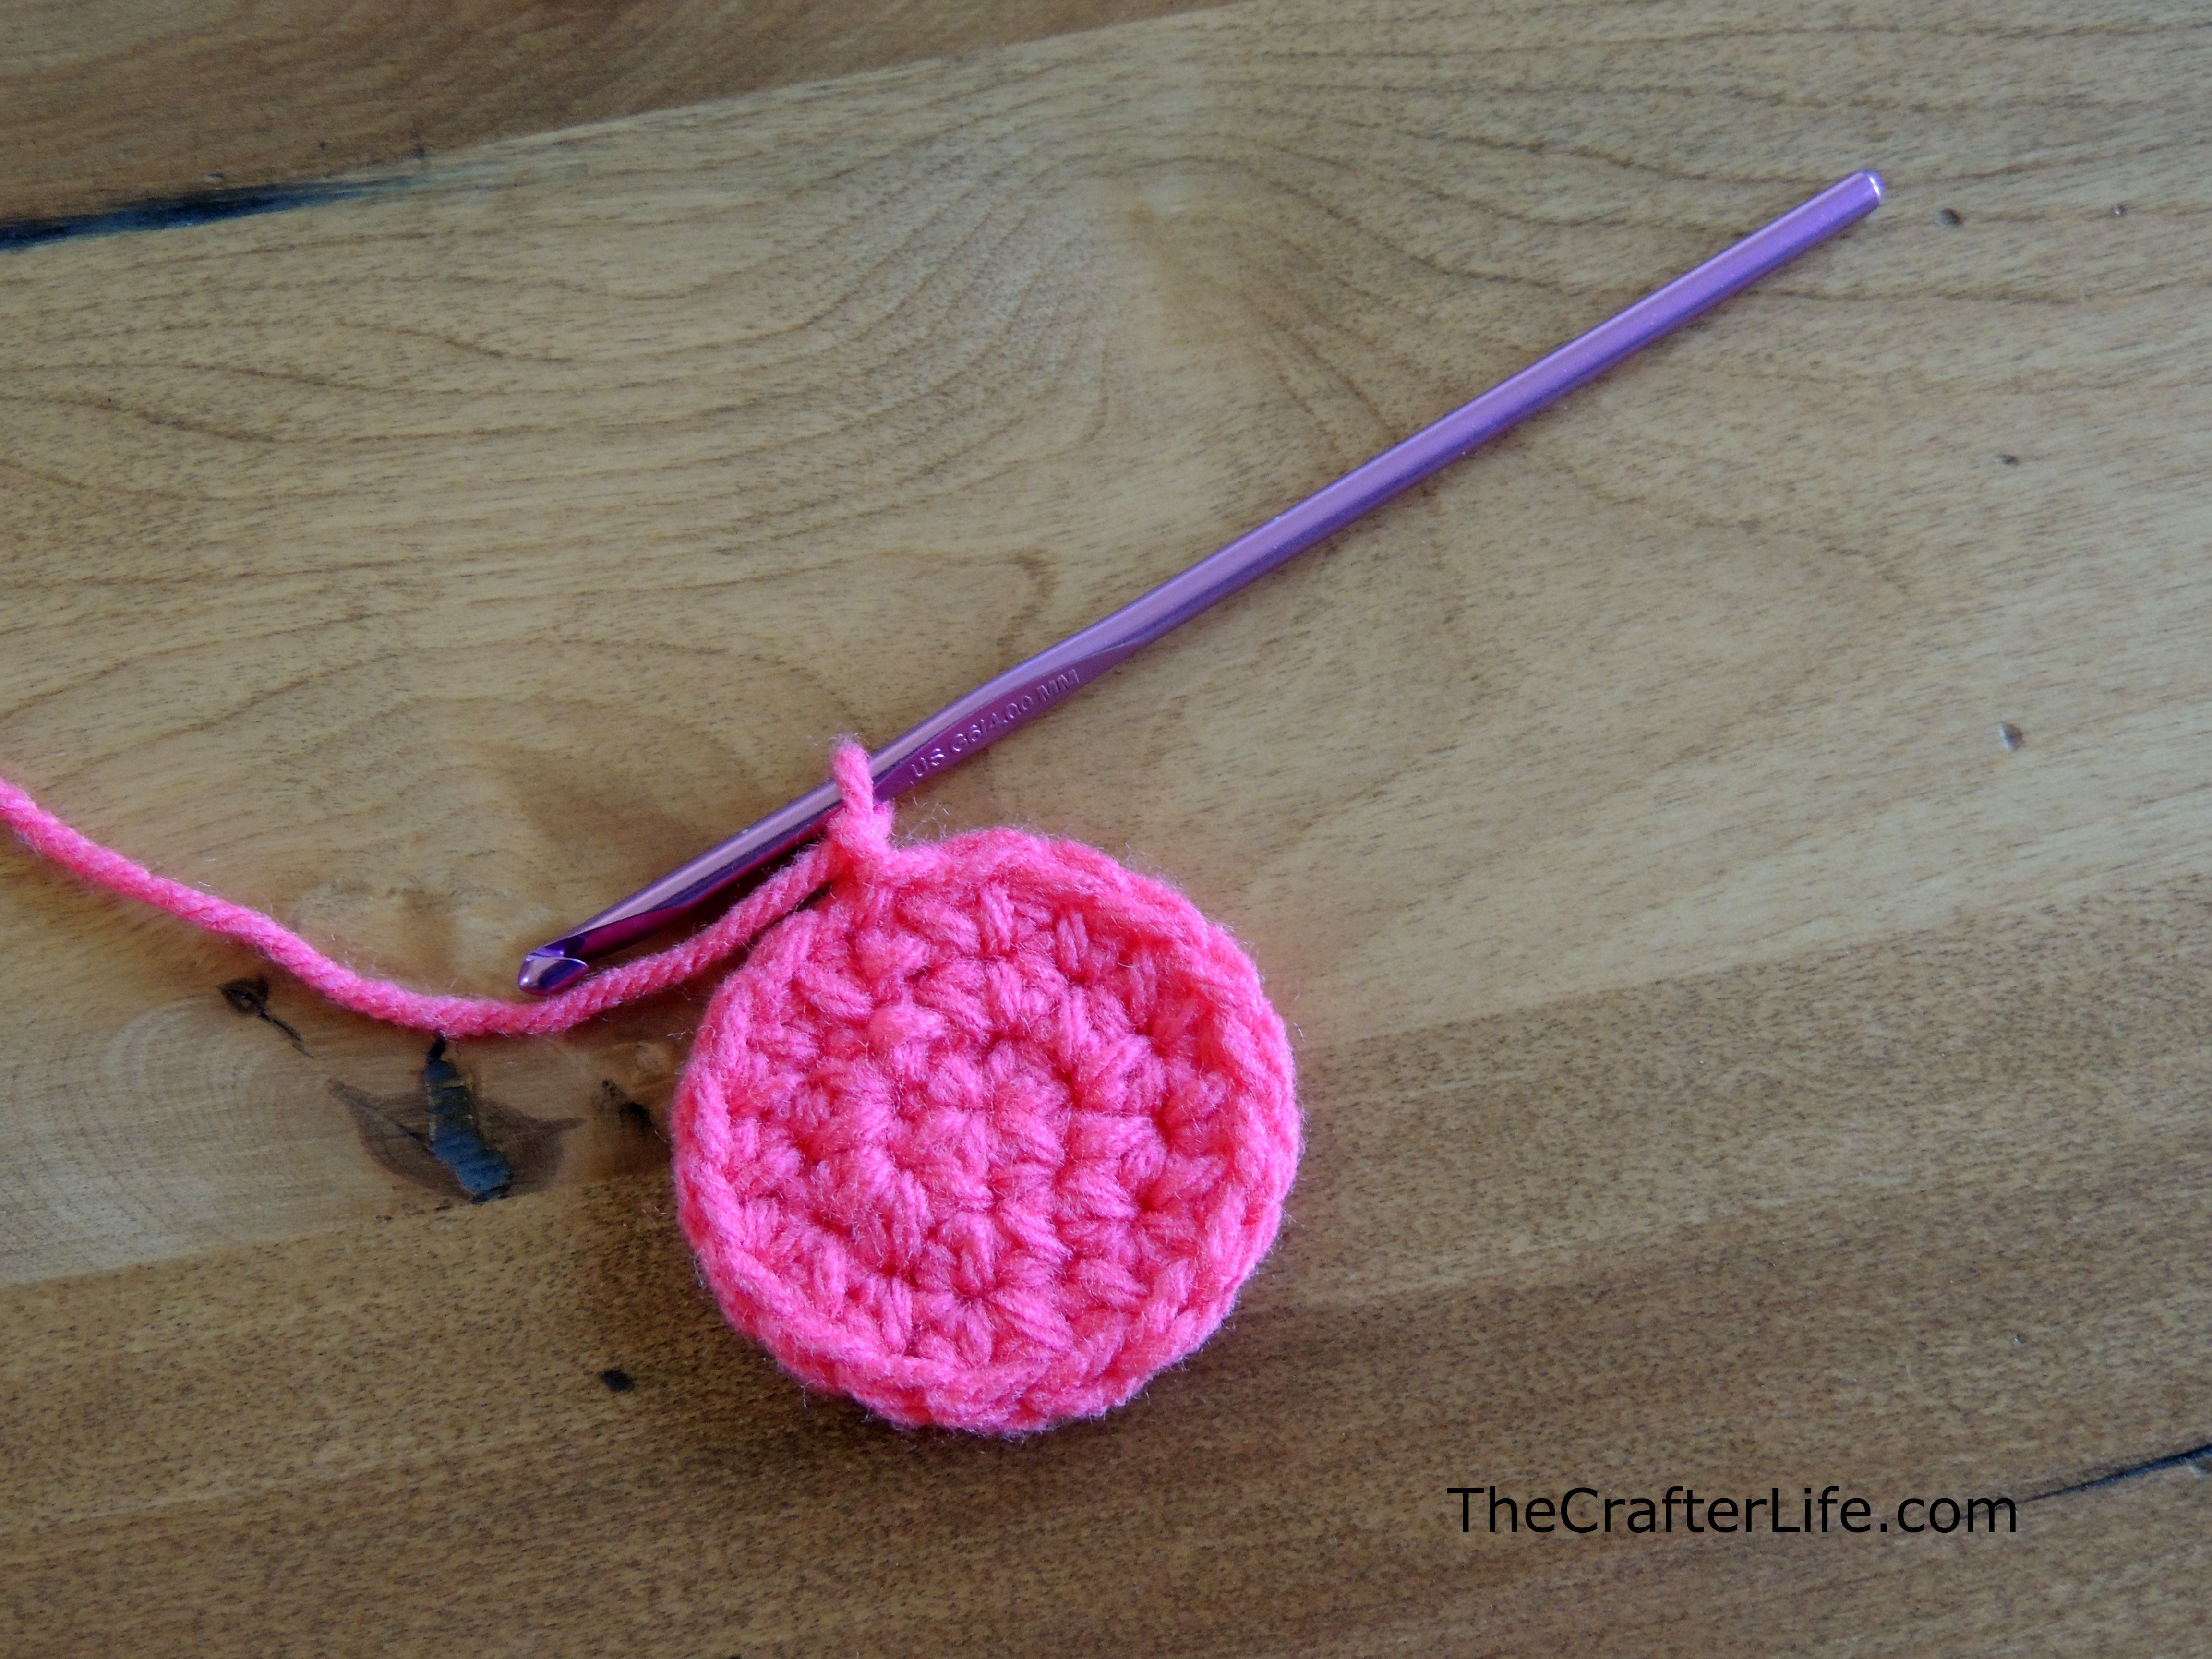
Rnd 1: Magic circle, ch 1, 6 [8] hdc in magic circle, join to first hdc with slst. Tuck in and fasten off the loose end. (6 [8] hdc)
Rnd 2: Ch 1, 2 hdc in each stitch around, join to first hdc of round with slst. (12 [16] hdc)
Rnd 3: Ch 1, repeat [hdc in first st, 2 hdc in next st] around, join to first hdc of round with slst. (18 [24] hdc)
Rnd 4: Ch 1, hdc around working in the back loops only, join to first hdc of round with slst. (18 [24] hdc)
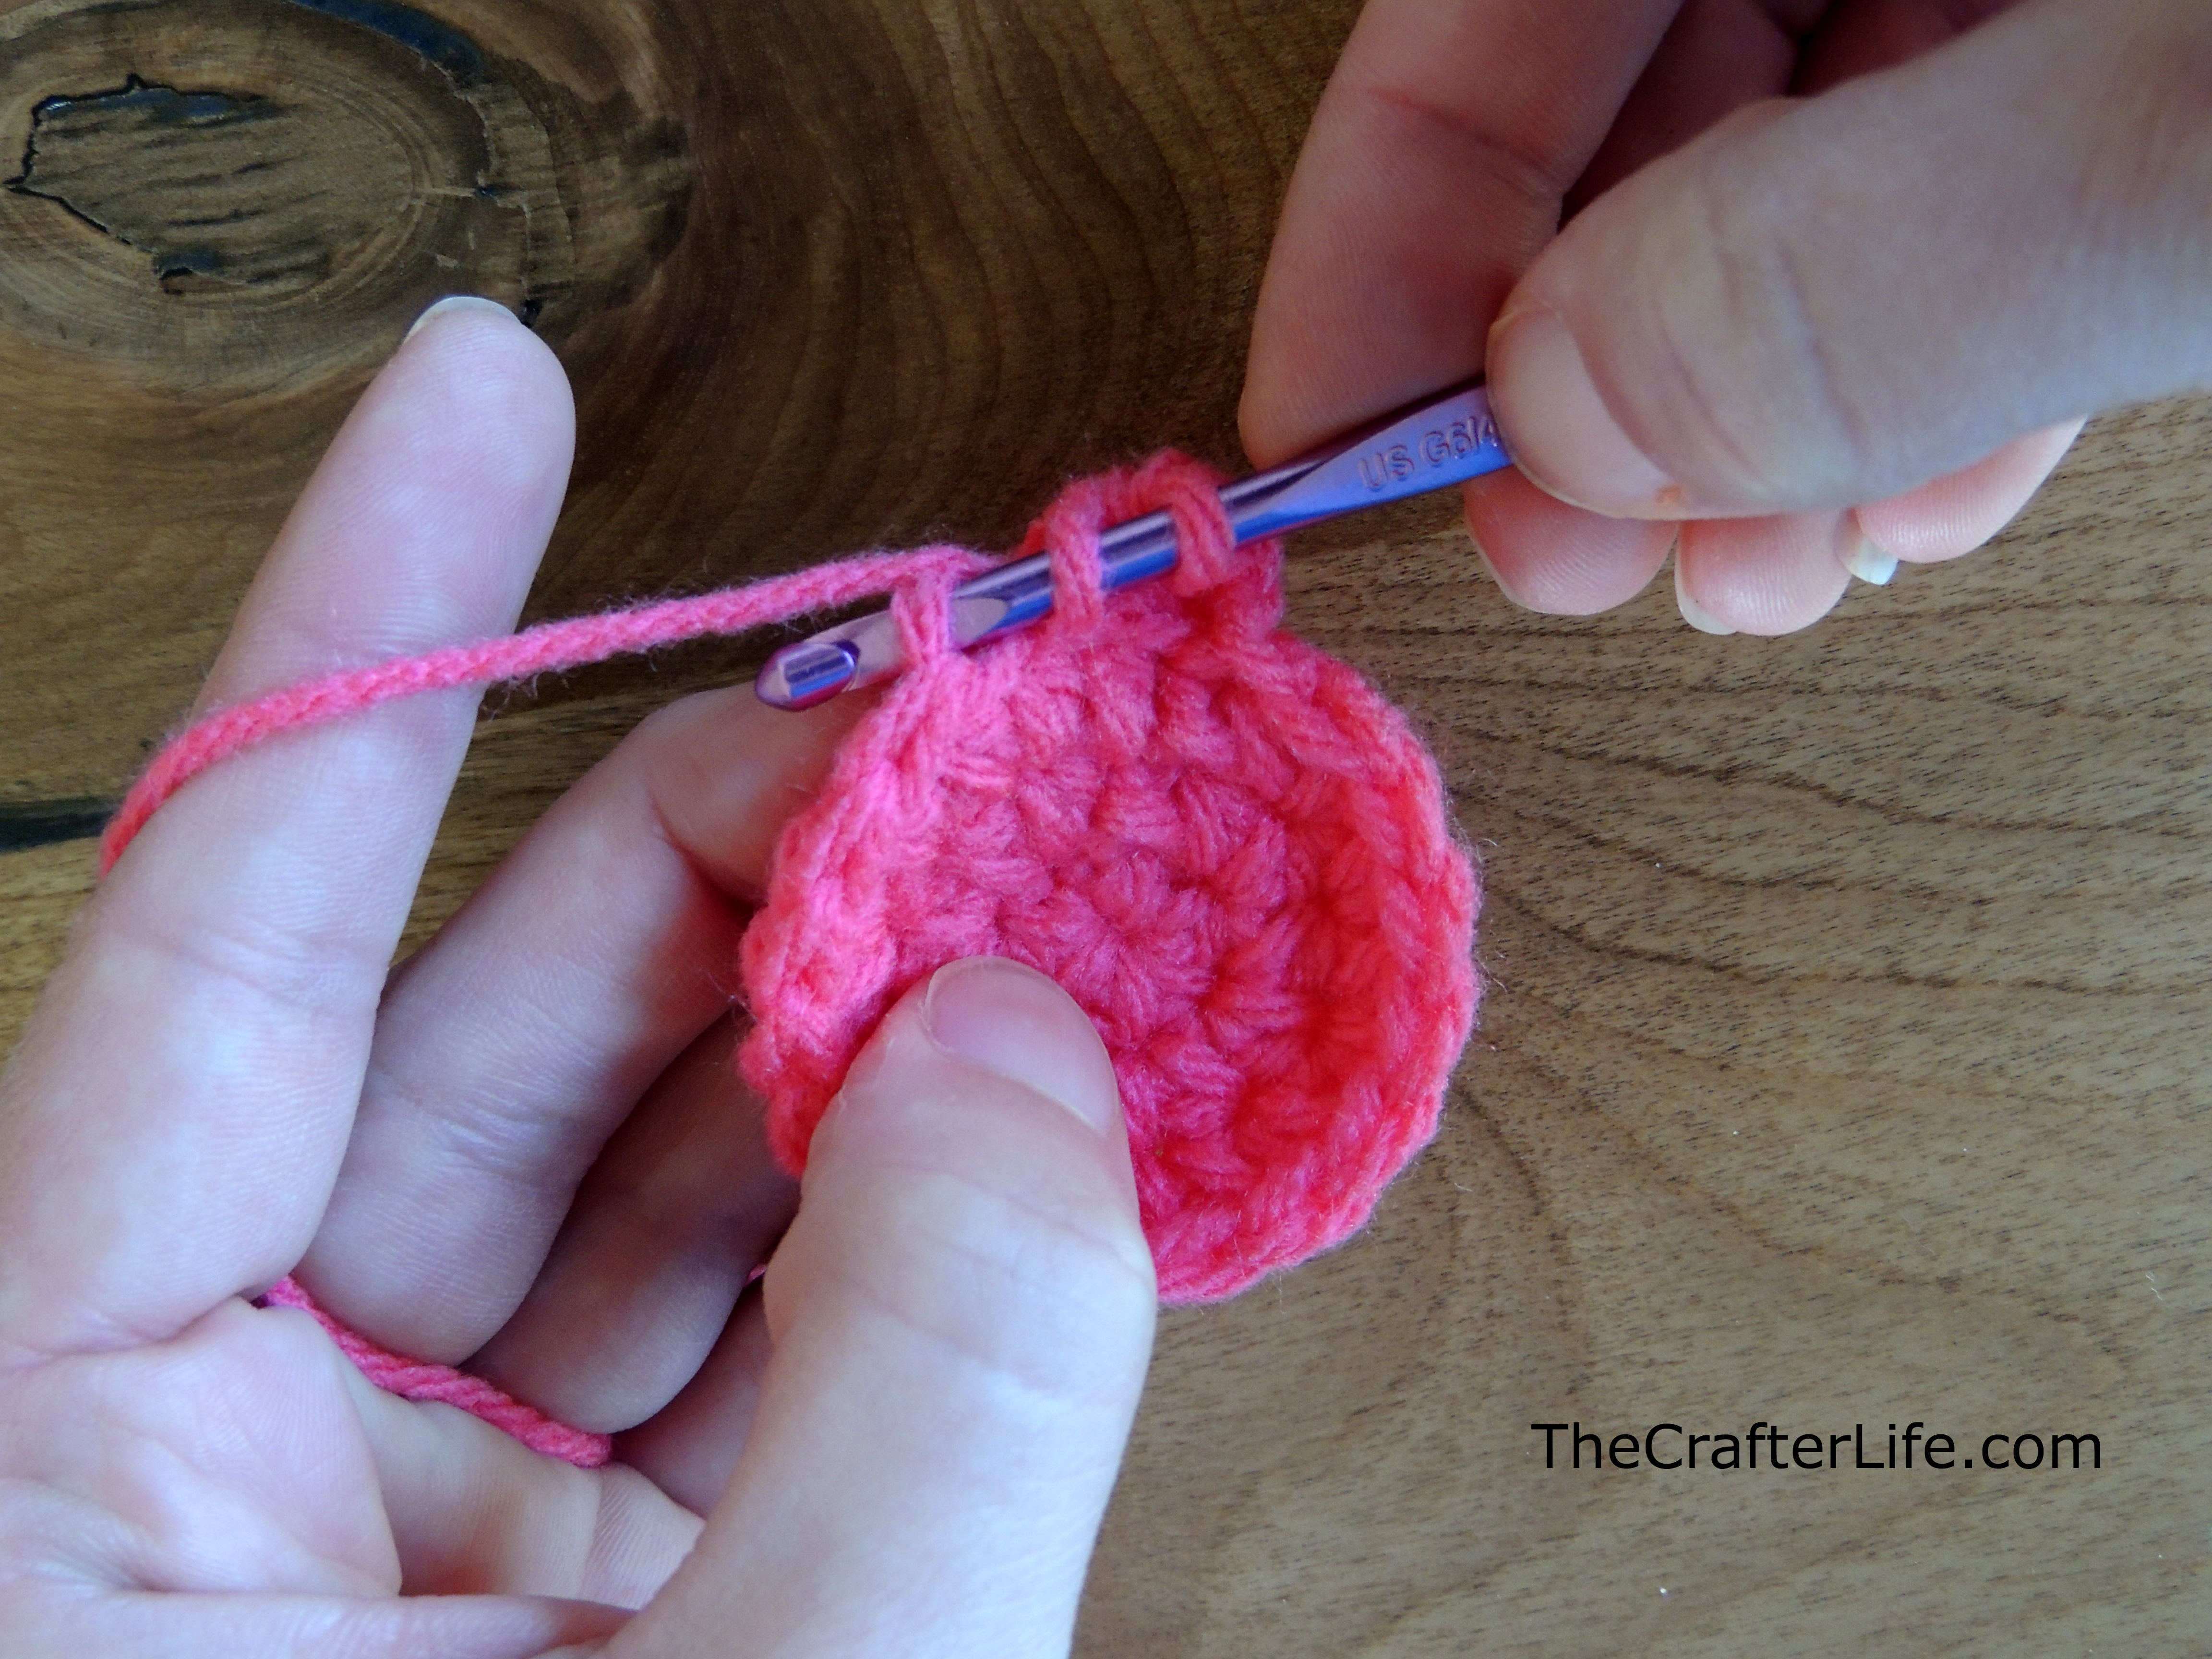
Rnds 5-6: Ch 1, hdc around, join to first hdc of round with slst. (18 [24] hdc)
Rnd 7: Ch 1, hdc around working in the back loops only, join to first hdc of round with slst. (18 [24] hdc)
Rnd 8: Ch 1, repeat [hdc in first st, hdc dec] around, join to first hdc of round with a slst. (12 [16] hdc)
Rnd 9: Ch 1, hdc dec around, join to first st of round with slst. (6 [8] hdc)
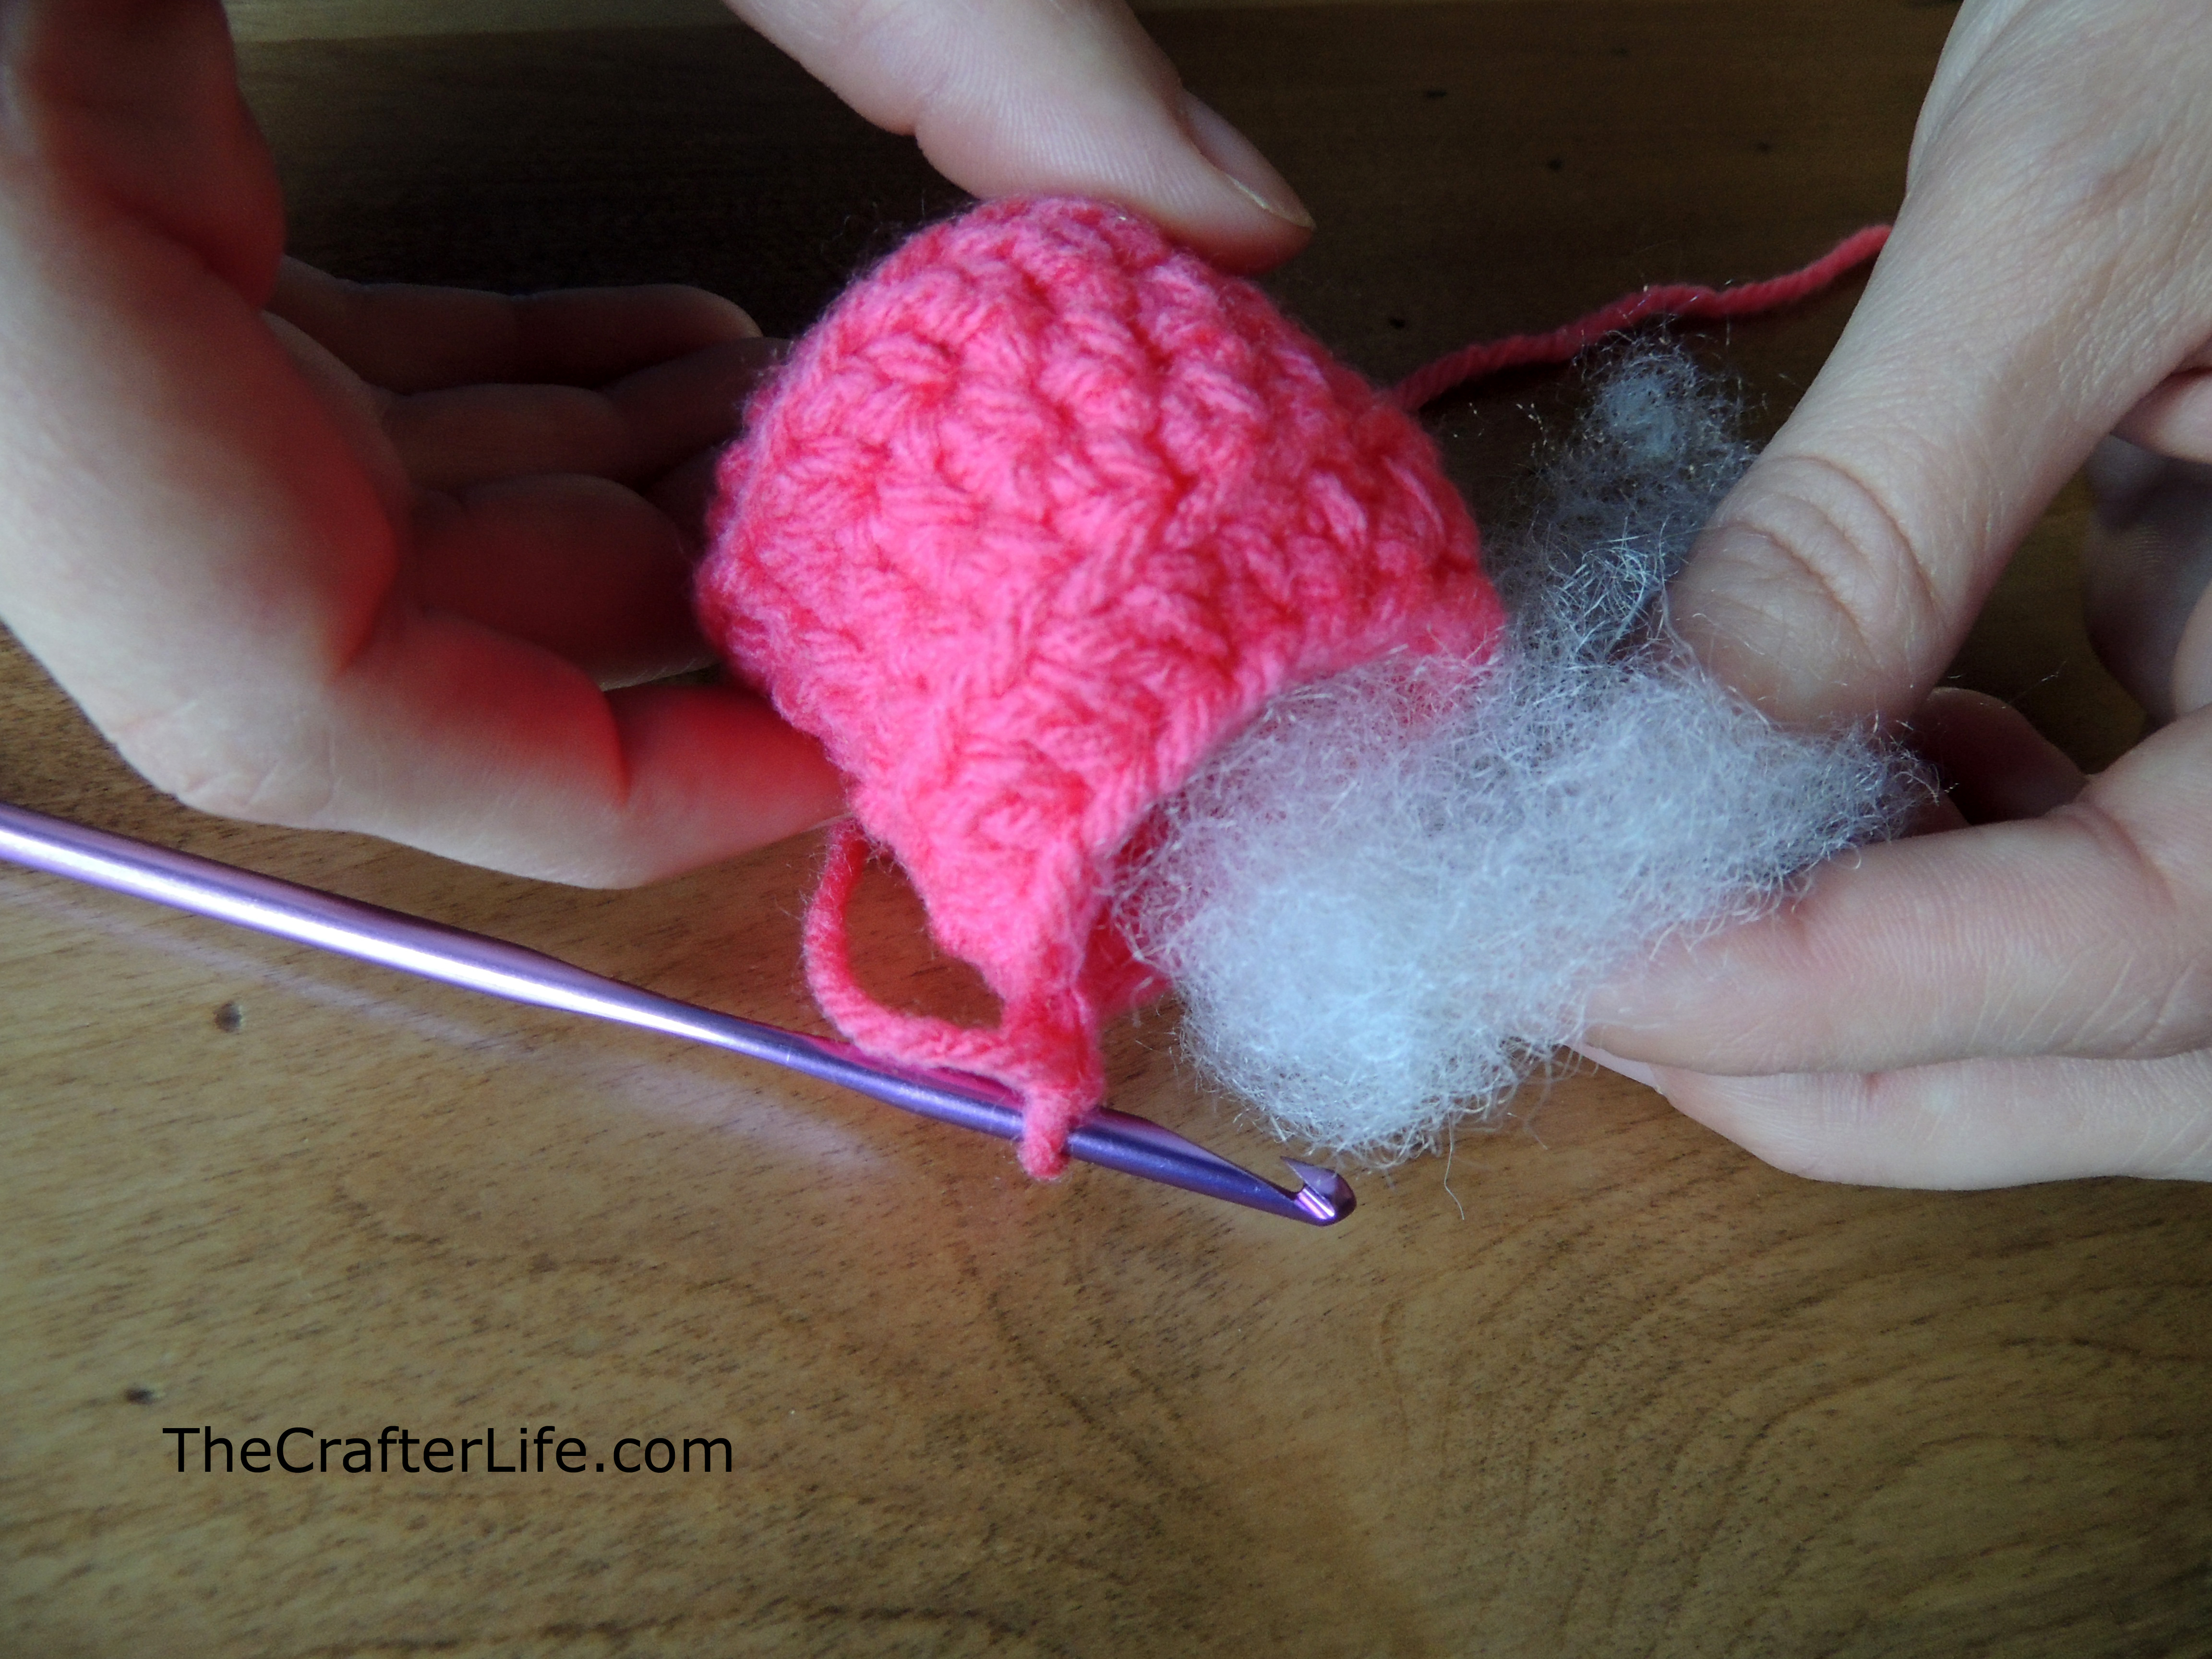
***You may want to start stuffing this end with fiberfill before moving on to the next round. You could also wait and use a stuffing stick (or the blunt end of a crochet needle) to stuff the project at the end.
Rnd 10: Ch 1, repeat [hdc in first st, 2 hdc in next st] around, join to first hdc of round with slst. (9 [12] hdc)
Rnds 11-13: Ch 1, hdc around, join to first hdc of round with slst. (9 [12] hdc)
***You may want to add some more fiberfill at this point. You could also wait and use a stuffing stick (or the blunt end of a crochet needle) to stuff the project at the end.
Rnd 14: Ch 1, repeat [hdc in first st, hdc dec] around, join to first hdc of round with slst. (6 [8] hdc)
Rnd 15: Ch 1, 2 hdc in each stitch around, join to first hdc of round with slst. (12 [16] hdc)
Rnd 16: Ch 1, repeat [hdc in first st, 2 hdc in next st] around, join to first hdc of round with slst. (18 [24] hdc)
Rnd 17: Ch 1, hdc around working in the back loops only, join to first hdc of round with slst. (18 [24] hdc)
Rnds 18-19: Ch 1, hdc around, join to first hdc of round with slst. (18 [24] hdc)
Rnd 20: Ch 1, hdc around working in the back loops only, join to first hdc of round with slst. (18 [24] hdc)
Rnd 22: Ch 1, hdc dec around, join to first st of round with slst, fasten off, leaving a tail for closing the hole and finishing the piece. (6 [8] hdc)
***Before finishing your dumbbell, make sure to finish stuffing it with fiberfill until it has your desired shape. In order to achieve flat ends on the dumbbell, don’t stuff the ends very tightly. I stuffed the middle of the dumbbell more tightly than the ends.
Finishing: Working from the inside of the hole to the outside, use your tapestry needle to weave the yarn tail under the front loop only of each of the 6 [8] hdc of the last round. Pull the tail tight to close the hole. Next, insert your needle through the center of the hole and through that entire end of the dumbbell. Cut your yarn close to the piece where the needle came through the other side. Make sure the cut end goes inside the piece so you can’t see it. You may need to manipulate the dumbbell a little to give it a better shape.
Directions for sewing on the weight information:
I don’t have specific instructions to make individual numbers/letters. All I did was use a 3.25mm hook and white yarn to make a chain for each number/letter. Then I shaped the chain into the specific number/letter and sewed it onto the end of the weight with a tapestry needle. The chains varied in length depending on the number/letter. I used the backbone of the chain when I sewed it into place on the dumbbell.

***If you sell products using my patterns or mention my patterns please link back to my site. Please do not sell my patterns or claim them as your own.***
Feel free to post comments here or on my Facebook page!
**If you like what you see, feel free to pin, share, and link back to my site. Thank you for visiting!

Father's Day Frame