Christmas Tree Earring Stand
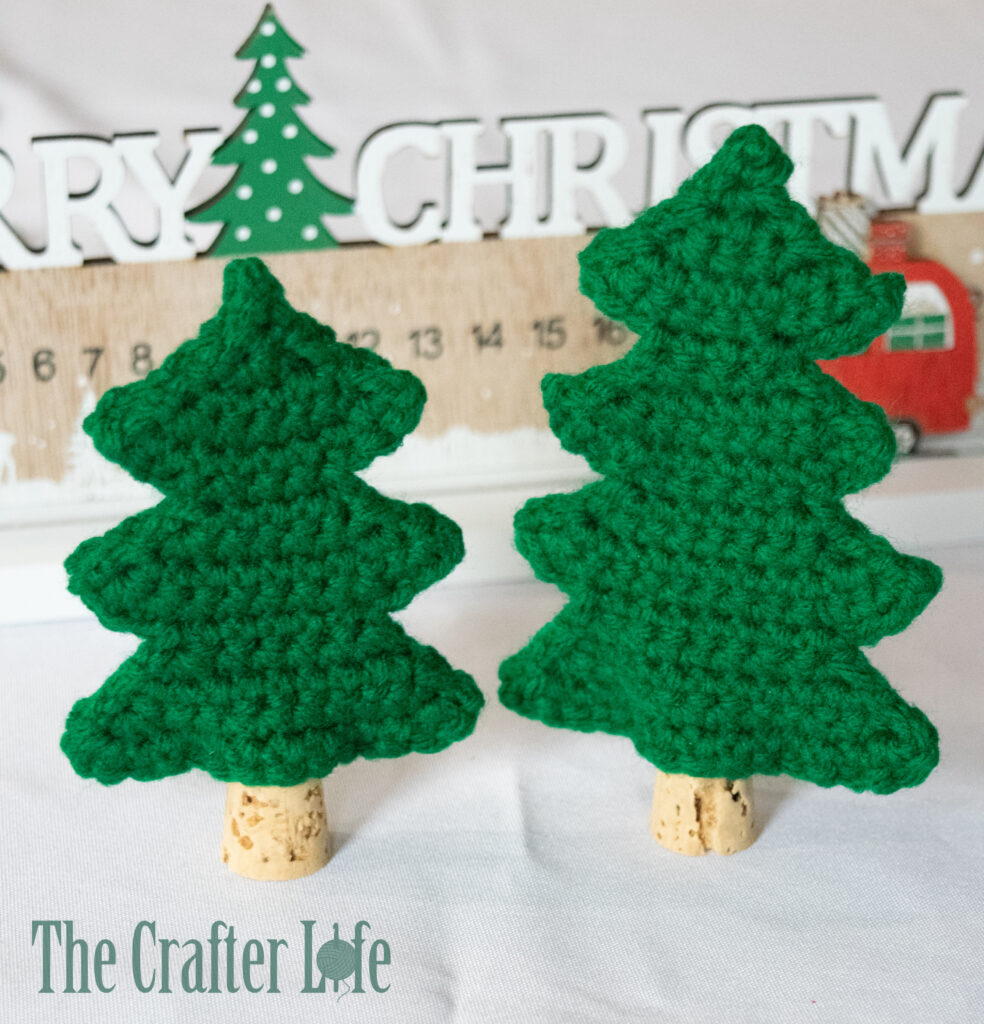
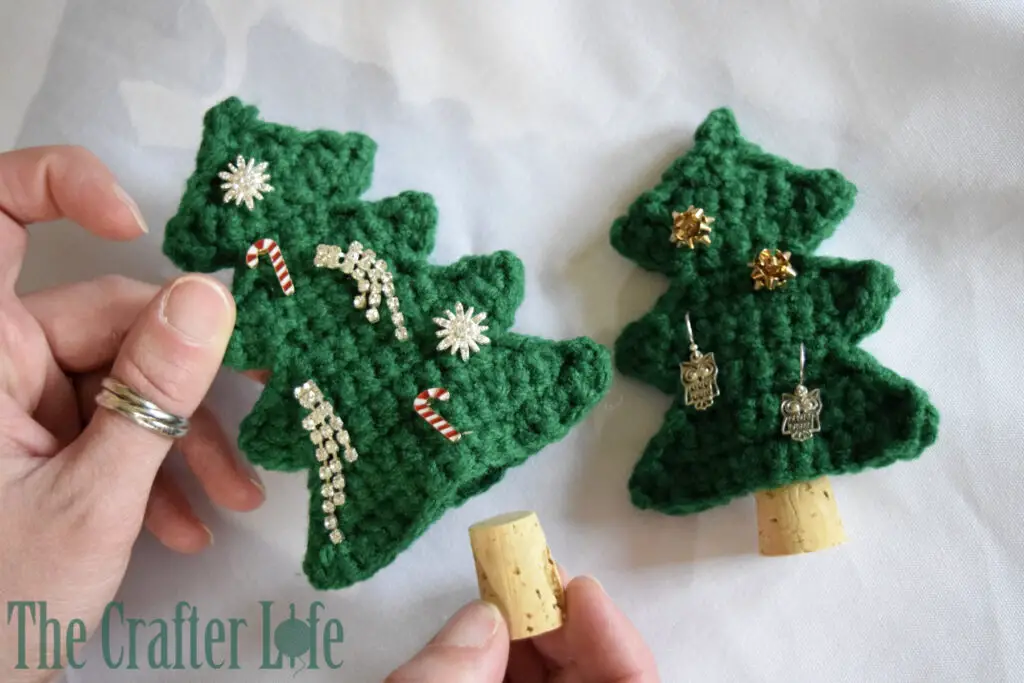
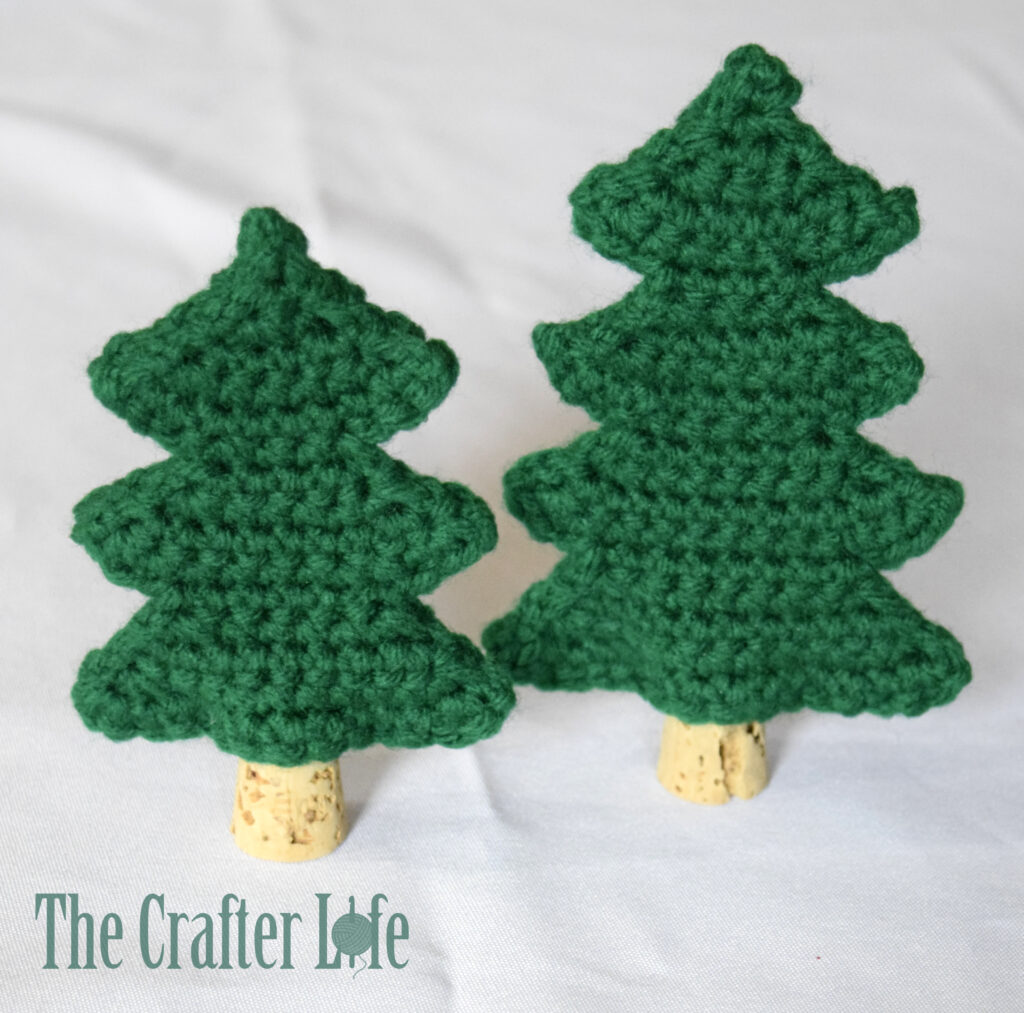
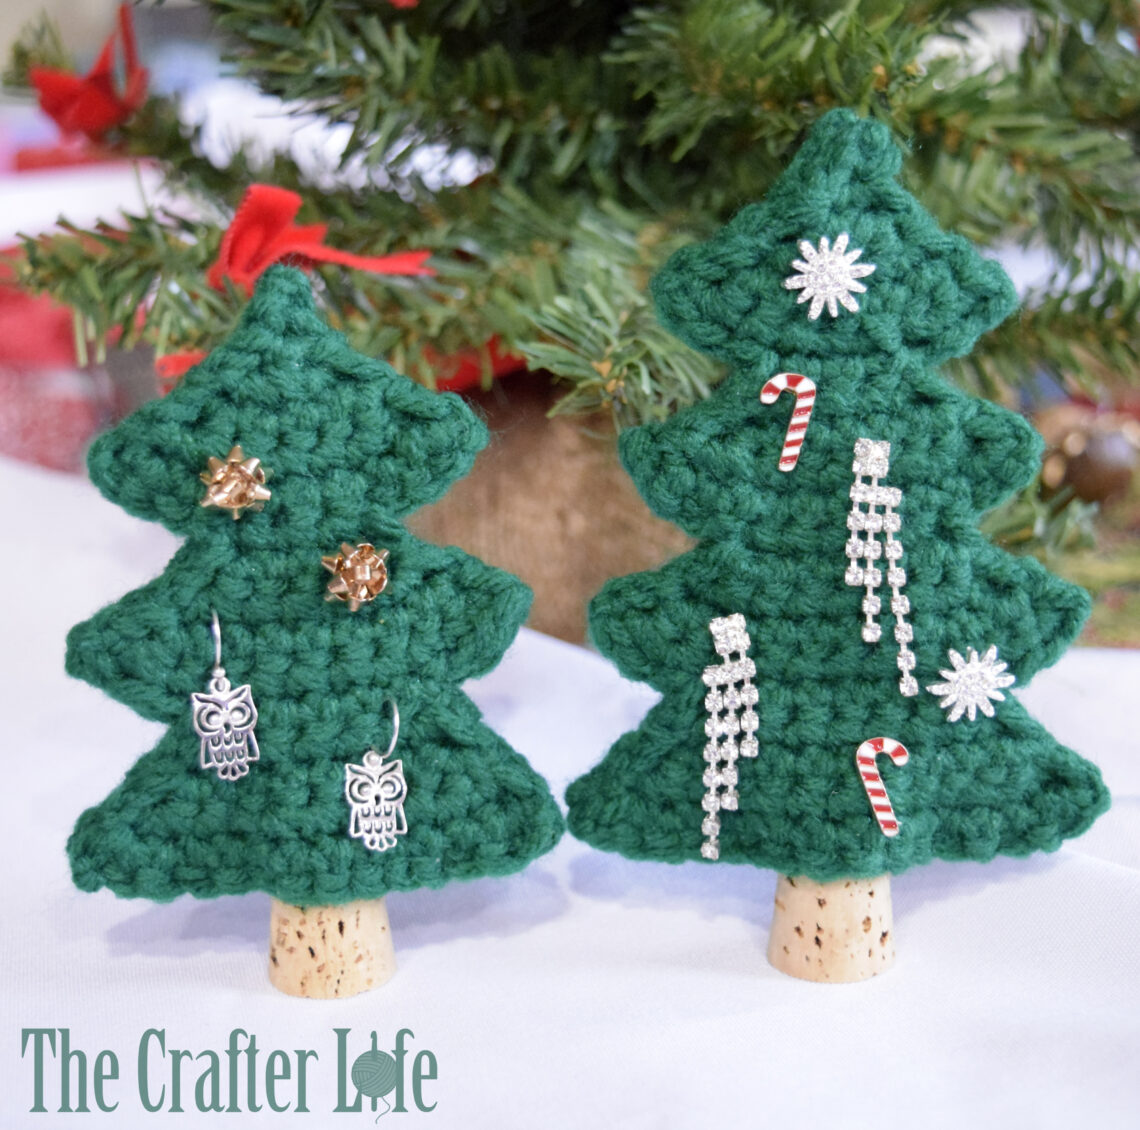
Do you or does someone you know love earrings? If so, check out my Christmas Tree Earring Stand! It may be the perfect gift! You can also use it without earrings as a cute pine tree decoration for the Christmas season or in a woodland-themed room! As I was making my Christmas Tree Earring Holder, I wanted to make an option so the earring tree could stand up on its own. Just like a real tree, I wanted it to have a trunk to help it stand. The idea of using a cork “popped” in my head! Cork stoppers do look like miniature tree trunks and I thought a cork would be the perfect trunk for my size tree! I used tapered corks I found at Lowes. Specifically, I used size 3/4” x 37/64” #6 Hillman sealing corks. They came in a pack of two. That size cork worked for both my small and large tree. Of course, you can use whatever type/size of cork you prefer. I think my tree stand turned out so cute, it doesn’t even need earrings! And best of all, the cork is removable for easy, flat storage of the tree if you or the person you are giving it to doesn’t want it up all year. It is also easy to fit in a small gift box that way. Make one tree or a whole forest of trees for a cute display! If you are interested in making one (or many) of my Christmas Tree Earring Stands, see below for the directions.
Christmas Tree Earring Stand
This is a fun and simple crochet project to make. It’s called an earring stand, but it looks just as good without earrings as a decoration. It is simply two of my Christmas Tree Earring Holders sewn together with a cork at the bottom. The smaller tree stands about 4¼ inches tall and the larger tree stands about 5 inches tall.
MATERIALS
– Size 4.50 mm crochet hook or size needed to obtain gauge
– Worsted weight (4) acrylic yarn in your choice of tree color (I used Red Heart Super Saver yarn in Paddy Green.)
– Scissors
– Tapestry needle for weaving in ends
– Stitch markers
– Measuring tape
– Tapered Cork (I used Hillman size 3/4” x 37/64” #6 corks)
DIRECTIONS
- Crochet two of my Christmas Tree Earring Holders in whichever size you prefer (without the twine hanging cord). Leave a long tail on one of the trees after fastening off the last row. The long tail will be used to sew the two trees together.
- Place the two trees directly on top of each other, making sure to line up their corresponding stitches. Use a tapestry/sewing needle and the long tail you left on one of the trees to sew the trees together along their perimeters, making sure to leave the middle 4 stitches at the bottom of the tree open (do not sew the middle of the bottom of the tree shut). This is so you can insert the cork at the bottom. You do need to sew the bottom of the tree shut on each side so the cork will be held in place. When you are finished sewing the two trees together, fasten off, secure, and weave in your yarn tail on the inside of the tree.
- Insert your cork in the bottom of the tree where you left the opening so the wider end of the cork is on the bottom. Make sure not to push the cork all the way inside the tree. Your tree should now be able to stand up on its own! The cork is removable so if you want it to be permanent, you could hot glue it on the inside of the tree to keep it in place (I didn’t do this since I plan to remove the corks when I store the trees).
- If you are planning to use the tree to hold earrings, you can arrange and hang your earrings on the tree however you wish. It is a cute way to give earrings to someone! It’s two gifts in one!
I hope you enjoyed making my Christmas Tree Earring Stand and that it brings joy to all who use or admire it!
This pattern is property of TheCrafterLife.com
You may not sell my patterns or claim them as your own. You may make items to sell (i.e. on Etsy) from my patterns but I ask that you link back to my site (TheCrafterLife.com) and provide credit for the pattern. You are welcome to share my patterns on social media as long as you link back directly to my site by providing the link. No copying and pasting of any patterns will be allowed under any circumstances

