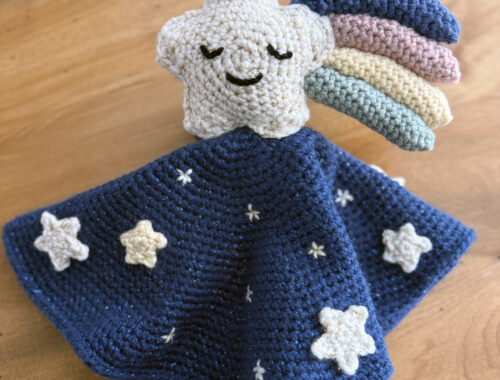
Seashell Appliqué
I’m looking forward to the next time my family takes a beach vacation so I made this cute little seashell appliqué that reminds me of going to the beach. I think my new seashell and starfish appliqués compliment each other well. The seashell would be a nice addition to any summer crochet project. It would be fun to make several of them in various pretty colors. See below if you are interested in my seashell appliqué pattern.
Seashell Appliqué
This seashell appliqué pattern is a quick project you can use alone or to enhance larger projects.
FINISHED MEASUREMENTS
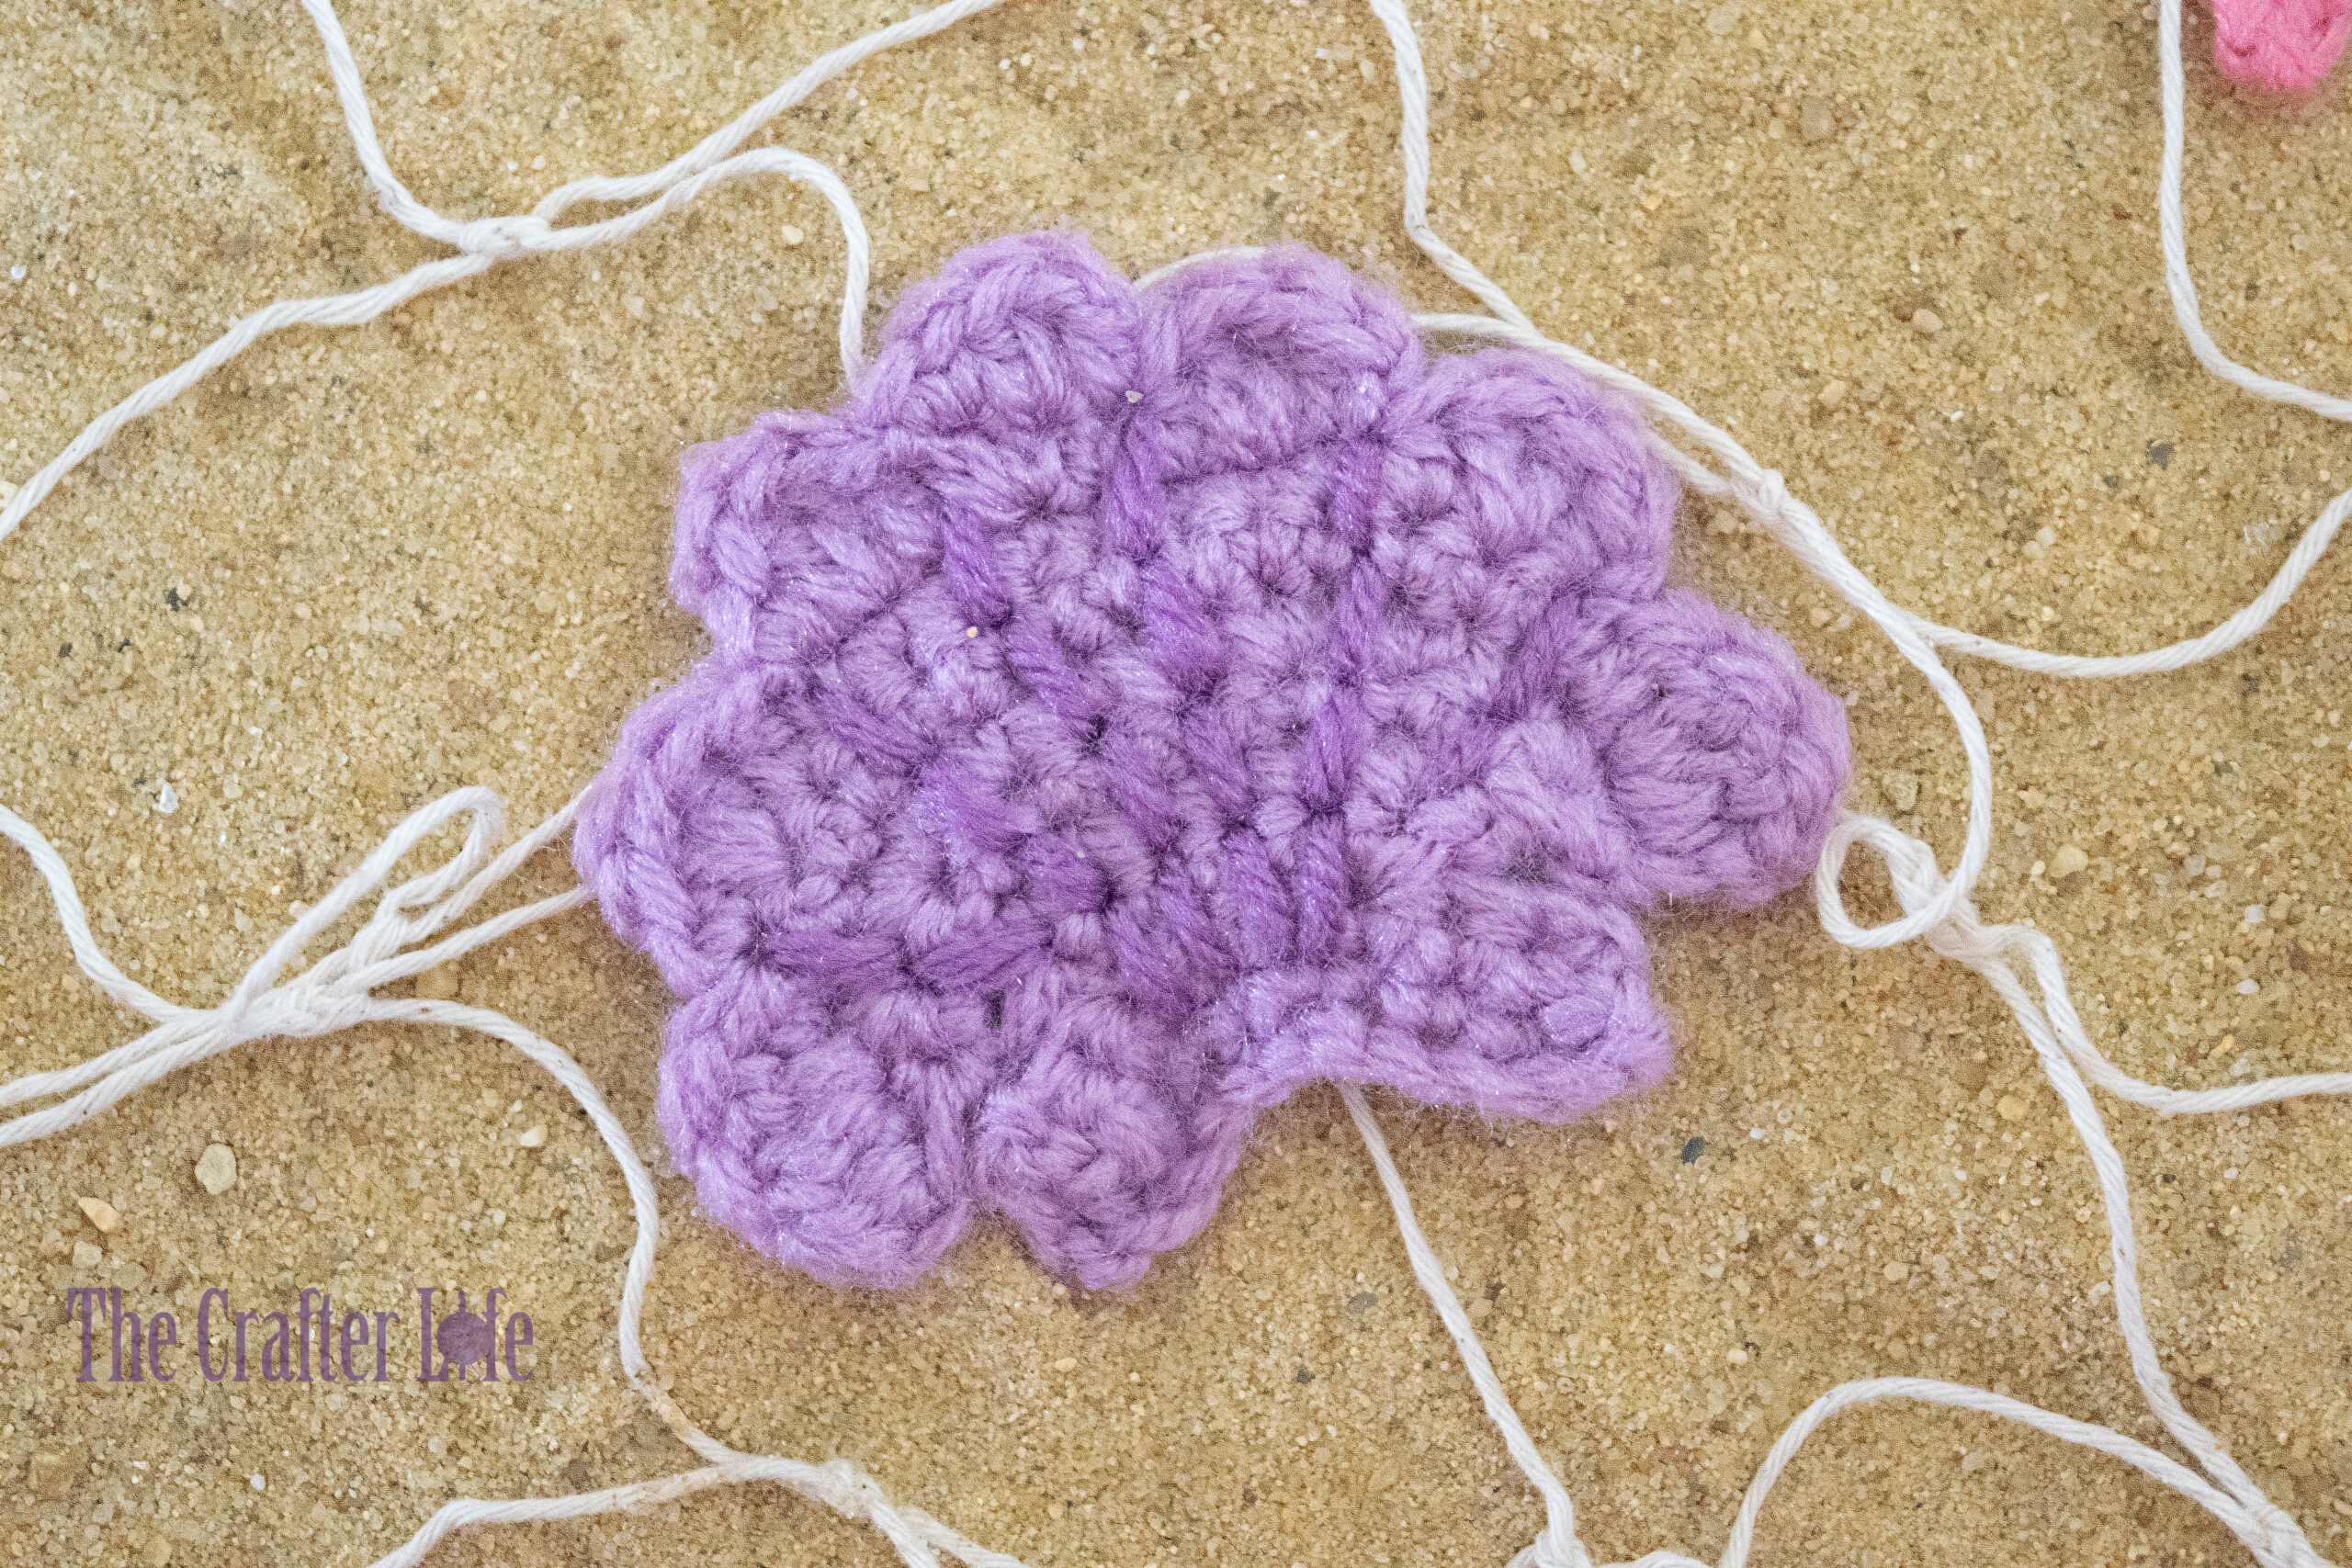
The seashell appliqué is about 2½ inches wide and 2 inches tall.
MATERIALS
– Size 4.00 mm crochet hook or size needed to obtain gauge
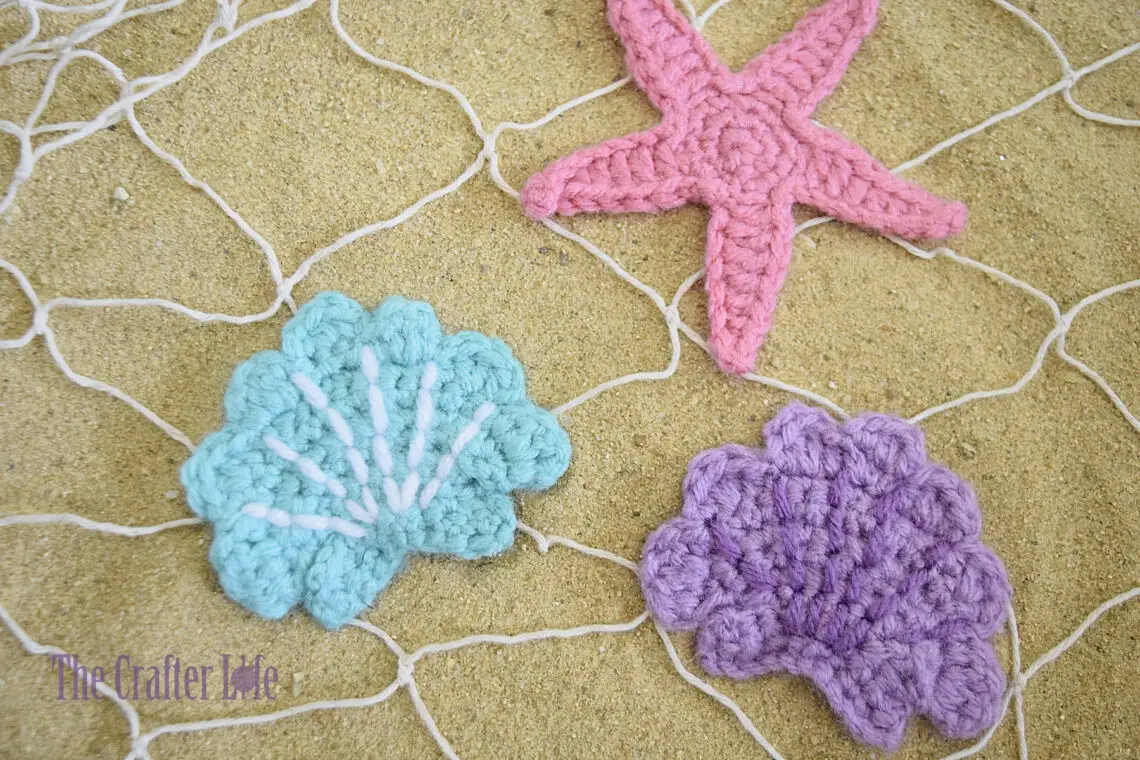
– Worsted weight (4) acrylic yarn in your choice of color (I used Red Heart Super Saver yarn in Orchid and Aruba Sea for the seashells shown.)
– Worsted weight (4) acrylic yarn in your choice of accent color for the finishing stitches (I used Red Heart Super Saver yarn in Medium Purple and White for the seashells shown.)
– Scissors
– Tapestry needle for weaving in ends
– Stitch markers
– Measuring tape
ABBREVIATIONS
– ch = chain
– chs = chains
– dc = double crochet
– hdc = half double crochet
– sc = single crochet
– sc2tog = single crochet 2 together (single crochet decrease)
– slst = slip stitch
– st = stitch
– sts = stitches
GAUGE
8 sc = 1 inch
6 rows of sc = 1 inch
DIRECTIONS
Seashell
*Use your 4.00 mm hook and main color worsted weight yarn to complete the seashell appliqué.
*While working the shell, not every row is worked entirely across. When forming the rounded edge of the shell, the yarn is fastened off between rows.
Row 1: Ch 11, sc in 2nd ch from hook and in each ch across. (10 sc)
Row 2: Ch 1, turn, sc2tog, sc in next 6 sts, sc2tog, fasten off and weave in loose ends. (2 sc2tog, 6 sc; 8 total sts)
*To begin Row 3, turn work, skip 2 stitches and attach yarn to 3rd stitch from Row 2.
Row 3: After turning work and attaching yarn to 3rd stitch over, ch 1, work 2 sc in same st, sc in next 2 sts, 2 sc in next st. (6 sc)
*You should have two remaining stitches from Row 2 after completing Row 3. Do not work any stitches in those remaining stitches. Simply stop working Row 3 and begin working Row 4.
Row 4: Ch 1, turn, 2 sc in first st, sc in next 4 sts, 2 sc in last st. (8 sc)
Row 5: Ch 1, turn, 2 sc in first st, sc in next 6 sts, 2 sc in last st. (10 sc)
Rows 6: Ch 1, turn, 2 sc in each st across. (20 sc)
Row 7: Ch 1, turn, hdc in first st, 2 dc in next st, hdc in next st, sc in next 14 sts, hdc in next st, 2 dc in next st, hdc in last st, fasten off. (4 hdc, 4 dc, 14 sc; 22 total sts)
*To begin Row 8, turn work, skip 4 stitches and attach yarn to 5th stitch from Row 7.
Row 8: After turning work and attaching yarn to 5th stitch over, ch 1, hdc in same st, 2 dc in next st, hdc in next st, sc in next 8 sts, hdc in next st, 2 dc in next st, work 1 hdc and 1 slst in next st, fasten off, weave in loose ends. (4 hdc, 4 dc, 8 sc, 1 slst; 17 total sts)
*To begin Row 9, turn work, skip the last 5 stitches from Row 8 (skip the slst and next 4 sts) and attach yarn to 6th stitch.
Row 9: After turning work and attaching yarn to 6th stitch over, ch 1, hdc in same st, 2 dc in next st, hdc in next st, sc in next st, 2 sc in next st, hdc in next st, 2 dc in next st, work 1 hdc and 1 slst in next st, fasten off, weave in loose ends. (4 hdc, 4 dc, 3 sc, 1 slst; 12 total sts)
*To begin Row 10, turn work, skip 5 stitches (the slst counts as a stitch) and attach yarn to 6th stitch from Row 9.
Row 10: After turning work and attaching yarn to 5th stitch over, ch 1, sc in same st, 2 hdc in next st, work 1 sc and 1 slst in next st, fasten off, weave in loose ends. (2 sc, 2 hdc, 1 slst; 5 total sts)
*After weaving in all loose ends, follow the directions below to add the finishing stitches to the seashell.
Finishing Stitches
*Use a small tapestry needle and your accent color yarn to complete the finishing stitches.
Use a small tapestry needle and a long strand of your accent color yarn to complete the finishing stitches. Use back stitches to make 6 lines to resemble the grooves of a seashell that run from in between the rounded bumps and down to the bottom of the shell. To do a back stitch, bring your needle up through to the front of the shell, then take it back down a short distance away, following the path the line will make to the bottom of the shell. Then, following the path of the line, bring the needle back up, the same distance away as the length of the last stitch. Then, run your needle down through the same point as the end of the last stitch. Next, take your needle up through the same point as you did to start the previous stitch. Keep doing this until you have stitches of equal length that create the line that represents the groove of the shell. Once you have one line complete, keep going to make the rest of the lines. Make sure to secure your yarn tails on the back of the work once finished stitching your lines.
***Your seashell appliqué is now finished and ready to be used as a fun decoration or embellishment!

Starfish Appliqué