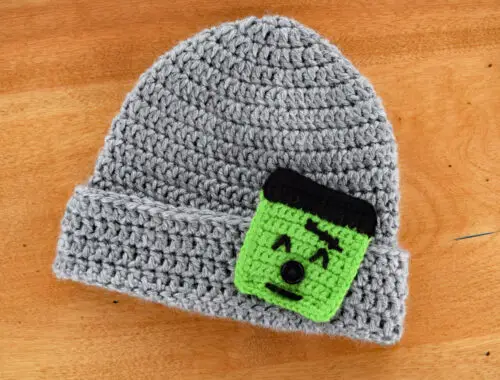
Scarecrow Button-On Appliqué
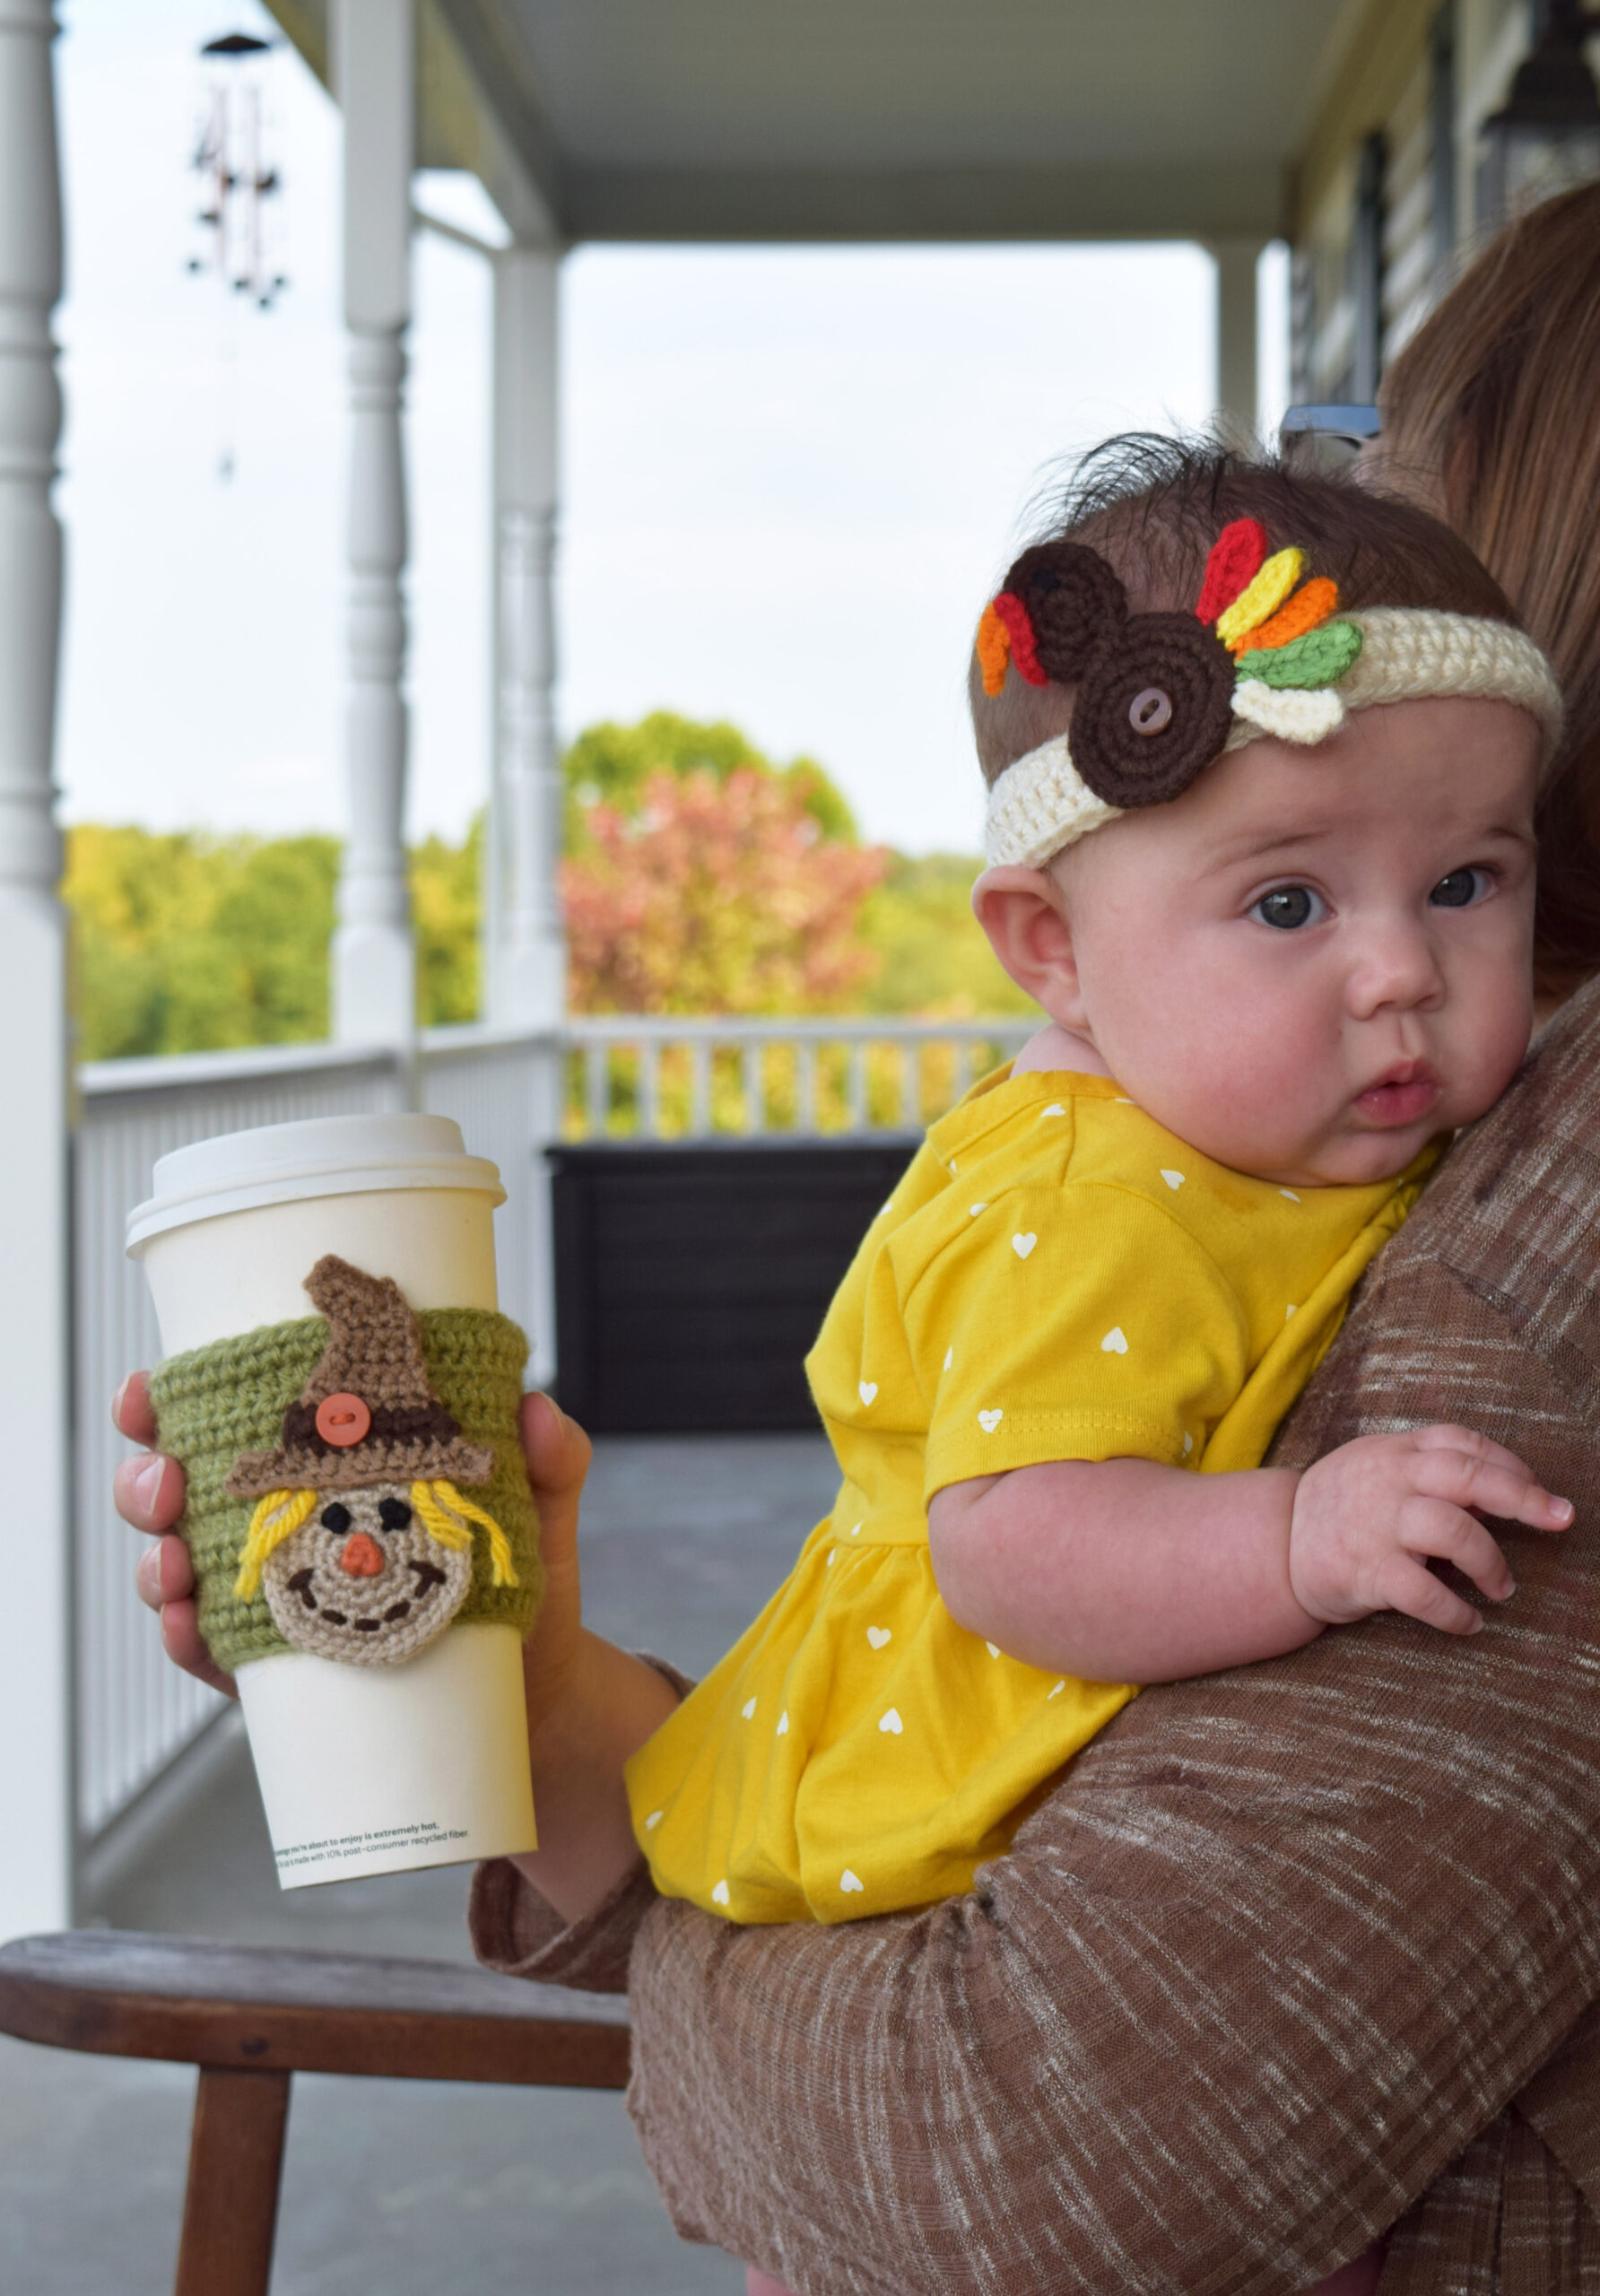
I’m so excited to release the pattern for my Scarecrow Button-On Appliqué! Add this cute and festive fella to your fall project with the touch of a button! He is made to fit a standard ½-inch orange button, but of course, feel free to use whatever button color you choose!
Scarecrow Button-On Appliqué
 This scarecrow button-on appliqué pattern is written to fit a standard ½-inch orange button.
FINISHED MEASUREMENTS
The scarecrow button-on appliqué is about 3½ inches tall and 2½ inches wide (across brim of hat).
MATERIALS
– Size 3.00 mm crochet hook or size needed to obtain gauge
– Worsted weight (4) acrylic yarn in Tan (I used Red Heart Super Saver yarn in Buff.)
– Worsted weight (4) acrylic yarn in Light Brown (I used Red Heart Super Saver yarn in Cafe Latte.)
– Worsted weight (4) acrylic yarn in Dark Brown (I used Loops & Threads Impeccable yarn in Chocolate.)
– Worsted weight (4) acrylic yarn in Burnt Orange (I used Loops & Threads Impeccable yarn in Pumpkin.)
– Worsted weight (4) acrylic yarn in Black (I used Red Heart Super Saver yarn in Black.)
– Worsted weight (4) acrylic yarn in Straw/Golden Yellow (I used Red Heart Super Saver yarn in Saffron.)
– Scissors
– Tapestry needle for weaving in ends
– Stitch markers
– Measuring tape
ABBREVIATIONS
– ch = chain
– chs = chains
– hdc = half double crochet
– sc = single crochet
– sc2tog = single crochet 2 together (single crochet decrease)
– slst = slip stitch
– sp = space
– st = stitch
– sts = stitches
GAUGE
3 rounds of sc (diameter) = 1 inch
6 sc = 1 inch
6 rows of sc = 1 inch
PATTERN NOTES
- The head of the scarecrow button-on appliqué is made in continuous rounds of single crochet stitches. Simply work the first stitch of each round in the first stitch of the previous round (do not join rounds). Use a stitch marker to help keep track of rounds.
- Brackets [ ] indicate portions of the pattern to be repeated.
DIRECTIONS
Head of Scarecrow
*Use your 3.00 mm hook and tan worsted weight yarn to complete the head of the scarecrow.
Round 1: Make a magic ring, ch 1, work 6 sc in the ring, pull ring closed. (6 sc)
Round 2: 2 sc in each st around. (12 sc)
Round 3: Repeat [sc in next st, 2 sc in next st] around. (18 sc)
Round 4: Repeat [sc in next 2 sts, 2 sc in next st] around. (24 sc)
Round 5: Repeat [sc in first 3 sts, 2 sc in next st] around. (30 sc)
Round 6: Repeat [sc in first 4 sts, 2 sc in next st] around, slst in first st of round, fasten off and weave in ends. (36 sc)
*The head of the scarecrow is now complete. Follow the directions below to make the hat.
Hat of Scarecrow
*Use your 3.00 mm hook and light brown worsted weight yarn to start the hat of the scarecrow. You will change to dark brown yarn for the band of the hat (Rows 2 and 3) and then back to light brown for the rest of the hat.
*Mark 4th stitch made in Row 1 with a stitch marker so you know where to attach yarn for the band of the hat.
Row 1: Ch 18, hdc in 3rd ch from hook and in next 15 chs across, fasten off, leaving long tail for sewing onto head of scarecrow. (16 hdc)
* DO NOT turn work after Row 1. You will attach your dark brown yarn to the 4th stitch from Row 1 to start the band of the hat. Rows 2 and 3 make the band of the hat.
Row 2: Attach dark brown yarn to 4th st of Row 1, ch 1, sc in same st (4th st of Row 1) and in next 9 sts. (10 sc)
Row 3: Ch 1, turn, sc2tog, ch 2, skip next 2 sts, sc in next 4 sts, sc2tog, pulling through light brown yarn when you have 3 loops on hook to complete the sc2tog. (2 sc2tog, 2 chs, 4 sc; 8 total sts)
*You should now have light brown yarn on your hook.
Row 4: Ch 1, turn, sc2tog, sc in next 3 sts, sc in ch-2 sp, sc2tog (sc2tog includes ch-2 sp and last st of row-see note below)**. (2 sc2tog, 2 chs, 4 sc; 8 total sts)
** To work final sc2tog of Row 4, insert hook in ch-2 sp, yarn over and pull up a loop, insert hook in last st, yarn over and pull up a loop, yarn over, pull through all 3 loops.**
Row 5: Ch 1, turn, sc in each st across. (6 sc)
Row 6: Ch 1, turn, sc2tog, sc in next 2 sts, sc2tog. (2 sc2tog, 2 sc; 4 total sts)
Rows 7-8: Ch 1, turn, sc in each st across. (4 sc)
Row 9: Ch 3, sc in 2nd ch from hook, sc in next ch, turn work so you are working back across the stitches from Row 8, sc in next 2 sts, sc2tog. (4 sc, 1 sc2tog; 5 total sts)
Row 10: Ch 1, turn, sc2tog, sc in next 3 sts, fasten off and weave in ends. (1 sc2tog, 3 sc; 4 total sts)
*The hat is now complete. Follow the directions below to make the nose.
Nose of Scarecrow
*Use your 3.00 mm hook and burnt orange worsted weight yarn.
Row 1: Ch 2, sc in 2nd ch from hook, fasten off and leave long tail for sewing onto head. (16 hdc)
*The nose is now complete. Follow the directions below to assemble.
ASSEMBLY
- Use your tapestry needle and tail you left on the hat to sew the bottom brim of the hat to the head. Weave your tail under the stitches on the back side of the head until you reach about 3 or 4 stitches in on the bottom. Then, begin to sew the bottom 10 middle stitches of the hat to the last round of the head. The bottom of the hat should overlap the head slightly and it should be positioned straight across as a real hat would sit on a head. I placed my hat over the last several stitches of Round 6 of the head.
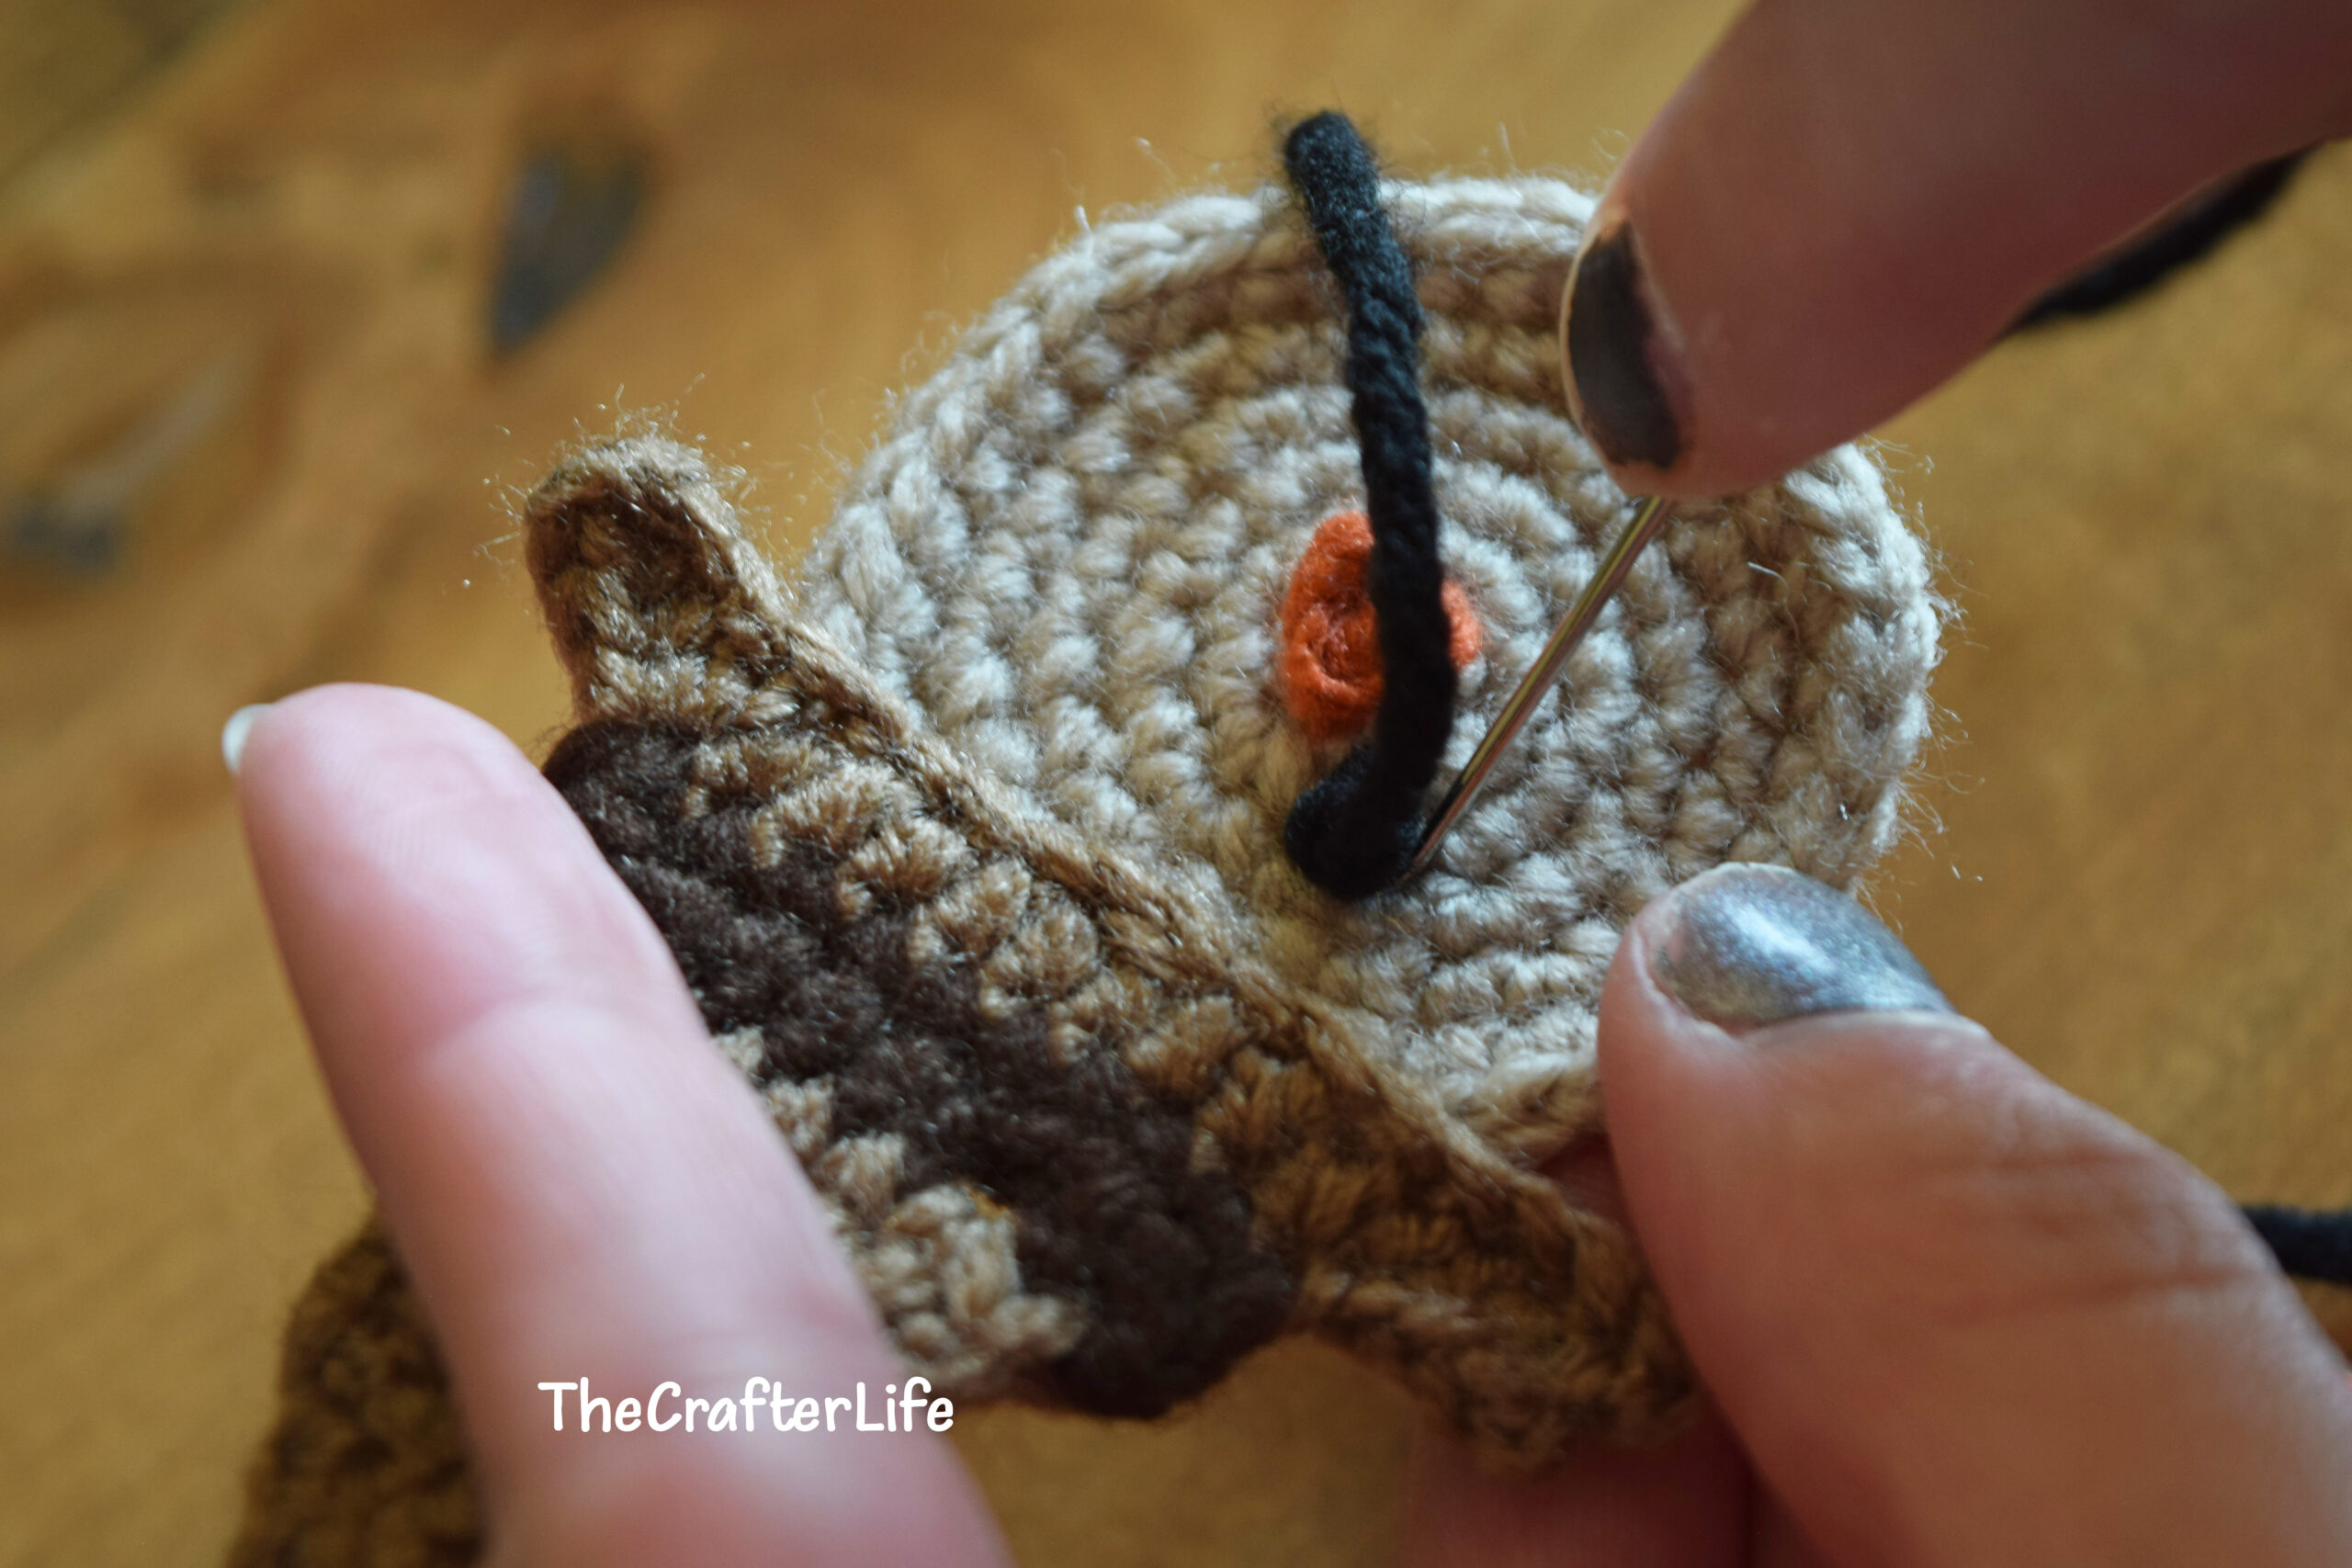
- Use your tapestry needle and the tail you left on the nose to sew the nose to the center of the head. You may not want to secure your yarn on the back of the work until you have the eyes and mouth in place. I placed mine directly over Round 1 of the head so that it covers right where the magic ring was pulled closed.
 Next, take two strands of black yarn and make a small knot in the middle of each strand. These knots will form the eyes. I knotted each of my scarecrow’s eyes about 4 times apiece. Use your tapestry needle and the two tails on each side of one of the knots to sew it in place where you would like an eye to be positioned. Do the same thing for the other eye. You might not want to secure your yarn on the back until you have the mouth in place on the head.
- Use your tapestry needle and dark brown yarn to stitch on a mouth. I stitched my mouth on between Rounds 4 and 5 of the head of the scarecrow. I used 6 running stitches that were each about 2 single crochet stitches wide and spaced about 1 single crochet stitch apart. I started the first stitch about even with the bottom of the nose of the scarecrow and ended my last stitch about even with the bottom of the nose on the other side. Then I made two dimples that are one stitch each (about the same length as the mouth stitches) and perpendicular to the end stitches on the sides of the mouth.

To make the hair, cut two strands of your straw-color yarn. Use your tapestry needle to weave one of the strands under one of the stitches from Row 6 that is covered by the hat and on the left side of the face (from the front of the work to the back) and then back under the next stitch from Row 6 (from the back of the work to the front) so that both ends of the strand hang out the front. Do the same thing for the strand on the right side of the face. You may want to knot/secure the yarn on the back if you think the hair might get pulled out when you are using it (I did not knot mine). Cut the ends to your desired length.

***Once you finish weaving in all loose ends, your scarecrow button-on appliqué is ready to be placed on a ½-inch orange button!
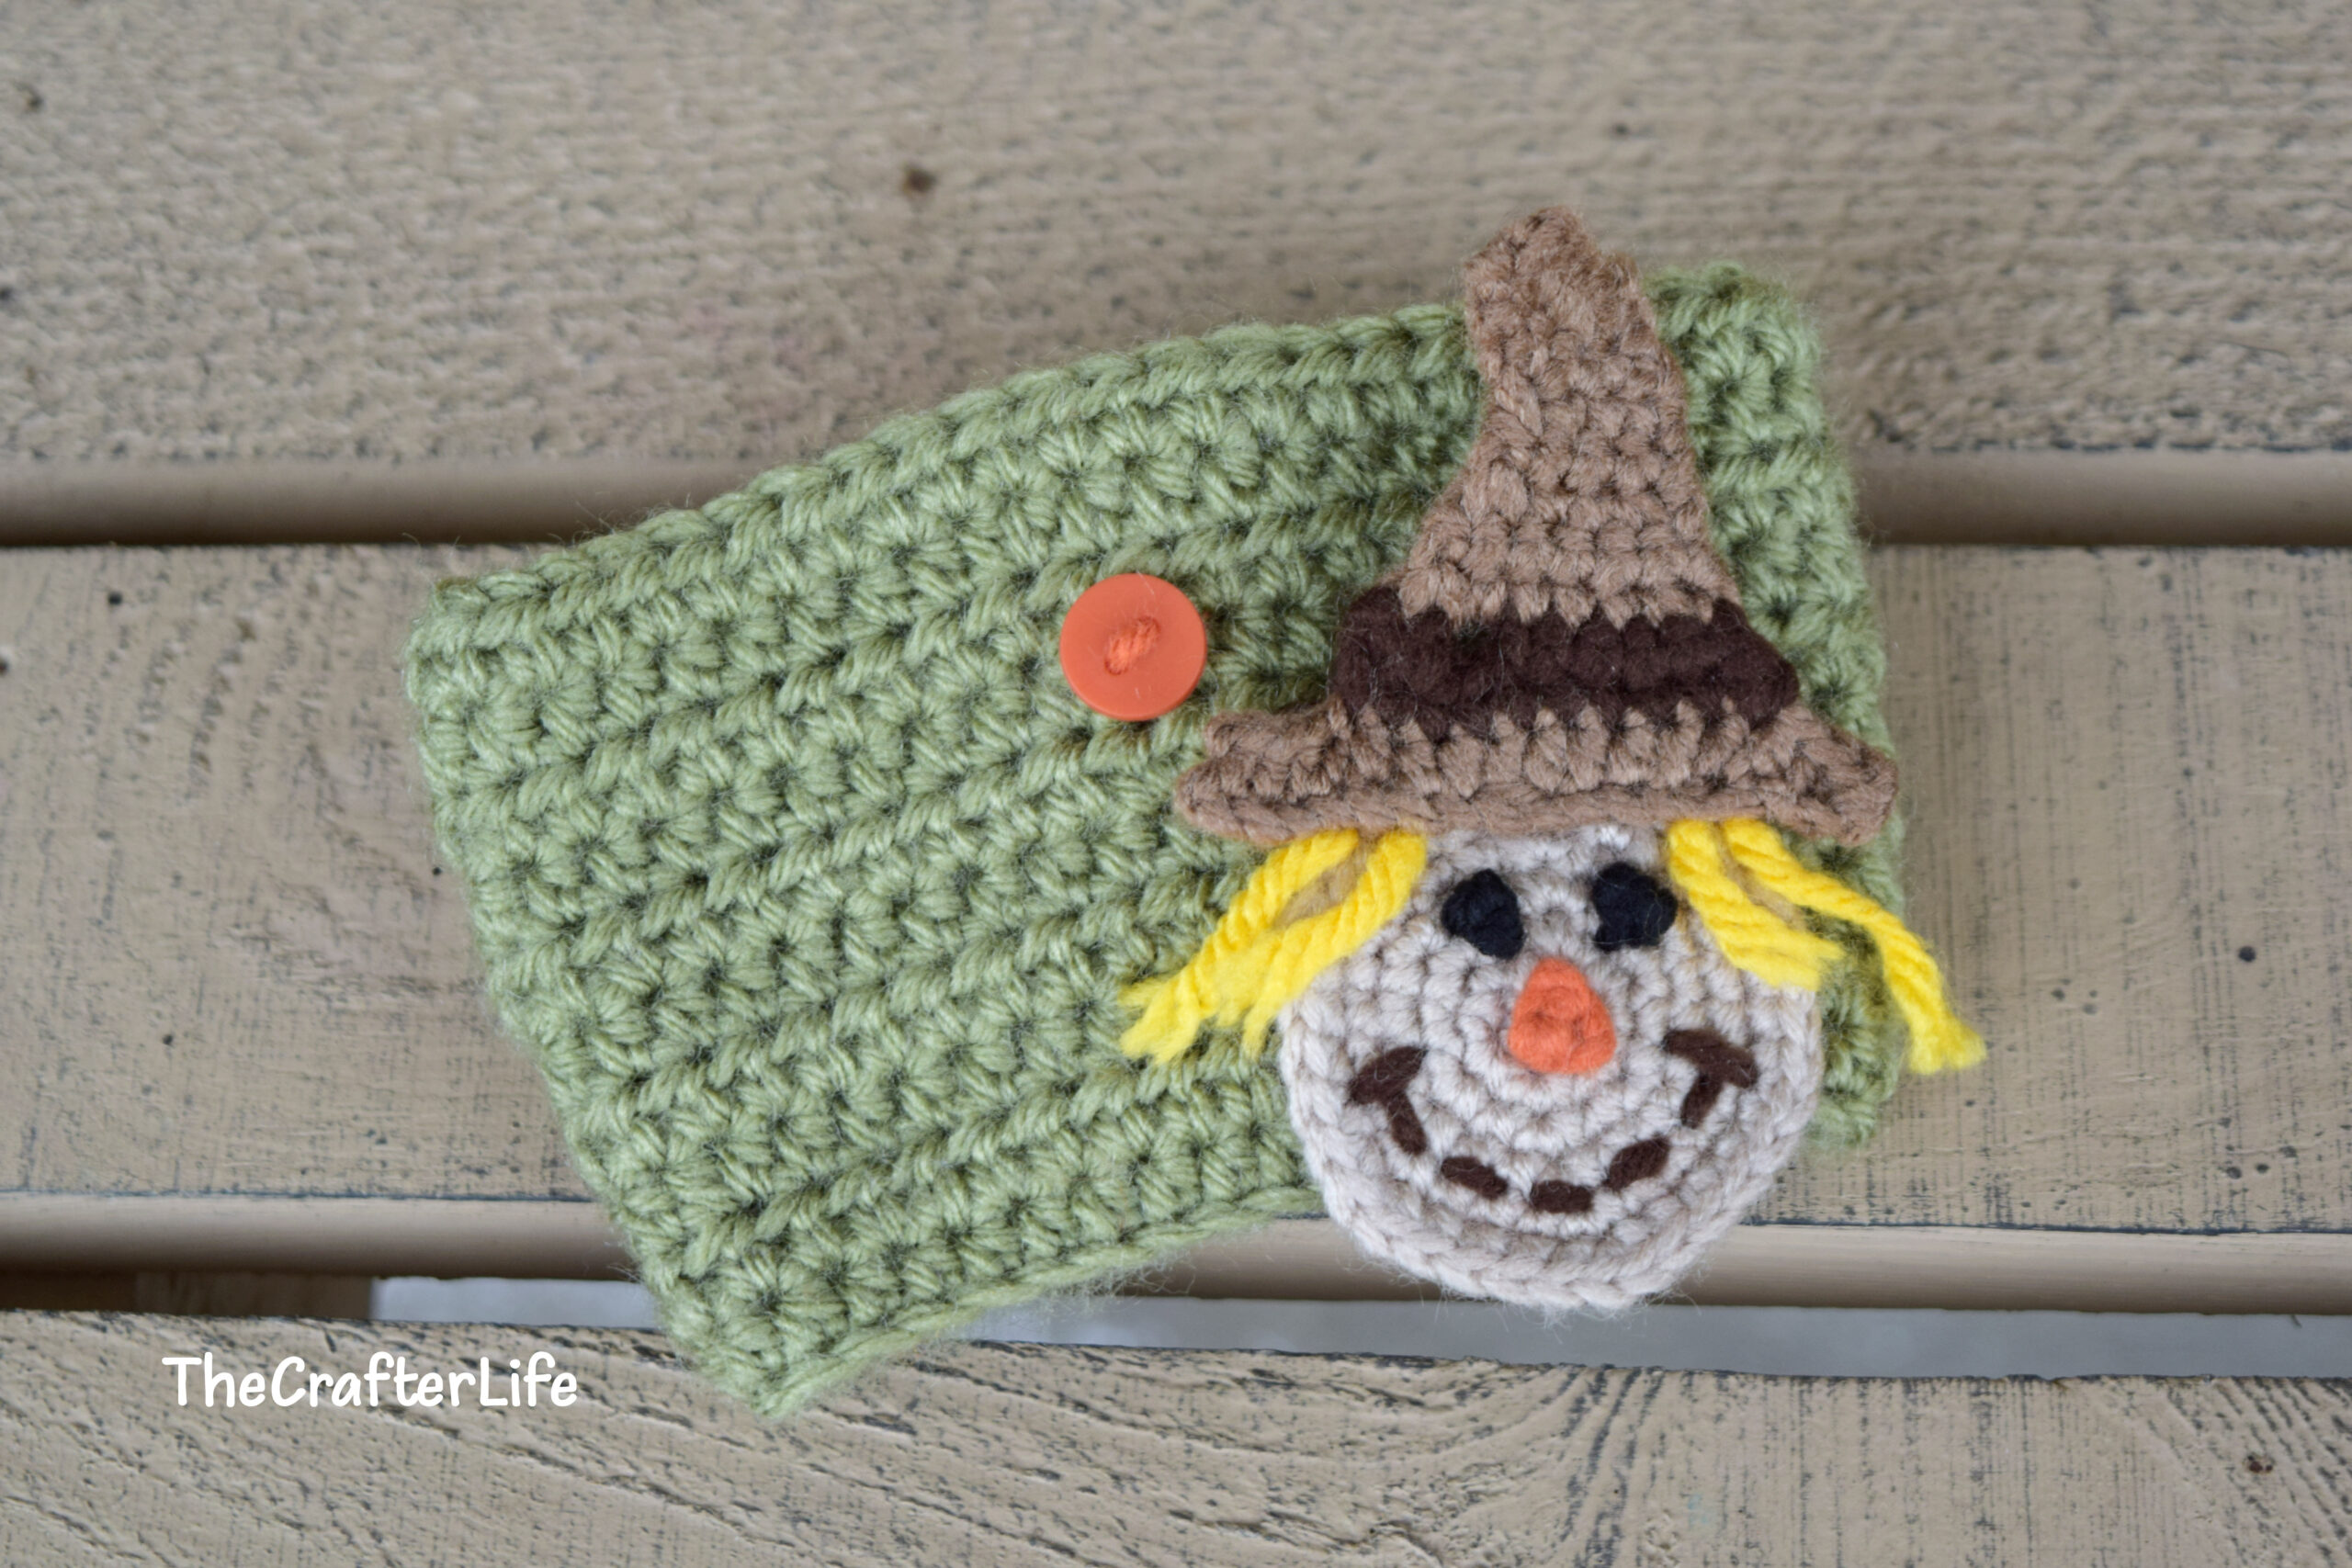
TIP: Press the appliqué with an iron using a press cloth for protection to help it lay flat and keep its shape.

The pattern and photos of this item are the property of TheCrafterLife. This pattern and design are subject to copyright, and are for personal, non-commercial use only. You may not distribute, sell this pattern, or claim it as your own under any circumstances.
You may not sell my patterns or claim them as your own. You may make items to sell (i.e. on Etsy) from my patterns but I ask that you link back to my site and provide credit for the pattern. You are welcome to share my patterns on social media as long as you link back directly to my site by providing the link. No copying and pasting of any patterns will be allowed under any circumstances.

Football Button-On Appliqué