Starfish Appliqué
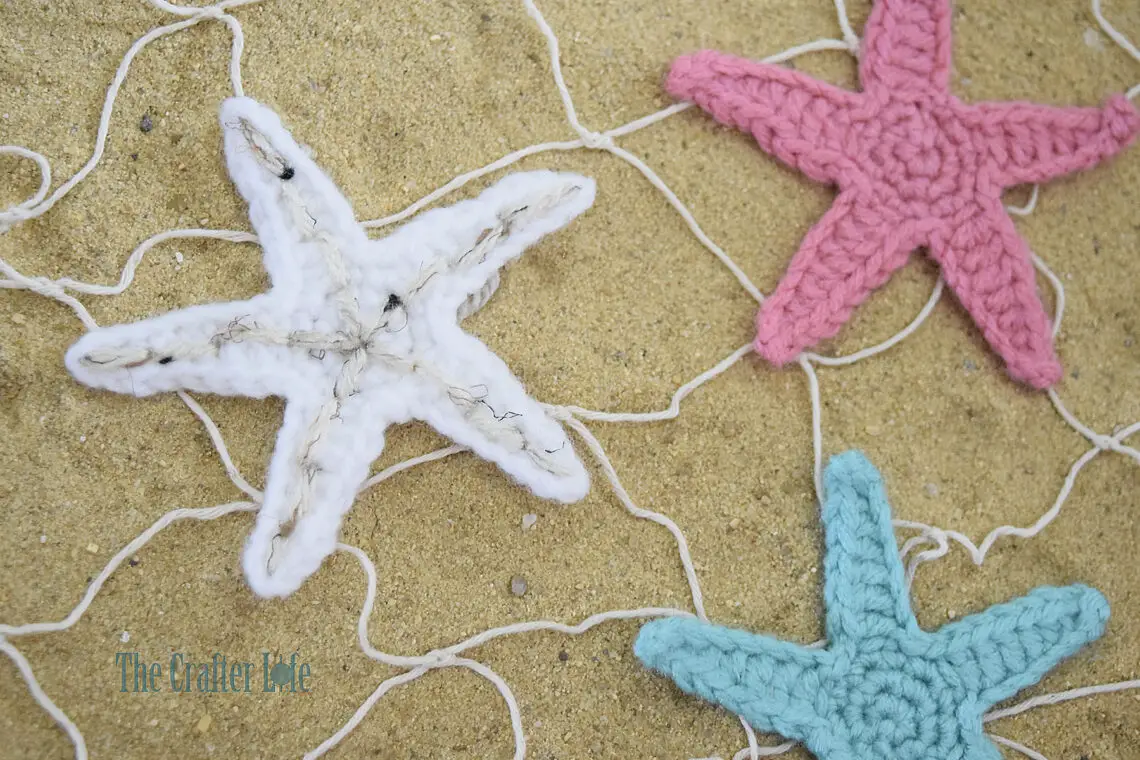
I just love starfish! I decided to make a quick pattern for one to use in time for summer. This fun appliqué pattern can be whipped up in just ten minutes! Add the optional finishing stitches if you choose in order to create some texture and make it look more realistic. Use this starfish to enhance your next crochet project or on its own as a cute decoration. Attach the starfish to your everyday items such as bags or sandals for an instant and charming summer upgrade! See below for my starfish pattern.

Starfish Appliqué
This starfish appliqué pattern is a quick project you can use alone or to enhance larger projects.

FINISHED MEASUREMENTS
The starfish appliqué is about 3½ inches wide.
MATERIALS
– Size 4.00 mm crochet hook or size needed to obtain gauge
– Worsted weight (4) acrylic yarn in your choice of color (I used Red Heart Super Saver yarn in assorted colors for all the starfish shown.)
– Scissors
– Tapestry needle for weaving in ends
– Stitch markers
– Measuring tape
ABBREVIATIONS
– ch = chain
– chs = chains
– dc = double crochet
– hdc = half double crochet
– sc = single crochet
– sc2tog = single crochet 2 together (single crochet decrease)
– slst = slip stitch
– st = stitch
– sts = stitches
GAUGE
3 rounds of sc = 1 inch in diameter
PATTERN NOTES
- The starfish appliqué is made in continuous rounds. Do not join continuous rounds unless otherwise stated. Simply work the first stitch of each round in the first stitch of the previous round. Attach a stitch marker to mark rounds and move marker as you complete each round.
- Brackets [ ] indicate portions of the pattern to be repeated.
DIRECTIONS
Starfish
*Use your 4.00 mm hook and main color worsted weight yarn to complete the starfish.
*The starfish is worked in continuous rounds. Work first stitch of round in first stitch of previous round. Use a stitch marker if needed.
Round 1: With main color yarn, make a magic ring, ch 1, work 5 sc in ring, pull ring closed. (5 sc)
Round 2: 2 sc in each st around. (10 sc)
Round 3: Repeat [sc in next st, 2 sc in next st] 5 times. (15 sc)
*Round 4 creates the 5 arms of the starfish.
Round 4: Slst in next st, repeat [ch 8, sc in 2nd ch from hook, sc in next ch, hdc in next 2 chs, dc in next 3 chs, sk next st from Round 3, slst in next 2 sts] 5 times, fasten off, weave in loose ends. (32 sc)
*When finishing Round 4, your last slst should be in the first st from Round 3 (the same stitch you worked your first slst at the beginning of Round 4.
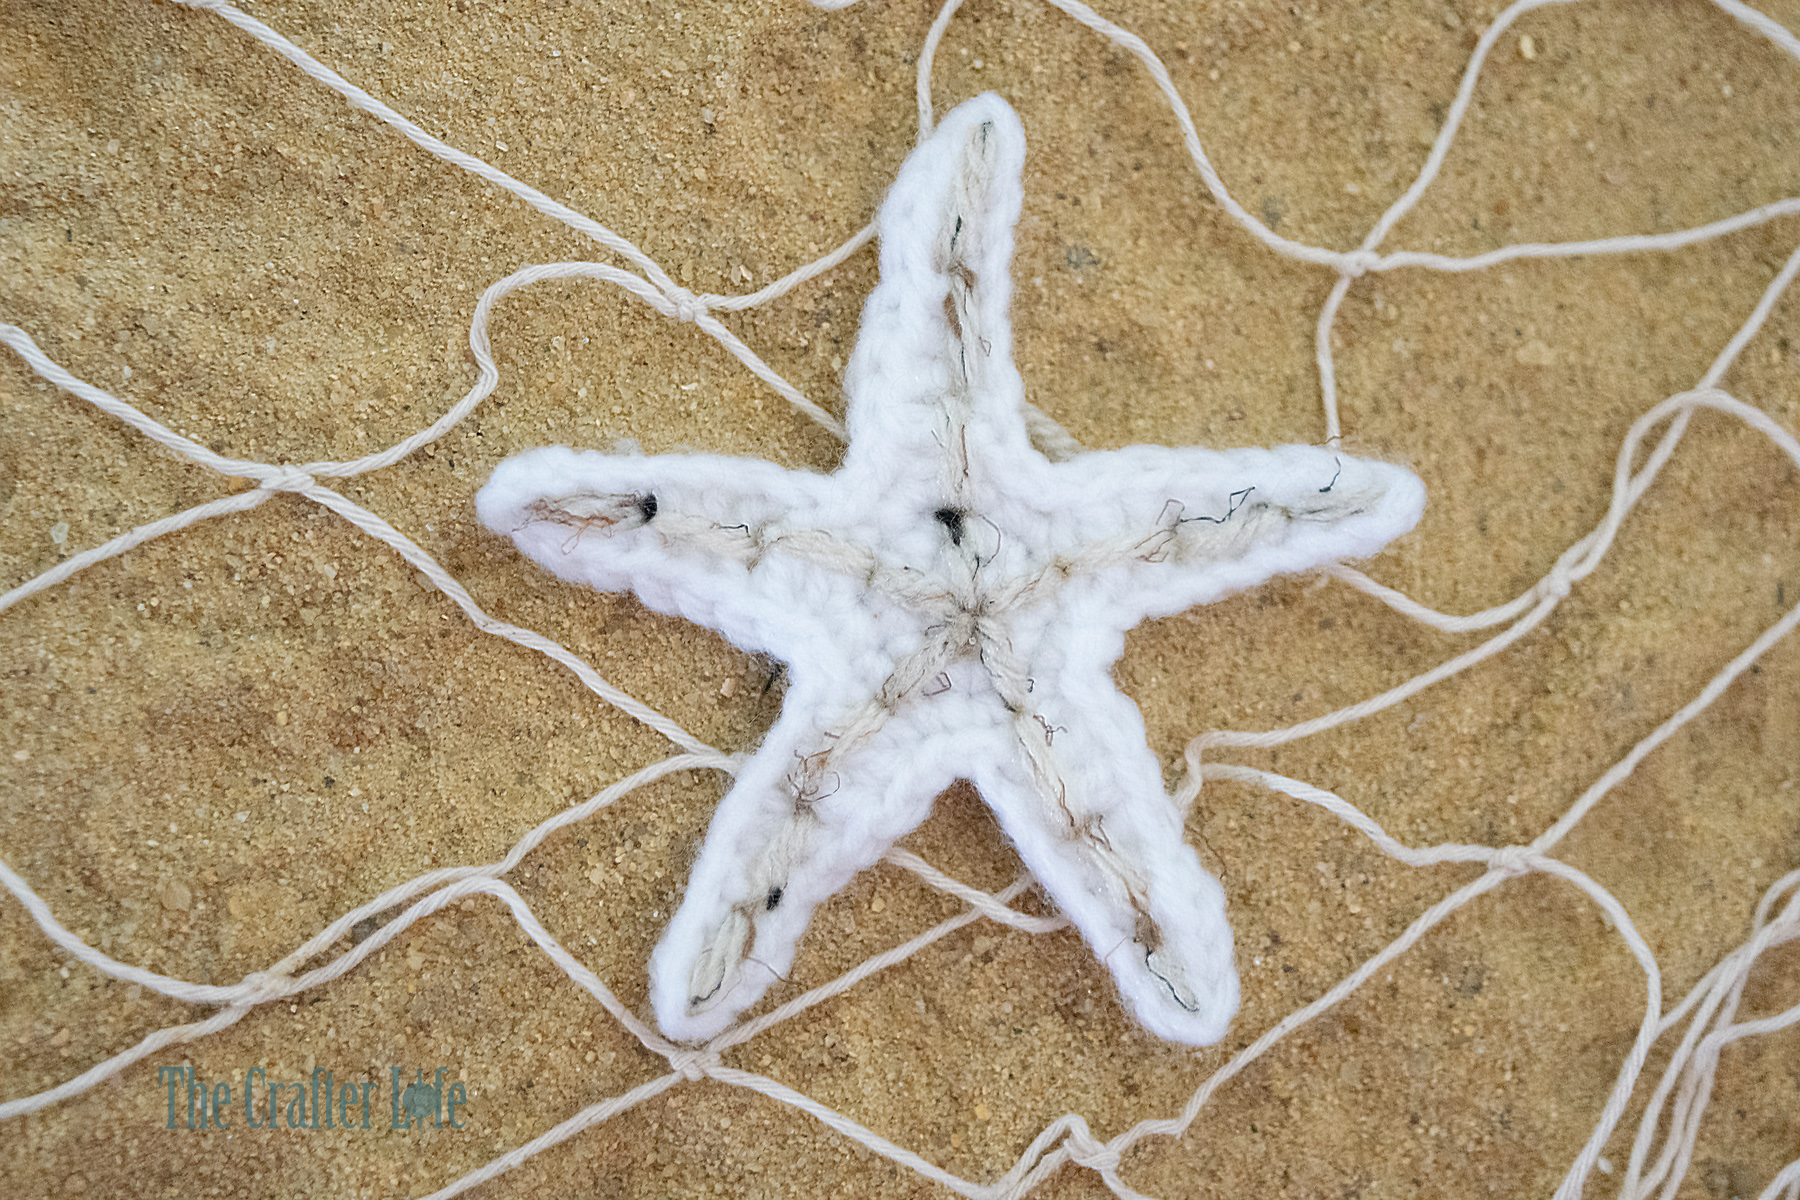
*After you weave in all loose ends, your starfish is complete. If you wish to add the optional stitching that runs in the middle of each arm, see below for the directions.
Optional Stitching
*Use a small tapestry needle and 5 separate strands of accent color yarn to create the finishing stitches.
- Thread a strand of accent color yarn through your tapestry needle. You will be using back stitches to stitch straight lines from the center of the starfish through the middle of each arm. Each line will be about 4 stitches long.
- Bring your needle from the back up through the center of the starfish (the center of the magic circle) to the front. Decide which arm you are going to stitch first. Take your needle back down about two rounds away from the center, toward the middle of the arm you are stitching (first stitch made). Then bring the needle back up to the front at a point in the middle of the arm the same distance away from the point you just went back down as the length of the last stitch (this will be at about 2 stitches up the arm). Take your needle back down through the same point you went down to complete the first stitch (second stitch made). Bring the needle back up through the same point you brought it up to begin the second stitch. Next, take it back down the middle of the arm the same distance away as the length of the other stitches, which is about 3 more stitches over on the arm (third stitch made). To begin the final stitch, bring your needle up through a point at the tip of the arm. Take it back down through the same point you went down to complete the third stitch (fourth stitch made).
- Repeat Steps 1 – 2 for the remaining arms of your starfish.
- Once you are satisfied with the lines on your starfish, weave in and secure your yarn on the back. You may wish to tie knots with the tails left in the center to make those extra secure. You also may wish to leave a few of the center tails hang loose if you are going to use them to tie your starfish on/to something.
***Once you finish weaving in all loose ends and securing your yarn on the back, your starfish appliqué is ready to enjoy!
TIP: Press the appliqué with an iron using a press cloth for protection to help it lay flat and keep its shape.

The pattern and photos of this item are the property of TheCrafterLife. This pattern and design are subject to copyright, and are for personal, non-commercial use only. You may not distribute, sell this pattern, or claim it as your own under any circumstances.
You may not sell my patterns or claim them as your own. You may make items to sell (i.e. on Etsy) from my patterns but I ask that you link back to my site and provide credit for the pattern. You are welcome to share my patterns on social media as long as you link back directly to my site by providing the link. No copying and pasting of any patterns will be allowed under any circumstances.

Mini Cupcake Mermaid Tail