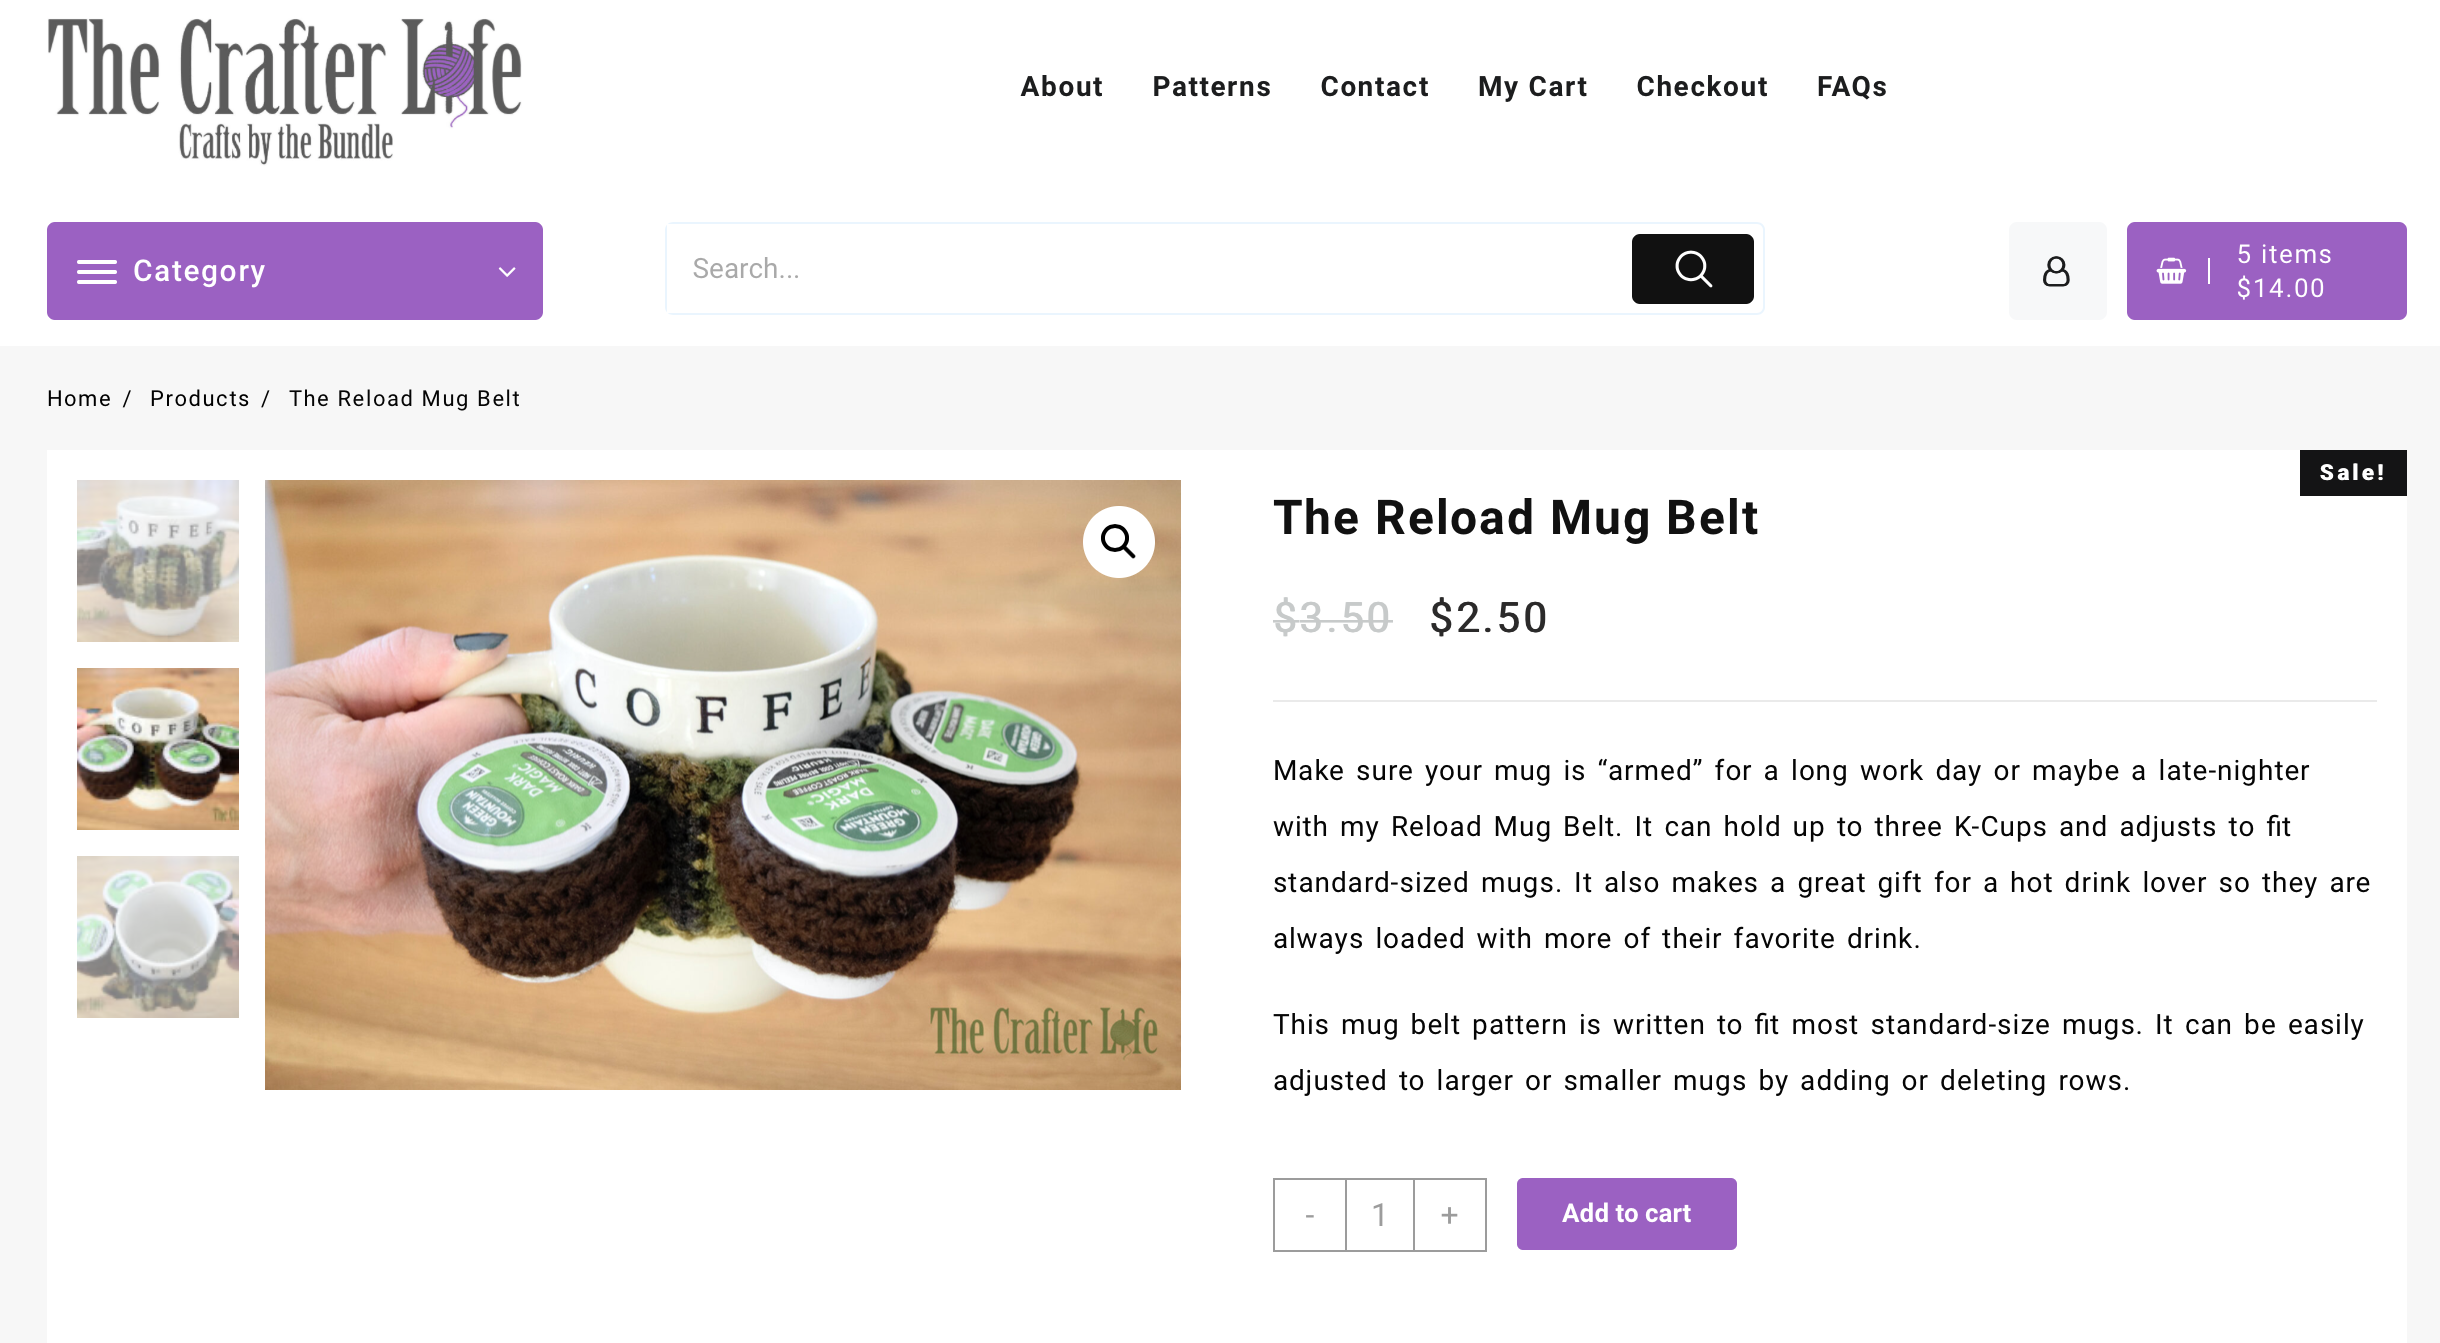
“The Reload” Mug Belt
Make sure your mug is “armed” for a long work day or maybe a late-nighter with my Reload Mug Belt. It can hold up to three K-Cups and adjusts to fit standard-sized mugs. It also makes a great gift for a hot drink lover so they are always loaded with more of their favorite drink. If you are interested in making my Reload Mug Belt, see below for the crochet pattern.
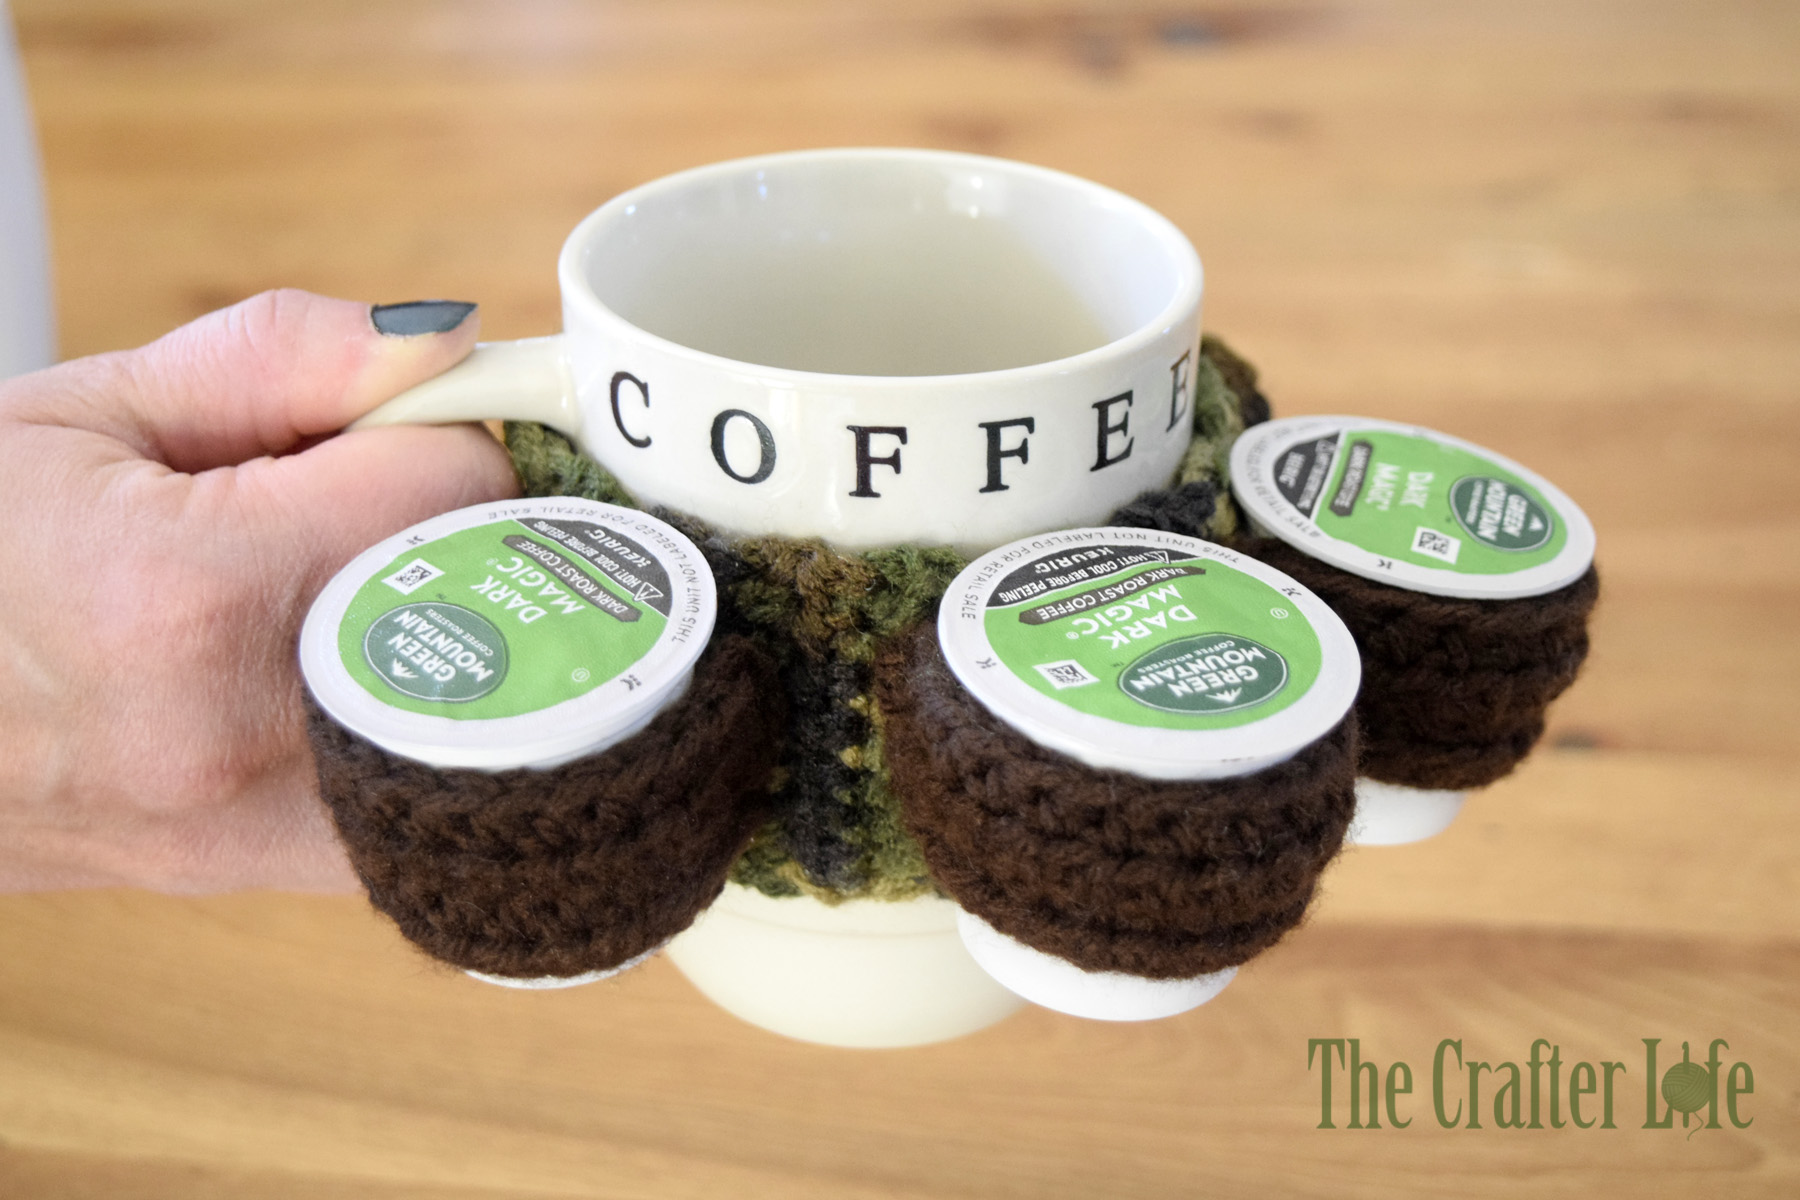
This mug belt pattern is written to fit most standard-size mugs. It can be easily adjusted to larger or smaller mugs by adding or deleting rows.

FINISHED MEASUREMENTS
The mug belt has a diameter of about 3½ inches and is about 2 inches tall. Each K-Cup holder is about 1¼ inches tall and can stretch to a diameter of about 2 inches.
MATERIALS
– Size H/8/5.00mm crochet hook or size needed to obtain gauge
– Worsted weight (4) acrylic yarn in Main Color (MC) Choice (I used Red Heart Super Saver yarn in Camo.)
– Worsted weight (4) acrylic yarn in K-Cup Holder Color (KC) Choice (I used Loops & Threads Impeccable yarn in Chocolate.)
– Scissors
– Tapestry/Sewing needle for weaving in ends and sewing K-Cup holders onto belt
– Measuring tape
– Stitch markers (Optional – if needed for counting/marking stitches)
ABBREVIATIONS
– ch = chain
– chs = chains
– hdc = half double crochet
– hdc2tog = half double crochet 2 together (half double crochet decrease)*
– slst = slip stitch
– sp = space
– st = stitch
– sts = stitches
– MC = Main Color
– KC = K-Cup Holder Color
* hdc2tog (hdc decrease): Yarn over, insert your hook under the first stitch, yarn over and pull up a loop (you should now have 3 loops on your hook). Then, yarn over and insert your hook under the next stitch, yarn over, and pull up a loop (you should now have 5 loops on your hook). With five loops now on your hook, yarn over and pull through all five loops.
GAUGE
4 hdc = 1 inch
3 rows of hdc = 1 inch
PATTERN NOTES
- The mug belt is made first in rows of half double crochet stitches. You can adjust the size of the sleeve by adding or deleting rows in order to fit larger or smaller mugs.
- The K-Cup holders are each made separately in rows of half double crochet stitches. They are then sewn onto the mug belt.
Buy an Ad-Free PDF HERE for $2.50
DIRECTIONS
Body of Mug Belt
*Use your 5.00 mm hook and MC worsted weight yarn.
*If your mug is larger or smaller than a standard-size mug, check the size of your mug belt as you work by wrapping the belt around your mug as it grows. Once it almost reaches entirely around, you want to begin the final decrease rows.
Row 1: Ch 10, hdc in 3rd ch from hook and in next 7 chs across. (8 hdc)
Row 2: Ch 1, turn, hdc in each st across. (8 hdc)
Row 3: Ch 9, turn, slst in 8th st over (this is actually the 1st hdc you made in Row 2). (9 ch, 1 slst; 10 total sts)
Row 4: Ch 1, turn, work 8 hdc in Ch-9 sp. (8 hdc)
Row 5: Ch 1, turn, hdc in each st across. (8 hdc)
Row 6: Ch 9, turn, slst in 8th st over (this is actually the 1st hdc you made in Row 5). (9 ch, 1 slst; 10 total sts)
Row 7: Ch 1, turn, work 8 hdc in Ch-9 sp. (8 hdc)
Row 8: Ch 1, turn, hdc in each st across. (8 hdc)
Row 9: Ch 9, turn, slst in 8th st over (this is actually the 1st hdc you made in Row 8). (9 ch, 1 slst; 10 total sts)
Row 10: Ch 1, turn, work 8 hdc in Ch-9 sp. (8 hdc)
Rows 11-33: Ch 1, turn, hdc in each st across. (8 hdc)
Row 34: Ch 1, turn, hdc2tog, hdc in next 4 sts, hdc2tog. (2 hdc2tog, 4 hdc; 6 total sts)
Rows 35-42: Ch 1, turn, hdc in each st across. (6 hdc)
Row 43: Ch 1, turn, hdc2tog, 2 hdc in next 2 sts, hdc2tog, fasten off, weave in loose ends. (2 hdc2tog, 4 hdc; 6 total sts)
K-Cup Holder (Make 3)
*Use your 5.00 mm hook and KC worsted weight yarn.
*It will make it easier to leave a long tail on the beginning slipknot so you can use it to sew that side of the holder to the mug belt.
Row 1: Ch 16, hdc in 3rd ch from hook and in next 13 chs across. (14 hdc)
Row 2: Ch 1, turn, hdc in each st across. (14 hdc)
Row 3: Ch 1, turn, 2 hdc in next st, hdc in next 12 sts, 2 hdc in last st. (16 hdc)
Row 4: Ch 1, turn, 2 hdc in next st, hdc in next 14 sts, 2 hdc in last st, fasten off, leaving long tail for sewing onto the mug belt. (18 hdc)
ASSEMBLY
* I attached the K-Cup holders while the mug belt was on the mug to make sure they ended up in the positions I wanted them in around the mug.
- Use your tapestry needle and the tails you left on the K-Cup holders to sew each holder in the middle of the mug belt so they are evenly spaced. Row 4 of each holder should be at the top and Row 1 should be at the bottom. If you left a long tail at the beginning slipknot of each holder, you can use that tail to sew the holder to the belt along that side of the holder. Then use the long tail you left at the end of the last row of the holder to sew the holder to the belt along that side of the holder. Only sew the holders down along their sides so the top and bottom is left open so a K-Cup can be inserted. You may want to position the mug belt on your mug to determine/mark where you want each holder placed. I separated each of my K-Cup holders by two rows on the mug belt. Each holder is about 3 rows wide. Once you are satisfied with the positioning of each holder, make sure to secure your yarn on the back of the mug belt when you are finished sewing.
- Attach your Reload Mug Belt to your mug, making sure the holders are on the outside and that they are upright (so Row 4 of each holder is at the top). The narrow end of the belt should be inserted through the first gap in the belt from the back to the front side. Then, it should be inserted down through the next gap. Finally, weave it back up through the last gap in the mug belt. Gently pull the narrow end of the belt so the mug belt fits securely on the mug.
*** After attaching the mug belt to your mug, you can now load it with your favorite K-Cups or maybe even your favorite drink condiments.
This pattern is property of TheCrafterLife.com
You may not sell my patterns or claim them as your own. You may make items to sell (i.e. on Etsy) from my patterns but I ask that you link back to my site (TheCrafterLife.com) and provide credit for the pattern. You are welcome to share my patterns on social media as long as you link back directly to my site by providing the link. No copying and pasting of any patterns will be allowed under any circumstances

Fried Egg Pan Protectors