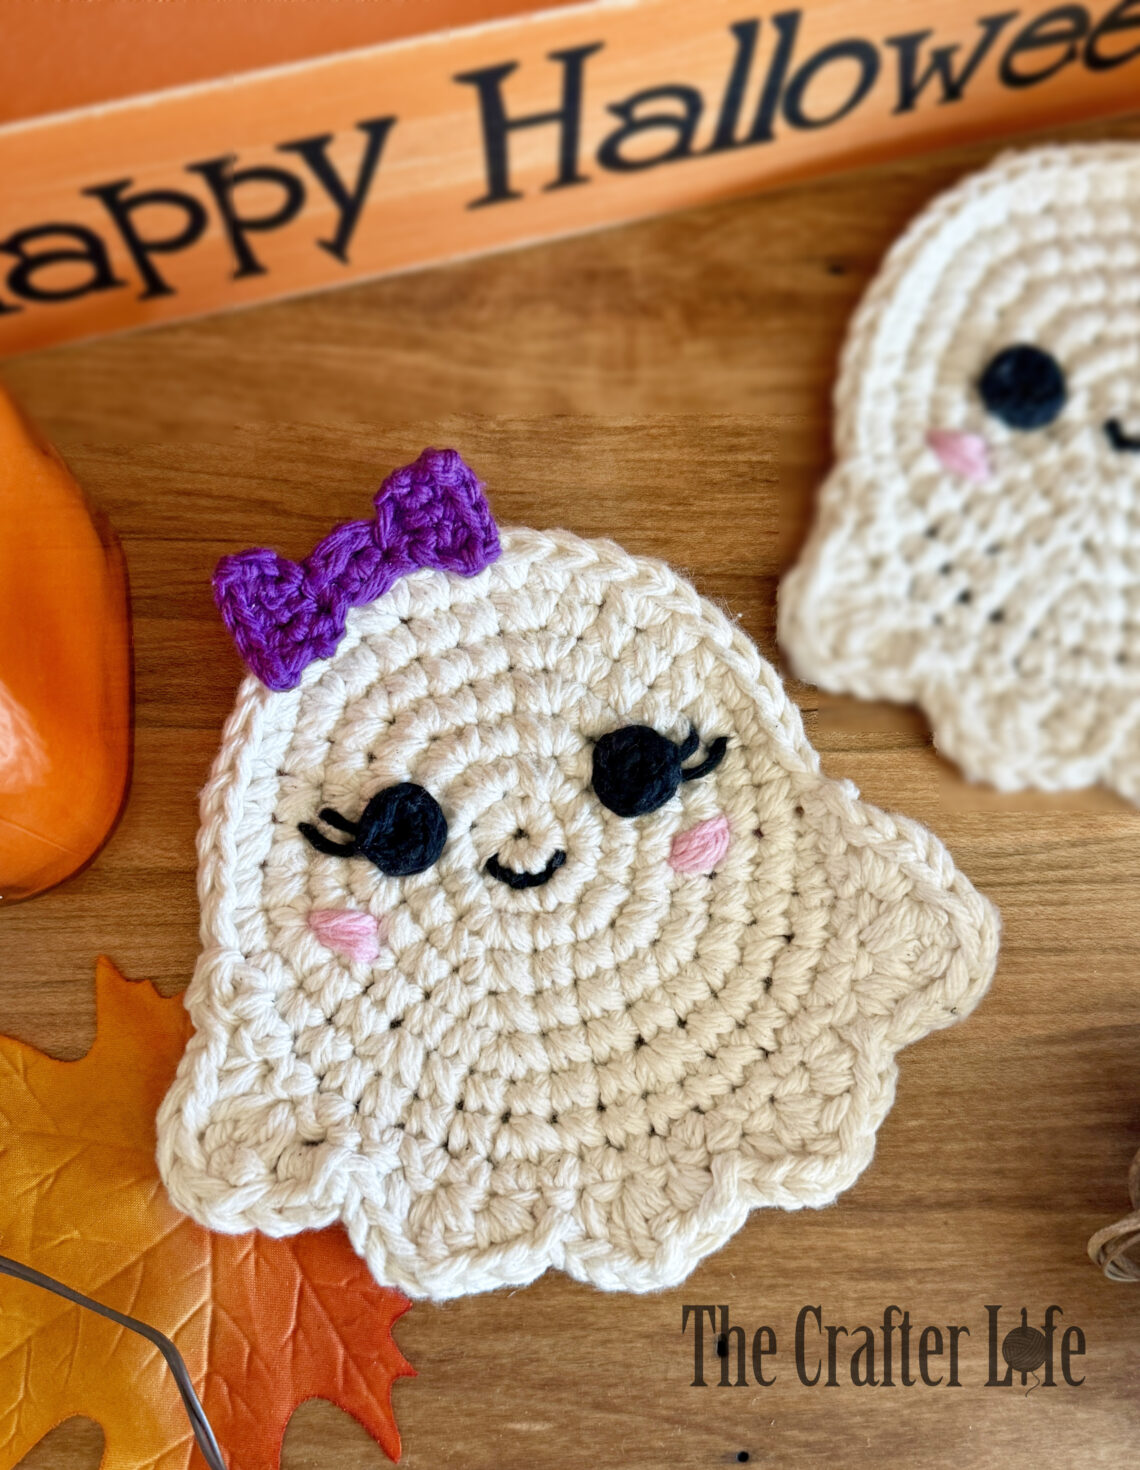
Boo Coaster
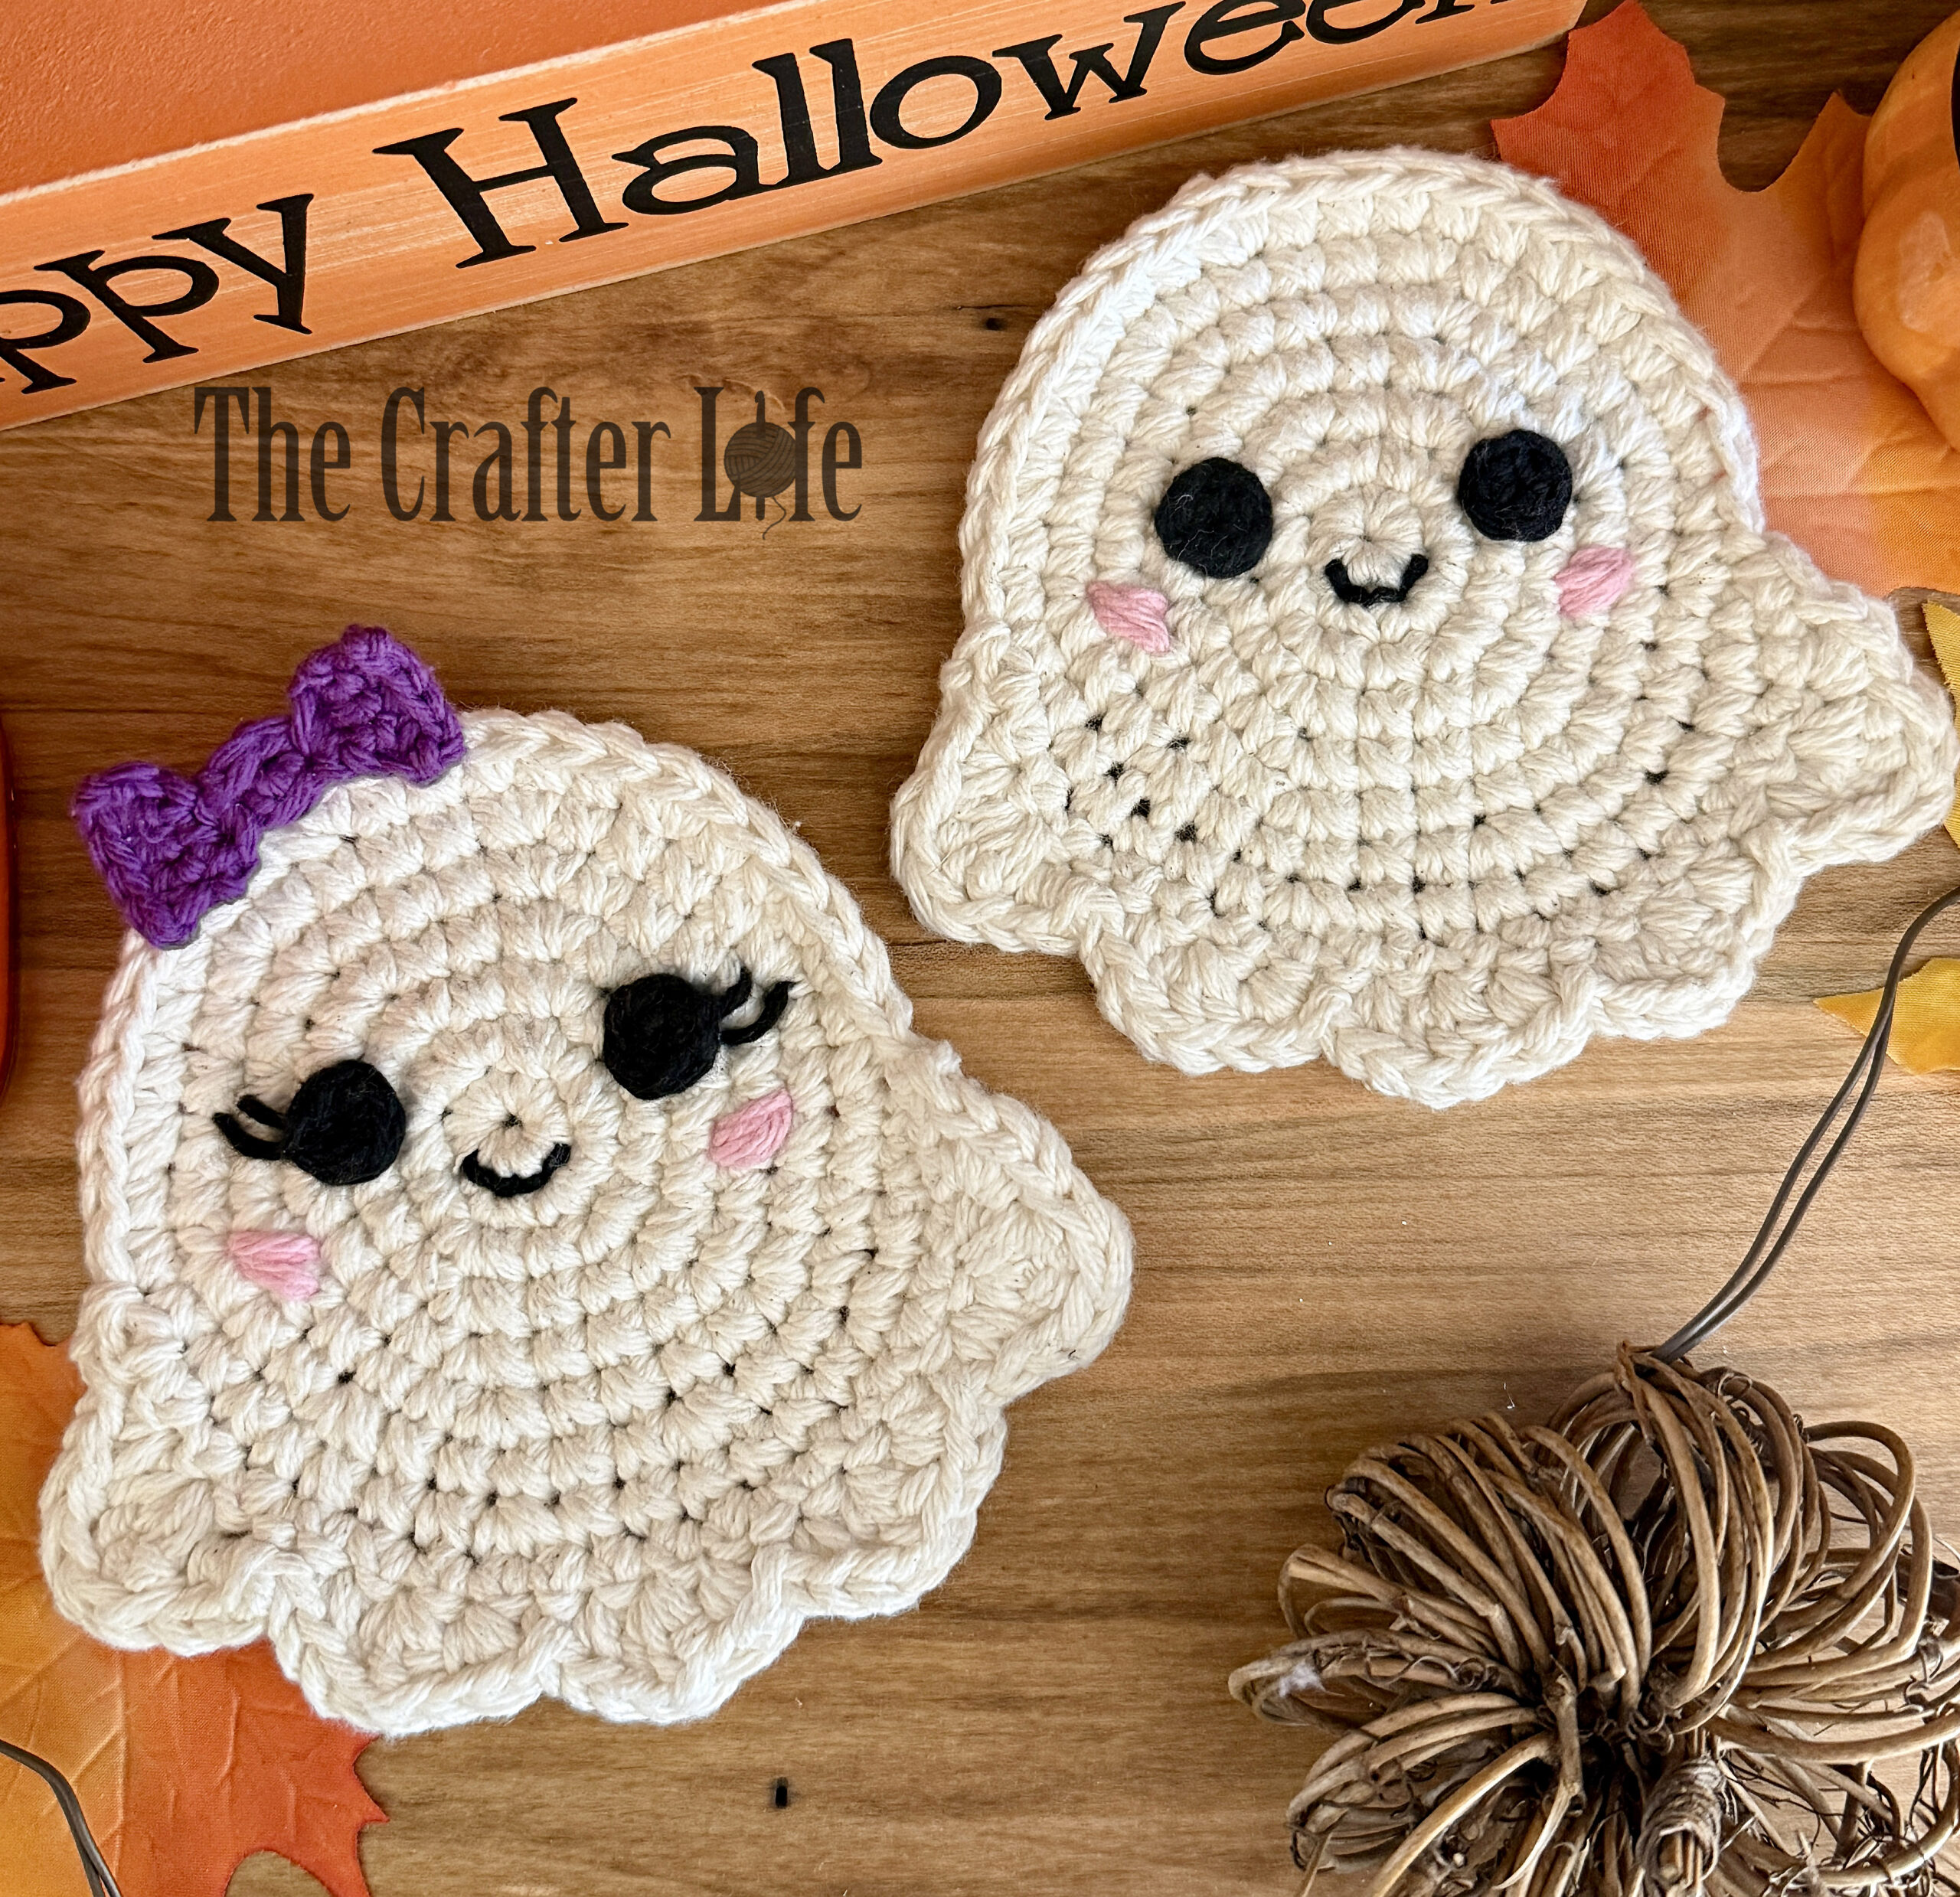
I decided to make my Ghoster “BOO-tiful” by adding some eyelashes and a bow! The Ghoster and his new Boo make an adorable coaster set together. See below for the directions on how to make the eyelashes and bow to add to your Ghoster.
Eyelashes
Use your tapestry needle and a strand of black cotton yarn (the same yarn you used to make each eye) to create 2 eyelashes on each eye. Use a separate strand of yarn for each eye. Create the eyelashes for each eye by first bringing your needle up (from the back of the work to the front) and under the outer side of an eye. Then bring your needle over in the direction of the outer side of the Ghoster at a slightly upward angle and back down through the work where you would want the eyelash to end. Do another stitch like this one more time, slightly above the last stitch and a little shorter. The eyelashes on my Ghoster are about midway down the eye, with the bottom lash overlapping about 1.5 rounds (Round 5 and half of Round 6) and the top lash overlapping one round (Round 5). Once you have stitched on the eyelashes of each eye, secure your yarn on the back of the work.
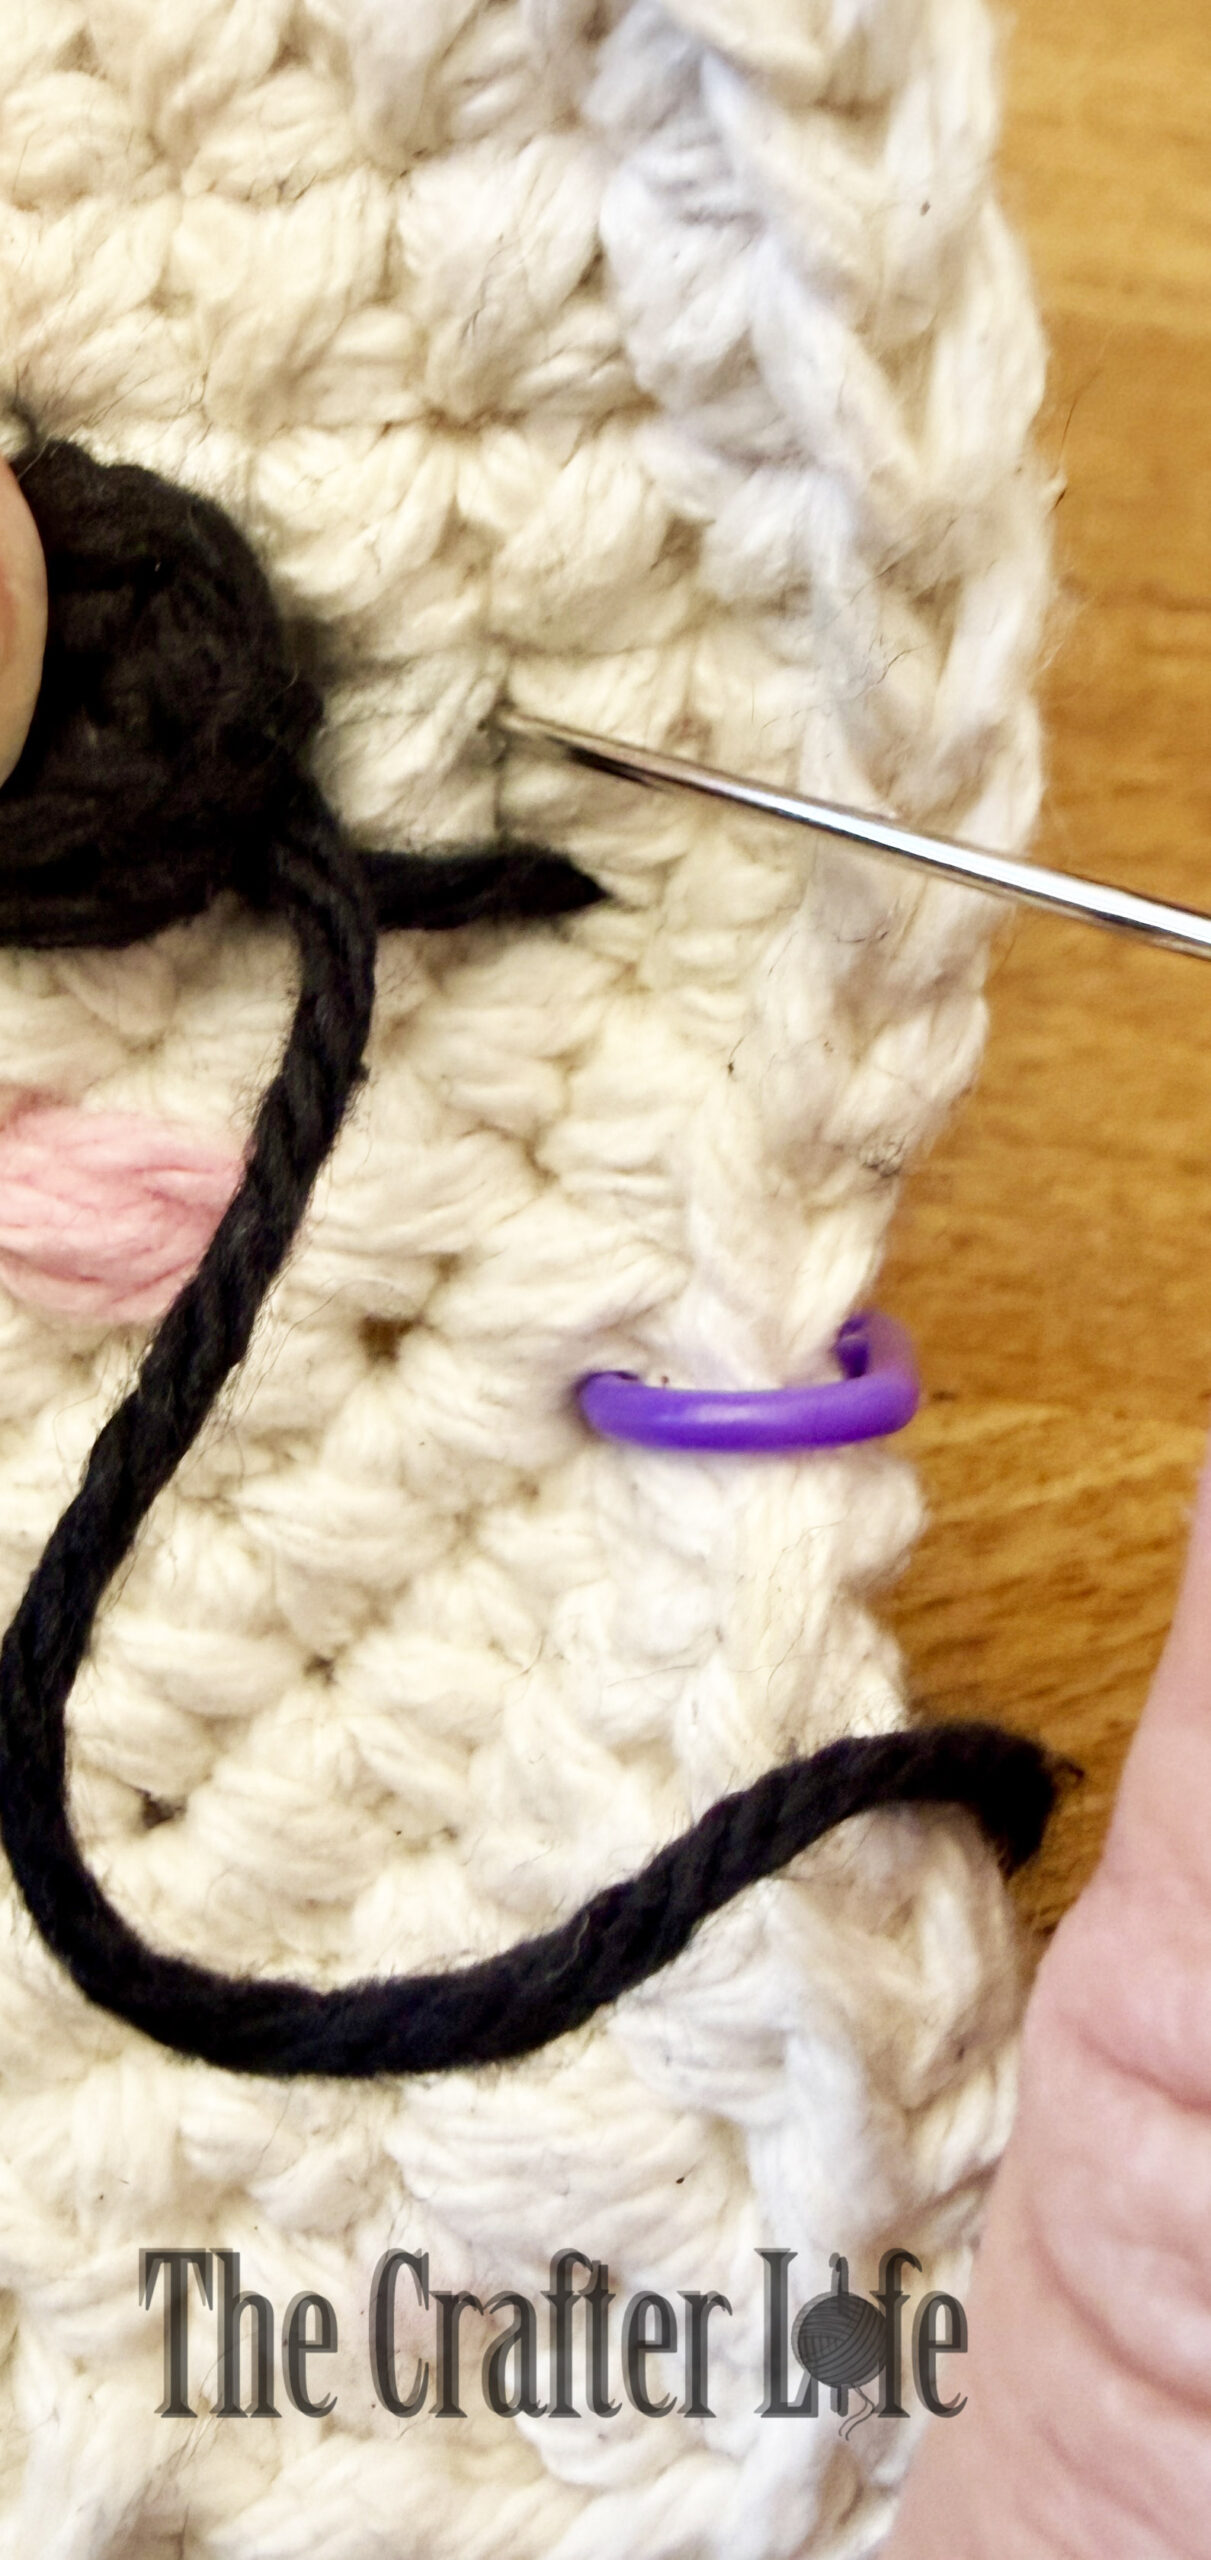
***Once you have finished the eyelashes, follow the directions below to make the bow.
Bow
*Use your 3.75 mm hook and purple (or your choice)cotton yarn to complete the bow. (I used Lily Sugar ‘n Cream yarn in Black Currant.)
*Leave a longer tail at the beginning of the magic ring so you can use it to sew the bow to the ghoster later. Close the magic ring and weave in tail at the beginning, but leave the tail hang loose (don’t cut it).
Round 1: Form a magic ring, ch 1, work 4 sc in ring, pull ring closed, slst in first sc. (4 sc)
***The two ends of the bow are worked separately off of Round 1 in rows. The directions for the first end of the bow are below and identified as Round 2A. Keep yarn on the hook after Round 1 to work Round 2A.
Round 2A (Row 1): Ch 1, work 2 sc in first st. (2 sc)
Round 2A (Row 2): Ch 1, turn, 2 sc in each st across. (4 sc)
Round 2A (Row 3): Ch 1, turn, sc in each st across, fasten off, and weave in the loose end. (4 sc)
***Leave a longer tail at the beginning when you attach your yarn to the 4th stitch of Round 1 so you can use it to sew the bow to the ghoster later.
Round 2B (Row 1): Attach yarn to the 4th stitch of Round 1, ch 1, work 2 sc in same st (4th st of Round 1).
Round 2B (Row 2): Ch 1, turn, 2 sc in each st across. (4 sc)
Round 2B (Row 3): Ch 1, turn, sc in each st across, fasten off, weave in the loose end but don’t weave in the beginning tail when you attached the yarn in Round 2B, Row 1. (4 sc)
Attaching the Bow
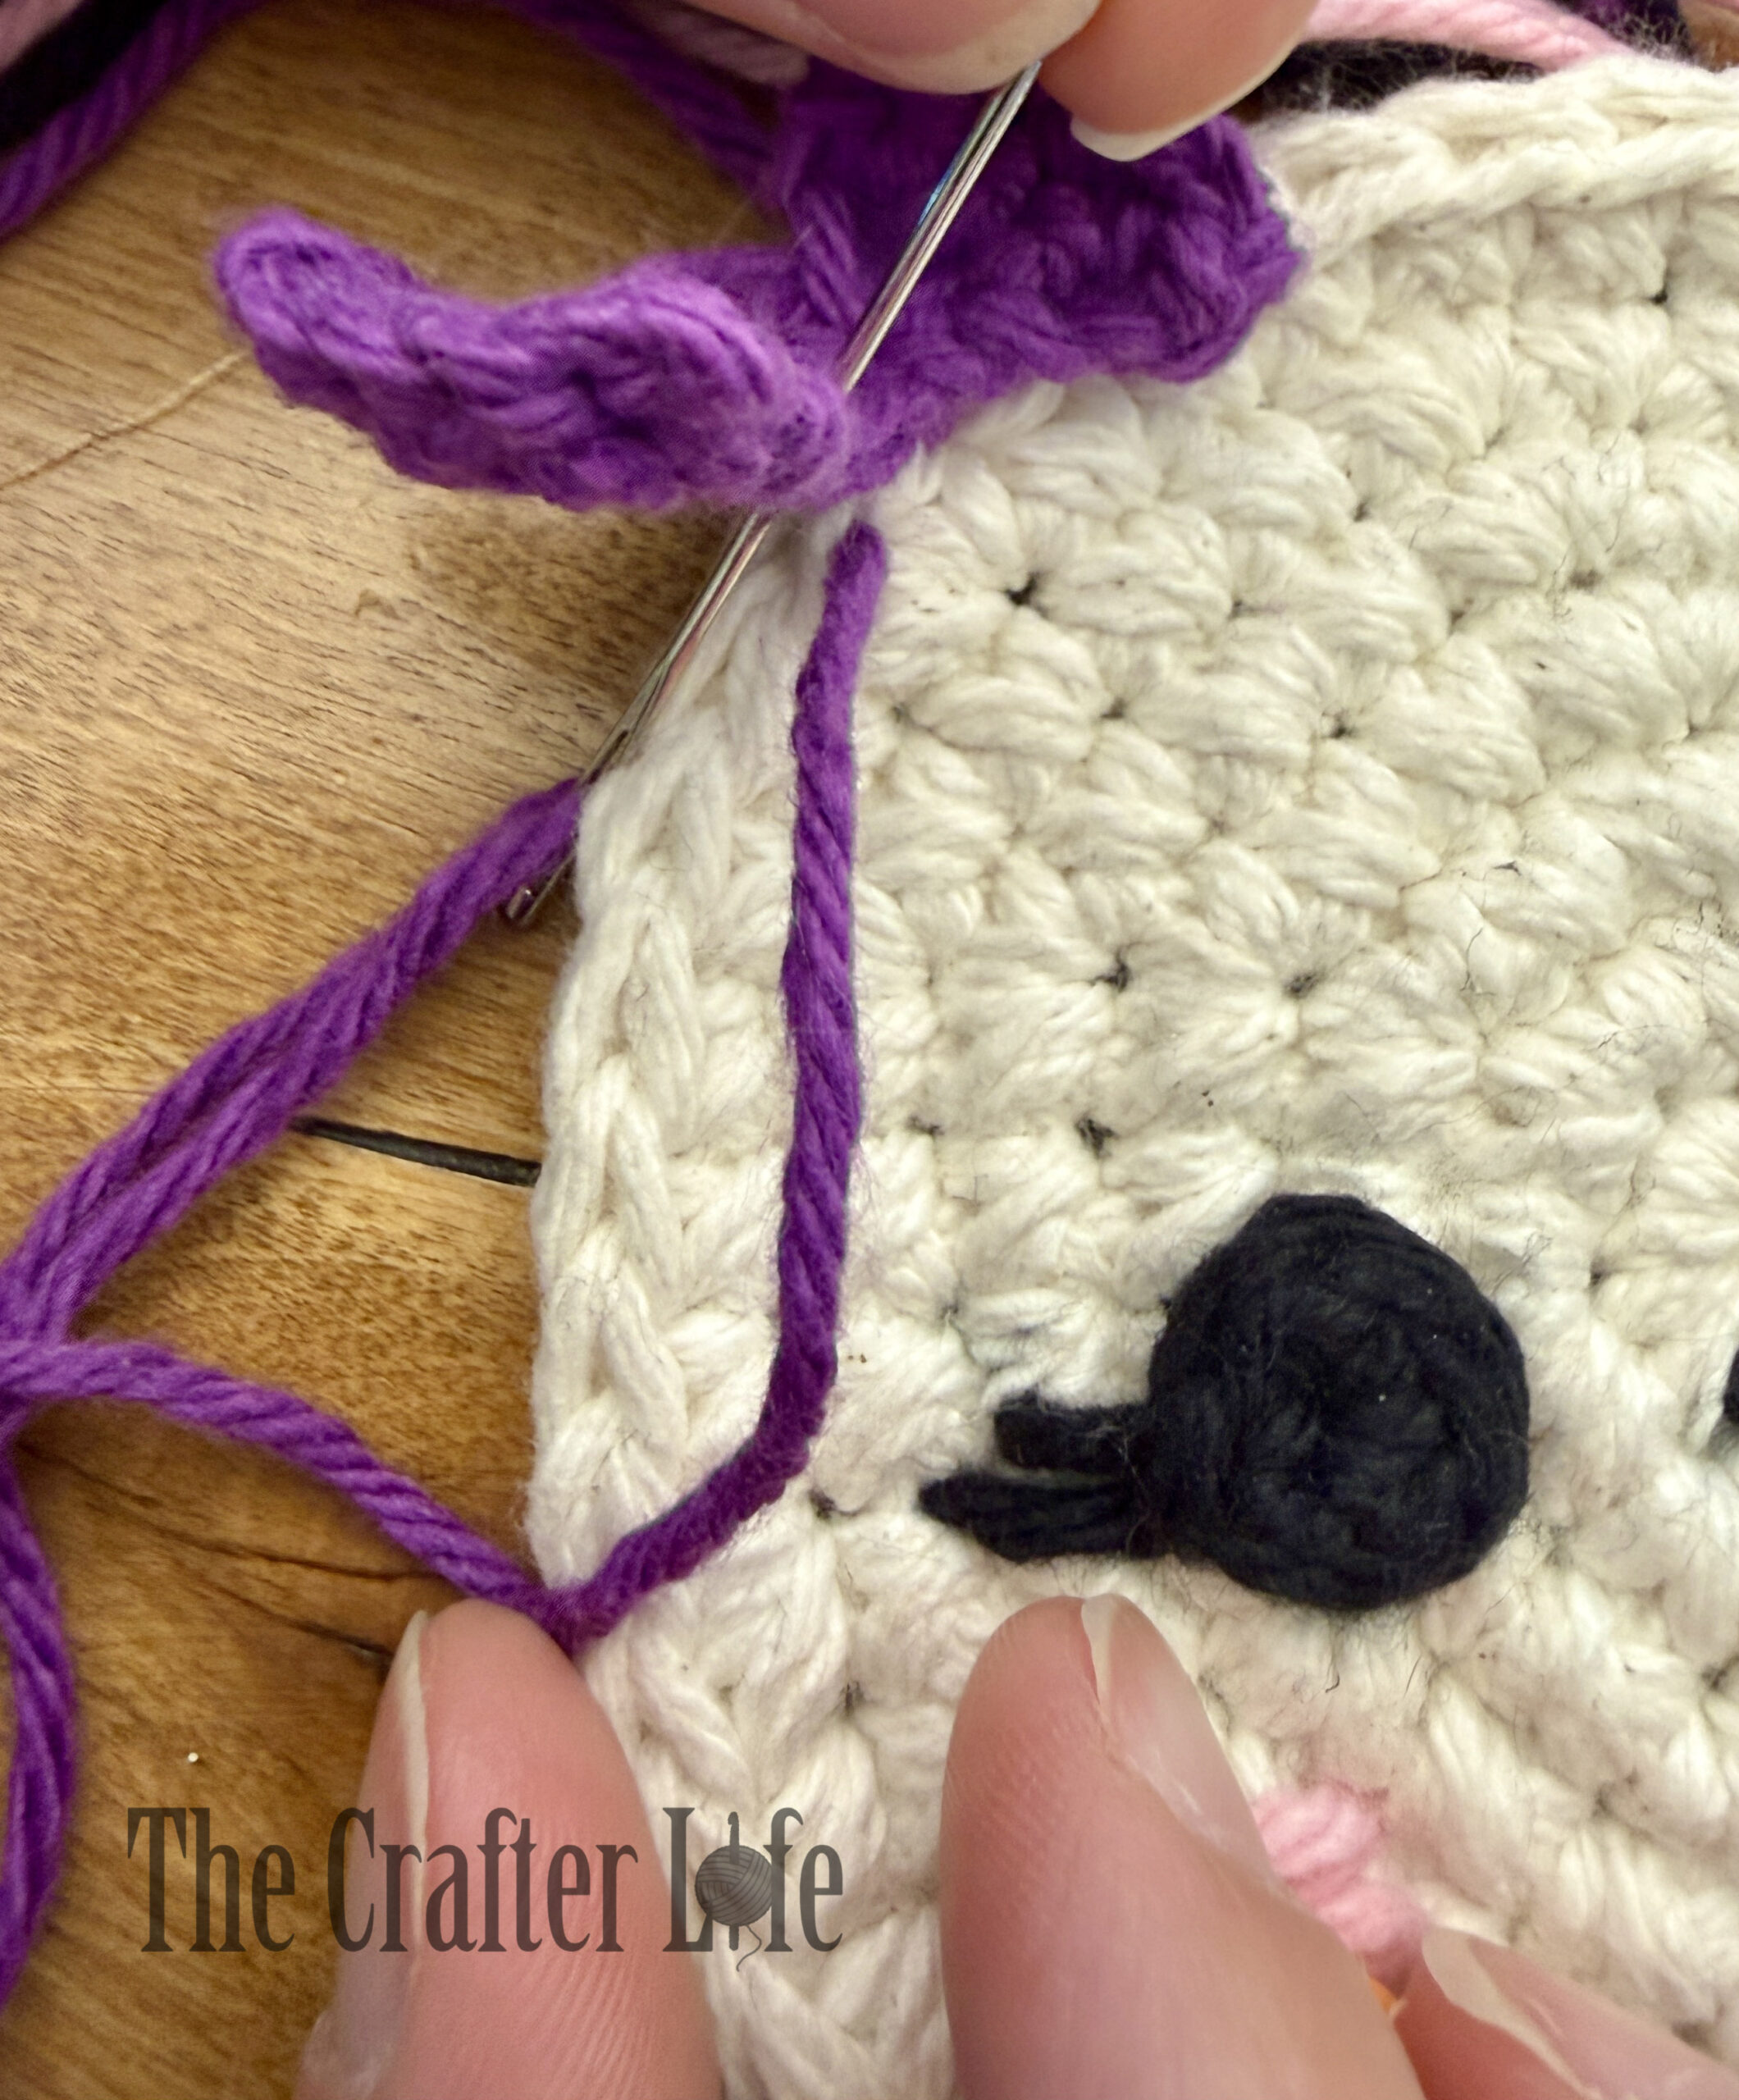
Position your bow where you would like it on top of the ghoster. I attached the center of my bow on the 31st stitch of Round 7 of the ghoster. Use your tapestry needle and the two tails you left on the bow to sew the bow to the top of the ghoster. Each tail can be used to sew down their respective sides of the bow. Sew the bottom of the bow to the very top of the ghoster so the ghoster is still flat in the main section where you would sit a cup. Once you have finished sewing the bow, secure your yarn on the back of the ghoster.
Questions? Concerns? Please contact me at email CrafterLifeDesigner@gmail.com
This pattern is property of TheCrafterLife.comYou may not sell my patterns or claim them as your own. You may make items to sell (i.e. on Etsy) from my patterns but I ask that you link back to my site (TheCrafterLife.com) and provide credit for the pattern. You are welcome to share my patterns on social media as long as you link back directly to my site by providing the link. No copying and pasting of any patterns will be allowed under any circumstances.