Ornament Button-On Appliqué!
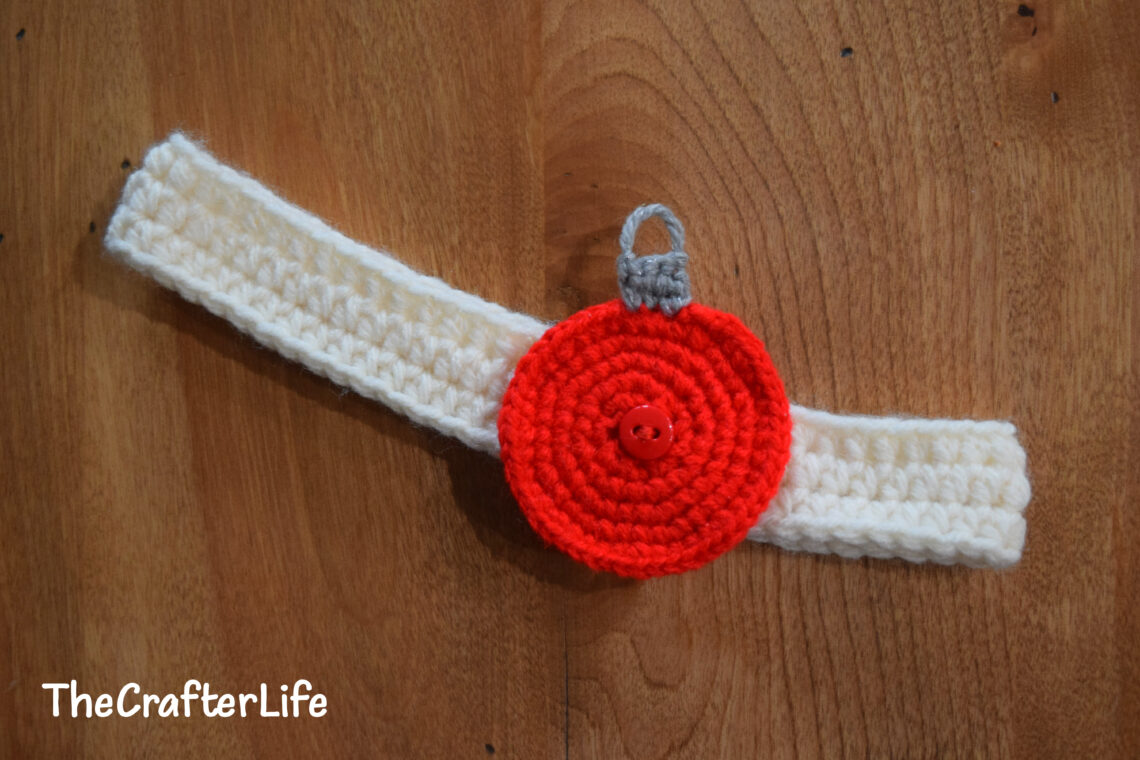
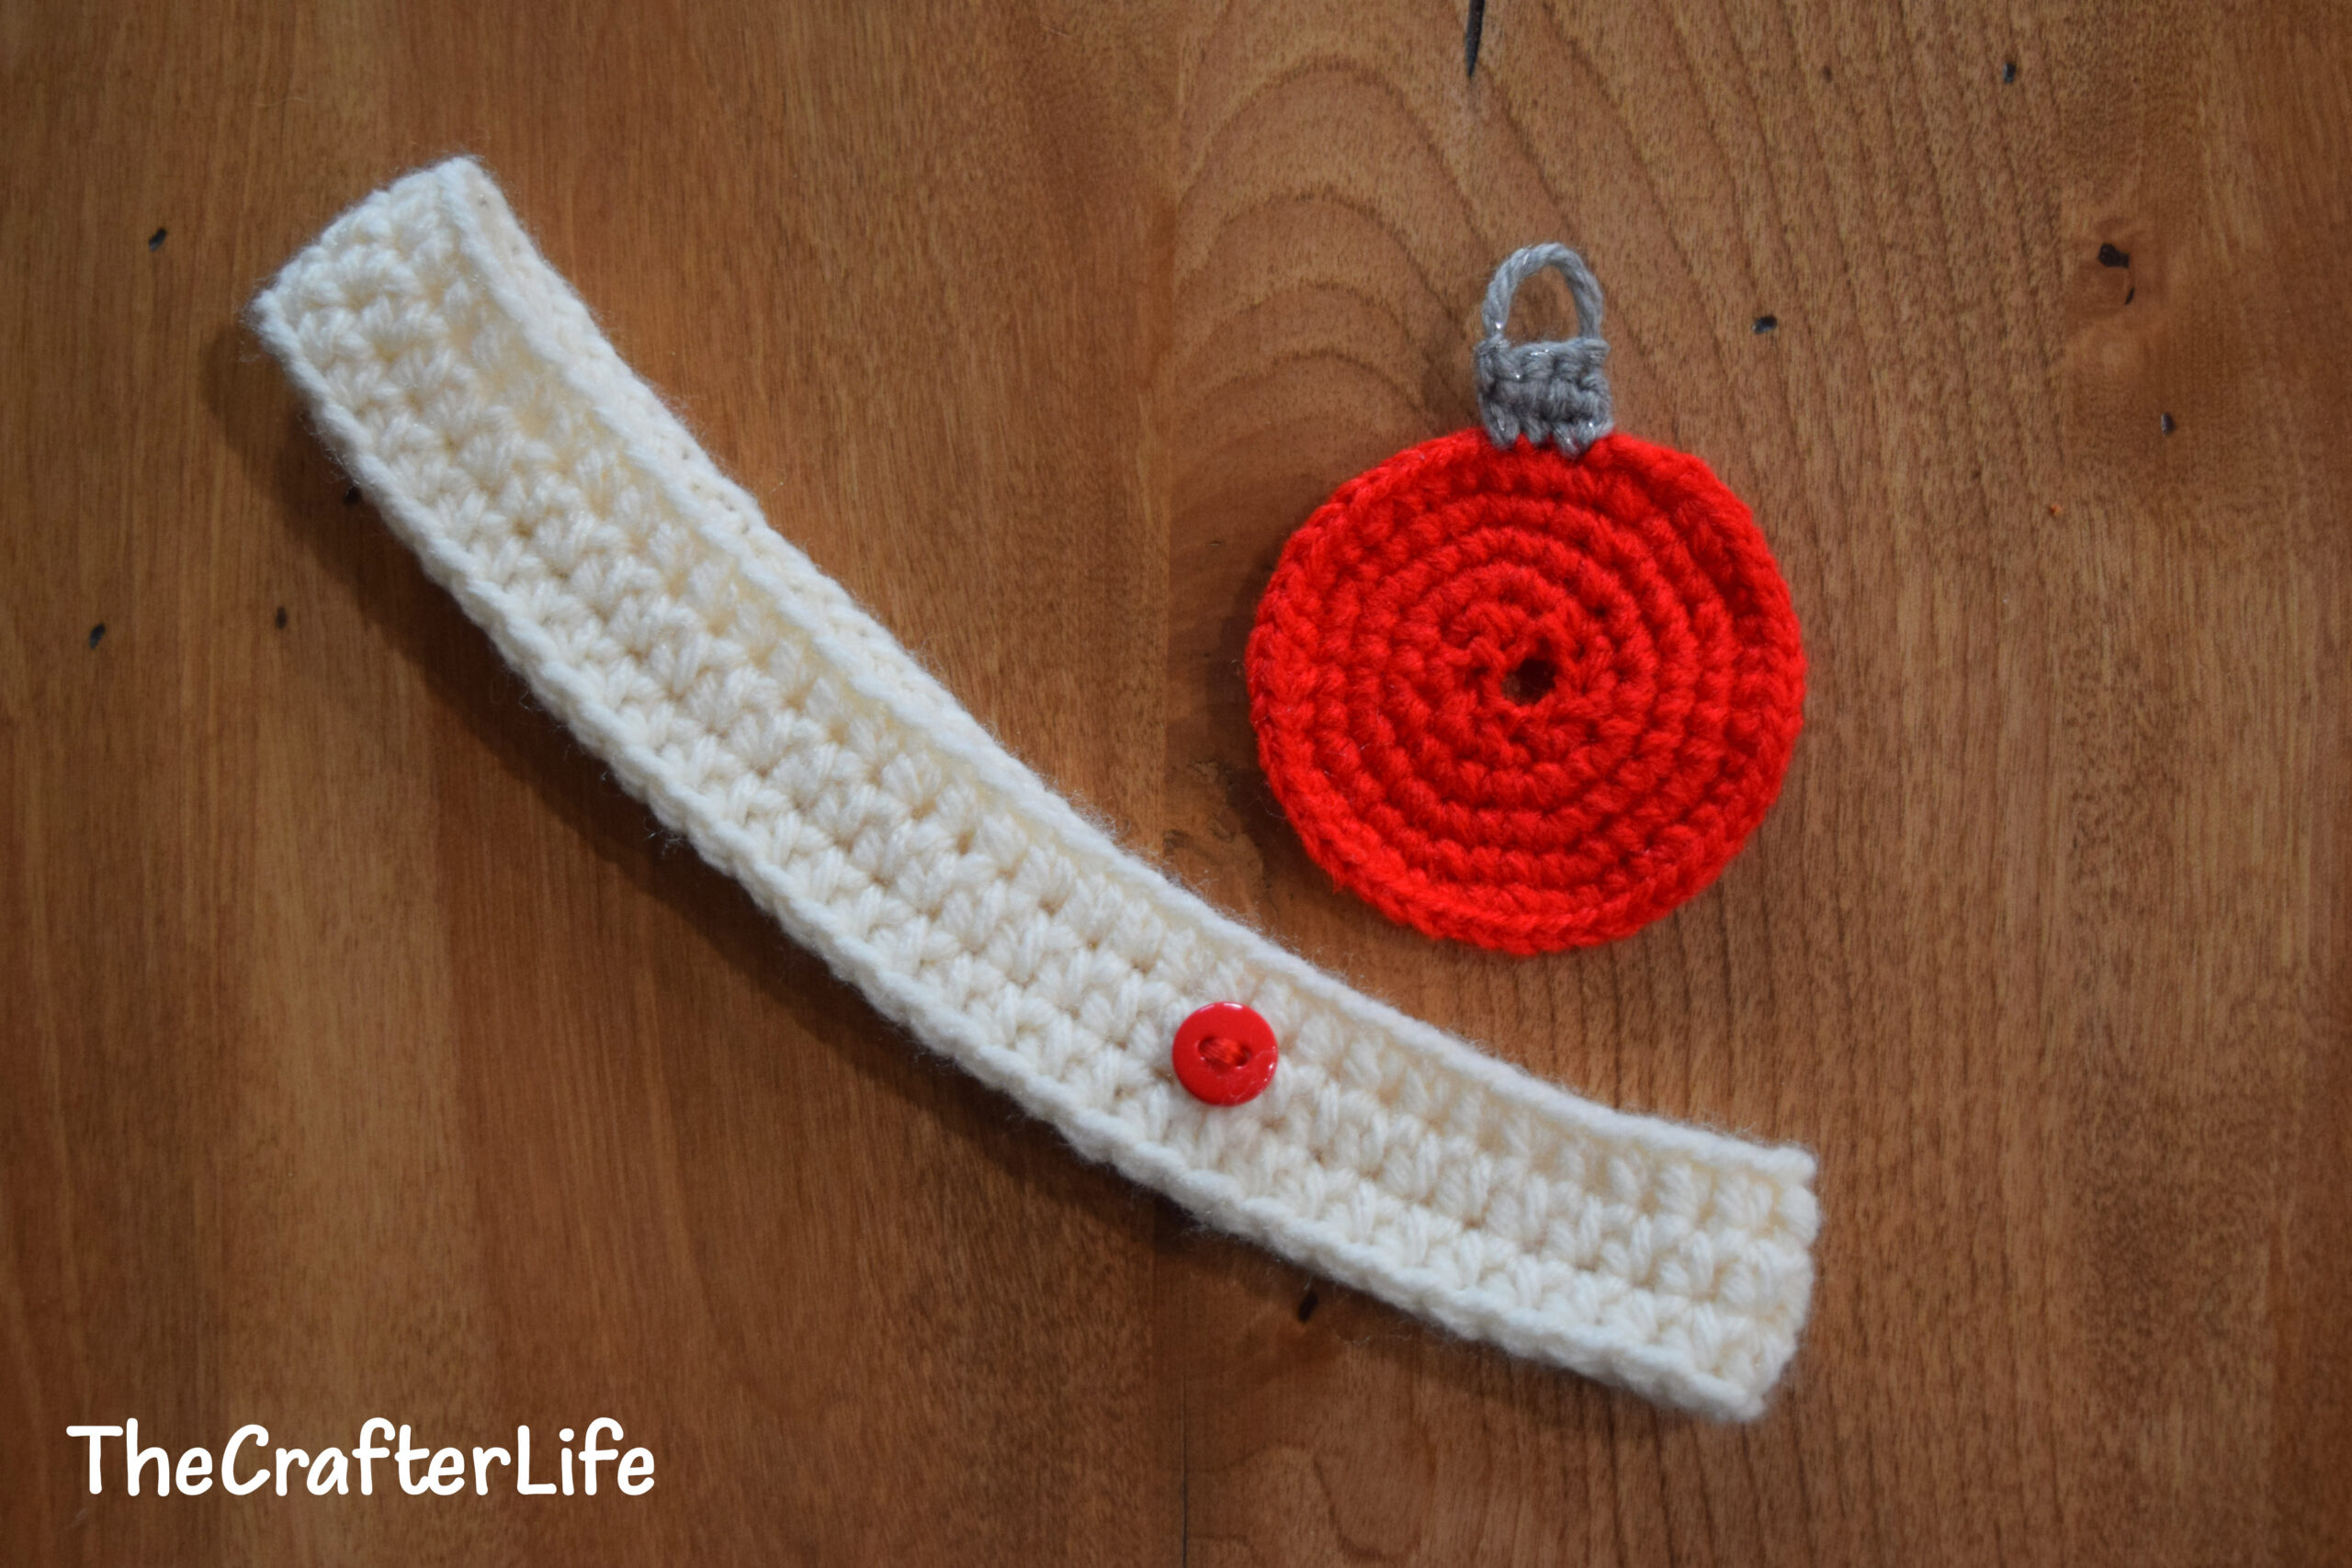
Decorate your next holiday crochet project with my Ornament Button-On Appliqué! Make it in any color you choose, or make a bunch in various colors to brighten up your project. Simply add a ½-inch button of the same color to your project and attach the ornament! See below for the ornament crochet pattern.

Ornament Button-On
This ornament button-on appliqué pattern is written to fit a standard ½-inch red (or your choice of color) button.
FINISHED MEASUREMENTS
The ornament button-on appliqué is about 3 inches tall (from top of loop to bottom of ornament) and 2¾ inches wide (diameter).
MATERIALS
– Size 3.00 mm crochet hook or size needed to obtain gauge
– Worsted weight (4) acrylic yarn in Red (I used Red Heart Super Saver yarn in Hot Red.)
– Worsted weight (4) acrylic yarn in Silver (I used Caron Simply Soft Party Yarn in Silver Sparkle.)
– Scissors
– Tapestry needle for weaving in ends
– Stitch markers
– Measuring tape
ABBREVIATIONS
– ch = chain
– chs = chains
– sc = single crochet
– slst = slip stitch
– st = stitch
– sts = stitches
GAUGE
3 rounds wide of sc = ½ inch
PATTERN NOTES
- The ornament button-on appliqué is made in continuous rounds. Do not join continuous rounds unless otherwise stated. Simply work the first stitch of each round in the first stitch of the previous round. Attach a stitch marker to mark rounds and move marker as you complete each round.
- Brackets [ ] indicate portions of the pattern to be repeated.
DIRECTIONS
Body of Ornament
*Use your 3.00 mm hook and red worsted weight yarn to complete the body of the ornament.
*The ornament body is worked in continuous rounds. Work first stitch of round in first stitch of previous round. Use a stitch marker if needed.
*In Round 1, make sure to work your single crochet stitches in the chain stitches and not in the ring.
Round 1: Ch 8, slst in first ch to form a ring, work 2 sc in each ch around. (16 sc)
Round 2: Repeat [sc in next st, 2 sc in next st] around. (24 sc)
Round 3: Repeat [sc in next 2 sts, 2 sc in next st] around. (32 sc)
Round 4: Repeat [sc in next 3 sts, 2 sc in next st] around. (40 sc)
Round 5: Sc in first st, 2 sc in next st, repeat [sc in next 4 sts, 2 sc in next st] 7 times, sc in last 3 sts. (48 sc)
Round 6: Slst in first st, fasten off and weave in loose ends.
- You should now have the main body of the ornament complete. Follow the directions below to add the top.
Top of Ornament
*Use your 3.00 mm hook and silver worsted weight yarn to complete the top of the ornament.
Attach your silver yarn to the 2nd stitch from Round 5 of the body of the ornament (this is the next stitch over from the slst you made in Round 6). Then follow the pattern below.
Row 1: Ch 1, sc in same st, sc in next 2 sts. (3 sc)
Row 2: Ch 1, turn, sc in each st across, do not fasten off, with your loop still on your hook, cut working end of yarn leaving a tail, then pull through the tail with your hook. (3 sc)
***You should now have a loose tail hanging from your last sc in Row 2. Use your tapestry needle to take the tail over to the other side of Row 2 and pull it down through the ch-1 at the beginning of Row 2 to create a loop at the top of the ornament. Once you adjust the loop to your desired size, create a knot where you pulled the tail down through the ch-1 of Row 2 in order to secure the loop in place. Once you have your loop secure, weave in the loose ends.
***Once you finish weaving in all loose ends, your ornament button-on appliqué is ready to be placed on a ½-inch button.

TIP: Press the appliqué with an iron using a press cloth for protection to help it lay flat and keep its shape.

Reindeer Button-On Appliqué