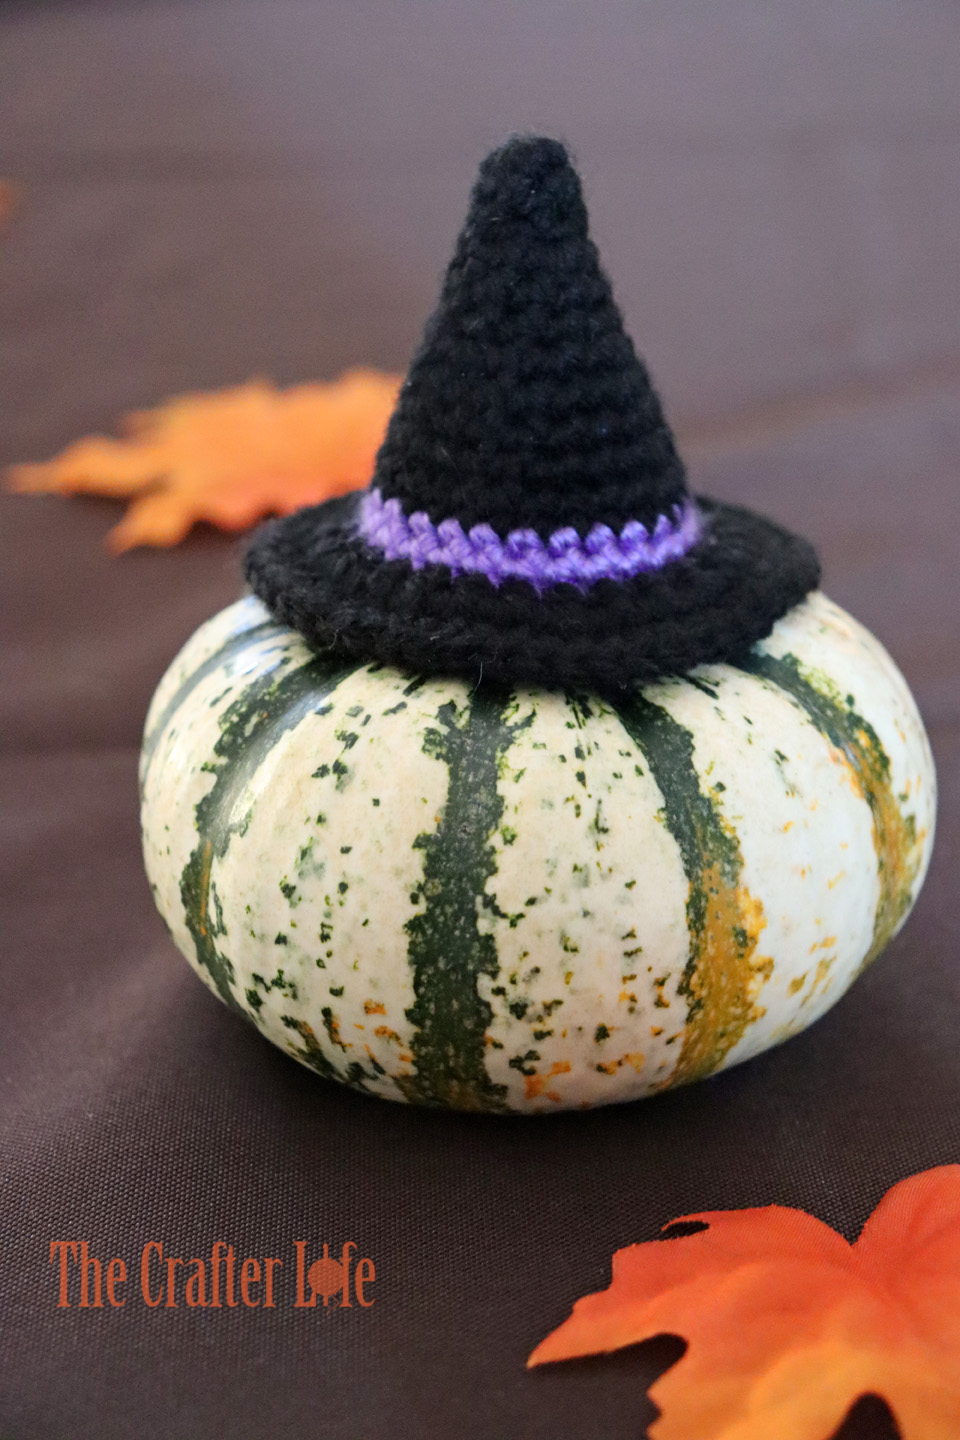
Banana Witch Hat
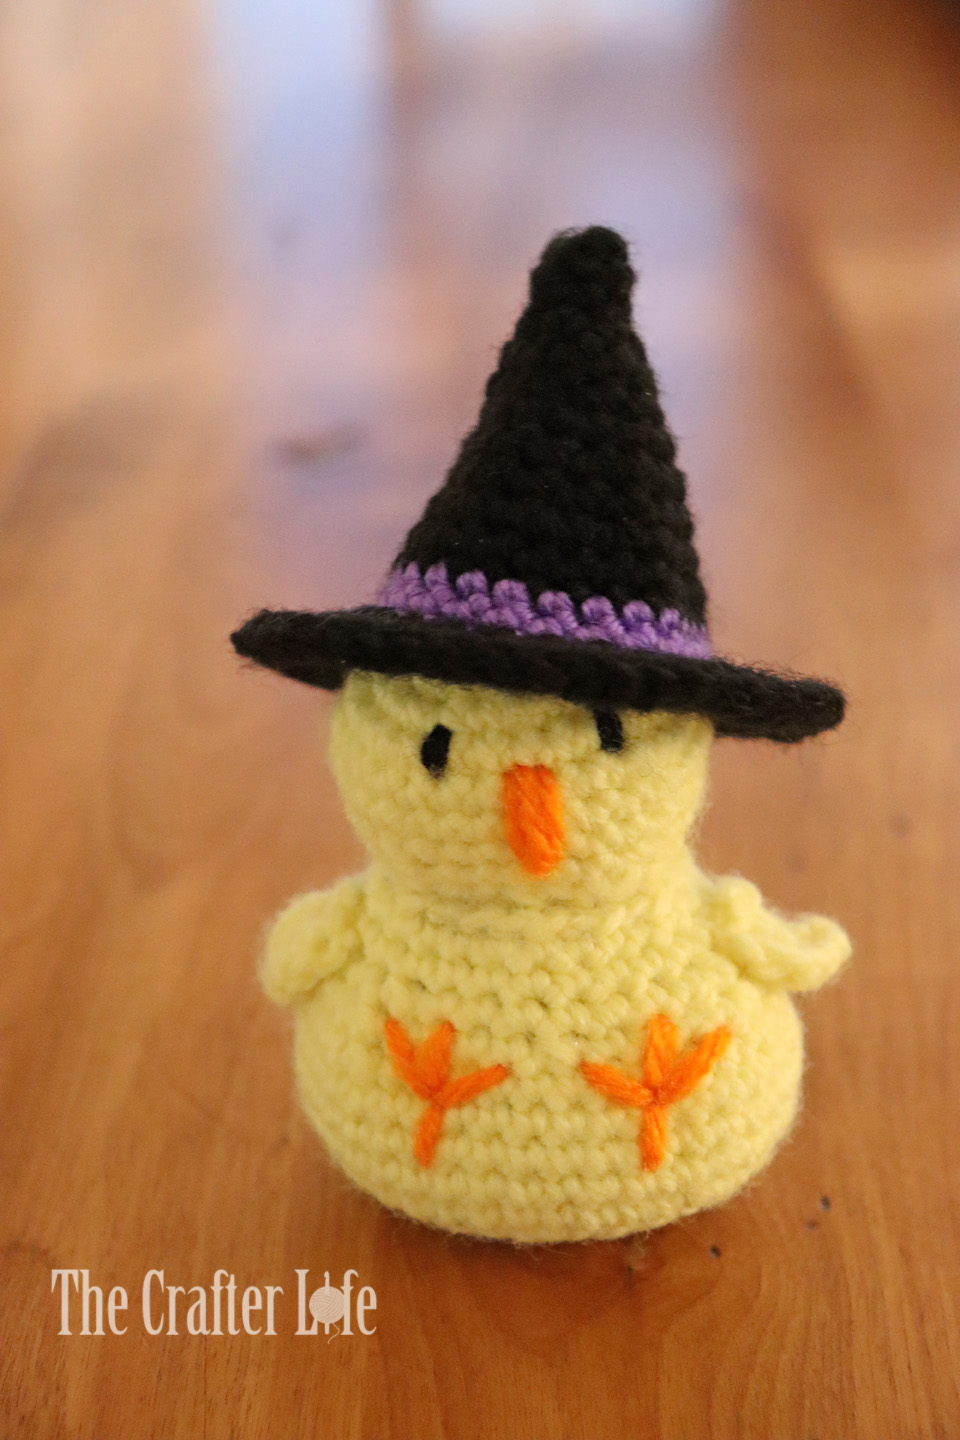
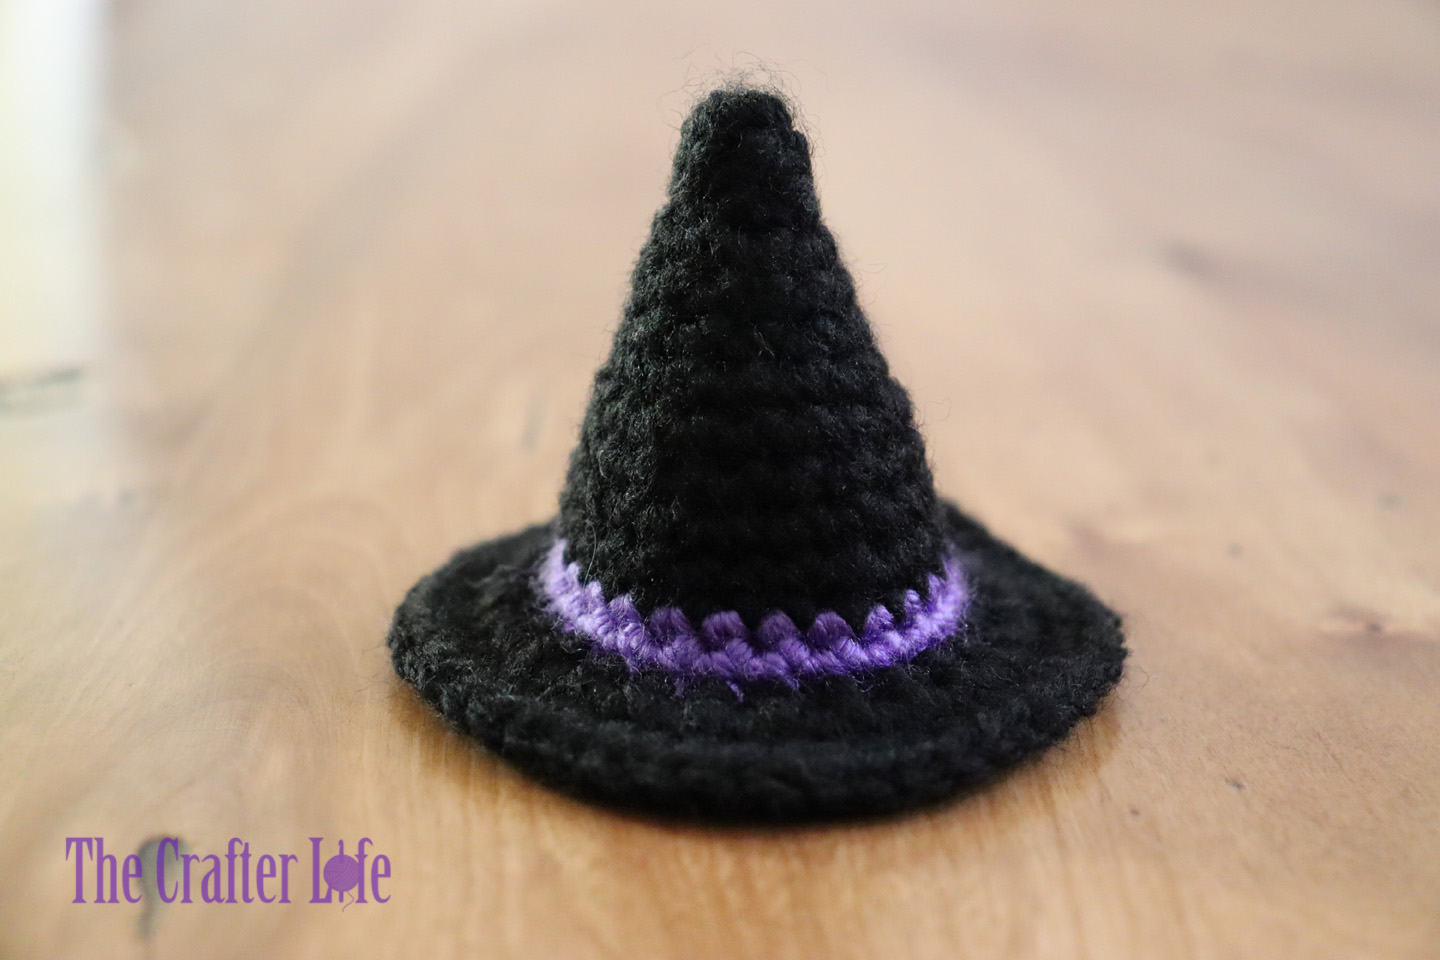
I recently learned about these cute “banana hats” that are supposed to help keep bananas fresher for longer. Most of them have a liner on the inside made of a material like silicone that fits tightly over the crown (where the stems connect) of the group of bananas. A cute knit or crochet hat is then placed over the silicone cap to make it more decorative. I thought I would make a witch banana hat for Halloween. It makes the perfect last-minute Halloween project because it works up quickly. It probably won’t work on its own as a banana saver, but at least it looks super cute! 😉 If you are looking to try it as a true banana saver, I would suggest wrapping the crown in plastic wrap and then placing the witch hat over top. Of course, it could also be used as a mini witch hat to place on other objects, small dolls, or stuffed animals for a fun touch of Halloween. I used it to dress up my Butterball Baby “Coops” the Chick – it fits him perfectly and looks really cute! The mini witch hats are great toppers for plastic bottles so you could make them in different colors and use them at a Halloween party as a fun way to identify everyone’s individual drinks!
FINISHED MEASUREMENTS
The witch hat is about 2¼ inches tall and 3 inches in diameter (across the bottom of the brim).
MATERIALS
– Size 4.00 mm crochet hook or size needed to obtain gauge
– Worsted weight (4) acrylic yarn in Main Color Choice (I used Red Heart Super Saver yarn in Black.)
– Worsted weight (4) acrylic yarn in Stripe Color Choice (I used Caron Simply Soft yarn in Grape.)
– Scissors
– Tapestry needle for weaving in ends
– Stitch markers
– Measuring tape
ABBREVIATIONS
– ch = chain
– chs = chains
– sc = single crochet
– slst = slip stitch
– st = stitch
– sts = stitches
GAUGE
6 sc = 1 inch
6 rounds of sc = 1 inch
PATTERN NOTES
- The hat is made with continuous rounds of single crochet stitches. Do not join continuous rounds unless otherwise stated. Simply work the first stitch of each round in the first stitch of the previous round. Attach a stitch marker to mark rounds and move marker as you complete each round.
- Brackets [ ] indicate portions of the pattern to be repeated.
DIRECTIONS
Witch Hat
*Use your 4.00 mm hook and main color worsted weight yarn to begin Round 1 of the hat.
*Make sure to pull the magic ring closed and weave in/secure end at closure at the beginning. Weave in other loose ends as your work. This is because it will be harder to do later once the hat gets larger/narrower.
Round 1: Make a magic ring, ch 1, work 6 sc in the ring, pull ring closed. (6 sc)
Rounds 2-3: Sc in each st around. (6 sc)
Round 4: Work 2 sc in each st around. (12 sc)
Rounds 5-6: Sc in each st around. (12 sc)
Round 7: Repeat [sc in next st, 2 sc in next st] around. (18 sc)
Rounds 8-9: Sc in each st around. (18 sc)
Round 10: Repeat [sc in next 2 sts, 2 sc in next st] around. (24 sc)
Round 11: Sc in each st around, slst in first st of round, fasten off and weave in loose ends. (24 sc)
Rounds 12-13 are completed in the stripe color.
Round 12: With stripe color, attach yarn to the last st (24th sc) of Round 11, ch 1, sc in same st (24th sc of Round 11), sc in next st (the first st of Round 11, which is the same st in which you worked the final slst), sc in next 22 sts. (24 sc)
Round 13: Sc in next 24 sts around, slst in back loop only of first st, fasten off, weave in loose ends. (24 sc)
Rounds 14-16 are completed in the main color. Each stitch of Round 14 is worked in the front loops only of the stitches from Round 13.
Round 14: With main color, attach yarn to the front loop only of the first st of Round 13 (same st in which you worked slst in back loop only), ch 1, sc in front loop only of the same st (st you attached yarn), sc in front loop only of next 23 sts around. (24 sc)
Round 15: Work 2 sc in each st around. (48 sc)
Round 16: Sc in each st around, slst in first st of round, fasten off and weave in loose ends. (48 sc)
***Your banana witch hat is finished and ready to place atop your bananas! Have fun coming up with other ways to use it for a festive and cute Halloween decoration!


Quick DIY Halloween Tree Topper