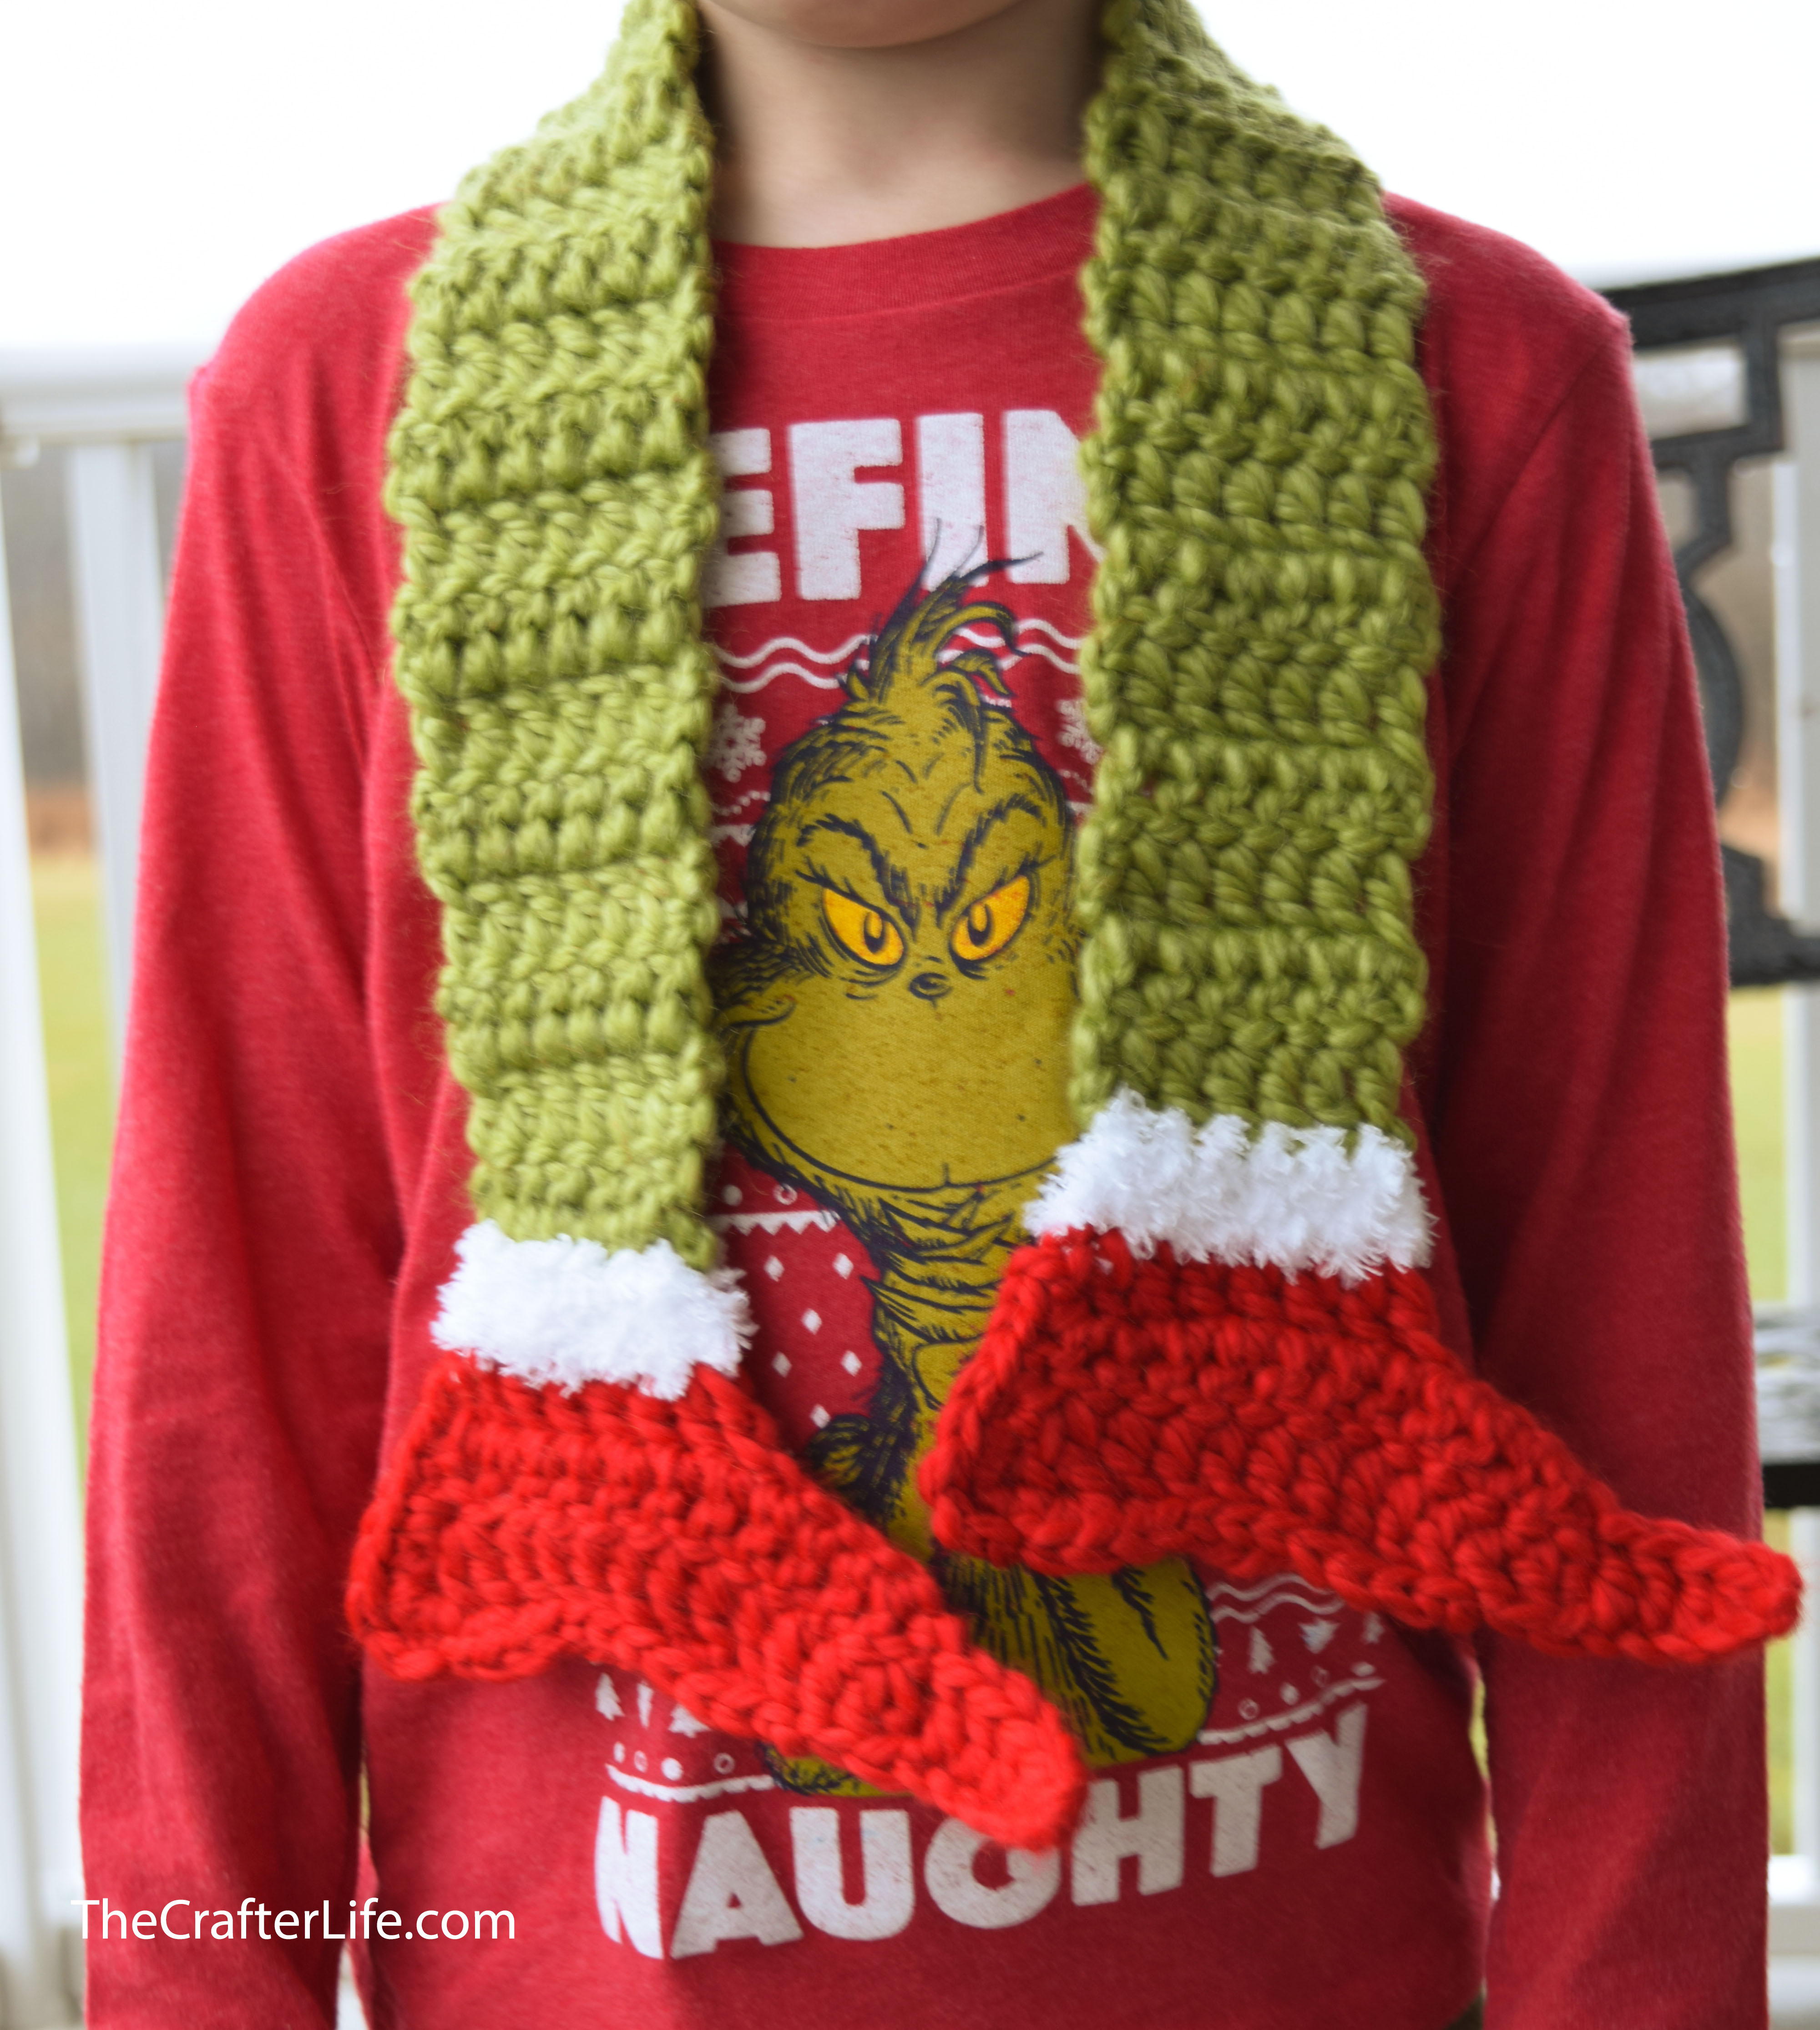
Tip-Toeing Christmas Legs Scarf
We are taking our kids to see the new Grinch movie this weekend. It will actually be the first time we all go to the theaters together as an entire family so we are excited! I made the kids these cute “tip-toeing” Christmas scarves to wear for the occasion. I happened to have some Loops & Threads Cozy wool yarn in Sweetgrass which I think is a perfect color. If you are looking for a last-minute project to make for the season, this one can be whipped up pretty quick since it is a bulkier yarn and there aren’t any alternating stripes as with my Elf Legs Scarf. Below are my patterns for an adult-size scarf and child-size scarf if you are interested in making one…or several!

Ad-Free, large-print PDF with detailed patterns written separately for Adult and Child-Size scarves that includes pictures and additional tips now available on Etsy
*******************************************
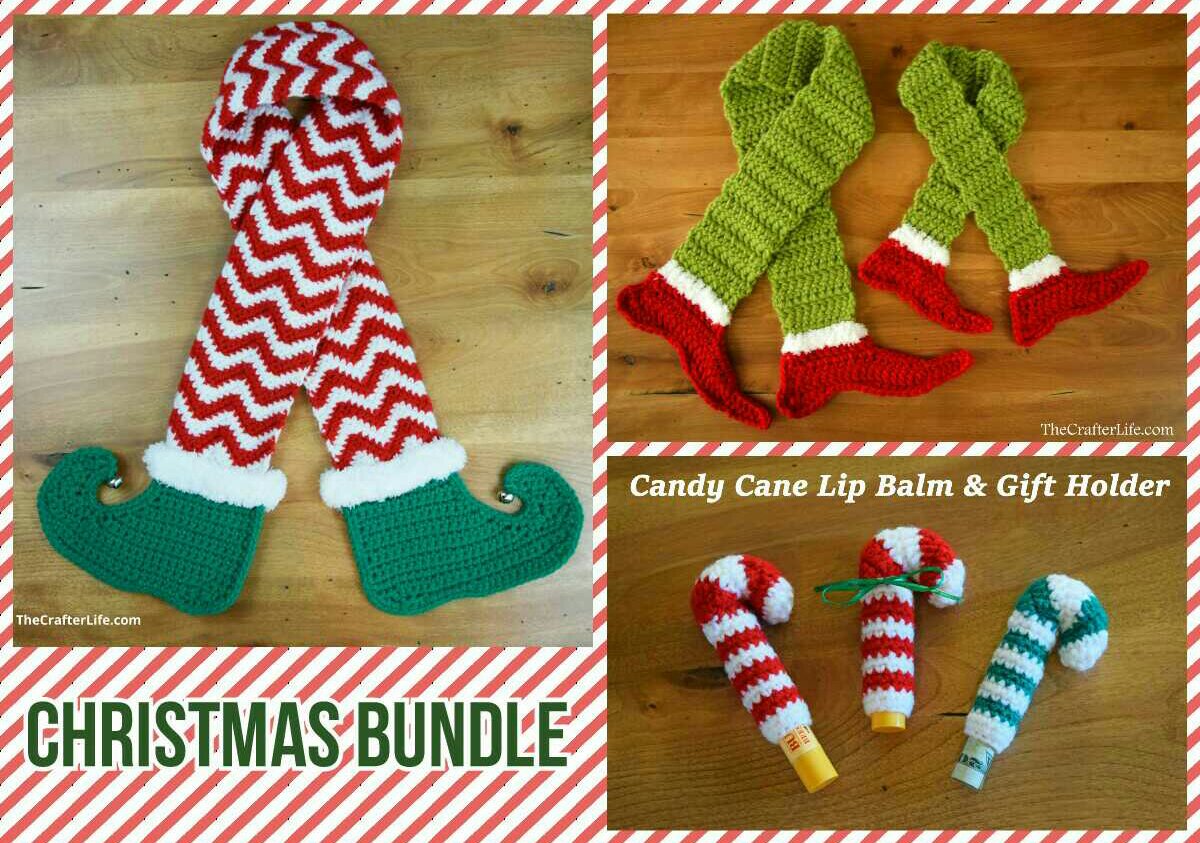
Limited time ONLY! Christmas Pattern Bundle available on Etsy!
*******************************************
FINISHED MEASUREMENTS
Total (Adult-Size) Scarf Measurements: Approximately 3¾ inches wide (green section) x 38 inches long (from bottom of shoe to bottom of opposite shoe)
Total (Child-Size) Scarf Measurements: Approximately 2½ inches wide (green section) x 31 inches long (from bottom of shoe to bottom of opposite shoe)
MATERIALS
– Size K/10.5/6.50mm crochet hook or size needed to obtain gauge
– Super Bulky weight (6) yarn in Green (I used Loops & Threads Cozy Wool yarn in Sweetgrass.)
– Super Bulky weight (6) yarn in Red (I used Loops & Threads yarn in Claret.)
– Bulky weight (5) fuzzy yarn in white (I used Bernat Pipsqueak yarn in Whitey White.)
– Scissors
– Tapestry needle for weaving in ends
– Stitch markers (Optional – if needed for counting/marking stitches)
– Measuring tape
*******************************************
Limited time ONLY! Christmas Pattern Bundle available on Etsy!
*******************************************
ABBREVIATIONS
– ch = chain
– chs = chains
– dc = double crochet
– hdc = half double crochet
– sc = single crochet
– slst = slip stitch
– st = stitch
– sts = stitches
GAUGE
5 dc = 2 inches
3 rows of dc = 2 inches
PATTERN NOTES
- Follow the same pattern directions for both an adult and child-size scarf. If you are making a child-size scarf, the modifications/changes needed are indicated in brackets: [ ]. If you are making an adult-size scarf, simply ignore the brackets.
- The green body of the scarf is made first. Leave the green tail from your beginning slip knot and the tail from fastening off at the end hang loose so you can use them as reference points when attaching the shoes.
- You can lengthen or shorten the scarf as needed by adding or deleting rows.
- The first double crochet stitch of each row is always done in the same stitch as the chain 2 unless otherwise stated (the chain-2 does not count as a stitch, so don’t skip the first stitch of the row).
DIRECTIONS
Modifications needed for child-size scarf are indicated in brackets: [ ]. Ignore the brackets if you are making an adult-size scarf.
Green Body of Scarf
Row 1: With your green super bulky weight yarn, ch 11[8], dc in 3rd ch from hook, dc in next 8[5] chs. (9[6] dc)
Rows 2-46 [2-36]: Ch 2, turn, dc in first st, dc in next 8[5] sts. (9[6] dc)
**At the end of Row 46[36] (the last row), fasten off.
***You should now have the green body of the scarf complete to your desired length. Next, we will attach the bulky weight white fuzzy yarn to the starting-chain end (Row 1) of the scarf to begin the cuff of the first shoe (Shoe 1). Follow the directions below.
Ad-Free, large-print PDF with detailed patterns written separately for Adult and Child-Size scarves that includes pictures and additional tips now available on Etsy
*******************************************
Limited time ONLY! Christmas Pattern Bundle available on Etsy!
*******************************************
Shoe 1
Cuff of Shoe
* Attach the bulky white fuzzy yarn to the side where the first chain was made for Row 1 of the green scarf body. The toe of the shoe will end up pointing to the same side as you attach your yarn to the scarf. After attaching your yarn, follow the directions for Row 1 below.
Row 1: With your white fuzzy yarn, ch 2, dc in the first ch, and in the next 8[5] chs across the edge of the scarf, fasten off after completing the last dc. (9[6] dc)
**Turn your work and attach your red super bulky weight yarn to the last dc completed with your white fuzzy yarn and then begin Row 2.
Row 2: With your red yarn, Ch 2, dc in first st, dc in next 7[4] sts, 2 dc in last st. (10[7] dc)
Row 3: Turn work, ch 8[6], dc in 3rd ch from hook and in next 5[3] chs, dc in next st (which is the last dc made in Row 2), dc in the next 9[6] sts across. (16[11] dc)
Row 4: Ch 2, turn, 2 dc in first st, dc in next 14[9] sts, 2 dc in next st, ch 8[6], sc in 2nd ch from hook, hdc in next ch, dc in next 5[3] chs, slst to the space created by the 7th/8th[5th/6th] chs and first dc made in Row 3, fasten off, weave in end. (23[16] dc, 1 sc, 1 hdc, 1 slst; total of 26[19] sts)
Row 5: After attaching your red yarn to the first st of Row 4 (on the heel side of shoe), ch 2[1], 2 dc[sc] in first st, 2 dc[sc] in next st, dc[sc] in next st, hdc[slst] in next st, sc[slst] in next st, slst in next 4[2] sts, sc in next 2 sts, hdc[slst] in next 2 sts, [fasten off and weave in end here for child size], sc in next 5 sts, slst in next 2 sts (which are the first two chains made from the ch-8 in Row 4), fasten off, weave in end. (5[0] dc, 3[0] hdc, 8[7] sc, 6 slst; total of 22[13] sts)
*You should now have the main shoe complete. Weave in any remaining loose ends and then follow the directions below for the edging on the heel side of the shoe.
Ad-Free, large-print PDF with detailed patterns written separately for Adult and Child-Size scarves that includes pictures and additional tips now available on Etsy
Shoe Finishing/Edging
We are only going to put a finishing trim on the heel side of the shoe. Attach your red yarn to the top corner of the heel side, ch 1, sc evenly down the side of the shoe. When you reach the corner at the heel, sc in the top ch (the 2nd[only] ch of the ch-2[1] at the start of Row 5), sc in the first st of Row 5, slst to second st of Row 5, fasten off and weave in loose ends.
**Shoe 1 is now complete. Follow the below directions to begin Shoe 2.
Shoe 2
***You need to decide which side of the scarf to attach the white fuzzy yarn for the cuff of Shoe 2. The toe of the shoe will point to whichever side you attach it. If you want the “tip-toe” effect as shown in the main picture where both shoes point in the same direction, you would attach it to the same side as you fastened off in Row 46[36]. If you made your scarf longer or shorter than 46[36] rows, it depends on if you have an even number or an odd number of rows. If you have an even number, you would attach it to the same side as you fastened off in your last row, but if you have an odd number of rows, it would be on the opposite side as you fastened off in your last row.
Cuff of Shoe
* Attach the bulky white fuzzy yarn to the side of the last row of your scarf where you want the toe of your shoe to point (if you have been following the exact pattern for the scarf shown in the main picture, it will be attached to the last stitch of Row 46[36]. The toe of the shoe will end up pointing to the same side as you attach your yarn to the scarf. After attaching your yarn, follow the same directions/pattern as you did for Shoe 1 starting at Row 1.
Once you have completed both shoes and tucked in all loose ends, your scarf is finished and ready to wear!
*******************************************
Limited time ONLY! Christmas Pattern Bundle available on Etsy!
*******************************************

The pattern and photos of this item are the property of TheCrafterLife. This pattern and design are subject to copyright, and are for personal, non-commercial use only. You may not distribute, sell this pattern, or claim it as your own under any circumstances.
You may not sell my patterns or claim them as your own. You may make items to sell (i.e. on Etsy) from my patterns but I ask that you link back to my site and provide credit for the pattern. You are welcome to share my patterns on social media as long as you link back directly to my site by providing the link. No copying and pasting of any patterns will be allowed under any circumstances.