

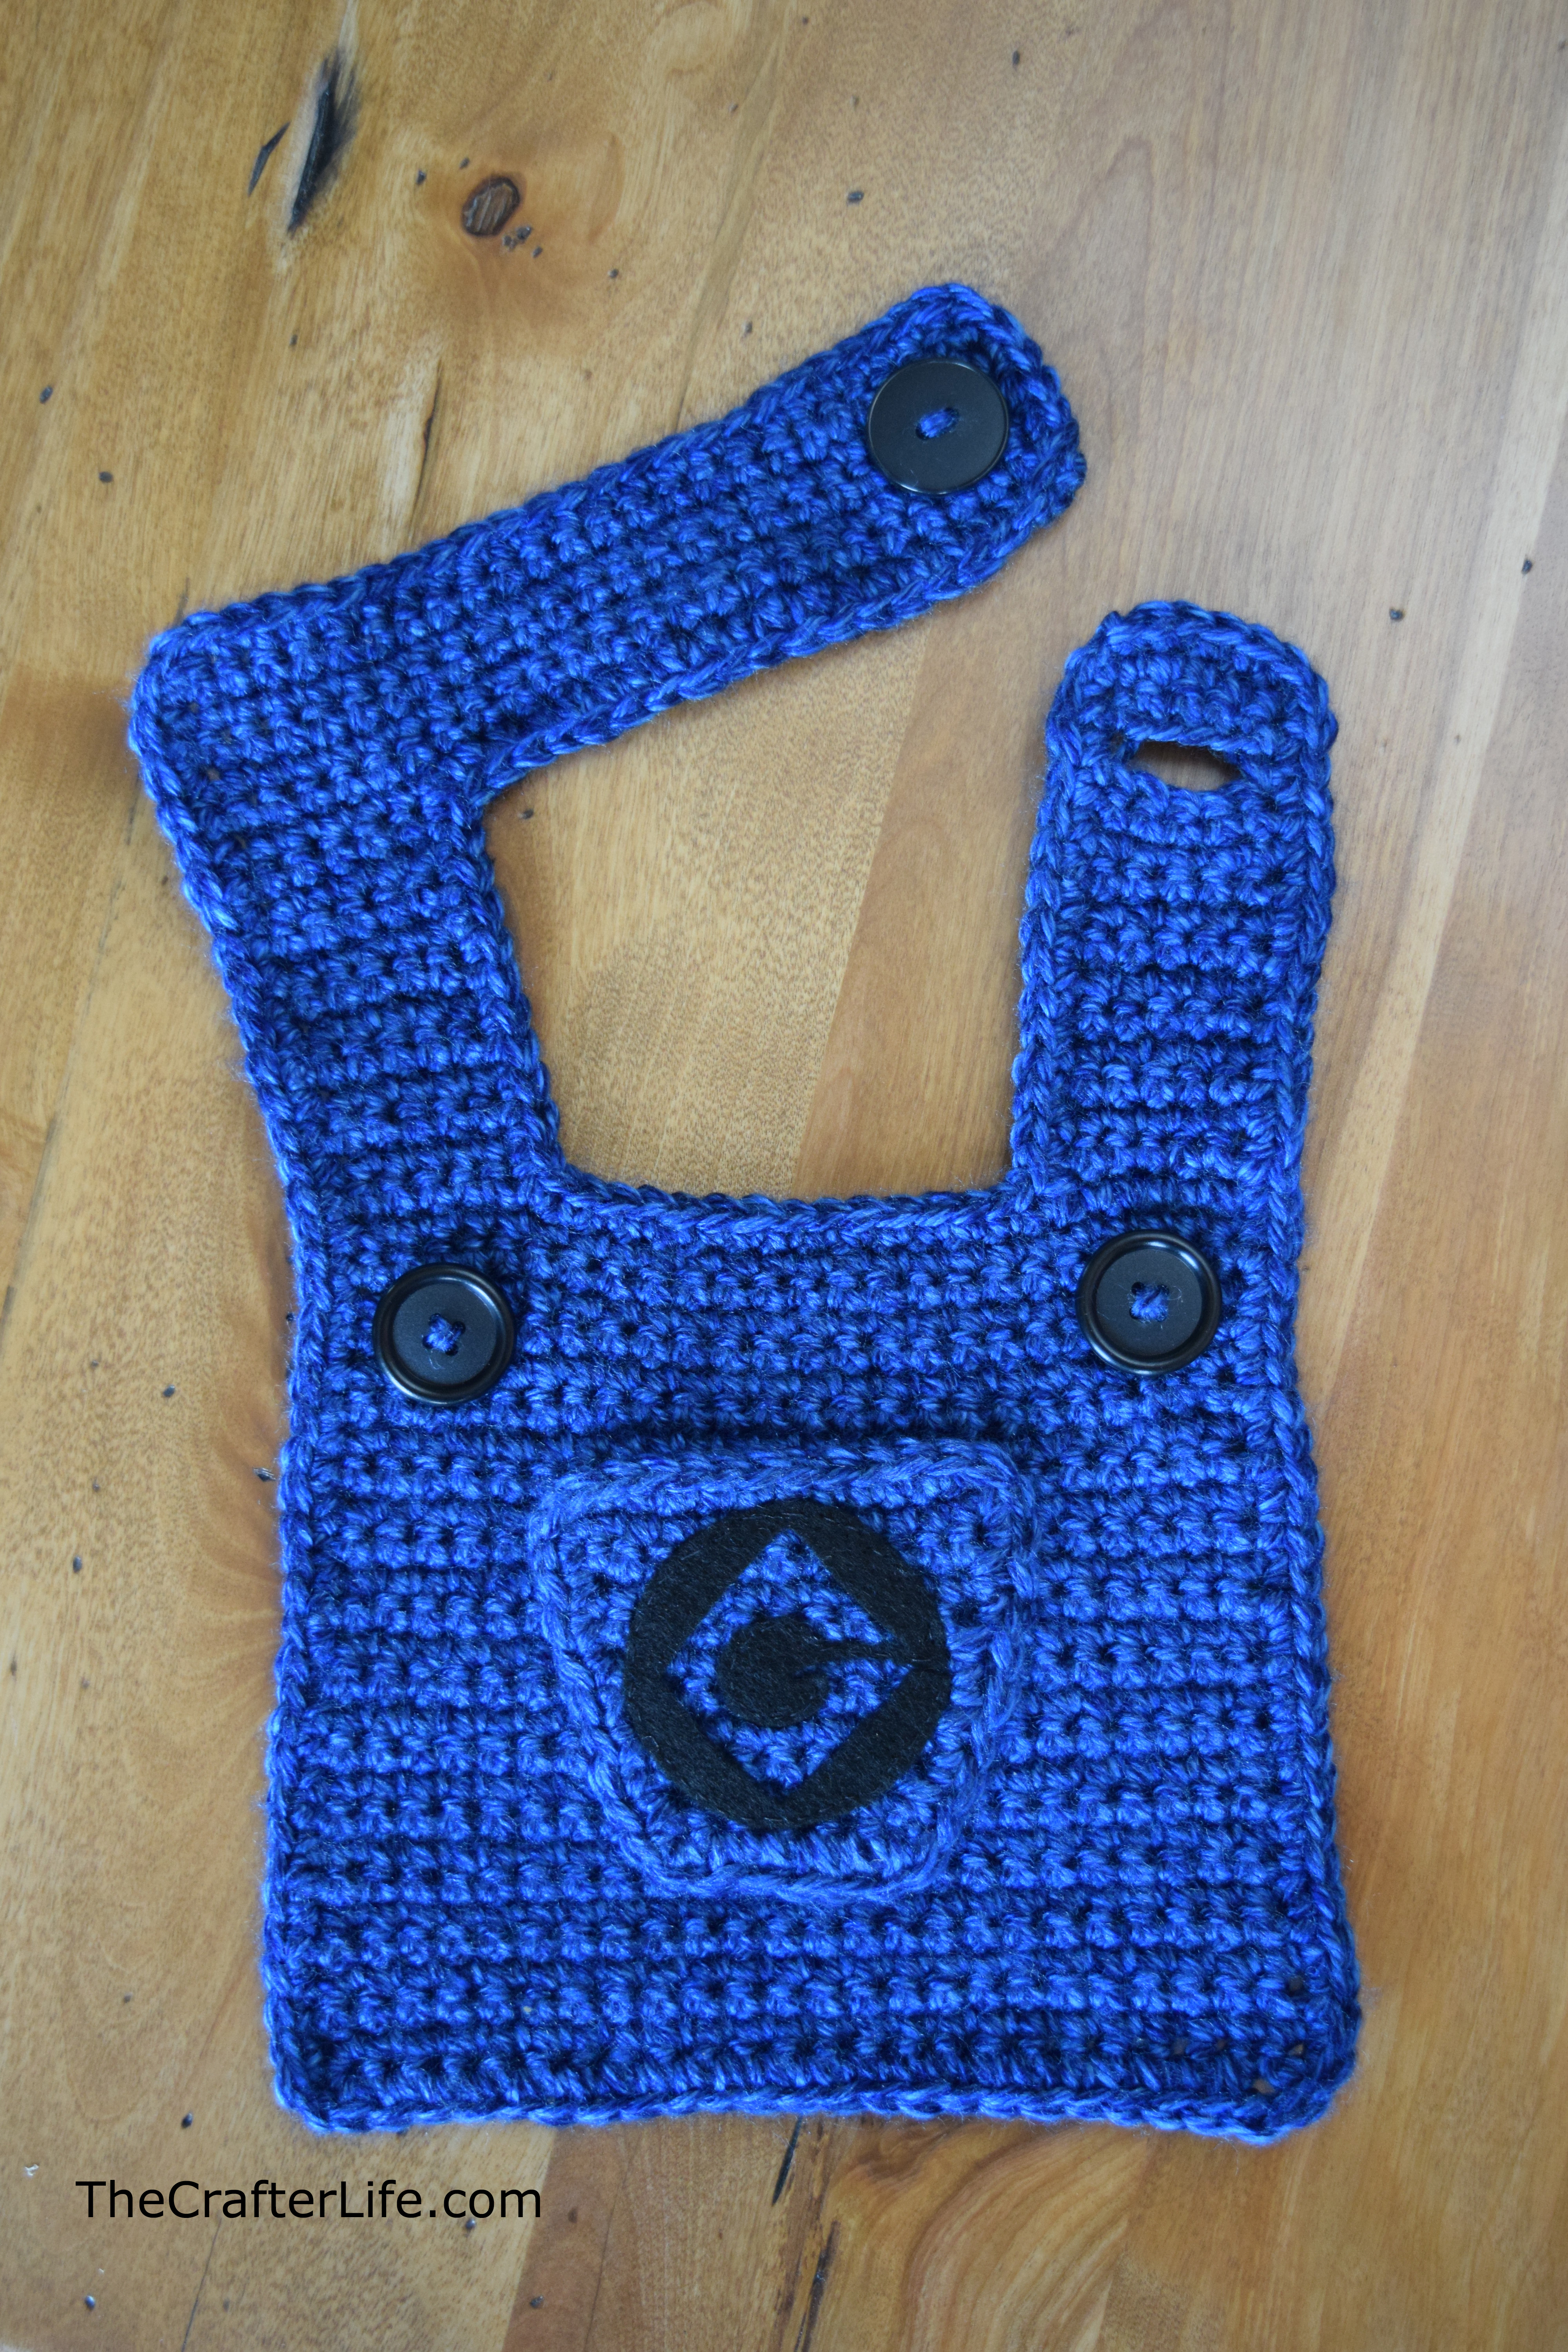
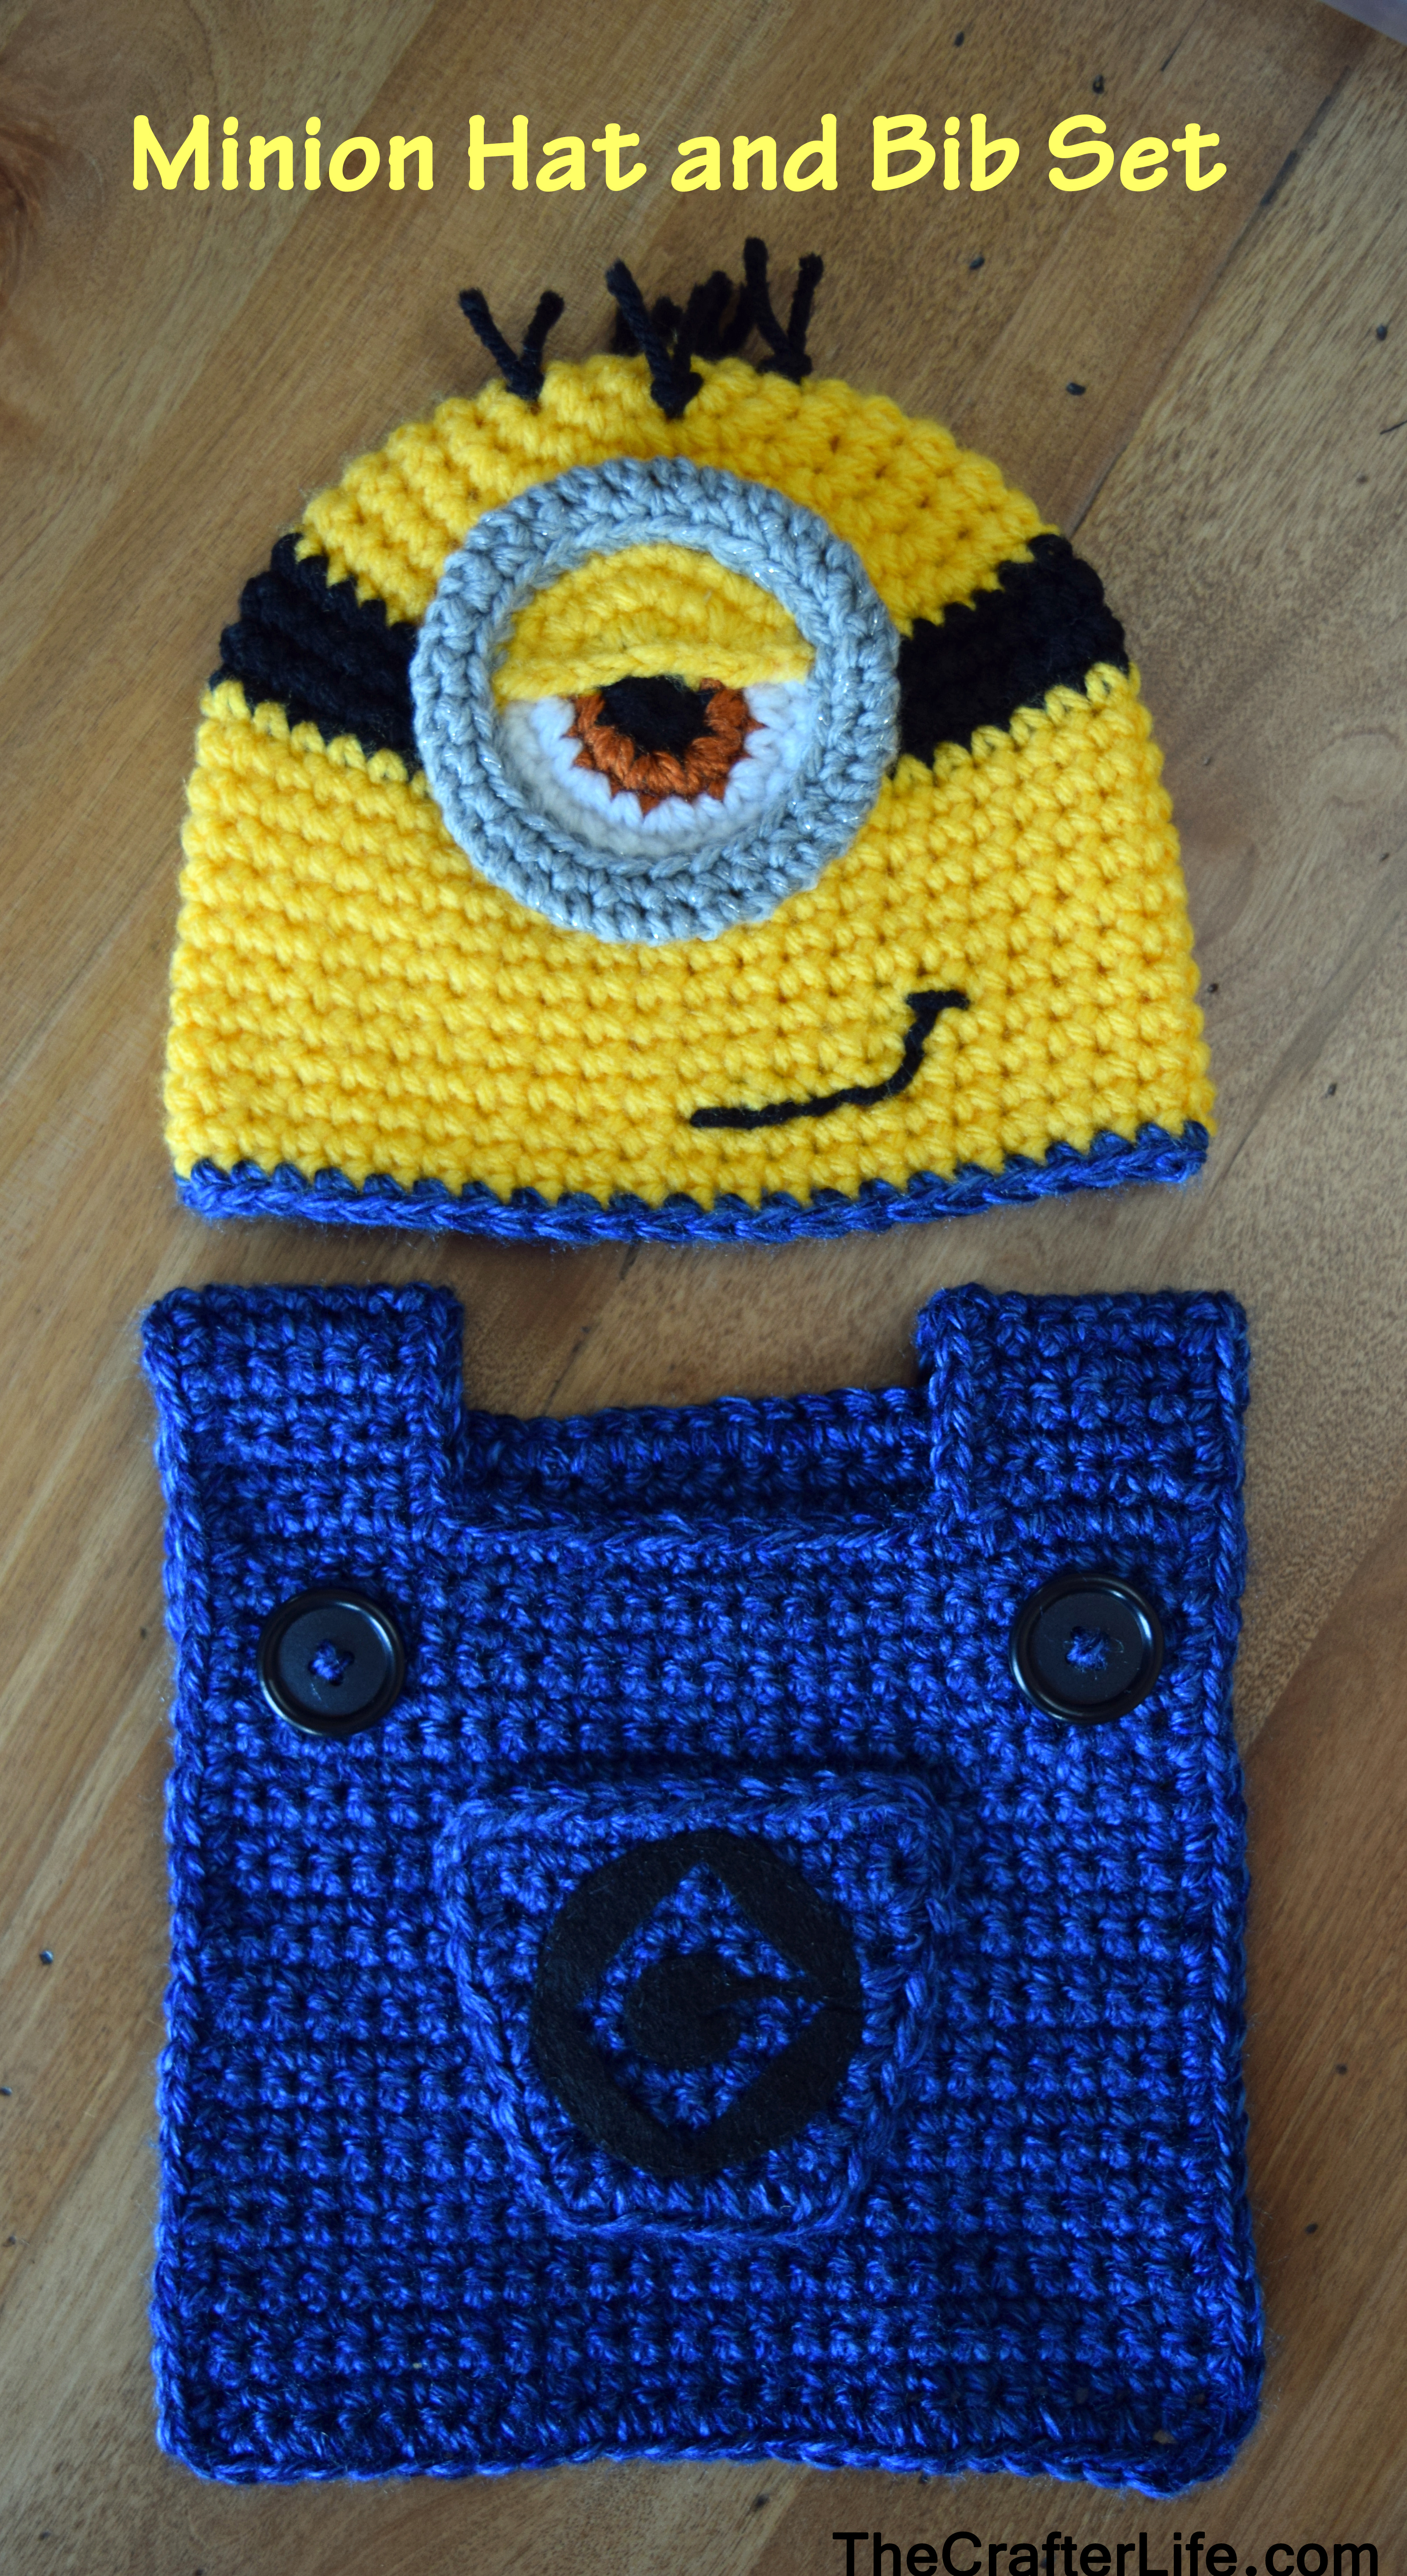
Hat and Bib Set
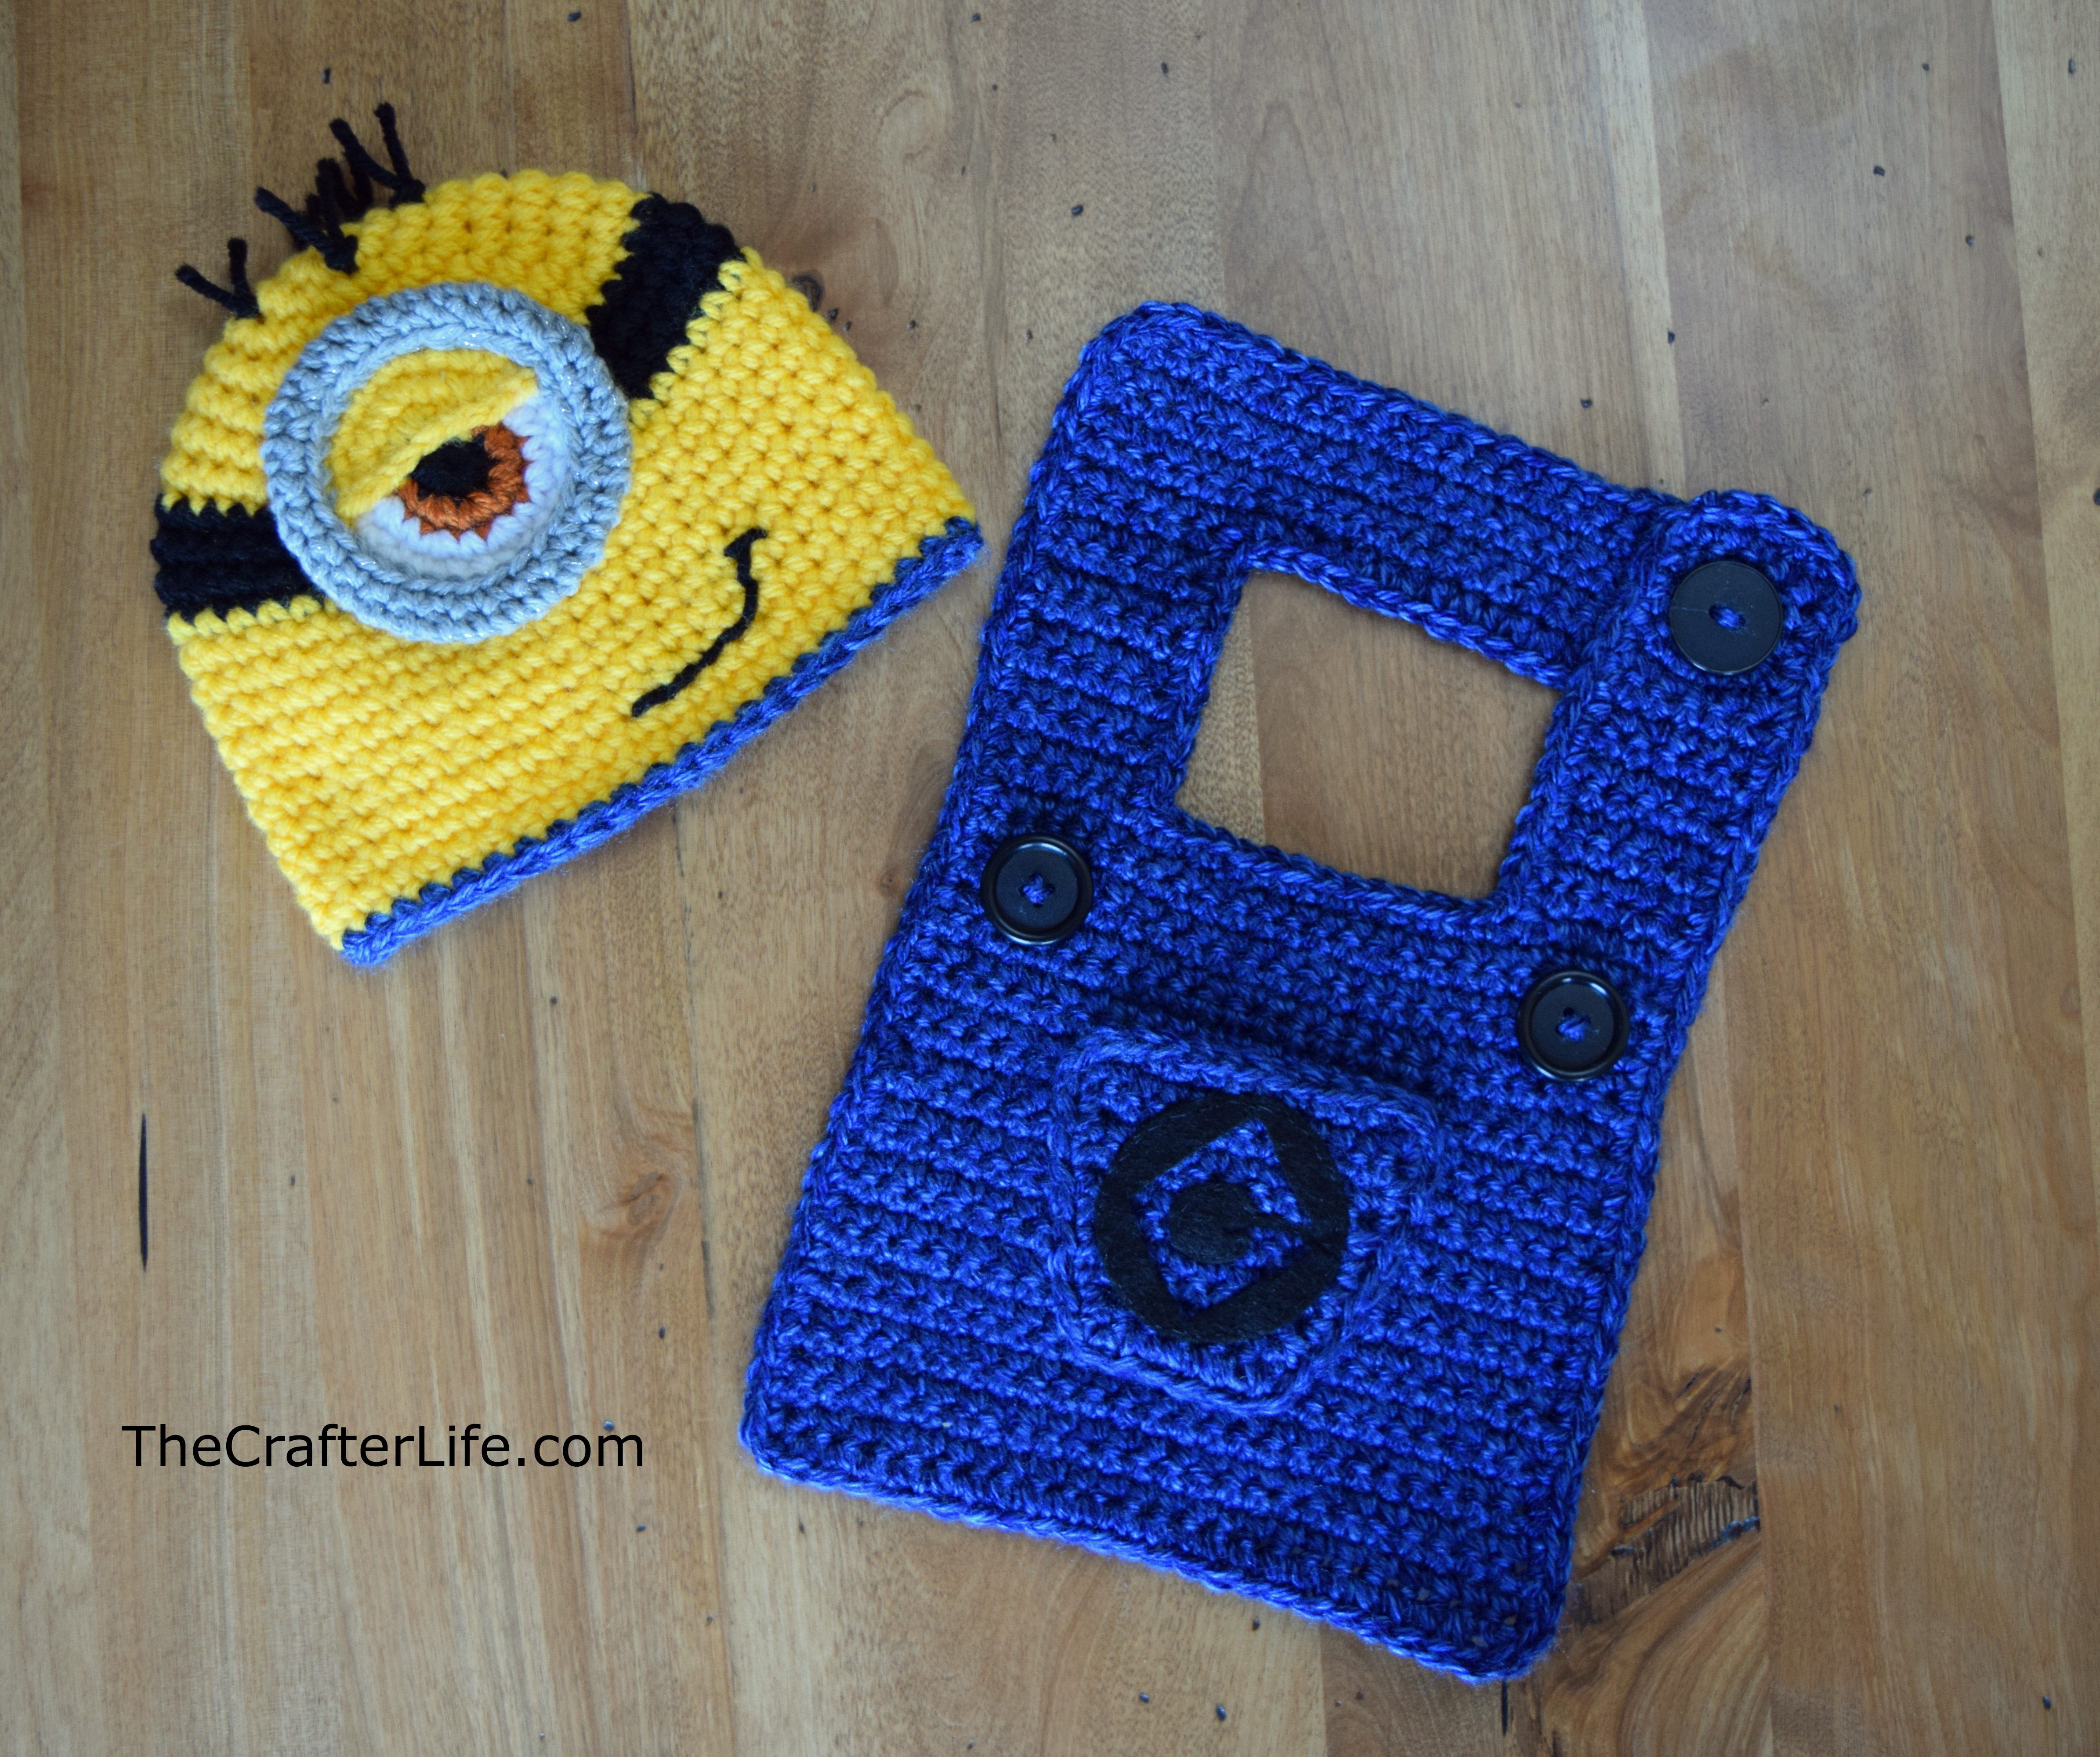
I recently attended one of my cousin’s baby showers and decided to make a hat and bib set to give to her for her baby boy. I thought it turned out pretty cute so I’m thinking of making another set for our baby-to-be. We aren’t finding out what we are having so I guess I could always add a bow if it turns out to be a girl! I am sharing the hat pattern with you in this post and I will share the bib pattern in my next post so stay tuned! Please read below if you are interested in making a baby hat of your own.
SIZE
Newborn – 3 months
MATERIALS
– 5.5mm (I) hook
– Caron United worsted weight (4) yarn in Mustard (main hat color and eyelid)
– Worsted weight (4) yarn in Black (strap of goggles, eye pupil, mouth, and hair)
– Lion Brand Heartland worsted weight (4) yarn in Olympic (trim of hat)
– Lion Brand Vanna’s Choice worsted weight (4) yarn in Rust (eye color)
– Worsted weight (4) yarn in White (eye)
– Loops & Threads Impeccable Glitter worsted weight (4) yarn in Sterling (goggle frame)
– Tapestry needle for sewing and weaving in ends
– Scissors
ABBREVIATIONS
– ch = chain
– sc = single crochet
– slst = slip stitch
– st = stitch
– sts = stitches
SPECIAL NOTES
– The first stitch of each round of the hat is done in the same stitch as the beginning chain. (All rounds start in the same stitch as beginning chain 1).
– Make sure to join your rounds to the first single crochet of the round with a slip stitch.
PATTERN
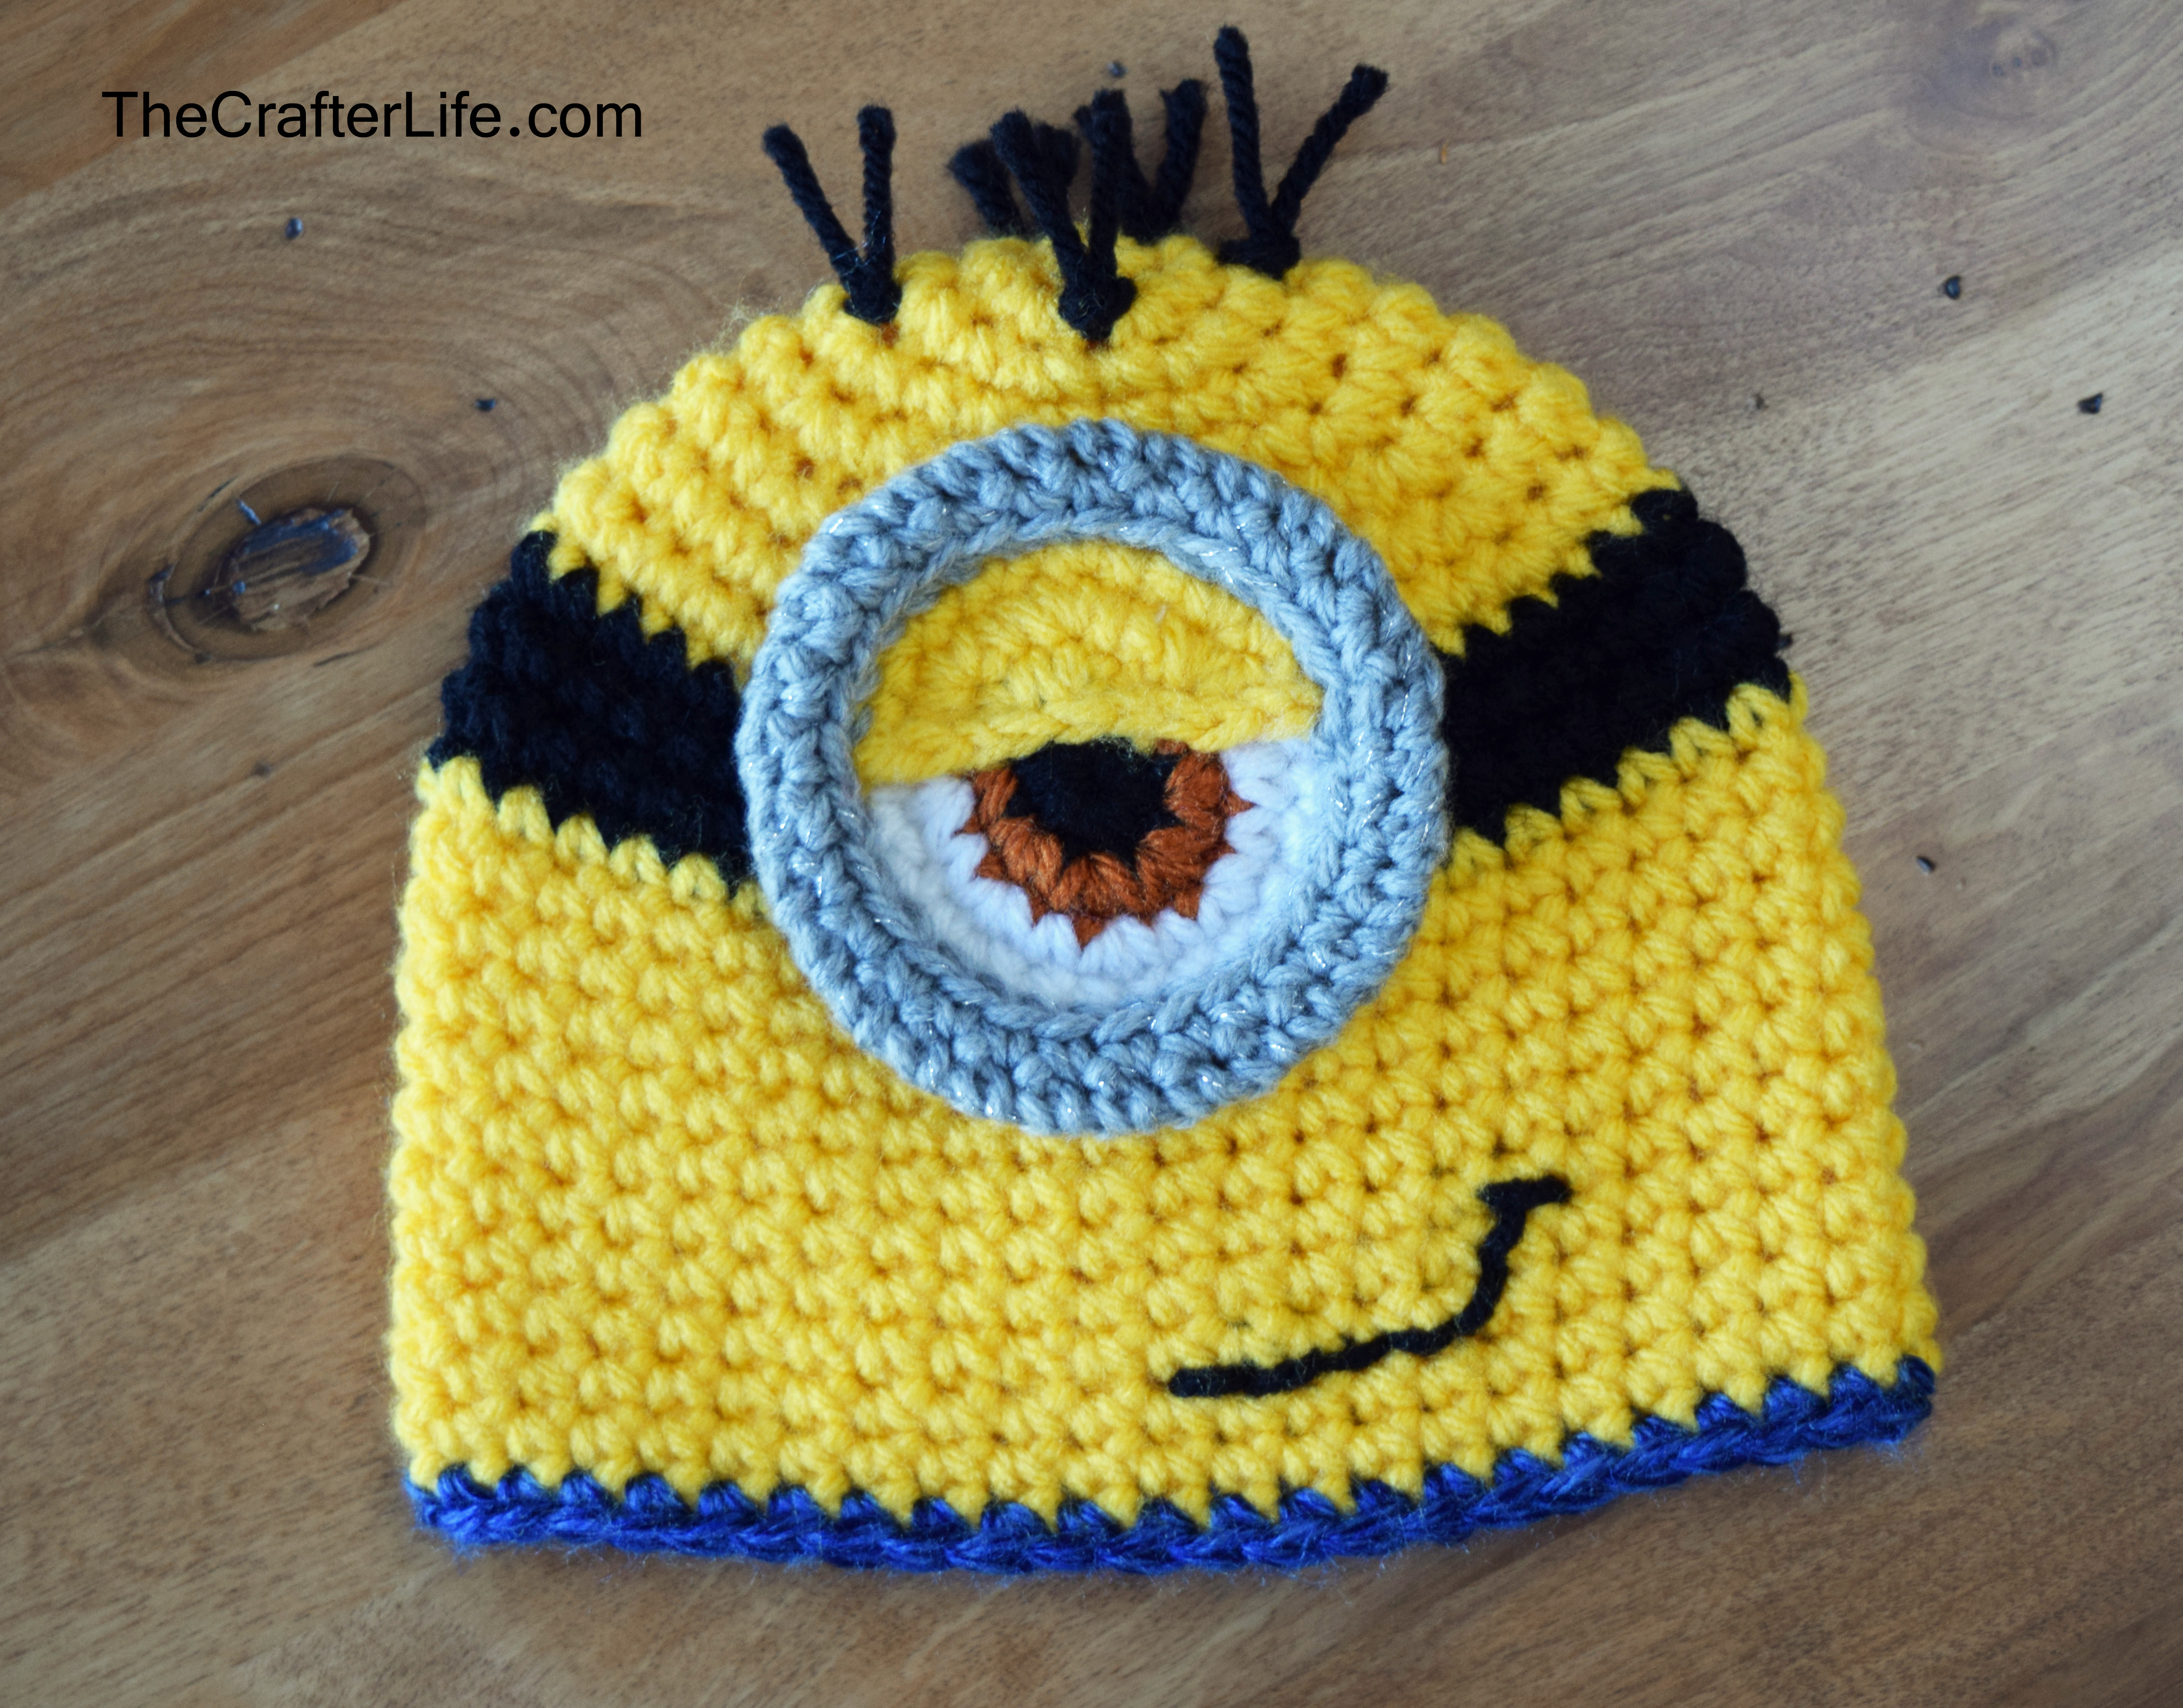
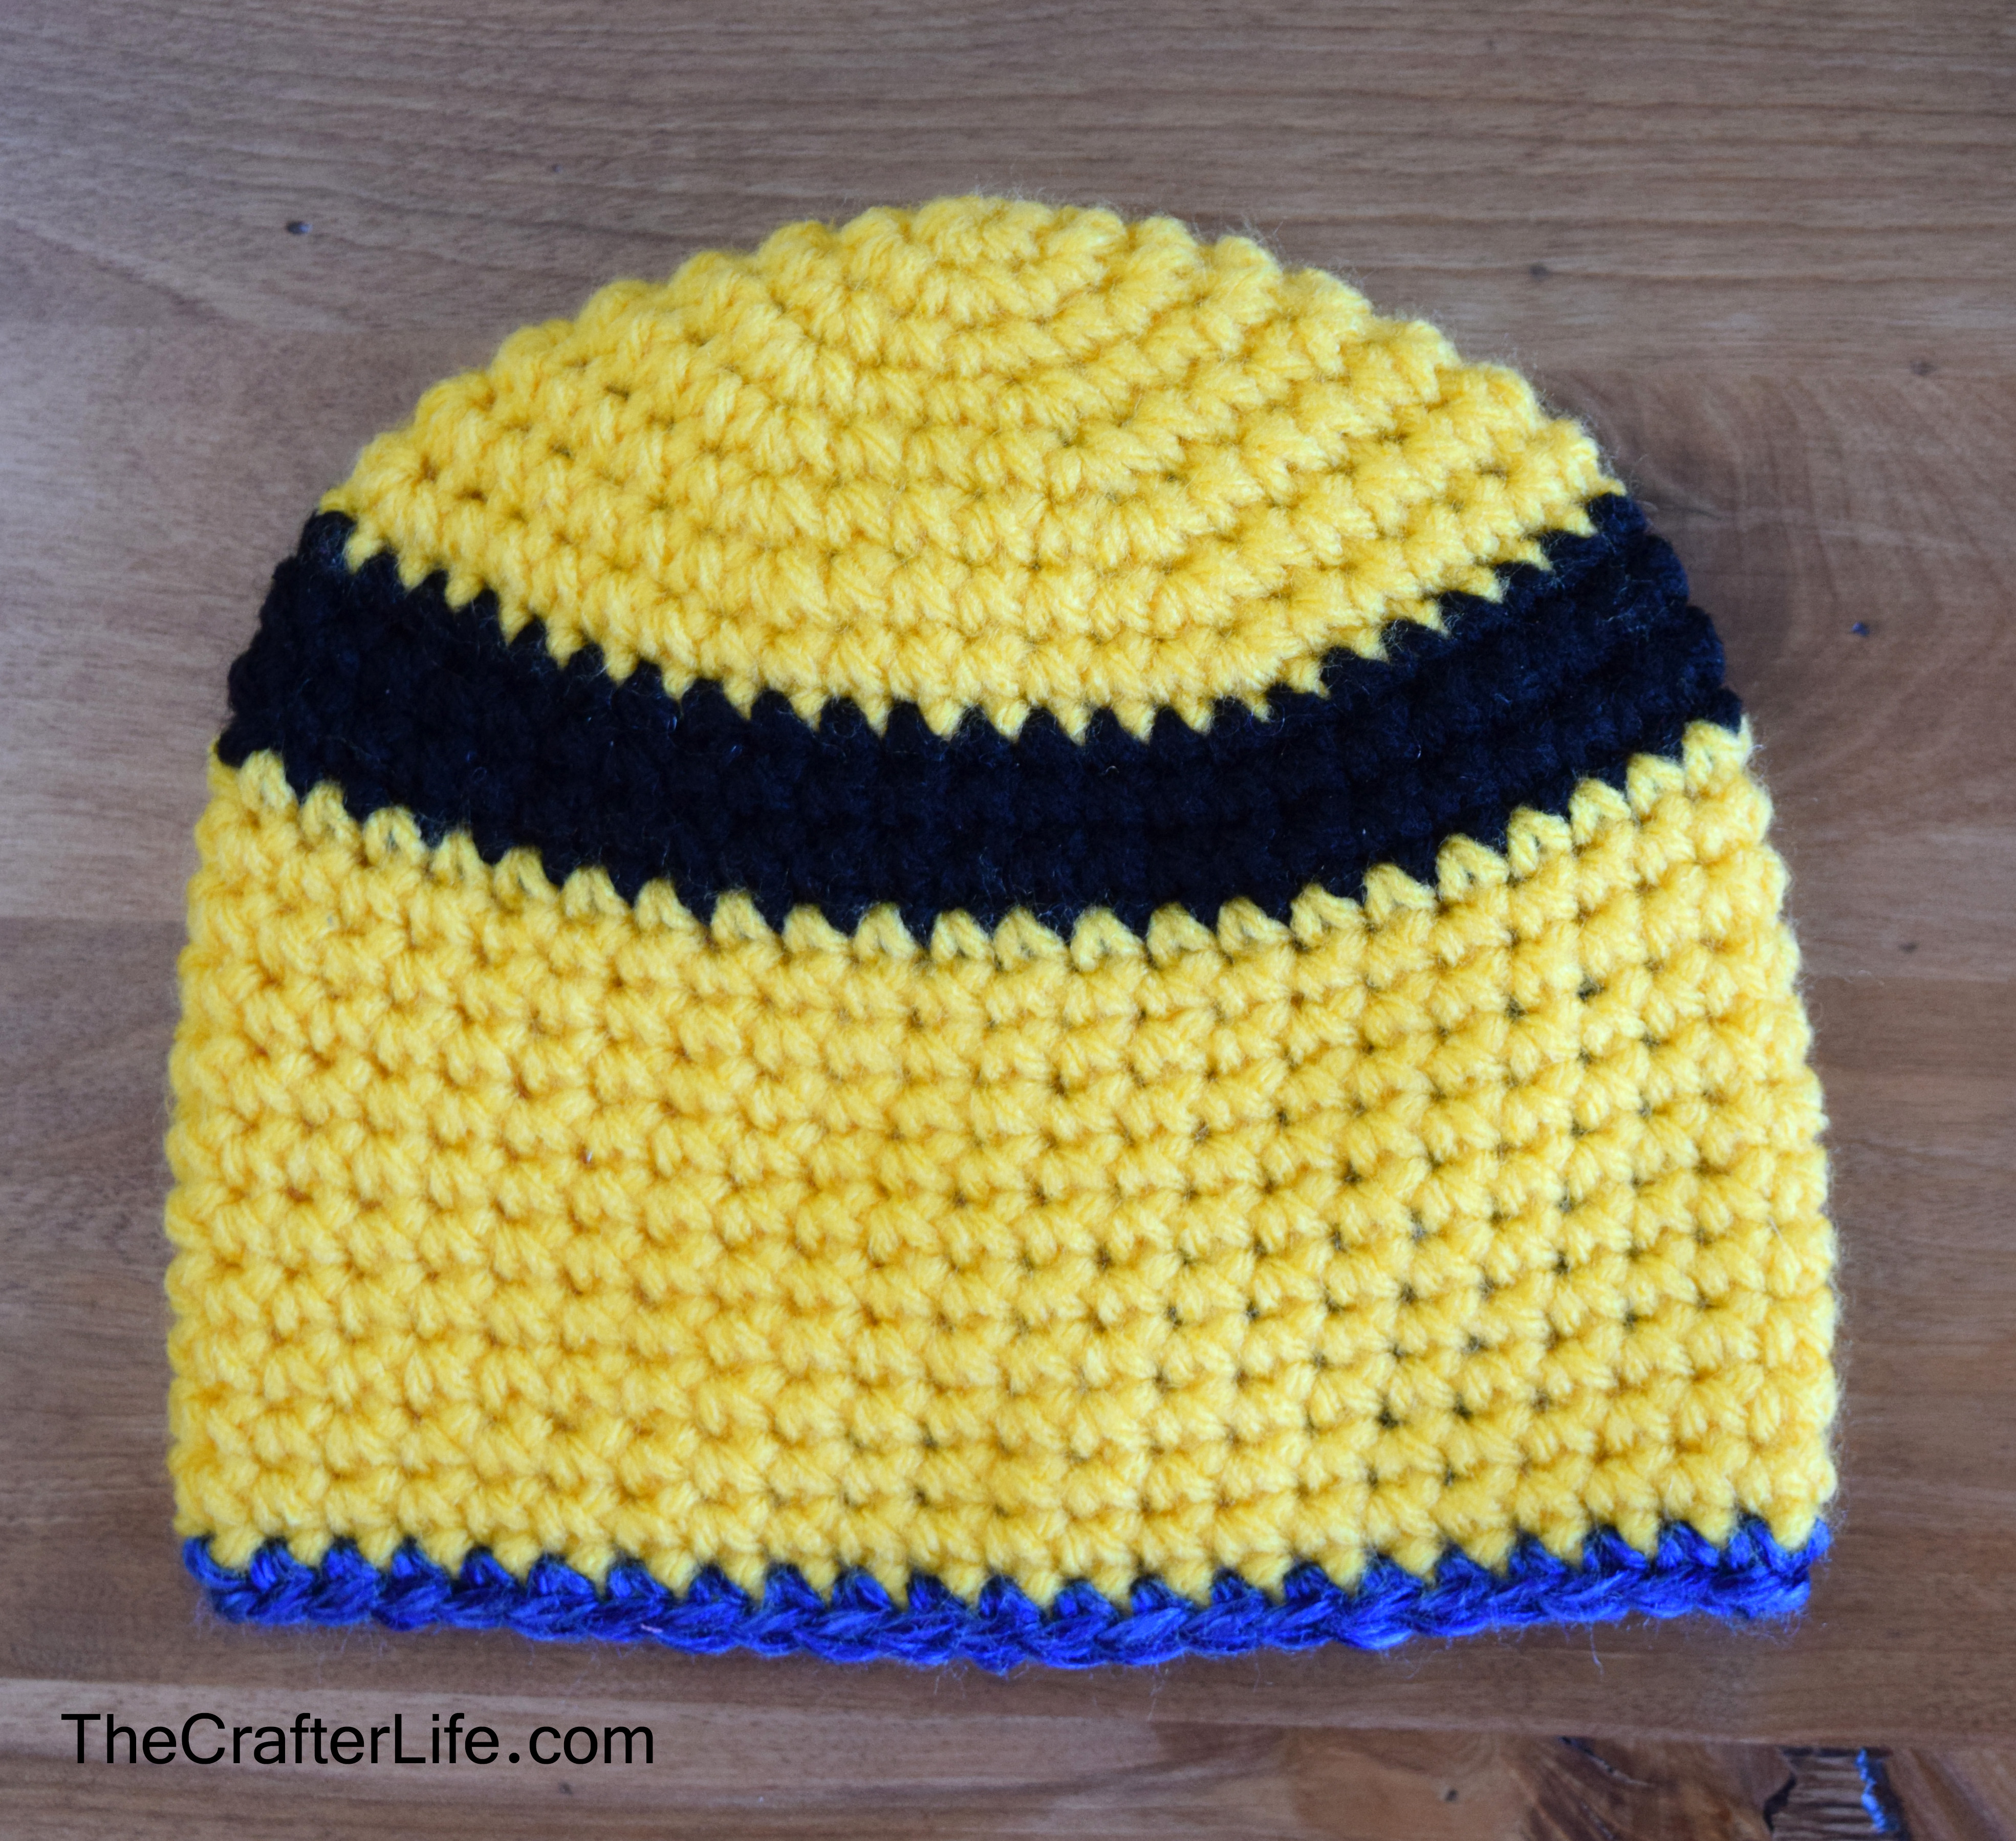
Main Hat
Rnd 1: Starting with yellow yarn, magic circle, 6 sc in circle, join to first sc of round. (6 sc)
Rnd 2: Ch 1, 2 sc in each st around, join to first sc of round. (12 sc)
Rnd 3: Ch 1, repeat [sc in next st, 2 sc in next st] around, join to first sc of round. (18 sc)
Rnd 4: Ch 1, repeat [sc in next 2 sts, 2 sc in next st] around, join to first sc of round. (24 sc)
Rnd 5: Ch 1, repeat [sc in next 3 sts, 2 sc in next st] around, join to first sc of round. (30 sc)
Rnd 6: Ch 1, repeat [sc in next 4 sts, 2 sc in next st] around, join to first sc of round. (36 sc)
Rnd 7: Ch 1, repeat [sc in next 5 sts, 2 sc in next st] around, join to first sc of round. (42 sc)
Rnd 8: Ch 1, repeat [sc in next 13 sts, 2 sc in next st] around, join to first sc of round. (45 sc)
Rnds 9-11: Change yarn color to black, ch 1, sc in each st around, join to first sc of round. (45 sc)
Rnds 12-22: Change color back to yellow, ch 1, sc in each st around, join to last sc of round. (45 sc)
Rnd 23: Change yarn color to denim blue (or whatever color you want for the trim, ch 1, sc in each st around, join to last st of round, fasten off and weave in all loose ends. (45 sc)
Keep the back of the eye neat and easier to manage by running your loose ends under the stitches in the back so that the yarn “follows” your stitches around and is there when you need it for a color change.
Rnd 1: Using black yarn, magic circle, 8 sc in magic circle, join to first sc with sl st. (8 sc)
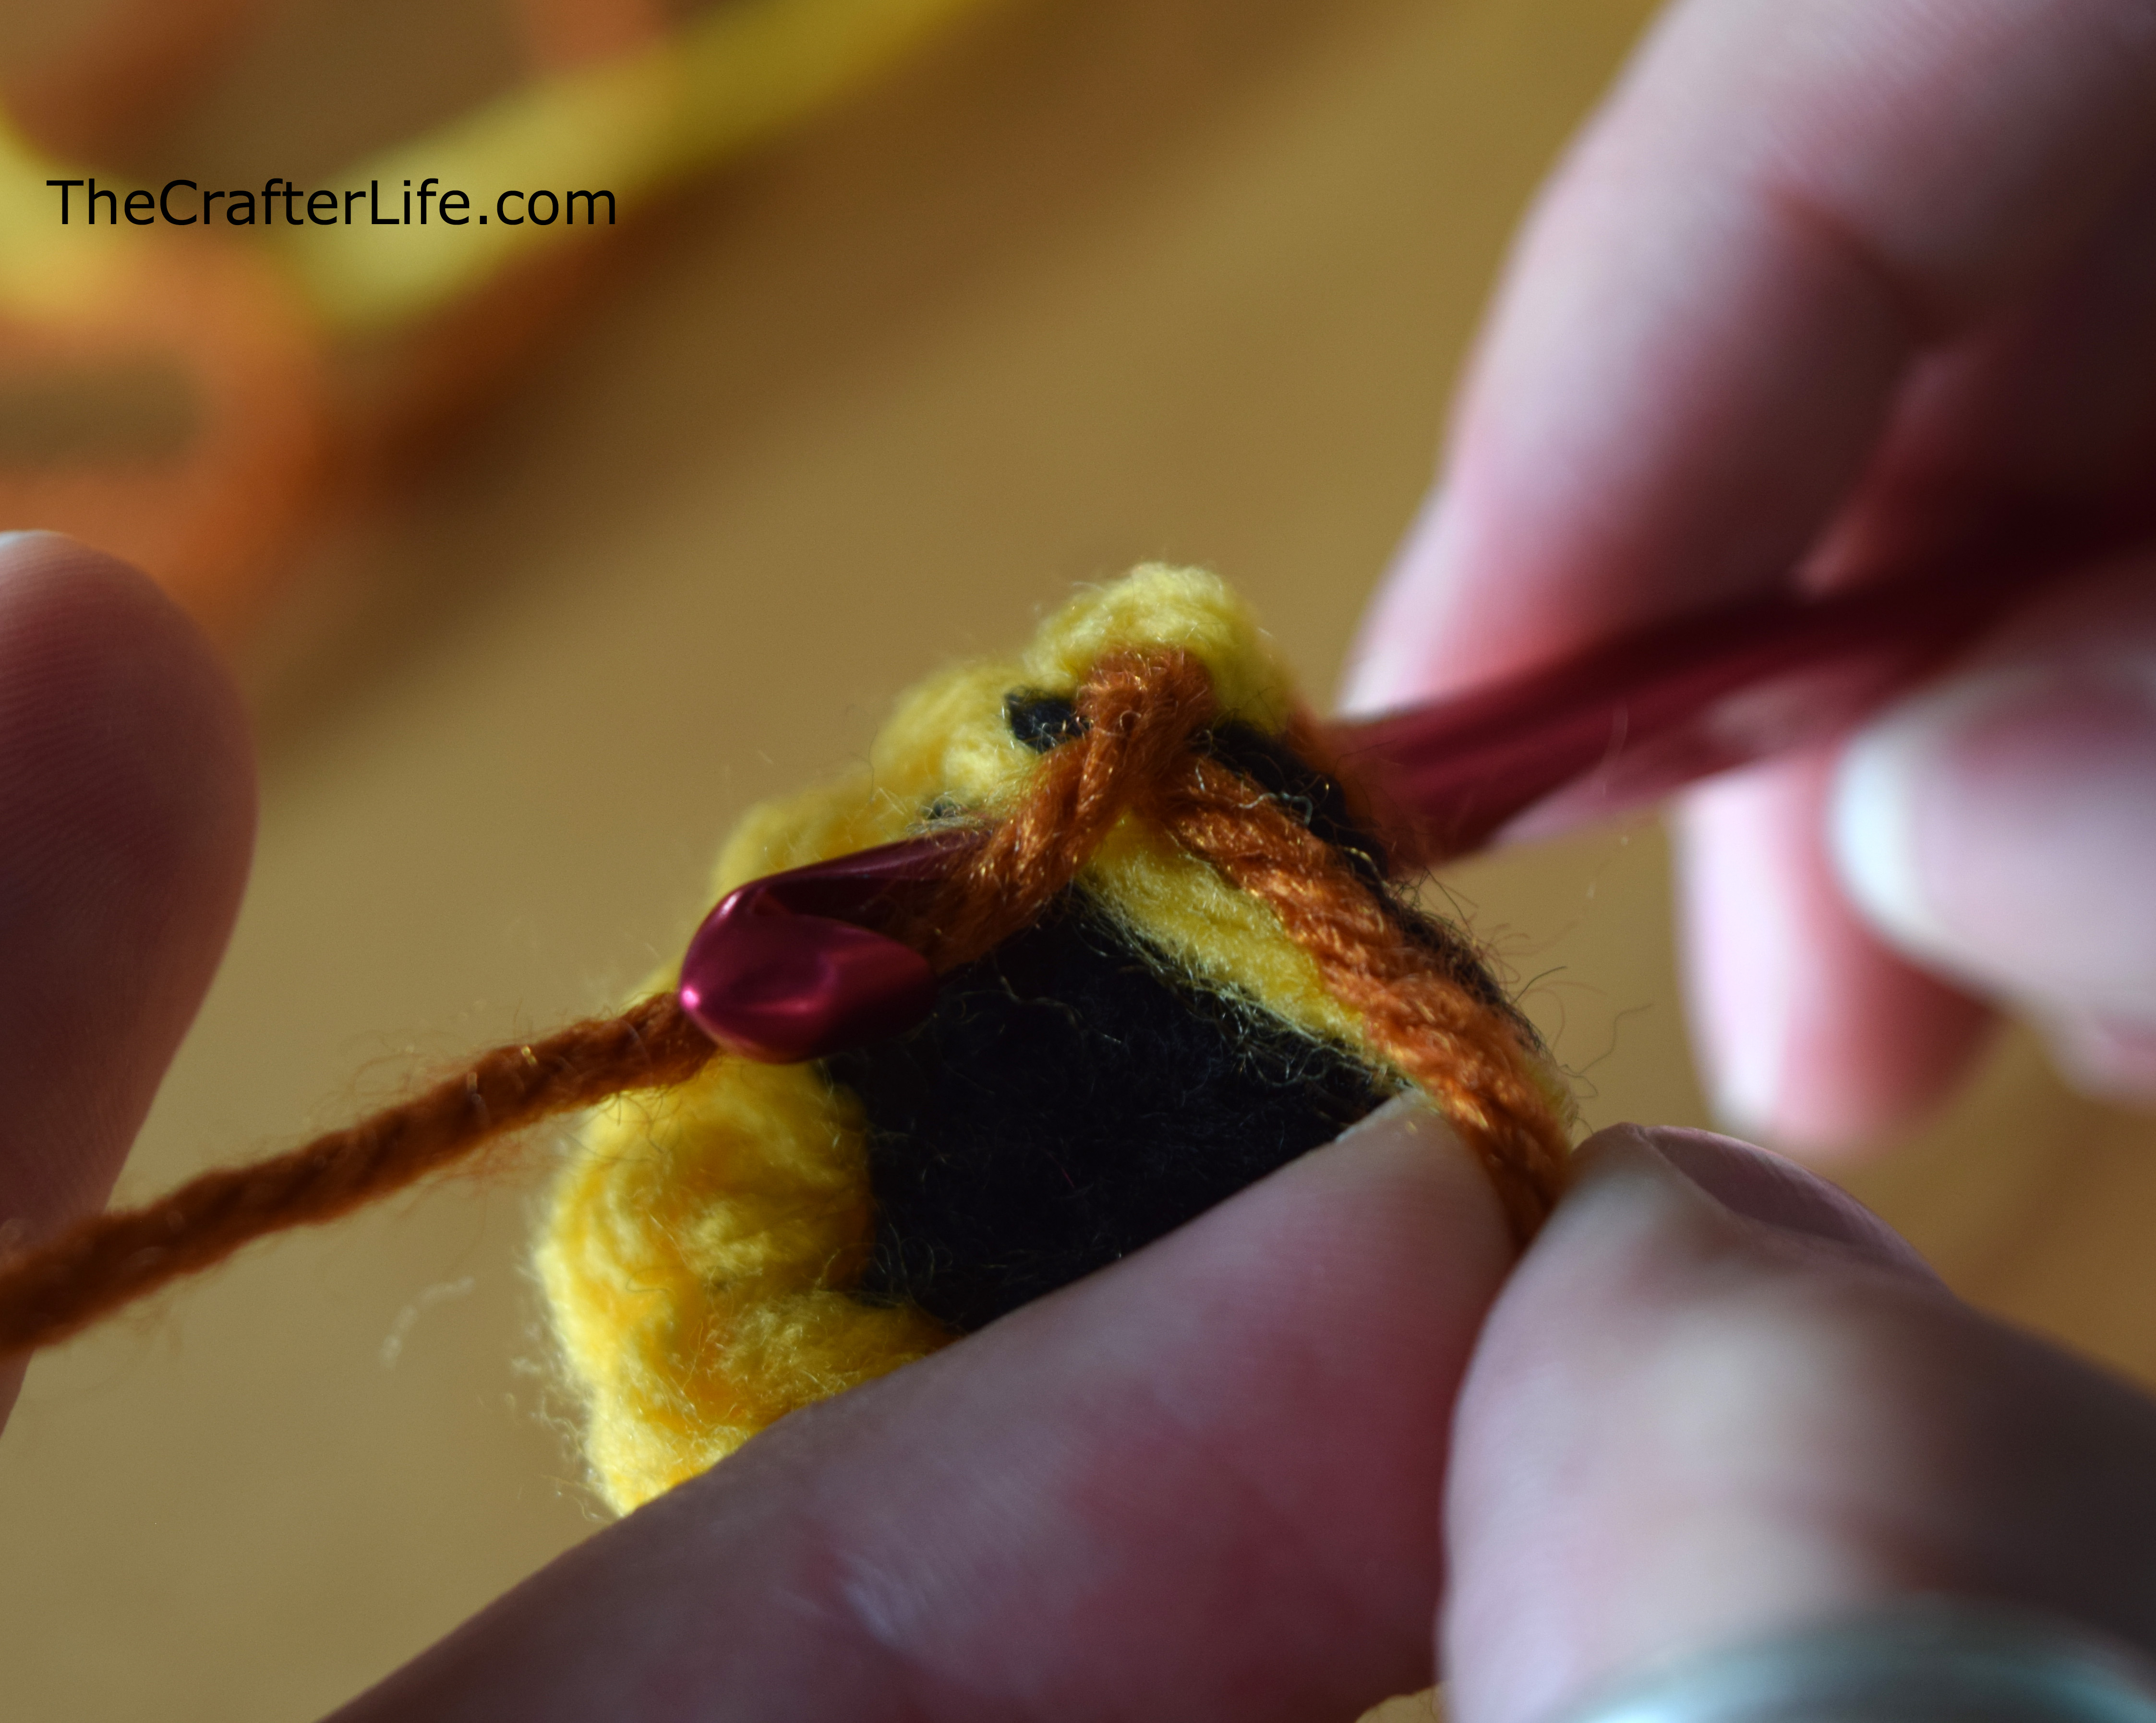
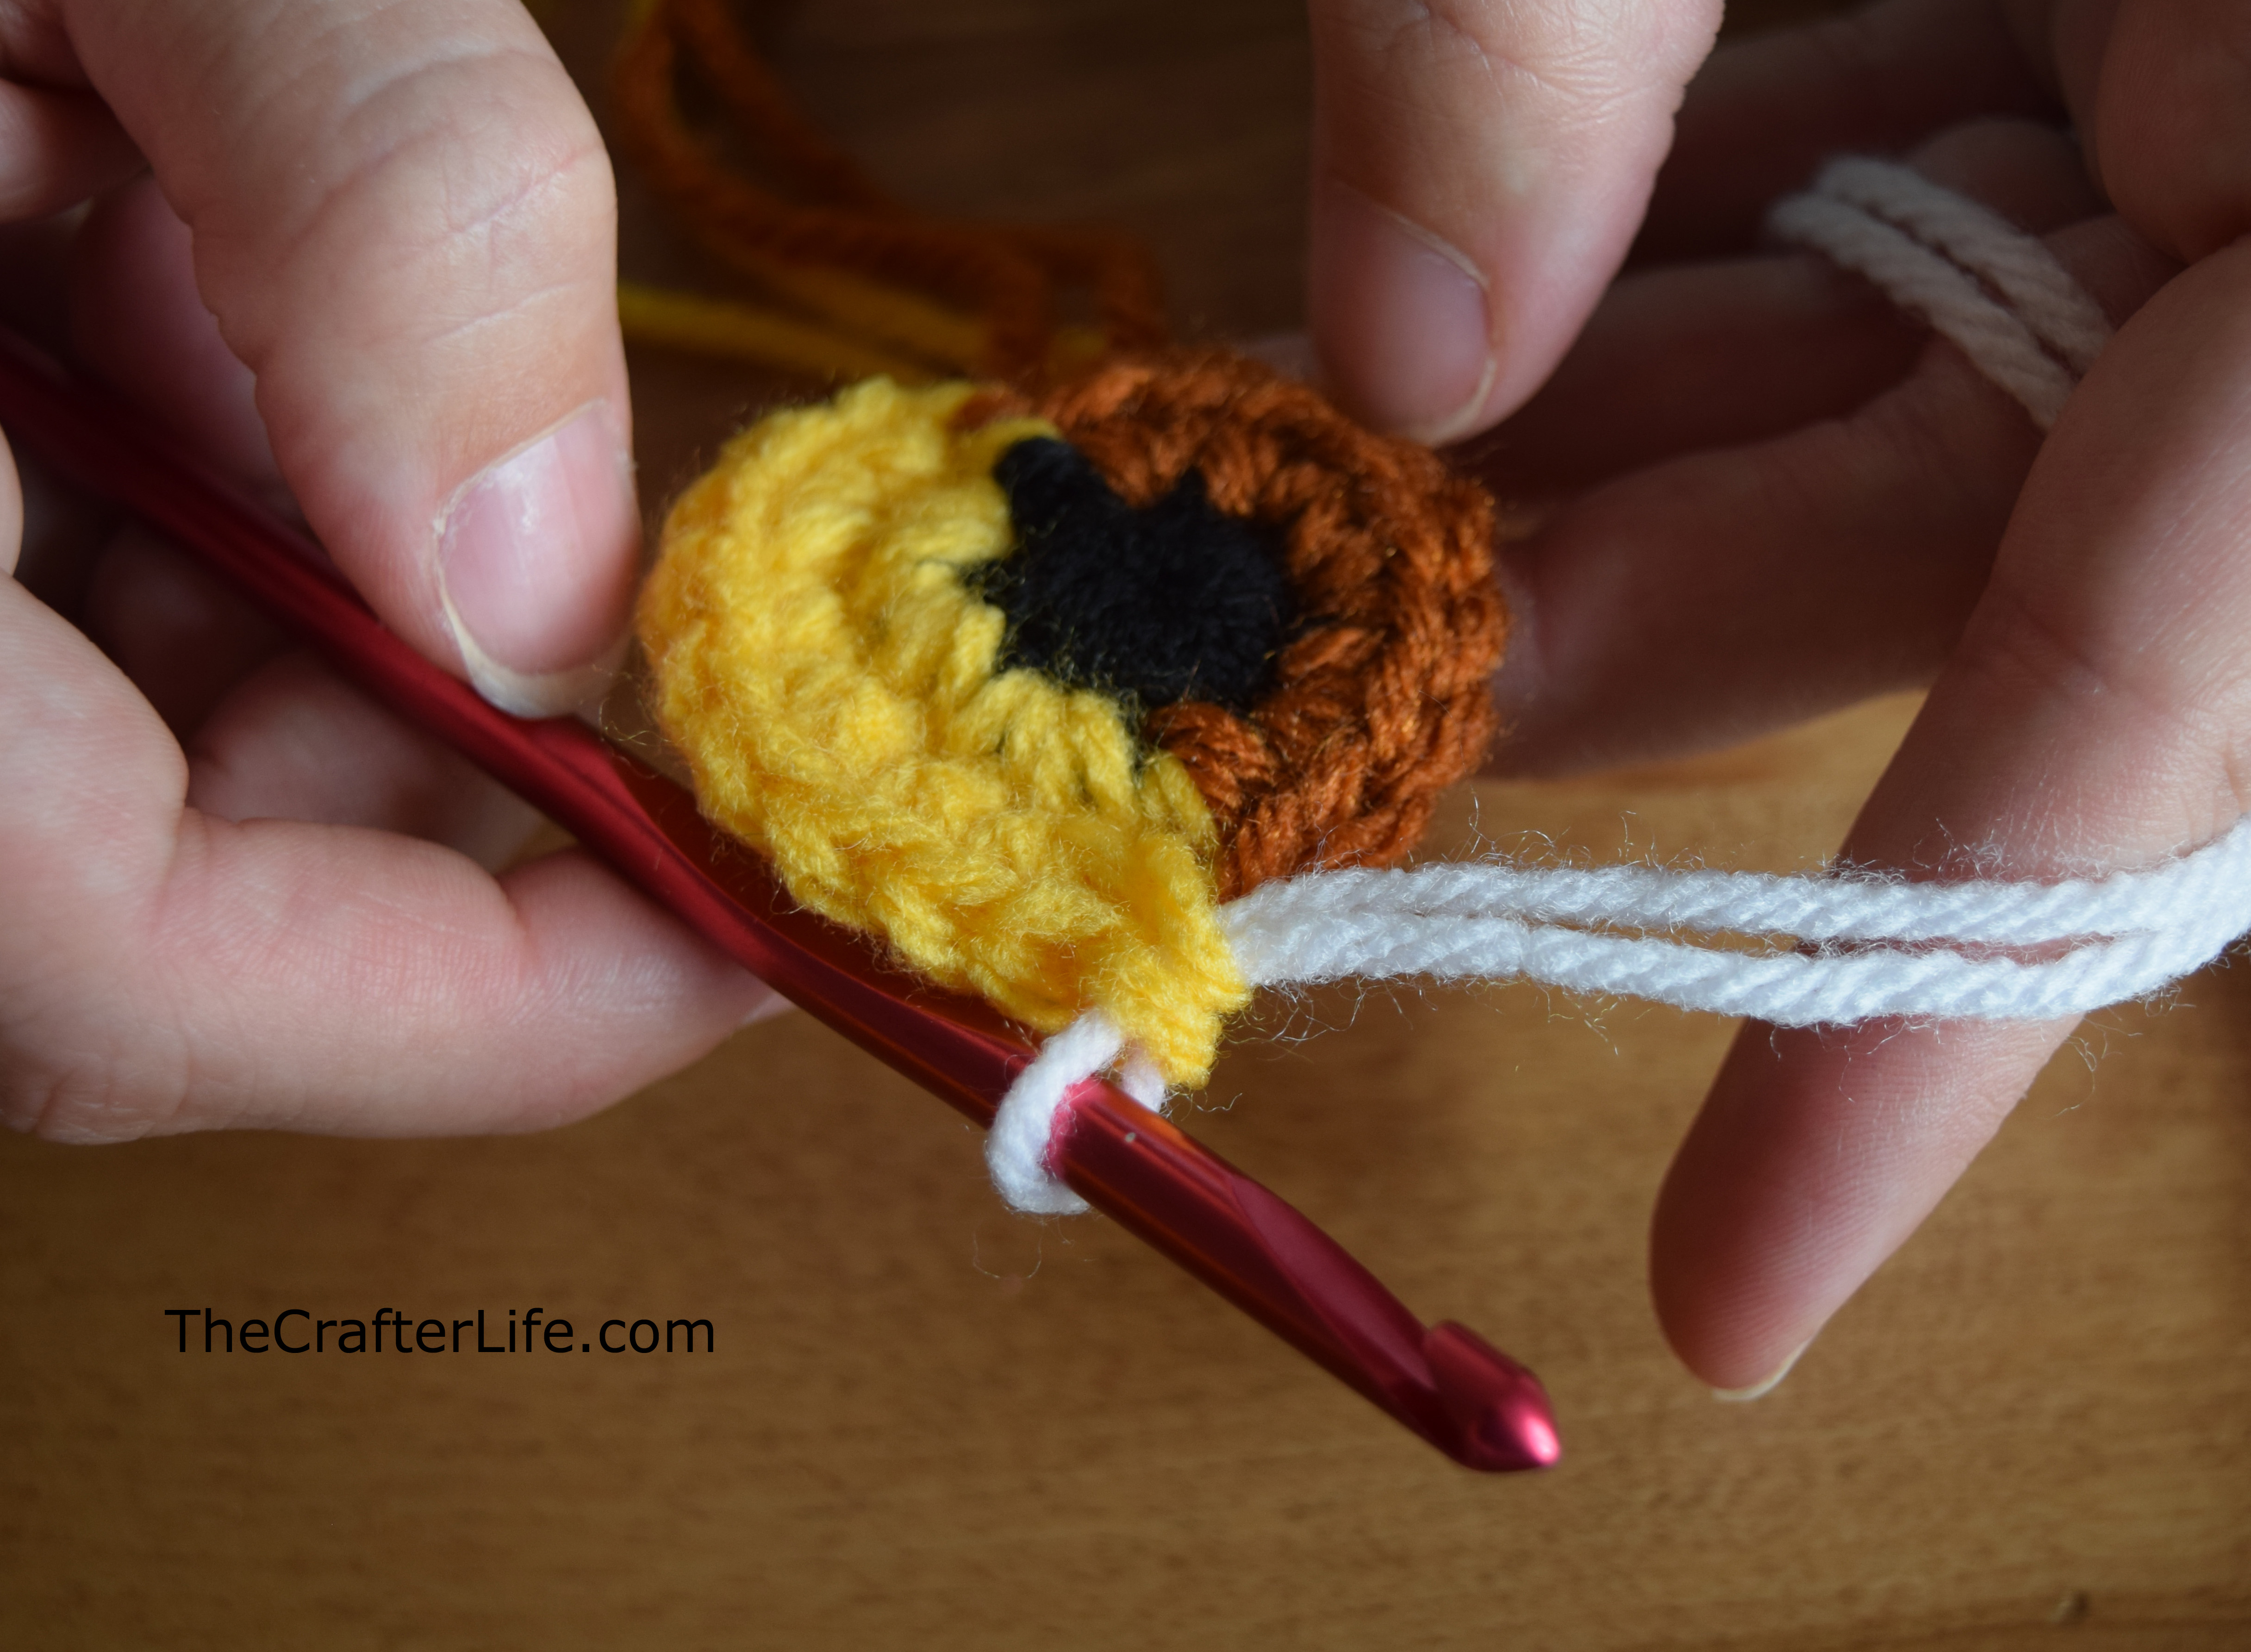
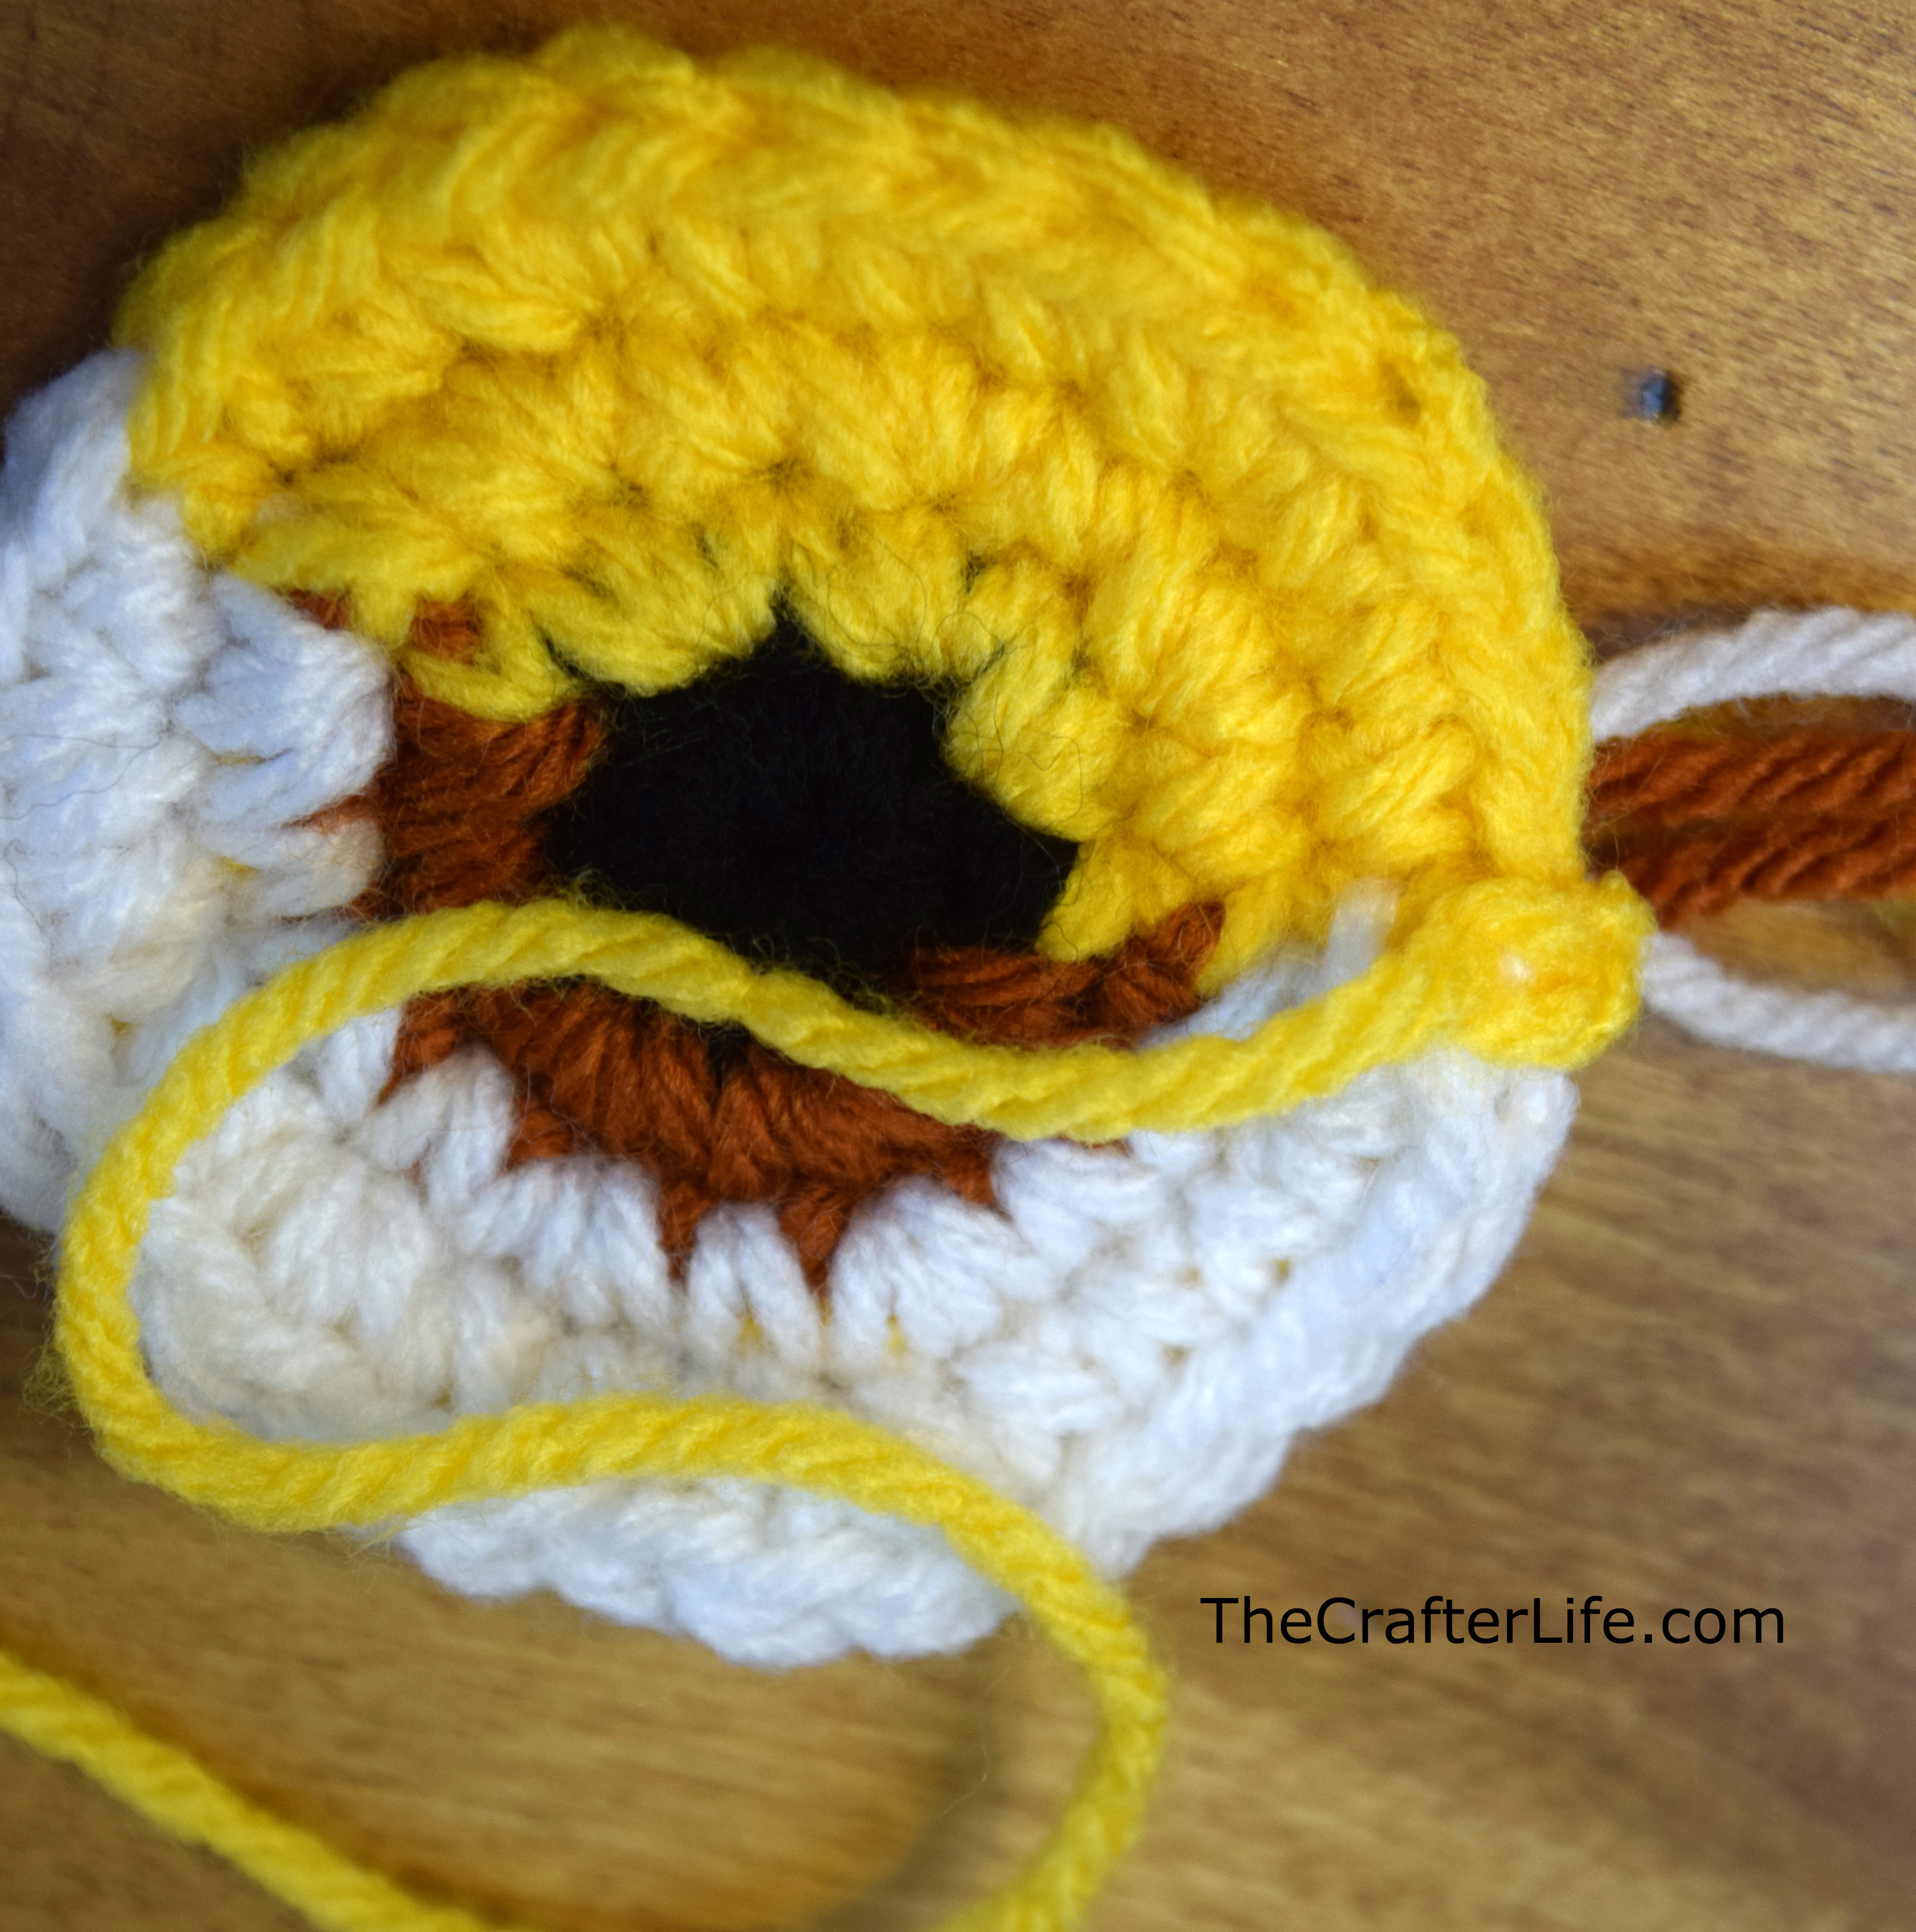
Rnd 2: Attach yellow yarn, ch 1, 2 sc in first st of Rnd 1 and in next 2 sts, sc in next st, **on the last yellow sc (the 7th sc), pull though brown yarn to attach brown yarn***, using brown yarn (and making sure to run your yellow tail under the brown stitches in the back of the work), sc in same st, 2 sc in remaining 4 sts of round, slst to first yellow sc of round, pulling though yellow yarn for slst. (7 yellow sc +9 white sc = 16 sc)

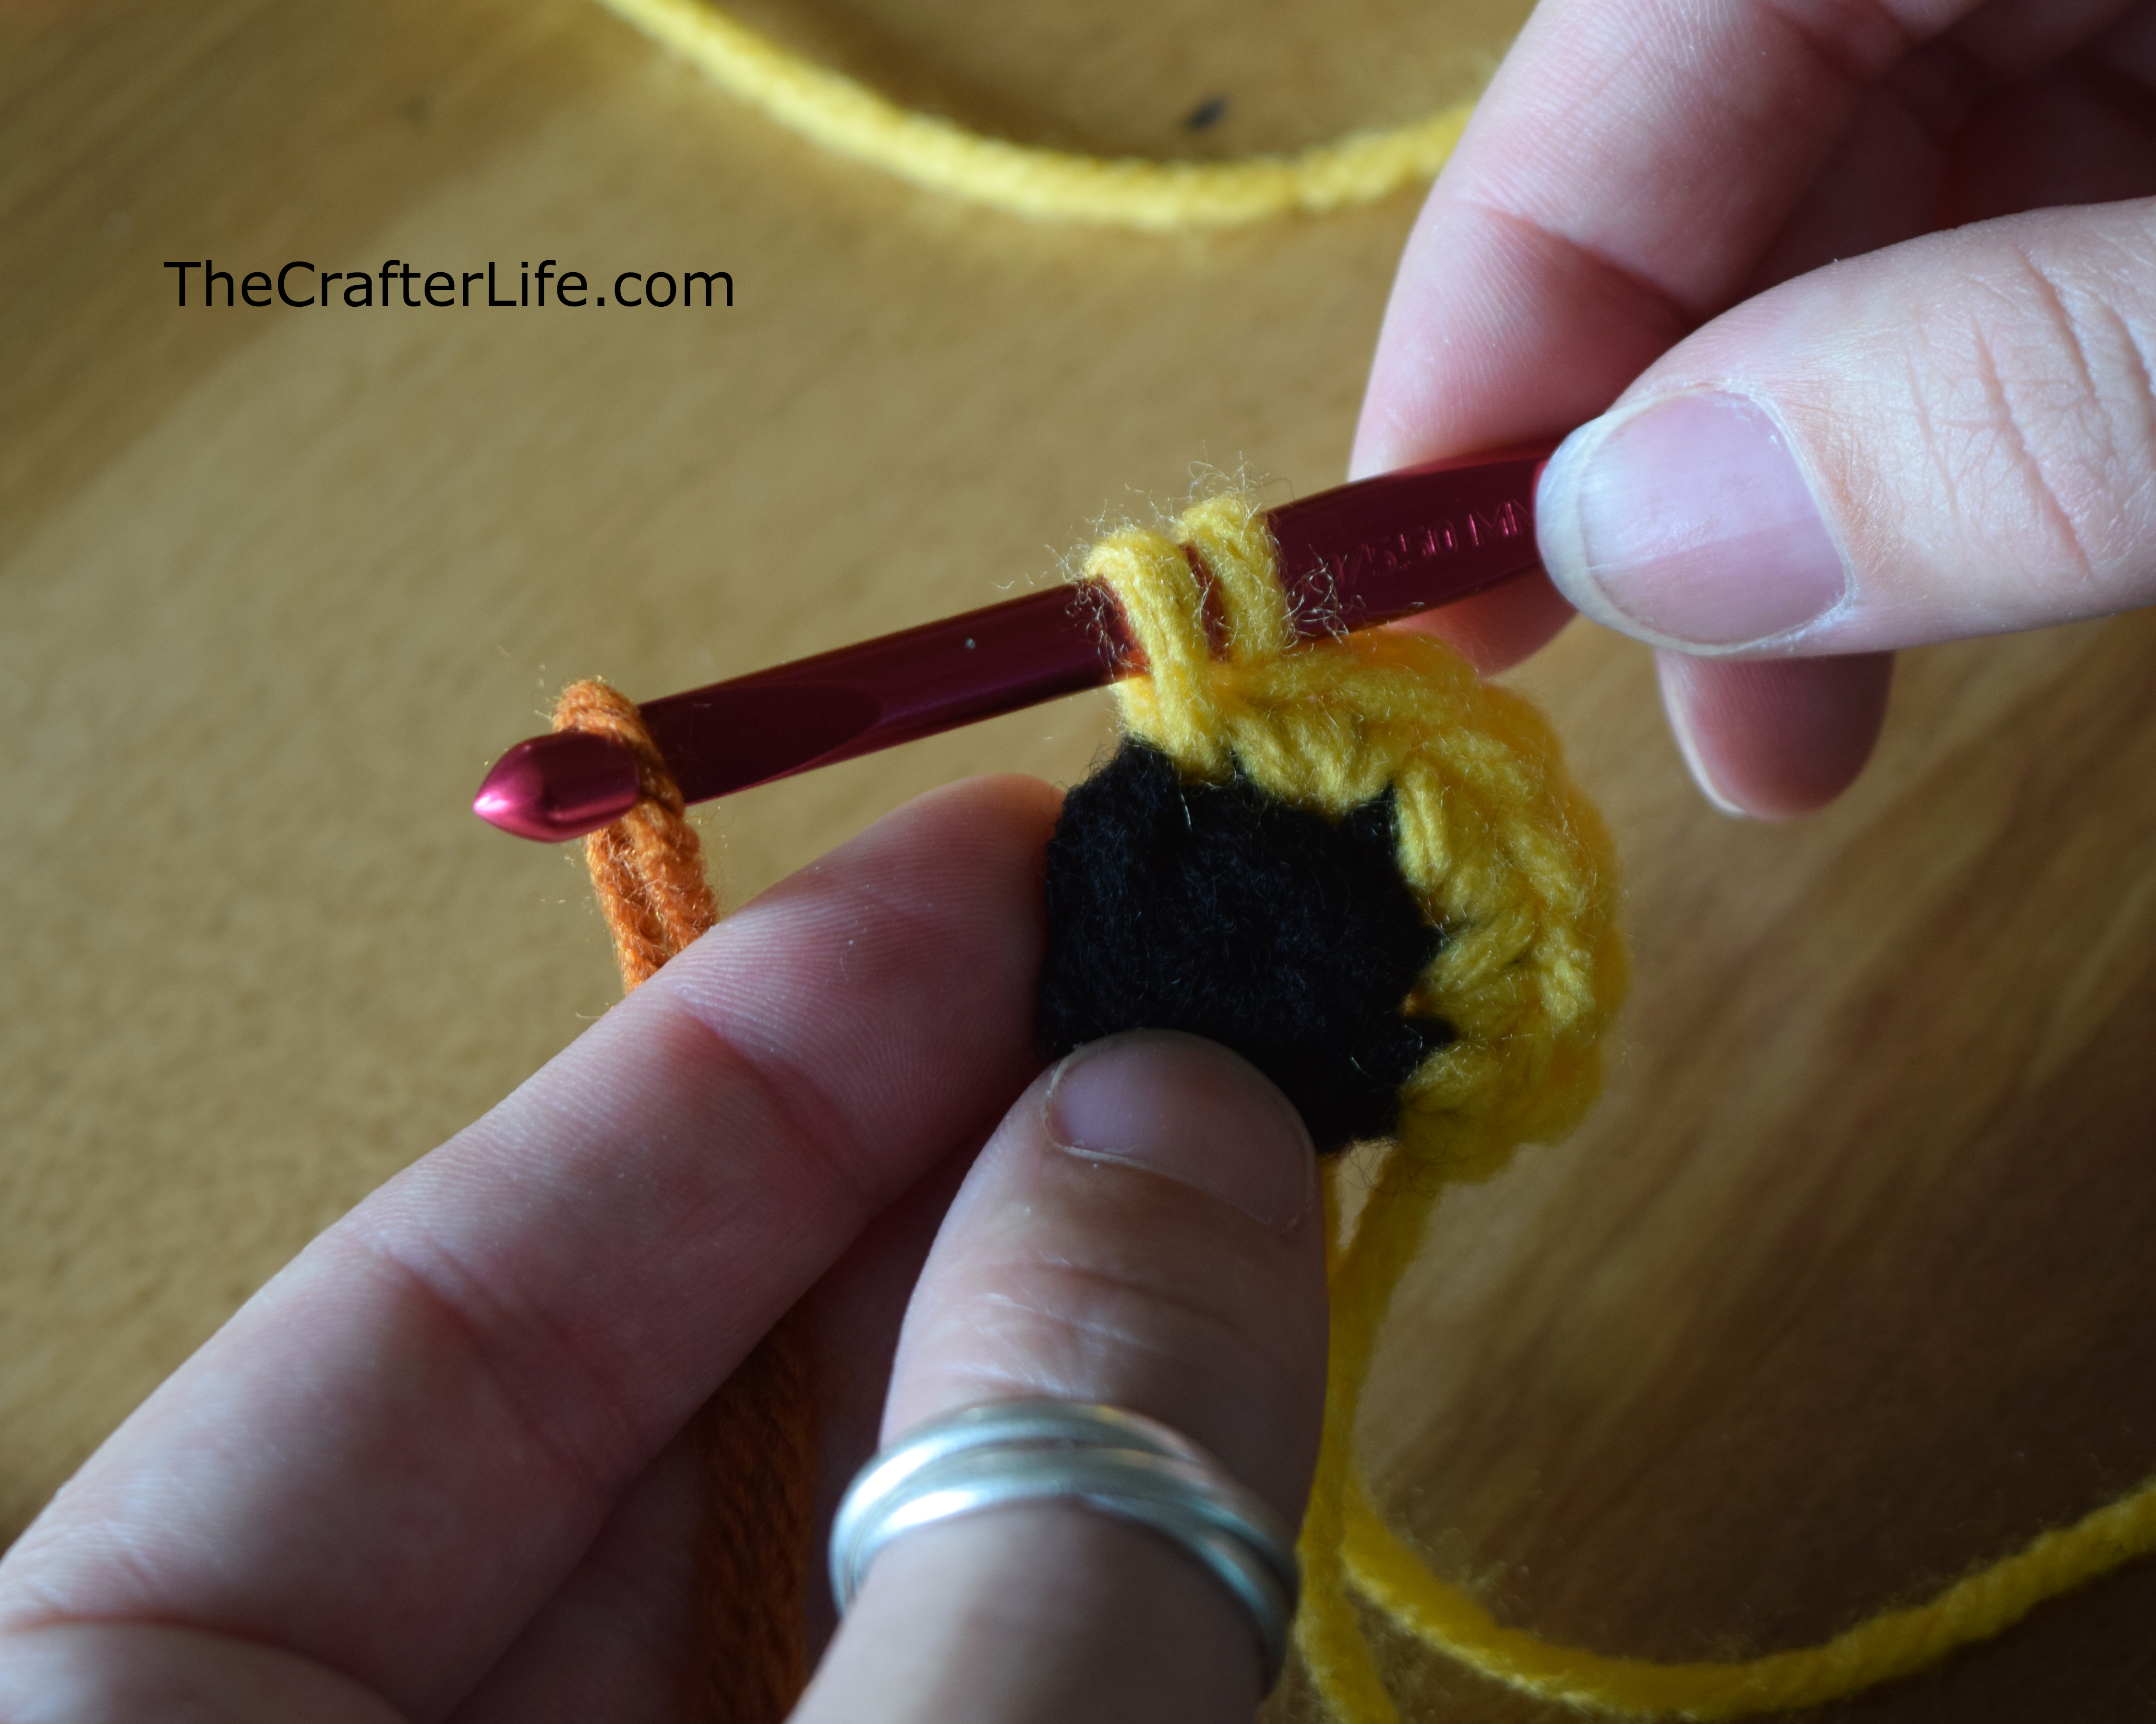
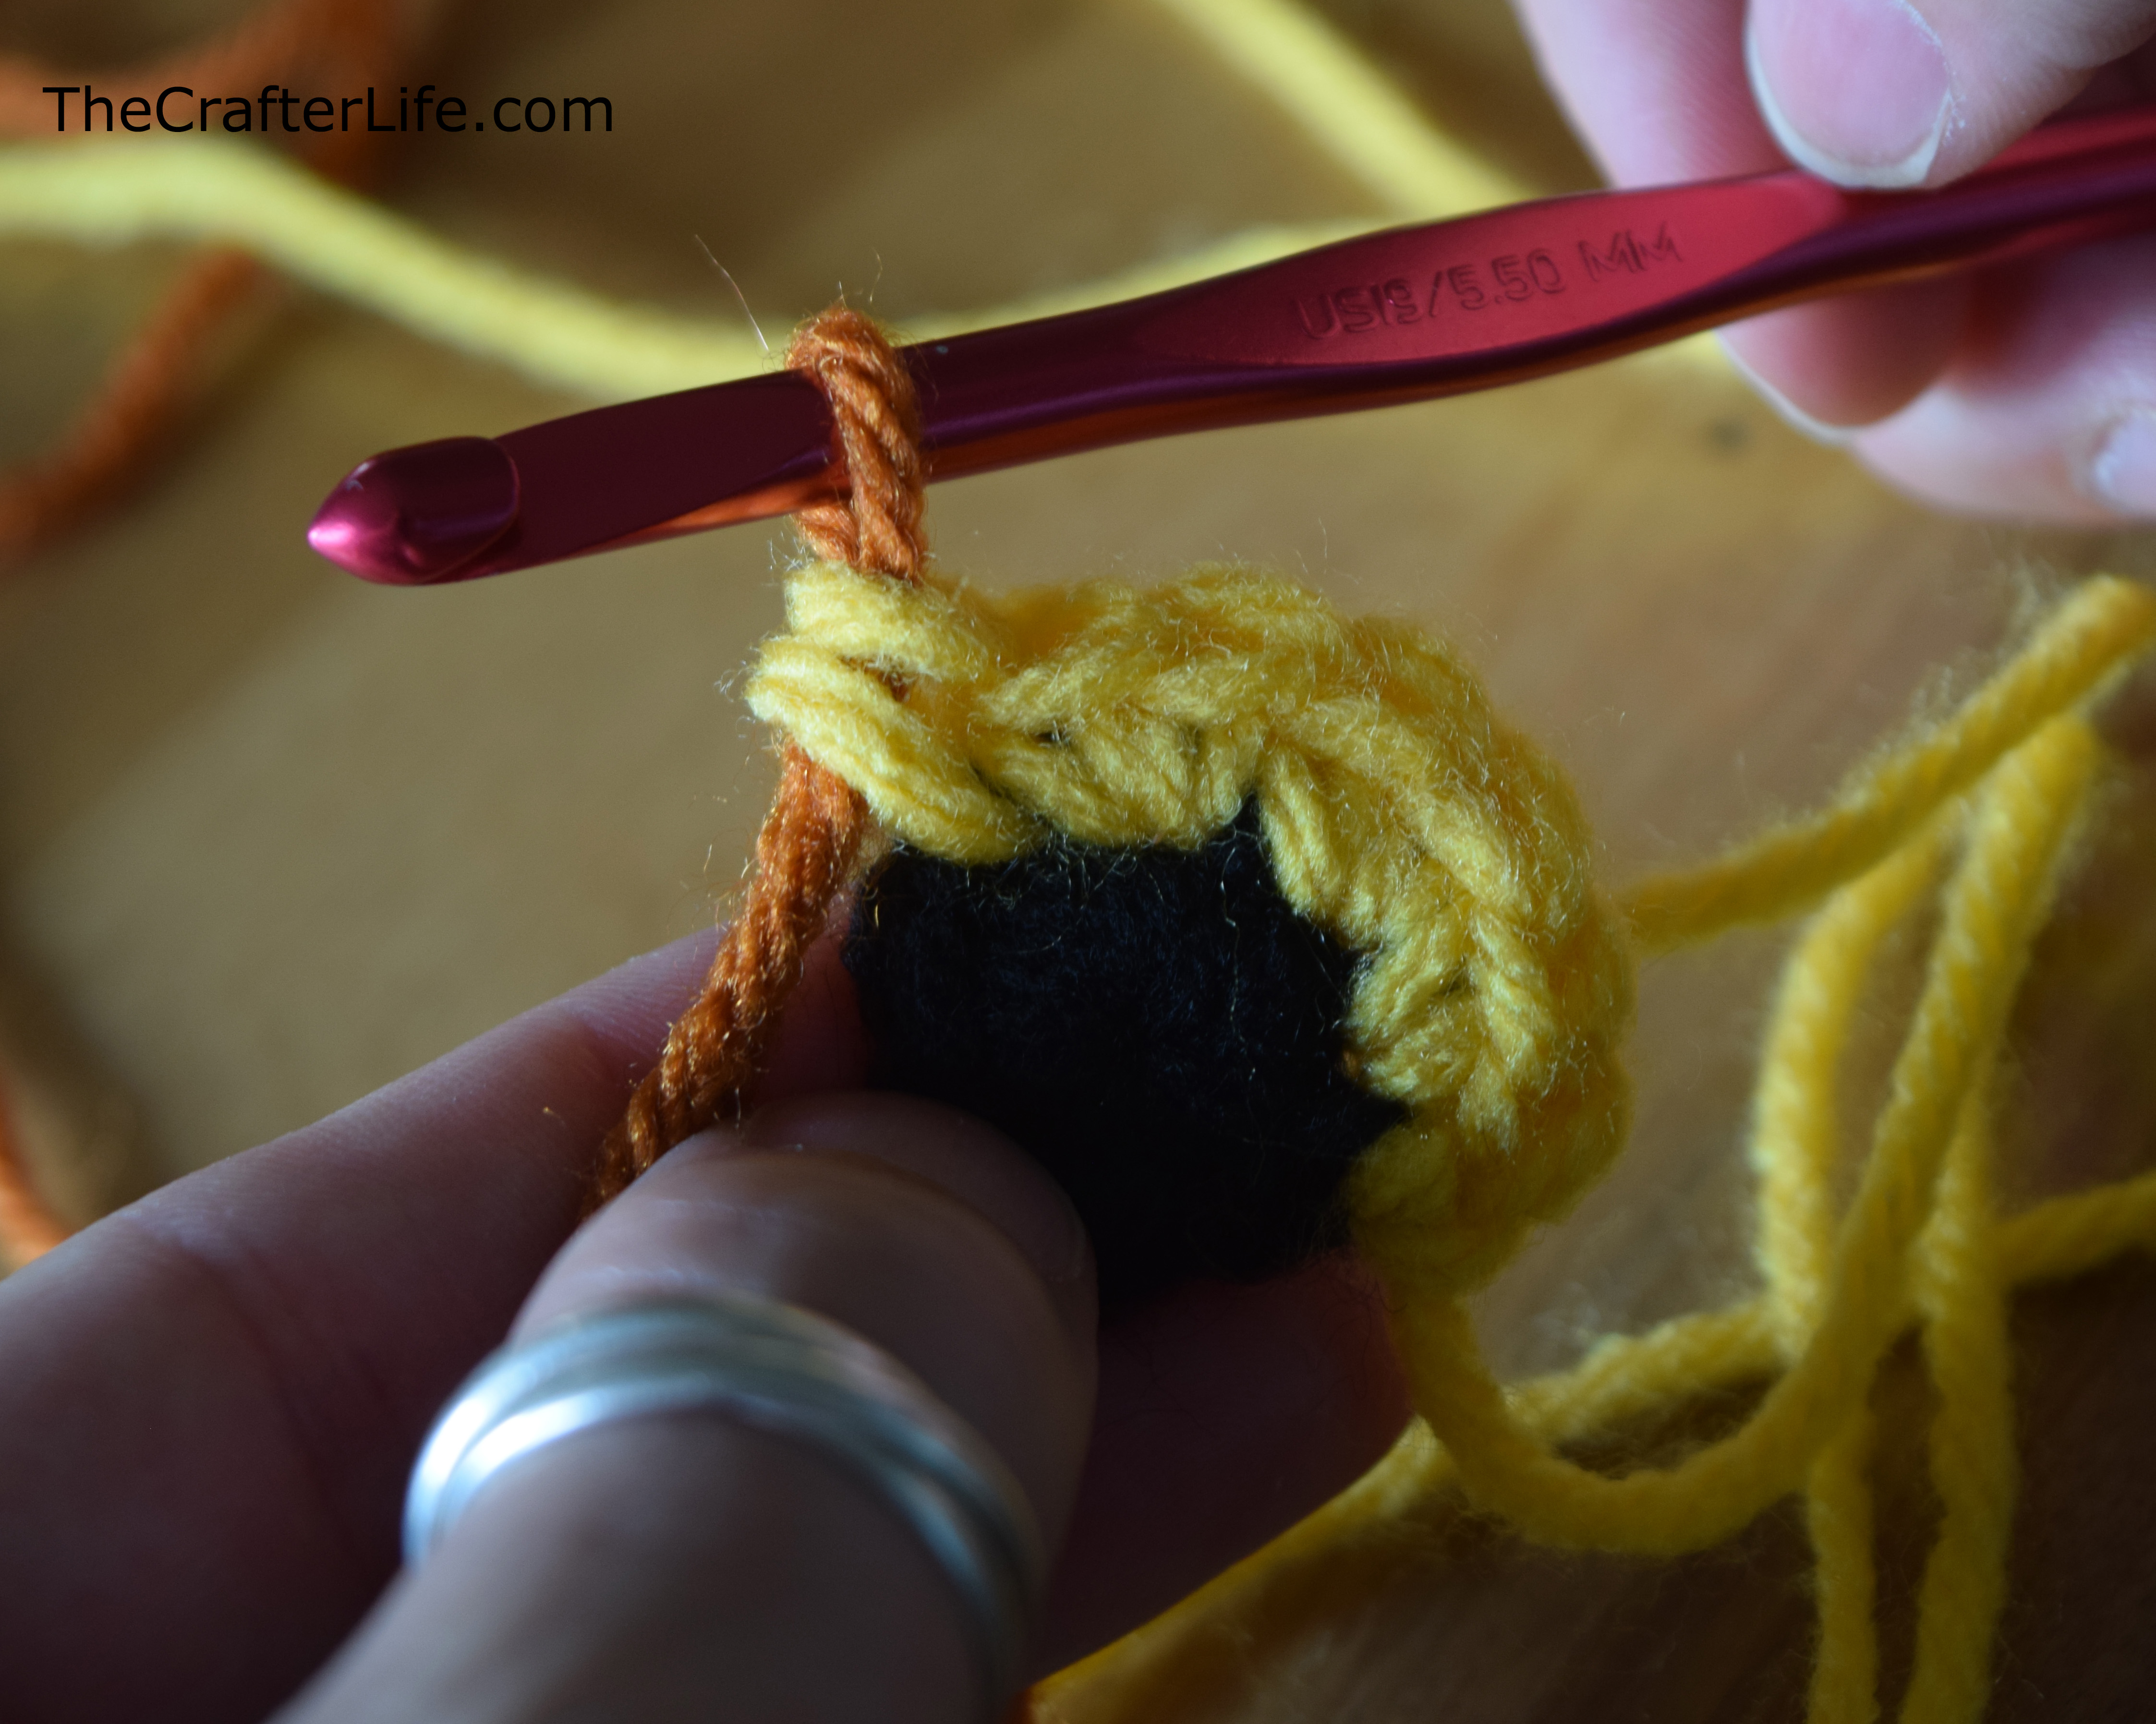
The two pictures below show how to keep the back easier to work with by placing your brown (rust) stitches over the yellow tail so the yellow tail “follows” the stitches around so it’s right where you need it when you pick it up again. The pictures are taken from the back of the eye.

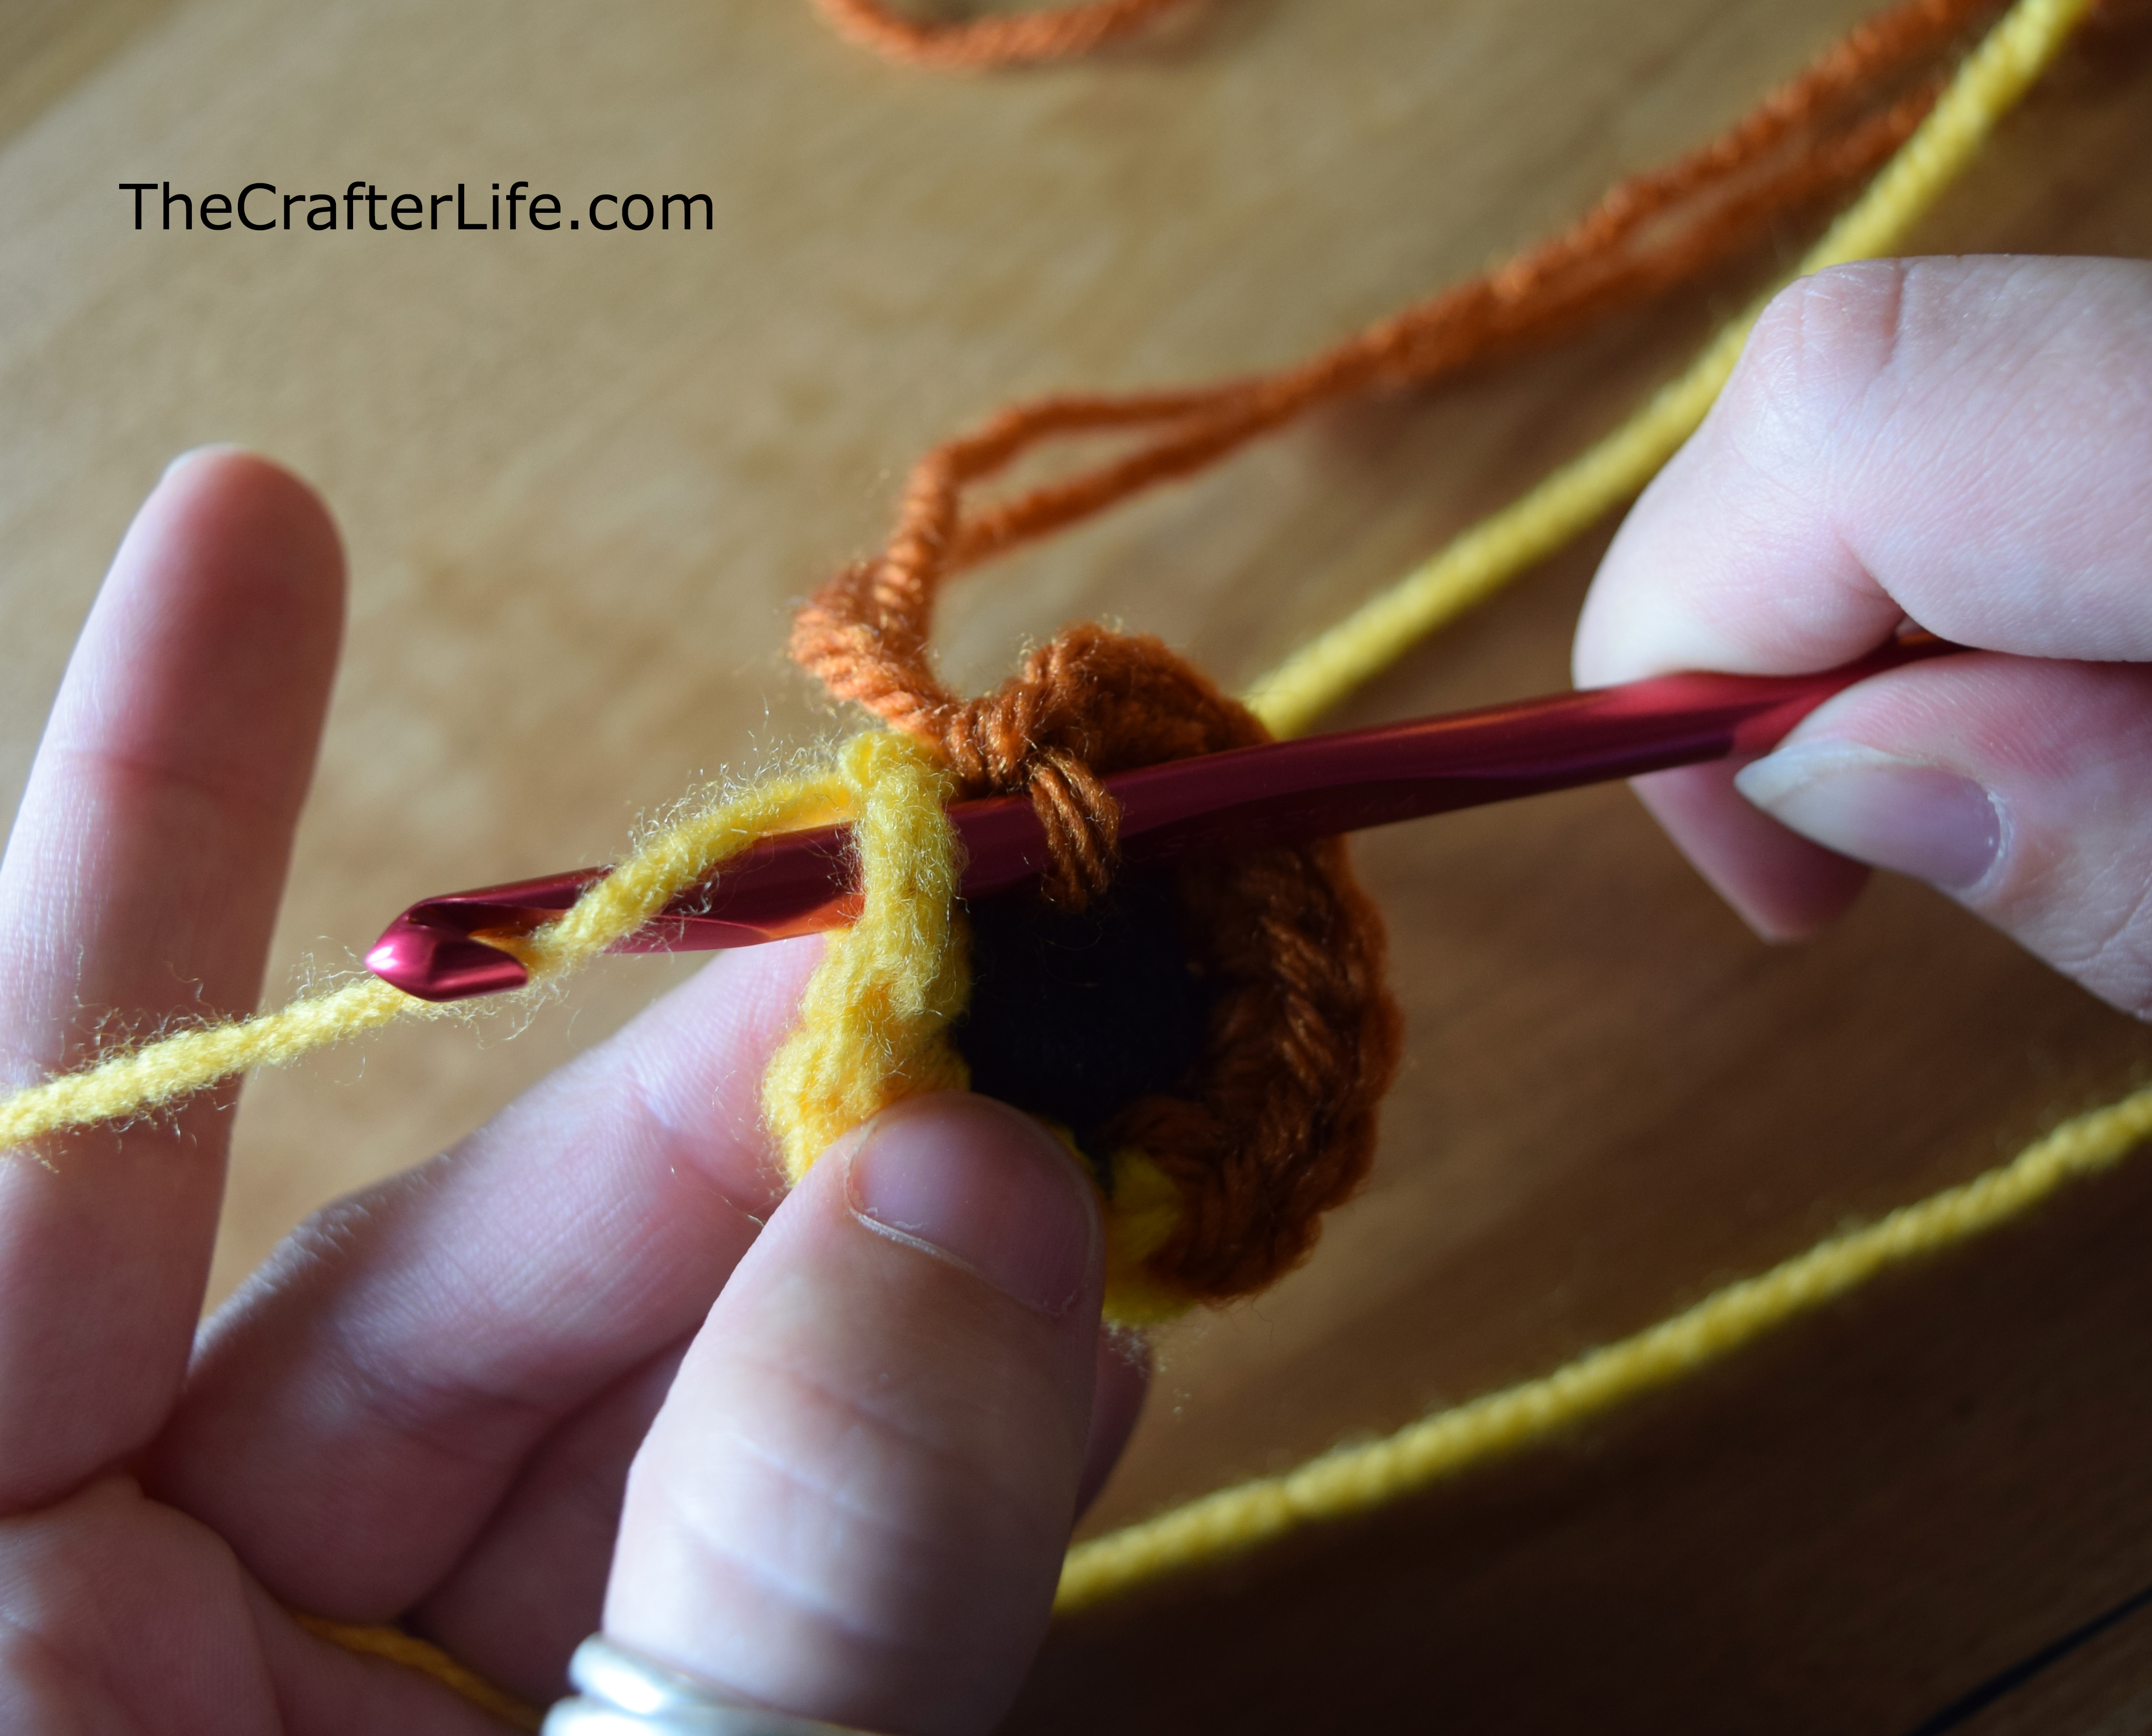
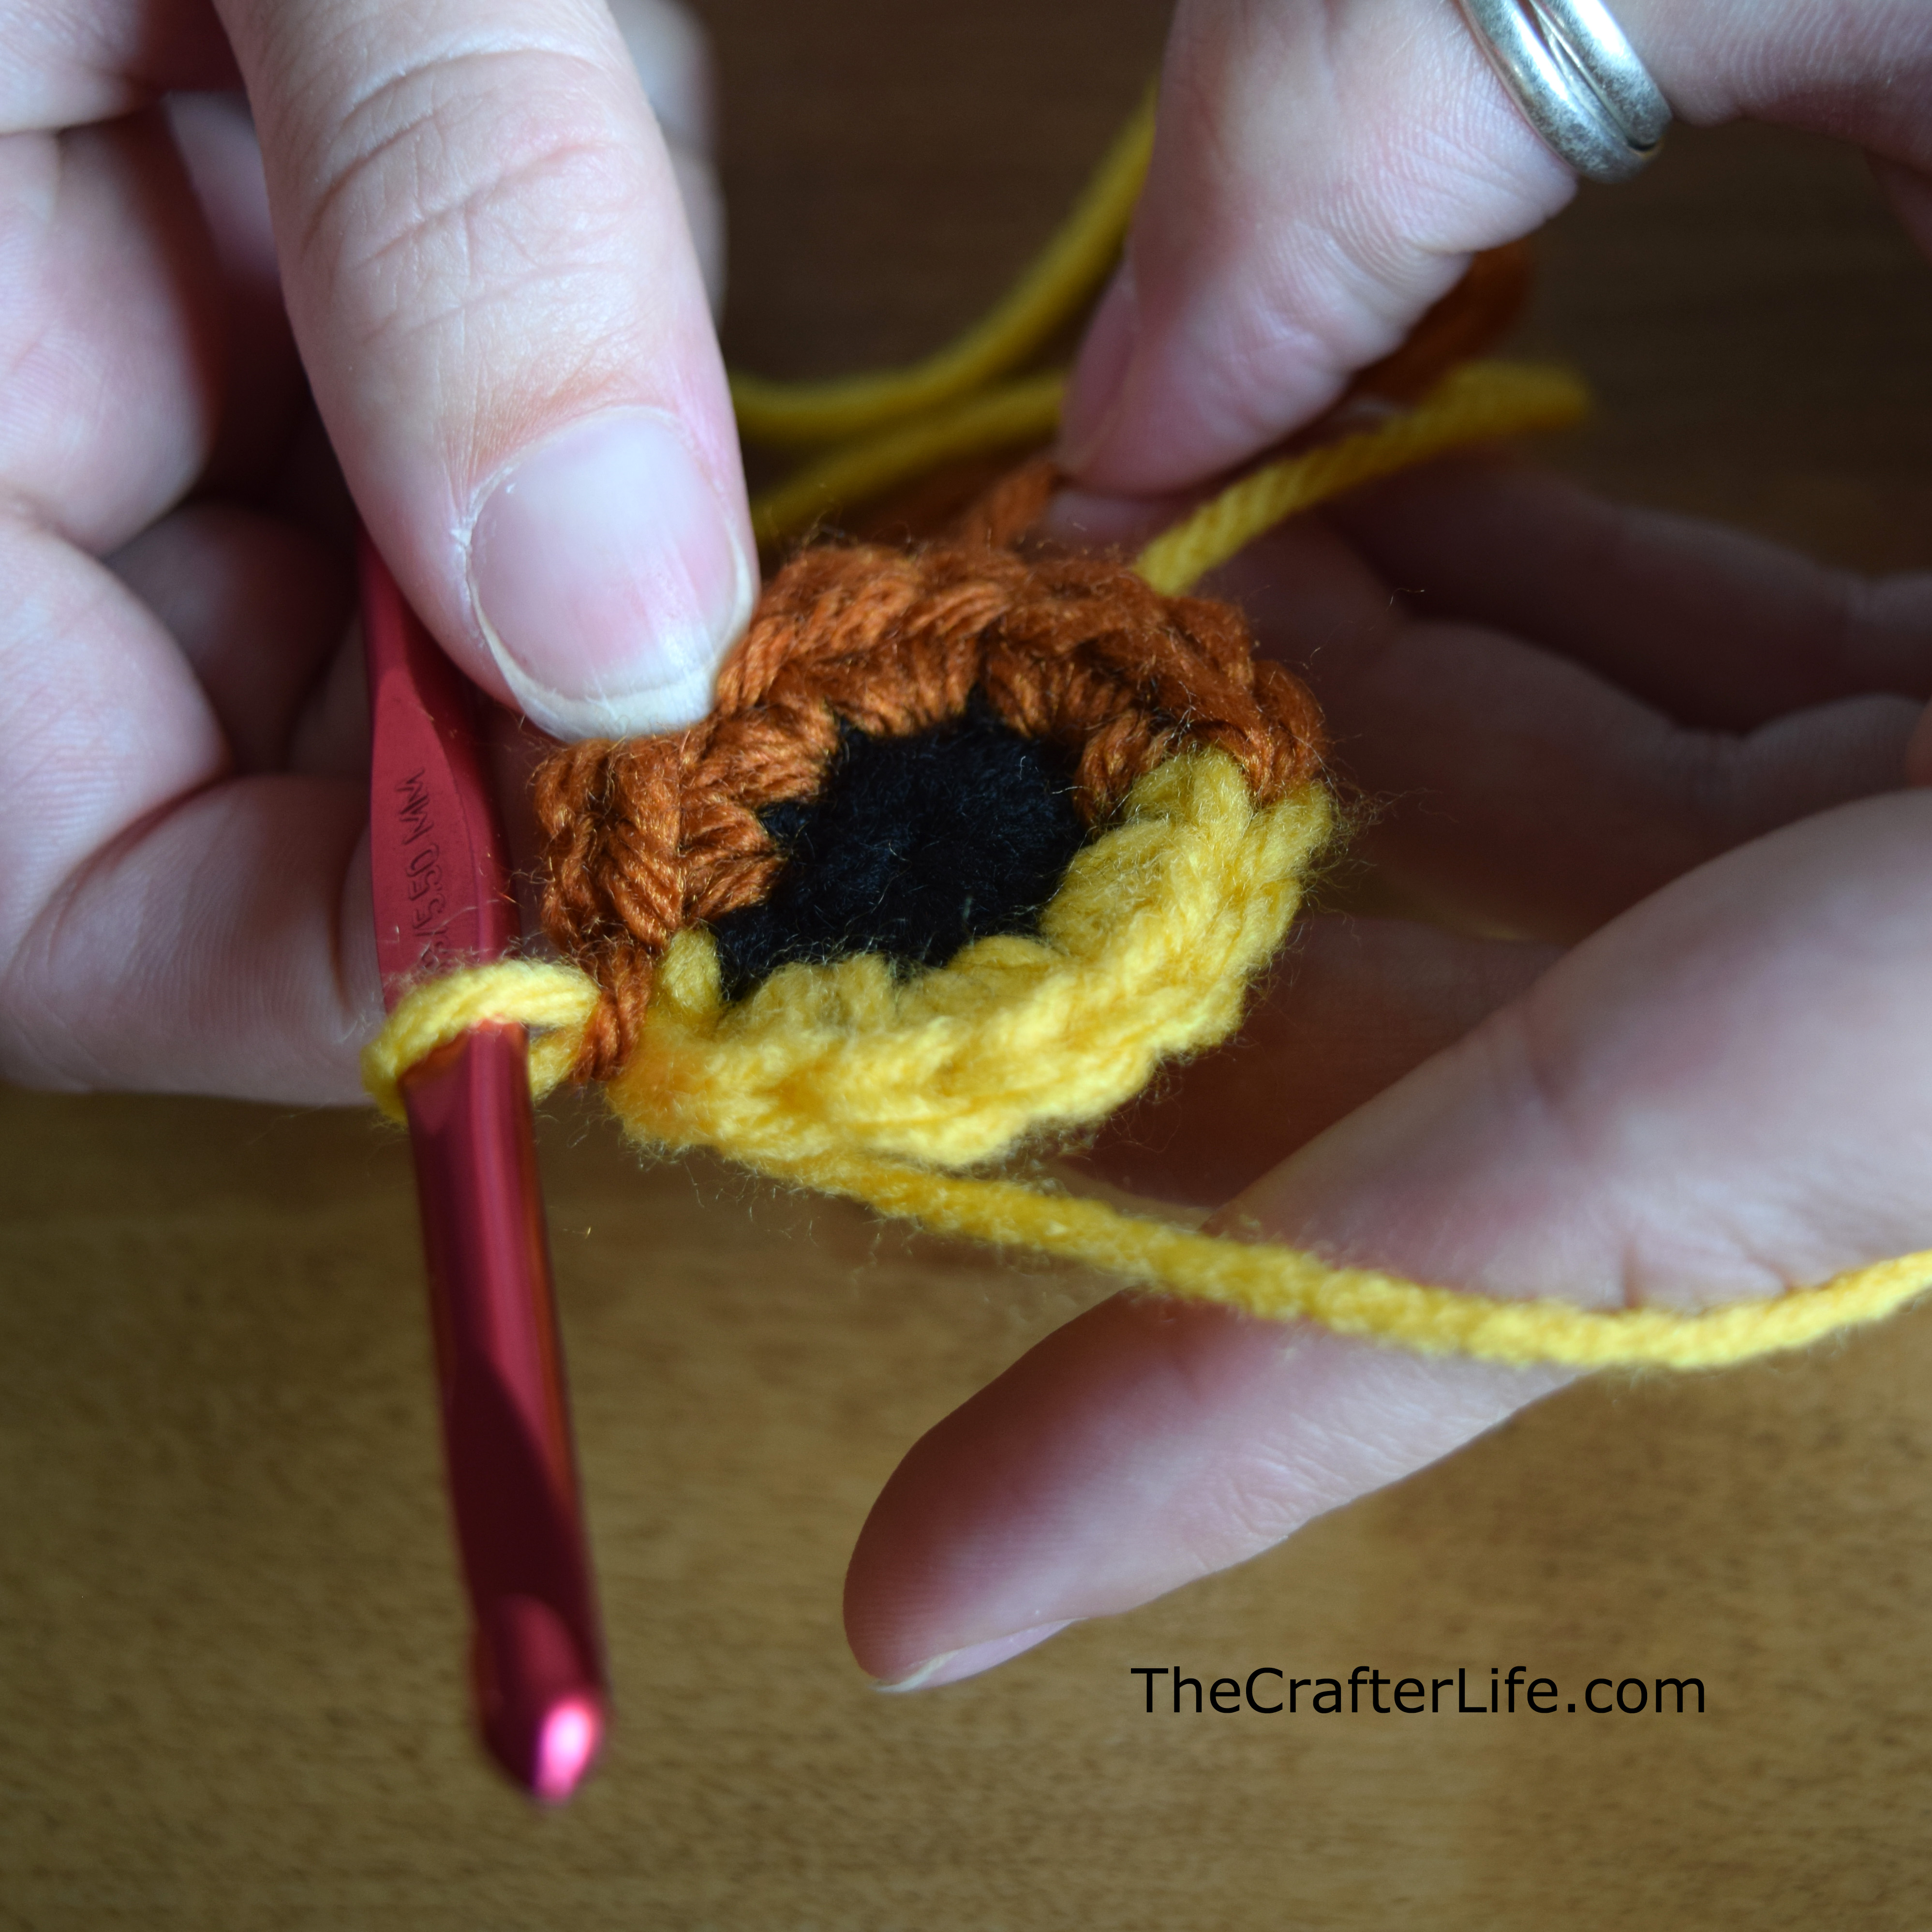
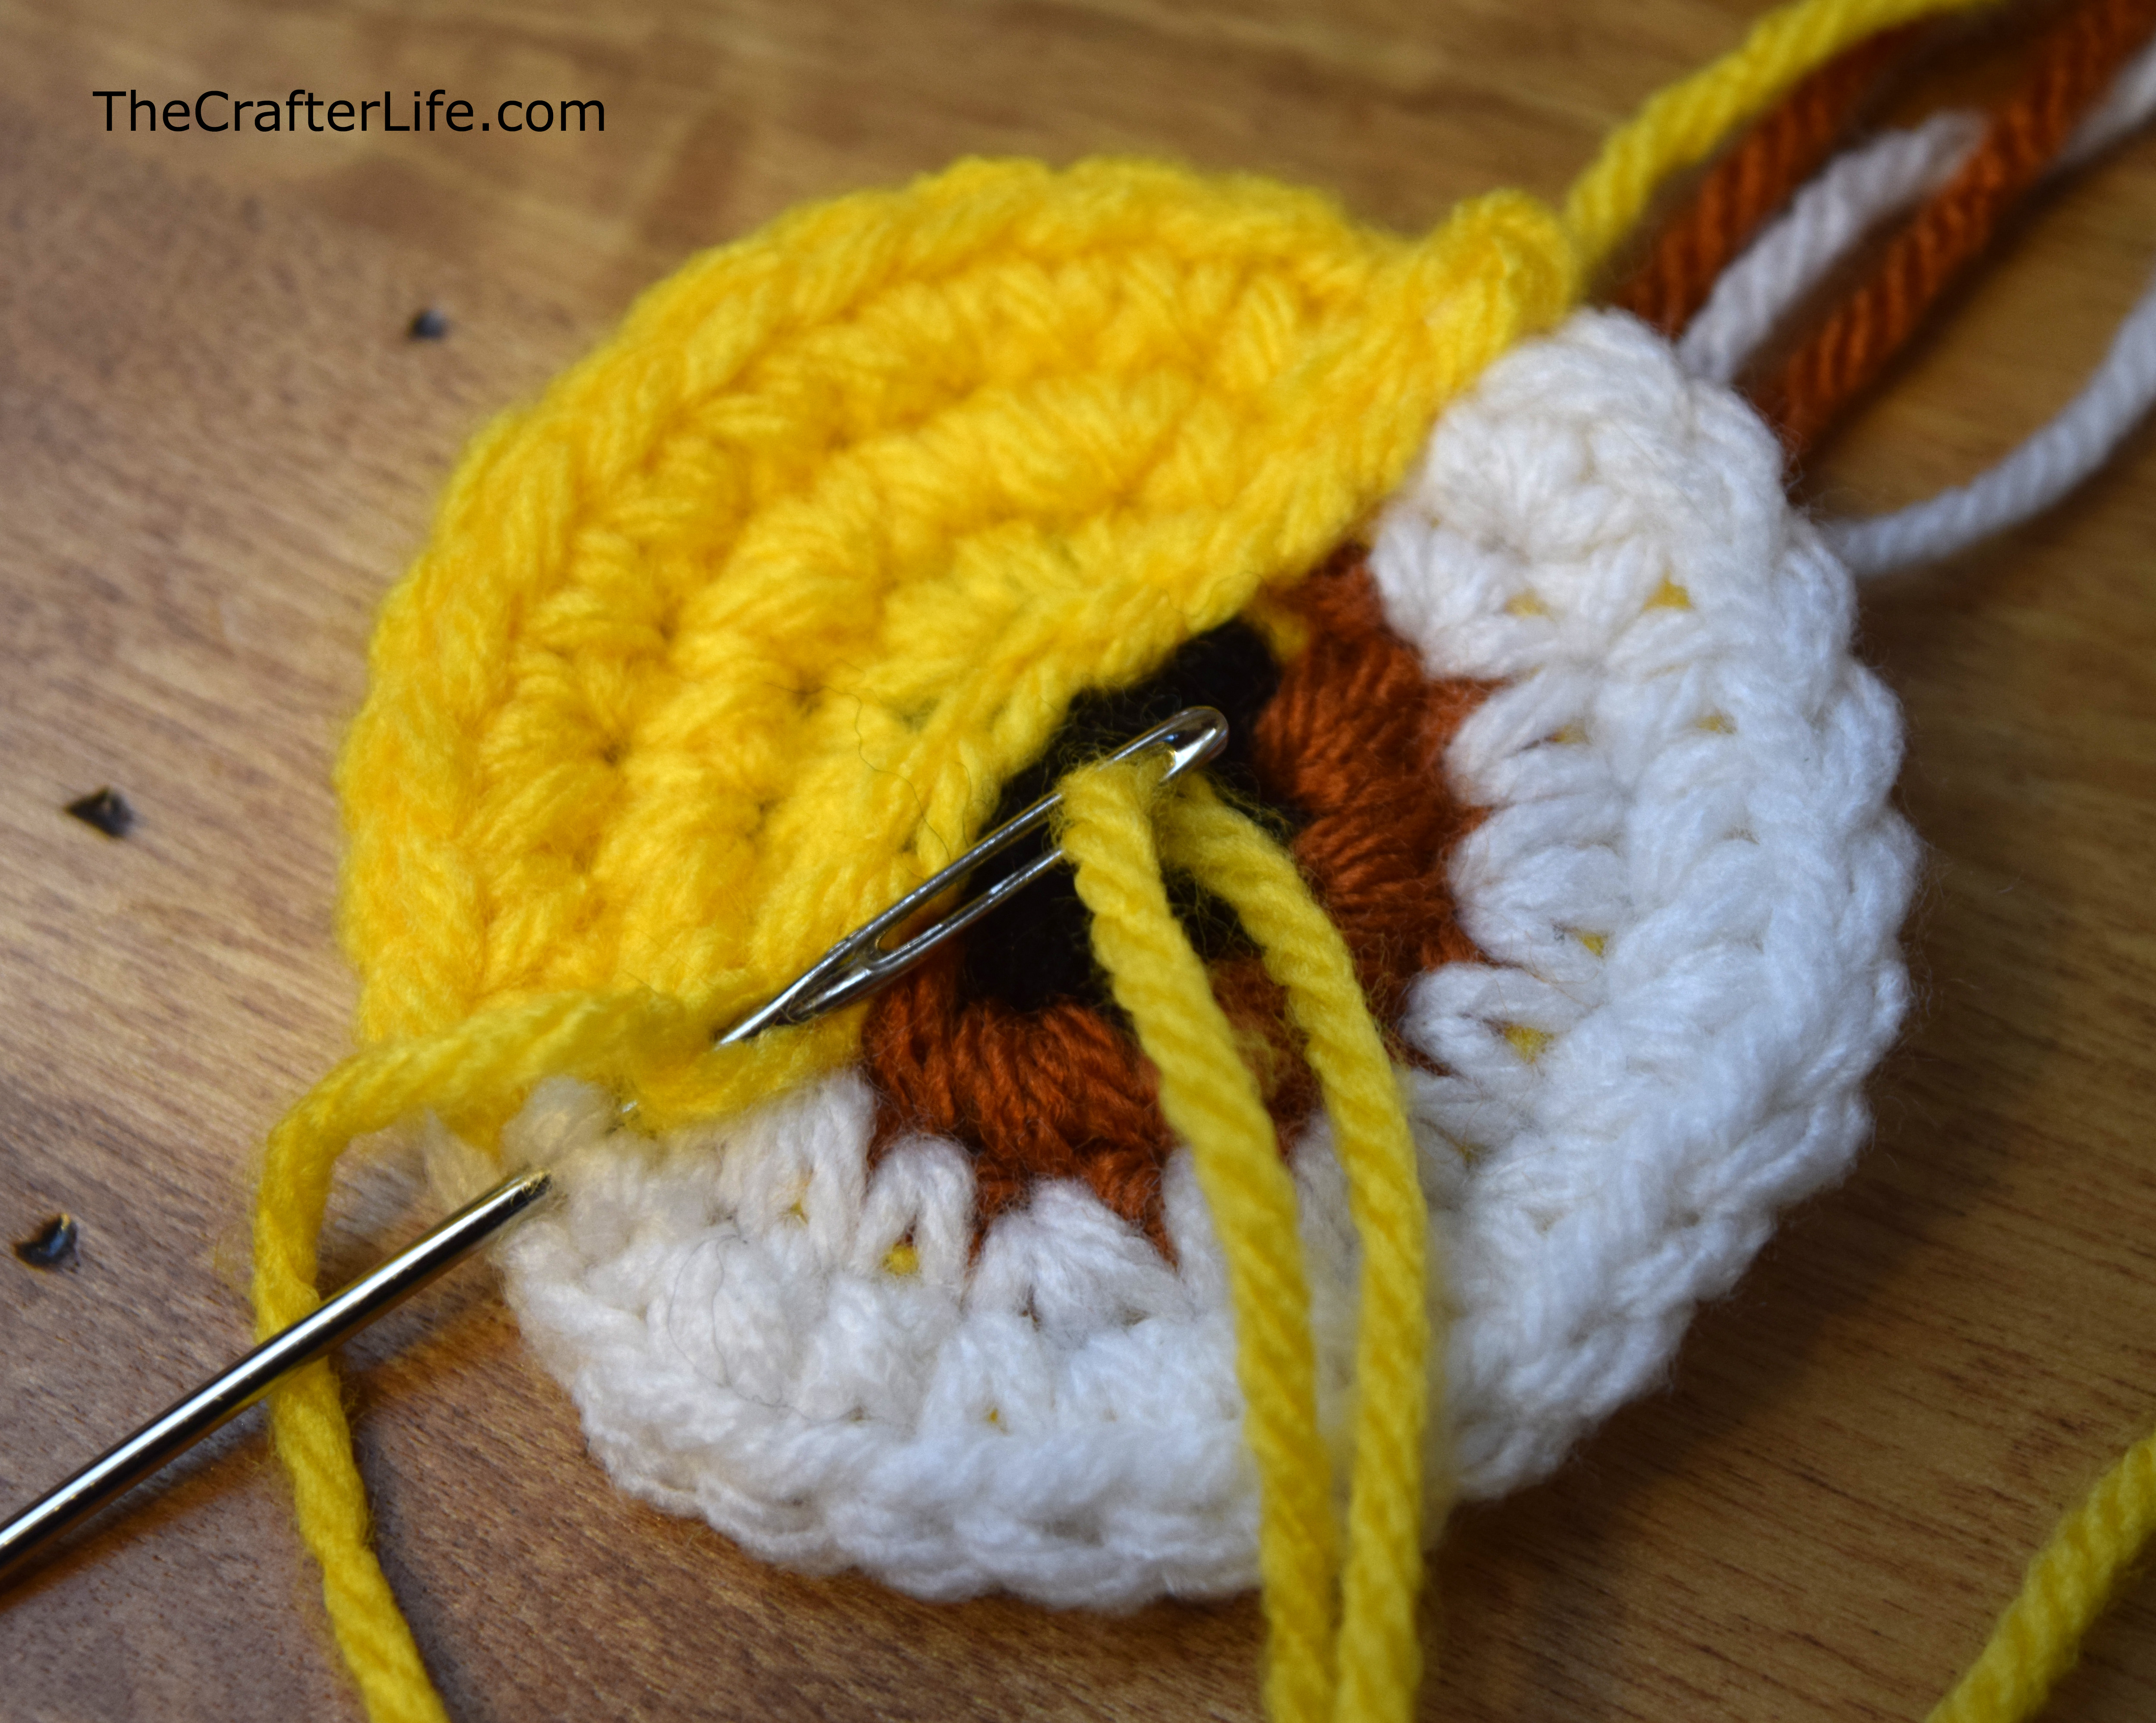
The two pictures below show how to pull the yellow yarn through for the slip stitch at the end of the round. Since the brown stitches were placed over the yellow tail in the back as shown in the two pictures above, the yellow yarn was exactly at the last brown stitch making it easy to change colors.
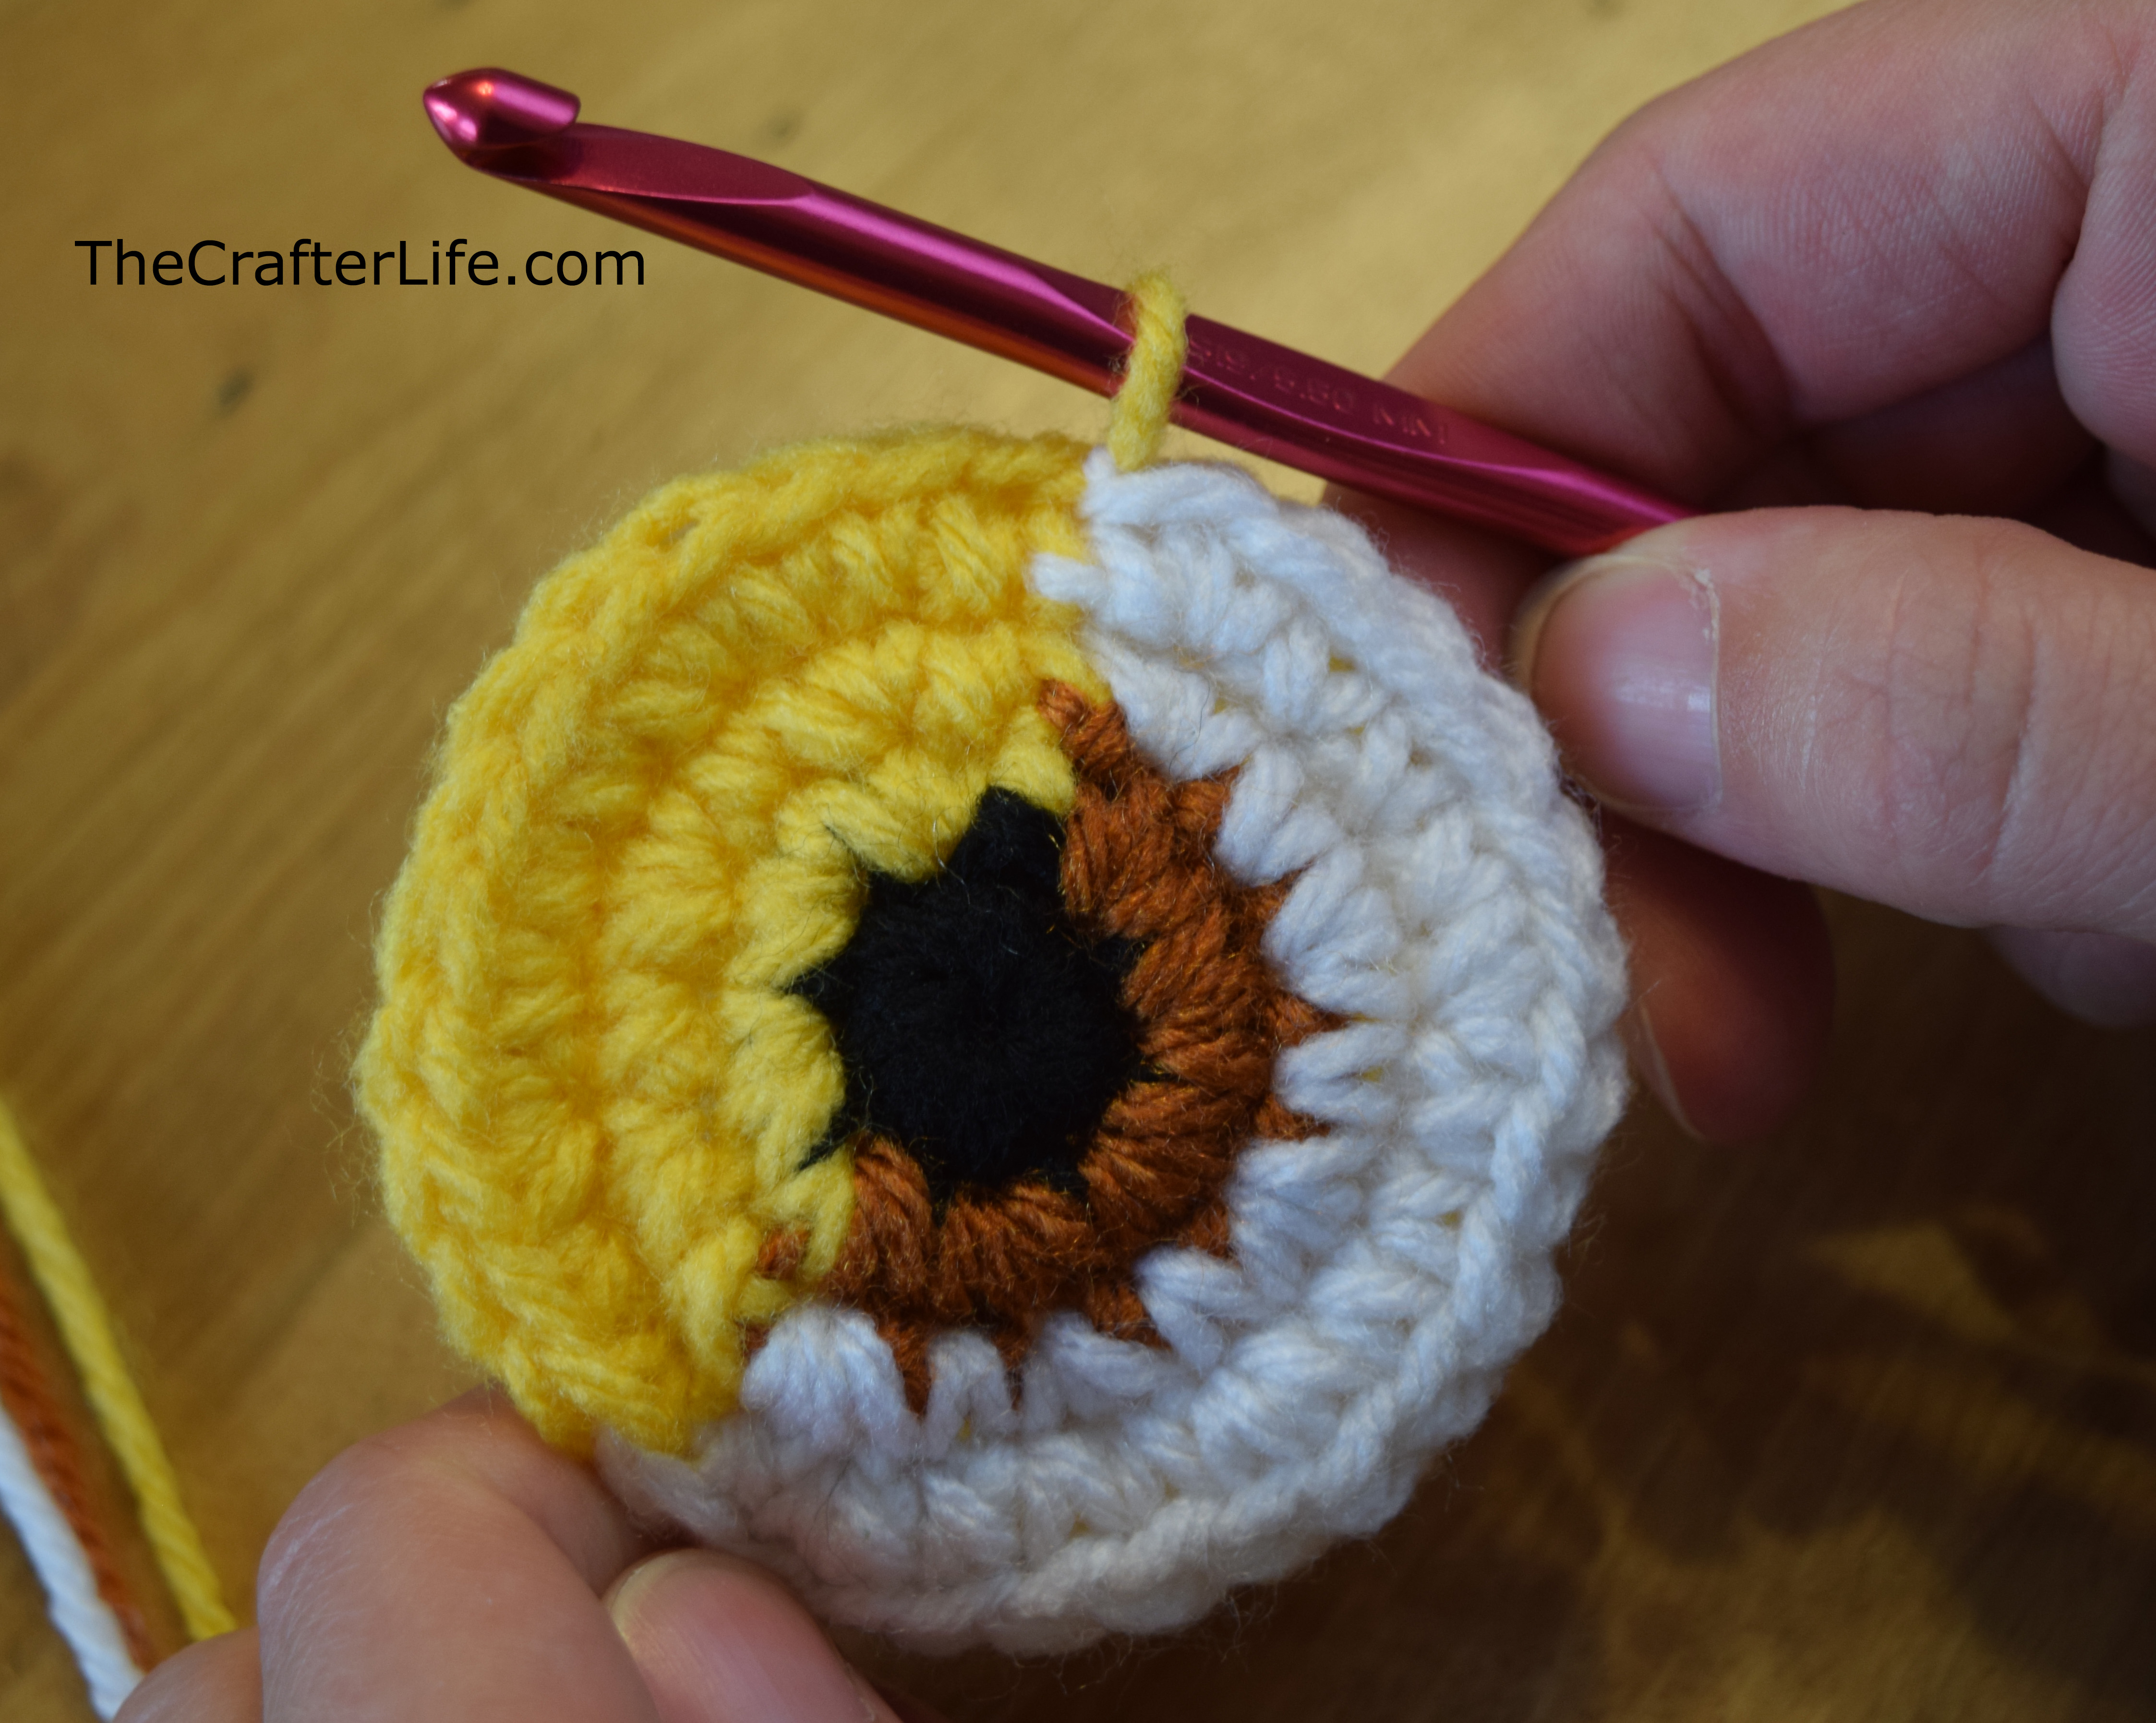
Rnd 3: (You should now have changed color to yellow) Ch 1, sc in first st, 2 sc in next st, sc in next st, 2 sc in next st, sc in next st, 2 sc in next st, sc in next st pulling through white yarn to change color to white, with white yarn (making sure to run your yellow tail under the stitches on the back so that the tail follows the circle around), 2 sc in next st, sc in next st, 2 sc in next st, sc in next st, 2 sc in next st, sc in next st, 2 sc in next st, sc in next st, 2 sc in next st, slst to first st of round, pulling through yellow yarn for slst. (10 yellow sc + 14 white sc = 24 sc)

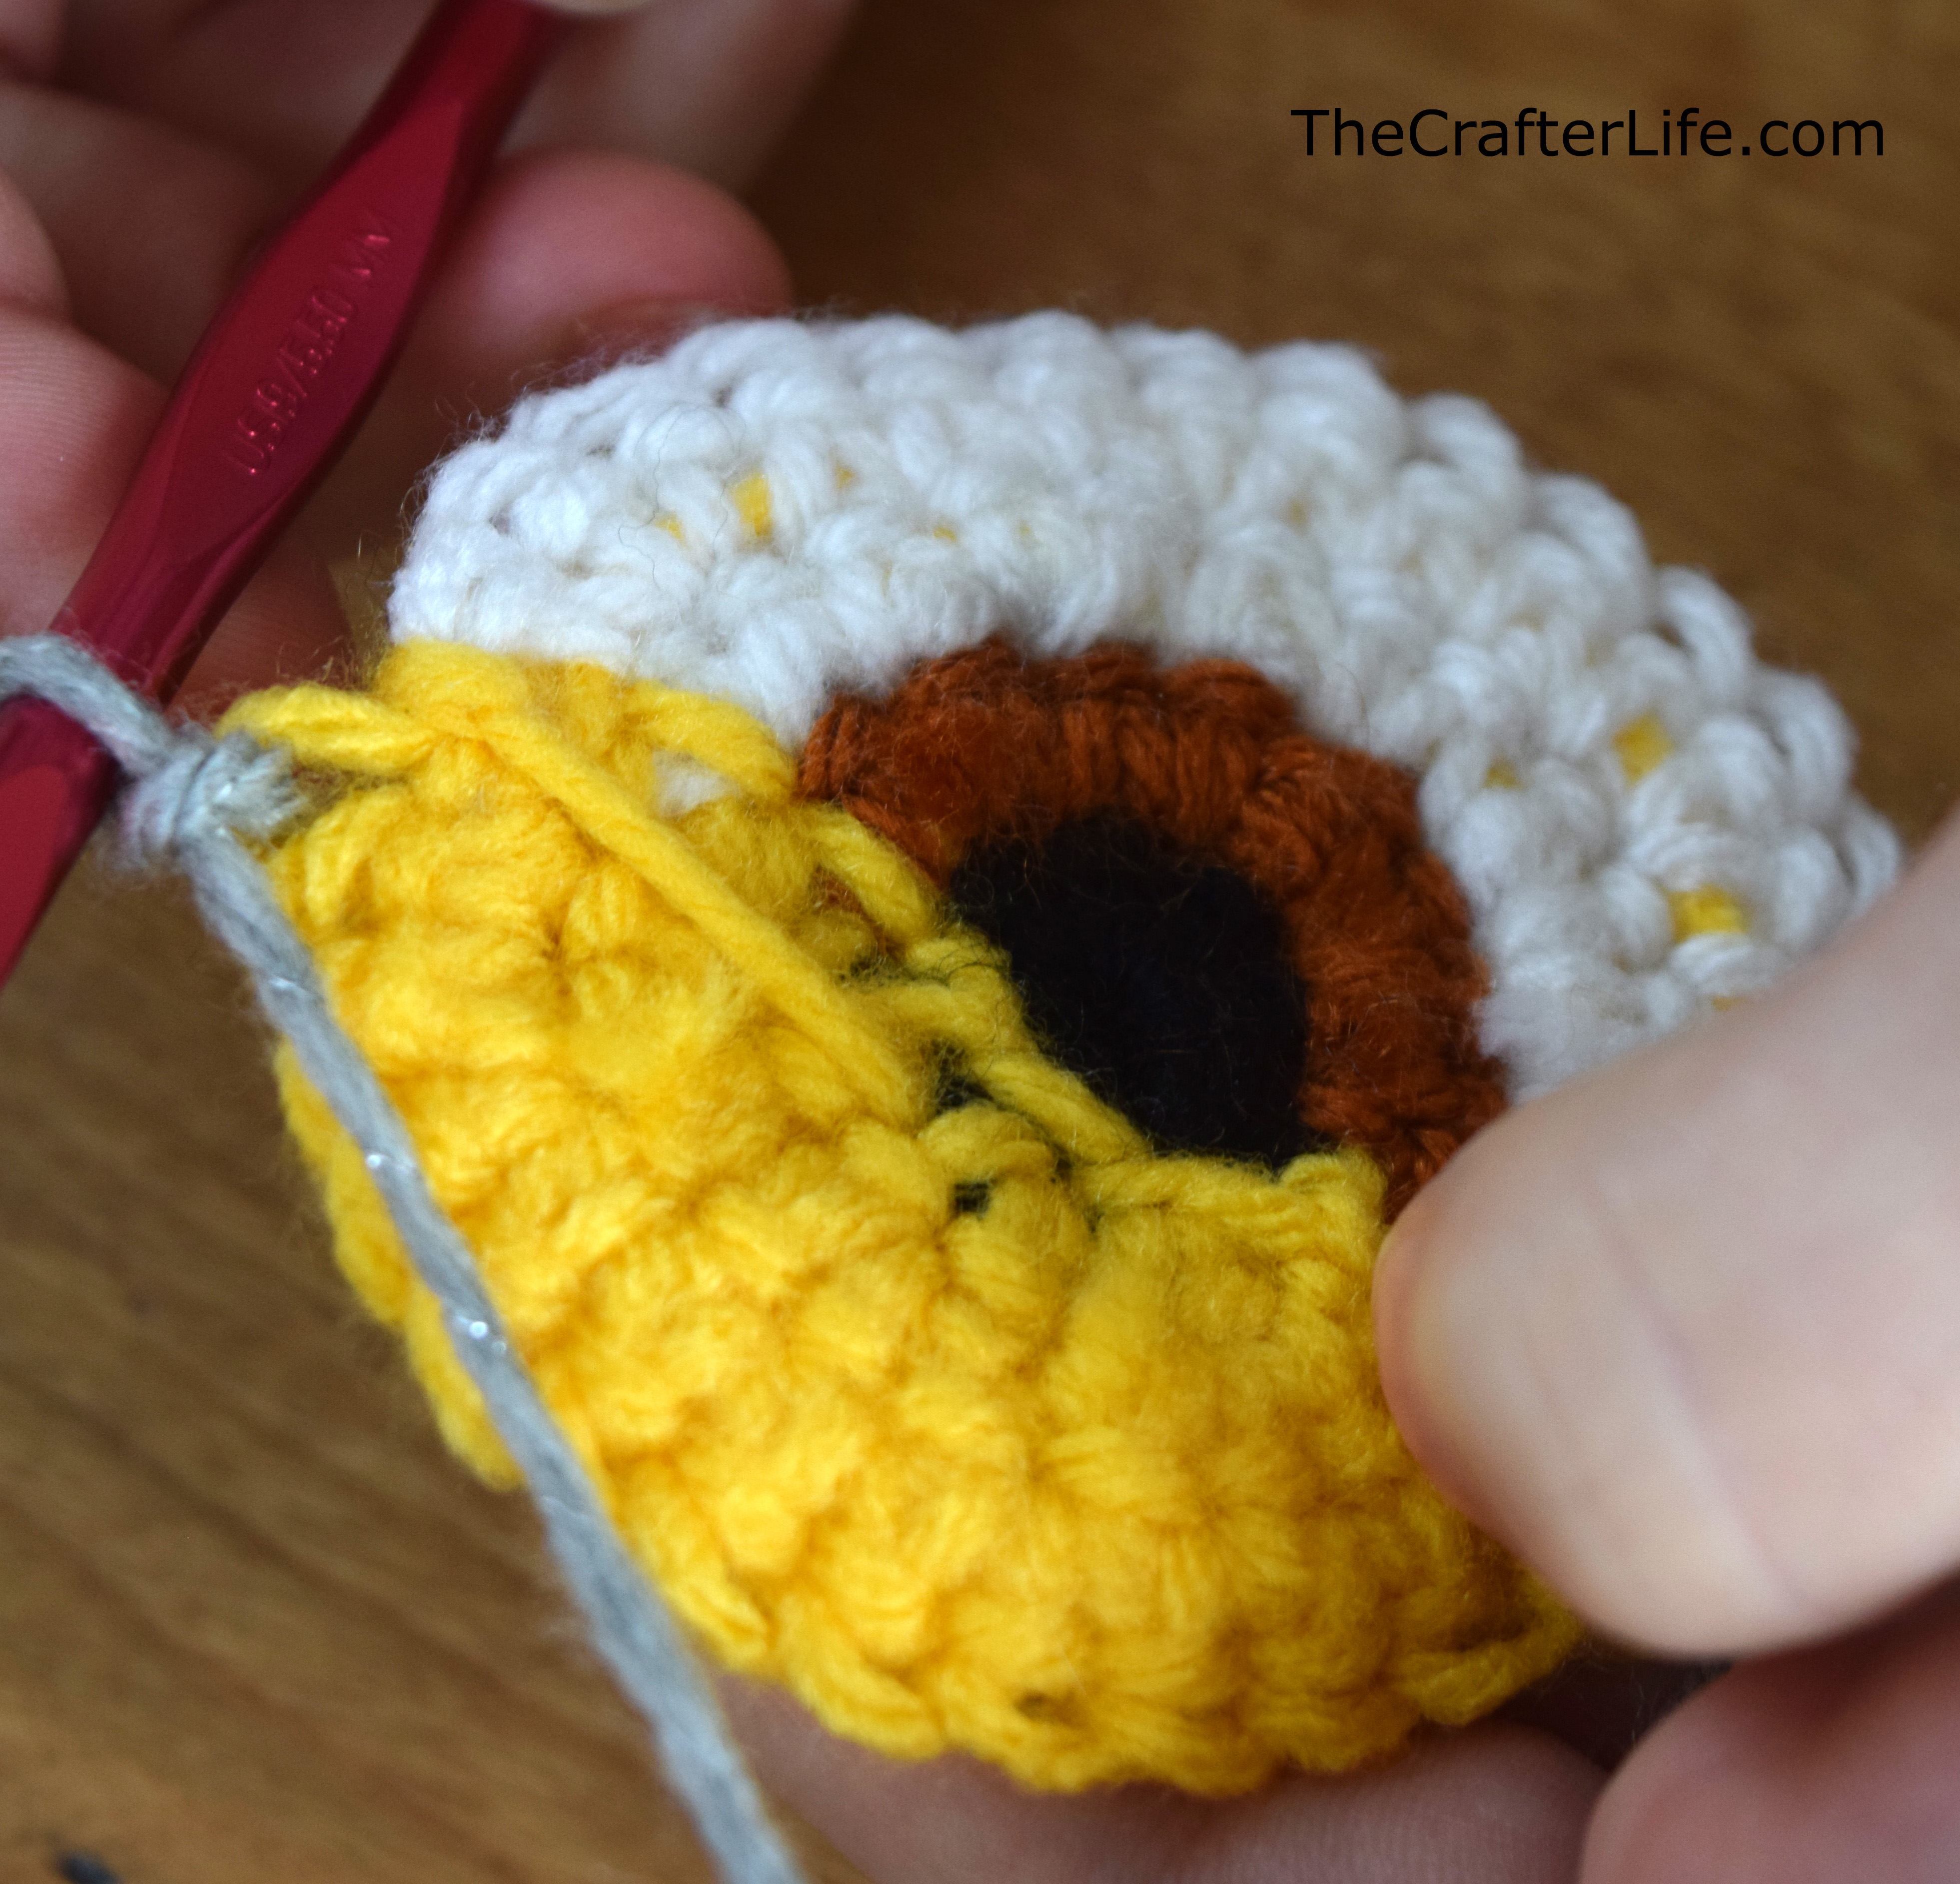
Rnd 4: With yellow yarn (making sure to run your white tail under the stitches in the back), ch 1, sc in first 3 sts, 2 sc in next st, sc in next 3 sts, 2 sc in next st, sc in next 2 sts, pulling through white yarn to change color on the second st, with white yarn (making sure to run your yellow tail under the stitches in the back), sc in next st, 2 sc in next st, sc in next 3 sts, 2 sc in next st, sc in next 3 sts, 2 sc in next st, sc in next 3 sts, 2 sc in next st, slst to first st of round, pulling through yellow for slst, fasten off, leaving a long tail to slip stitch the yellow line across the bottom of the eyelid. Weave in all other loose ends on the back of the eye. Follow the directions below to embroider the eyelid line. (12 yellow sc + 18 white sc = 30 sc)
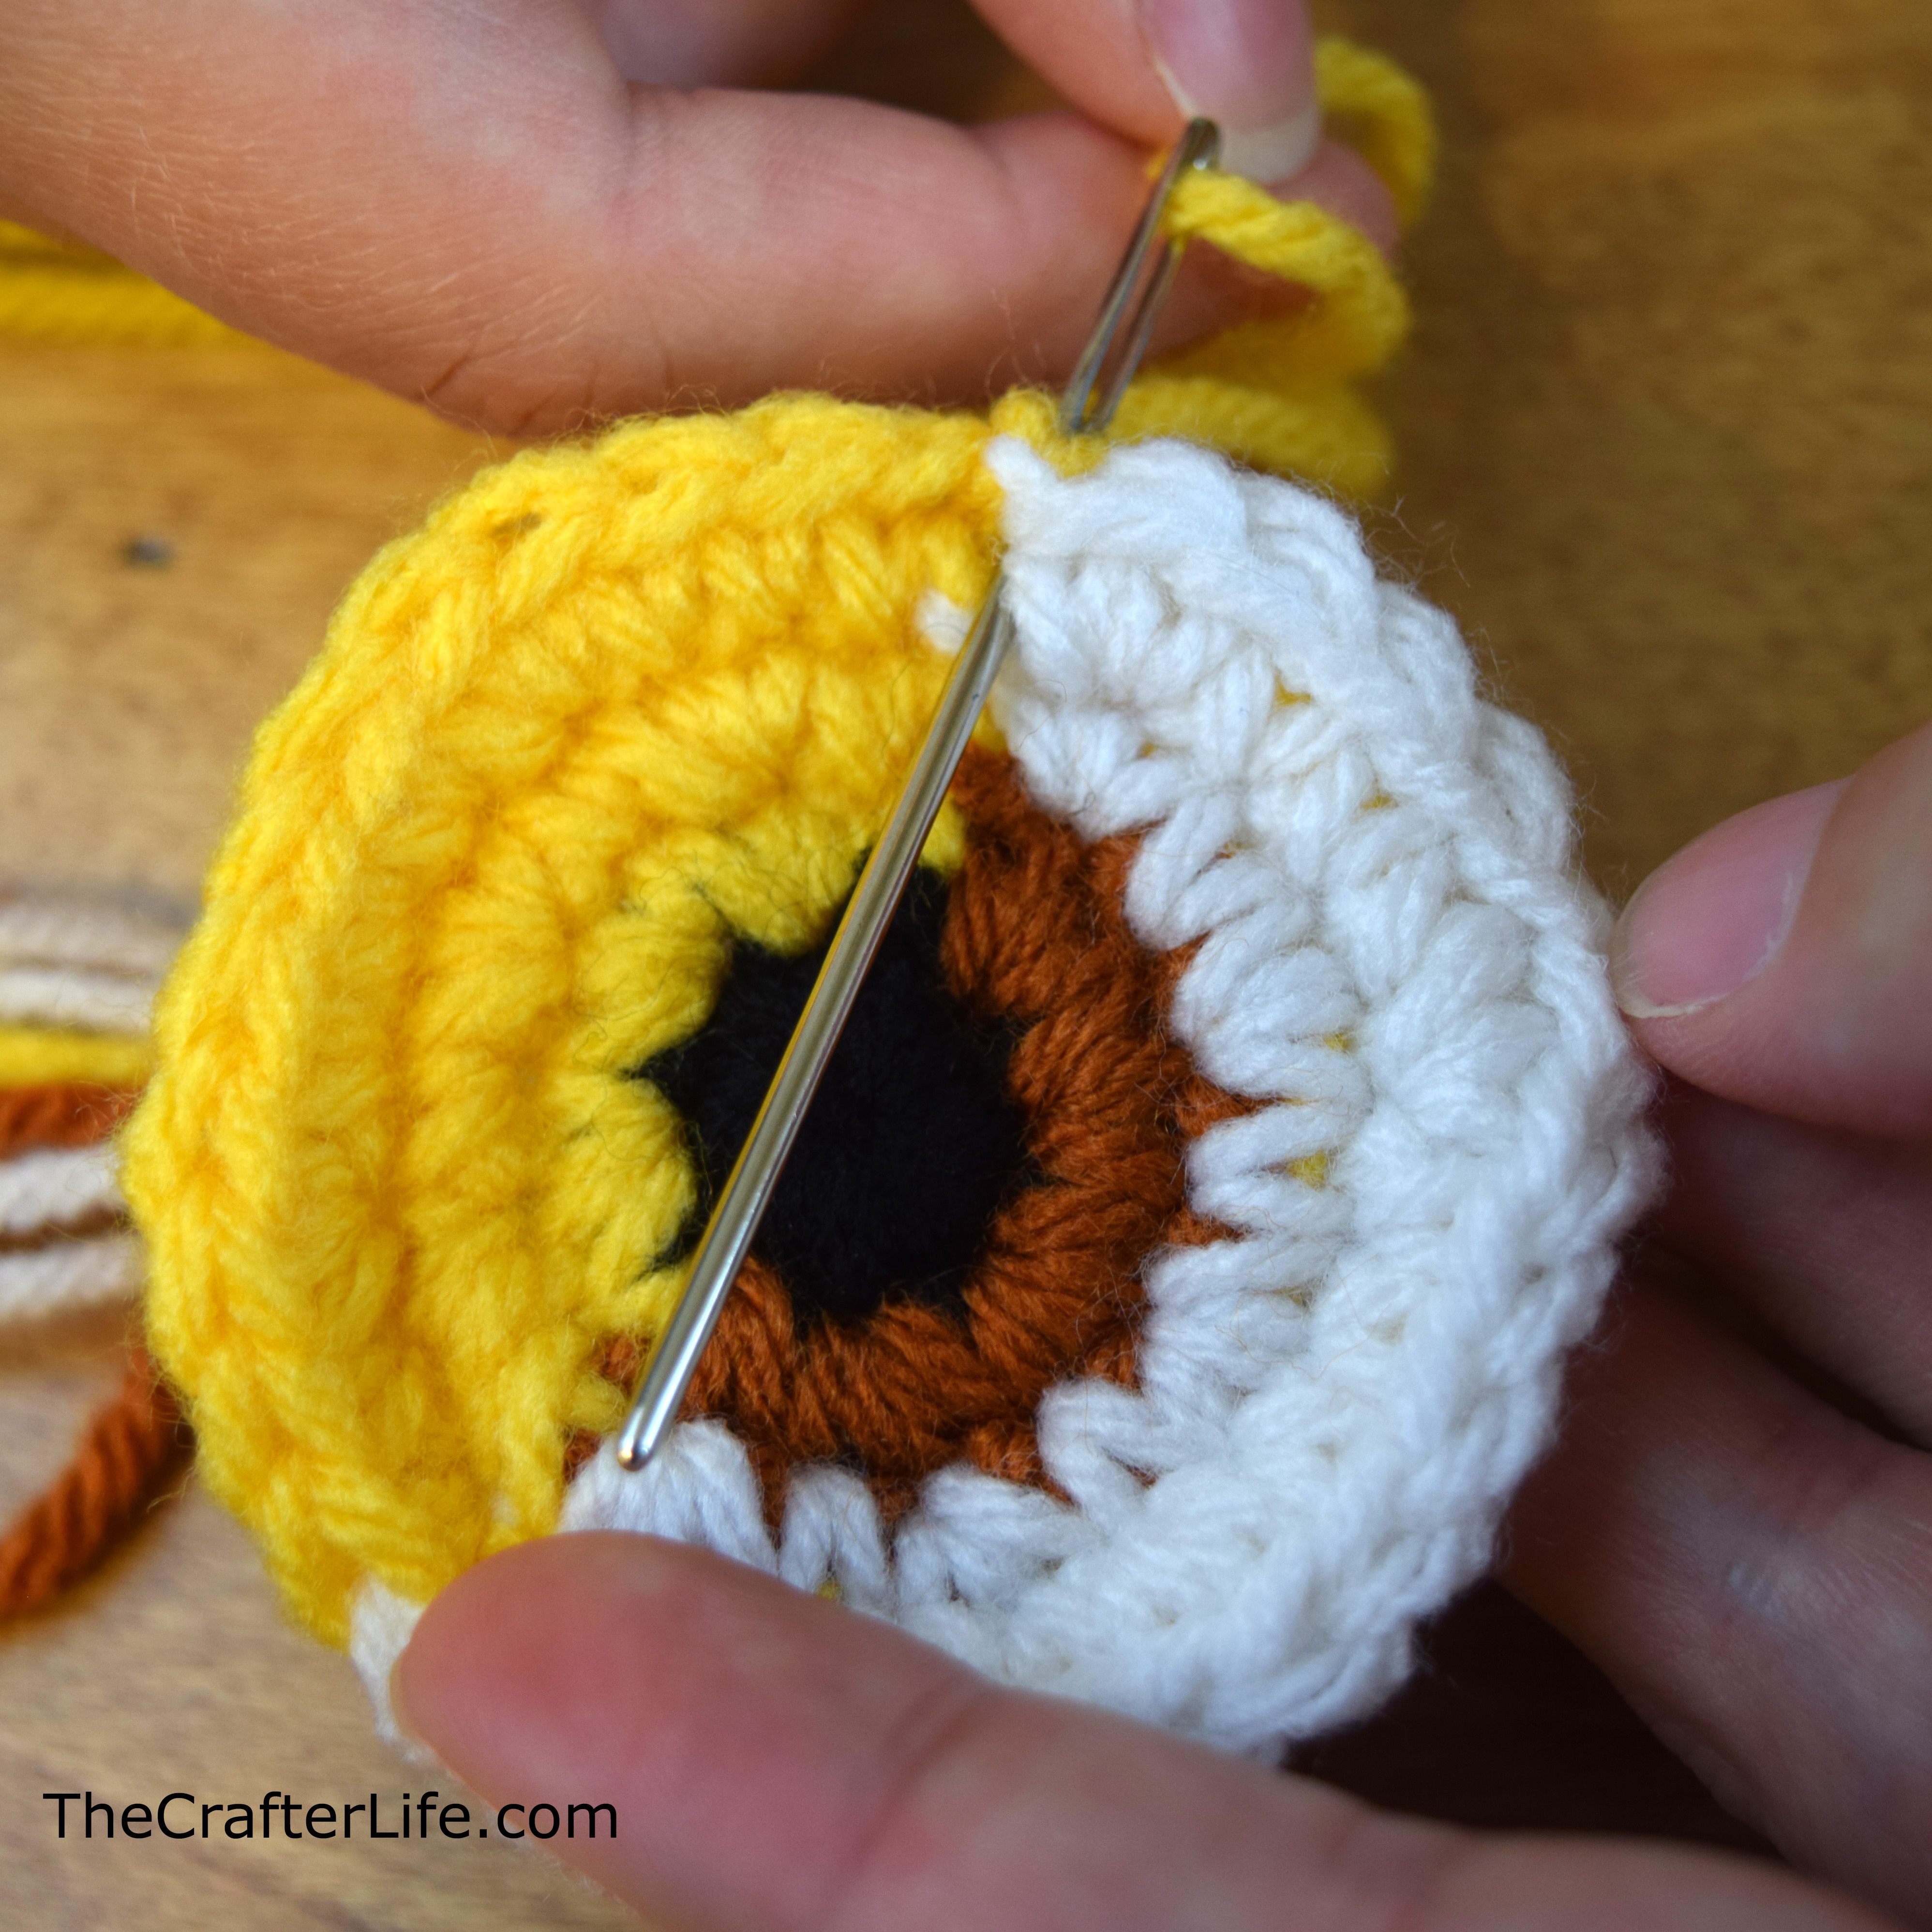
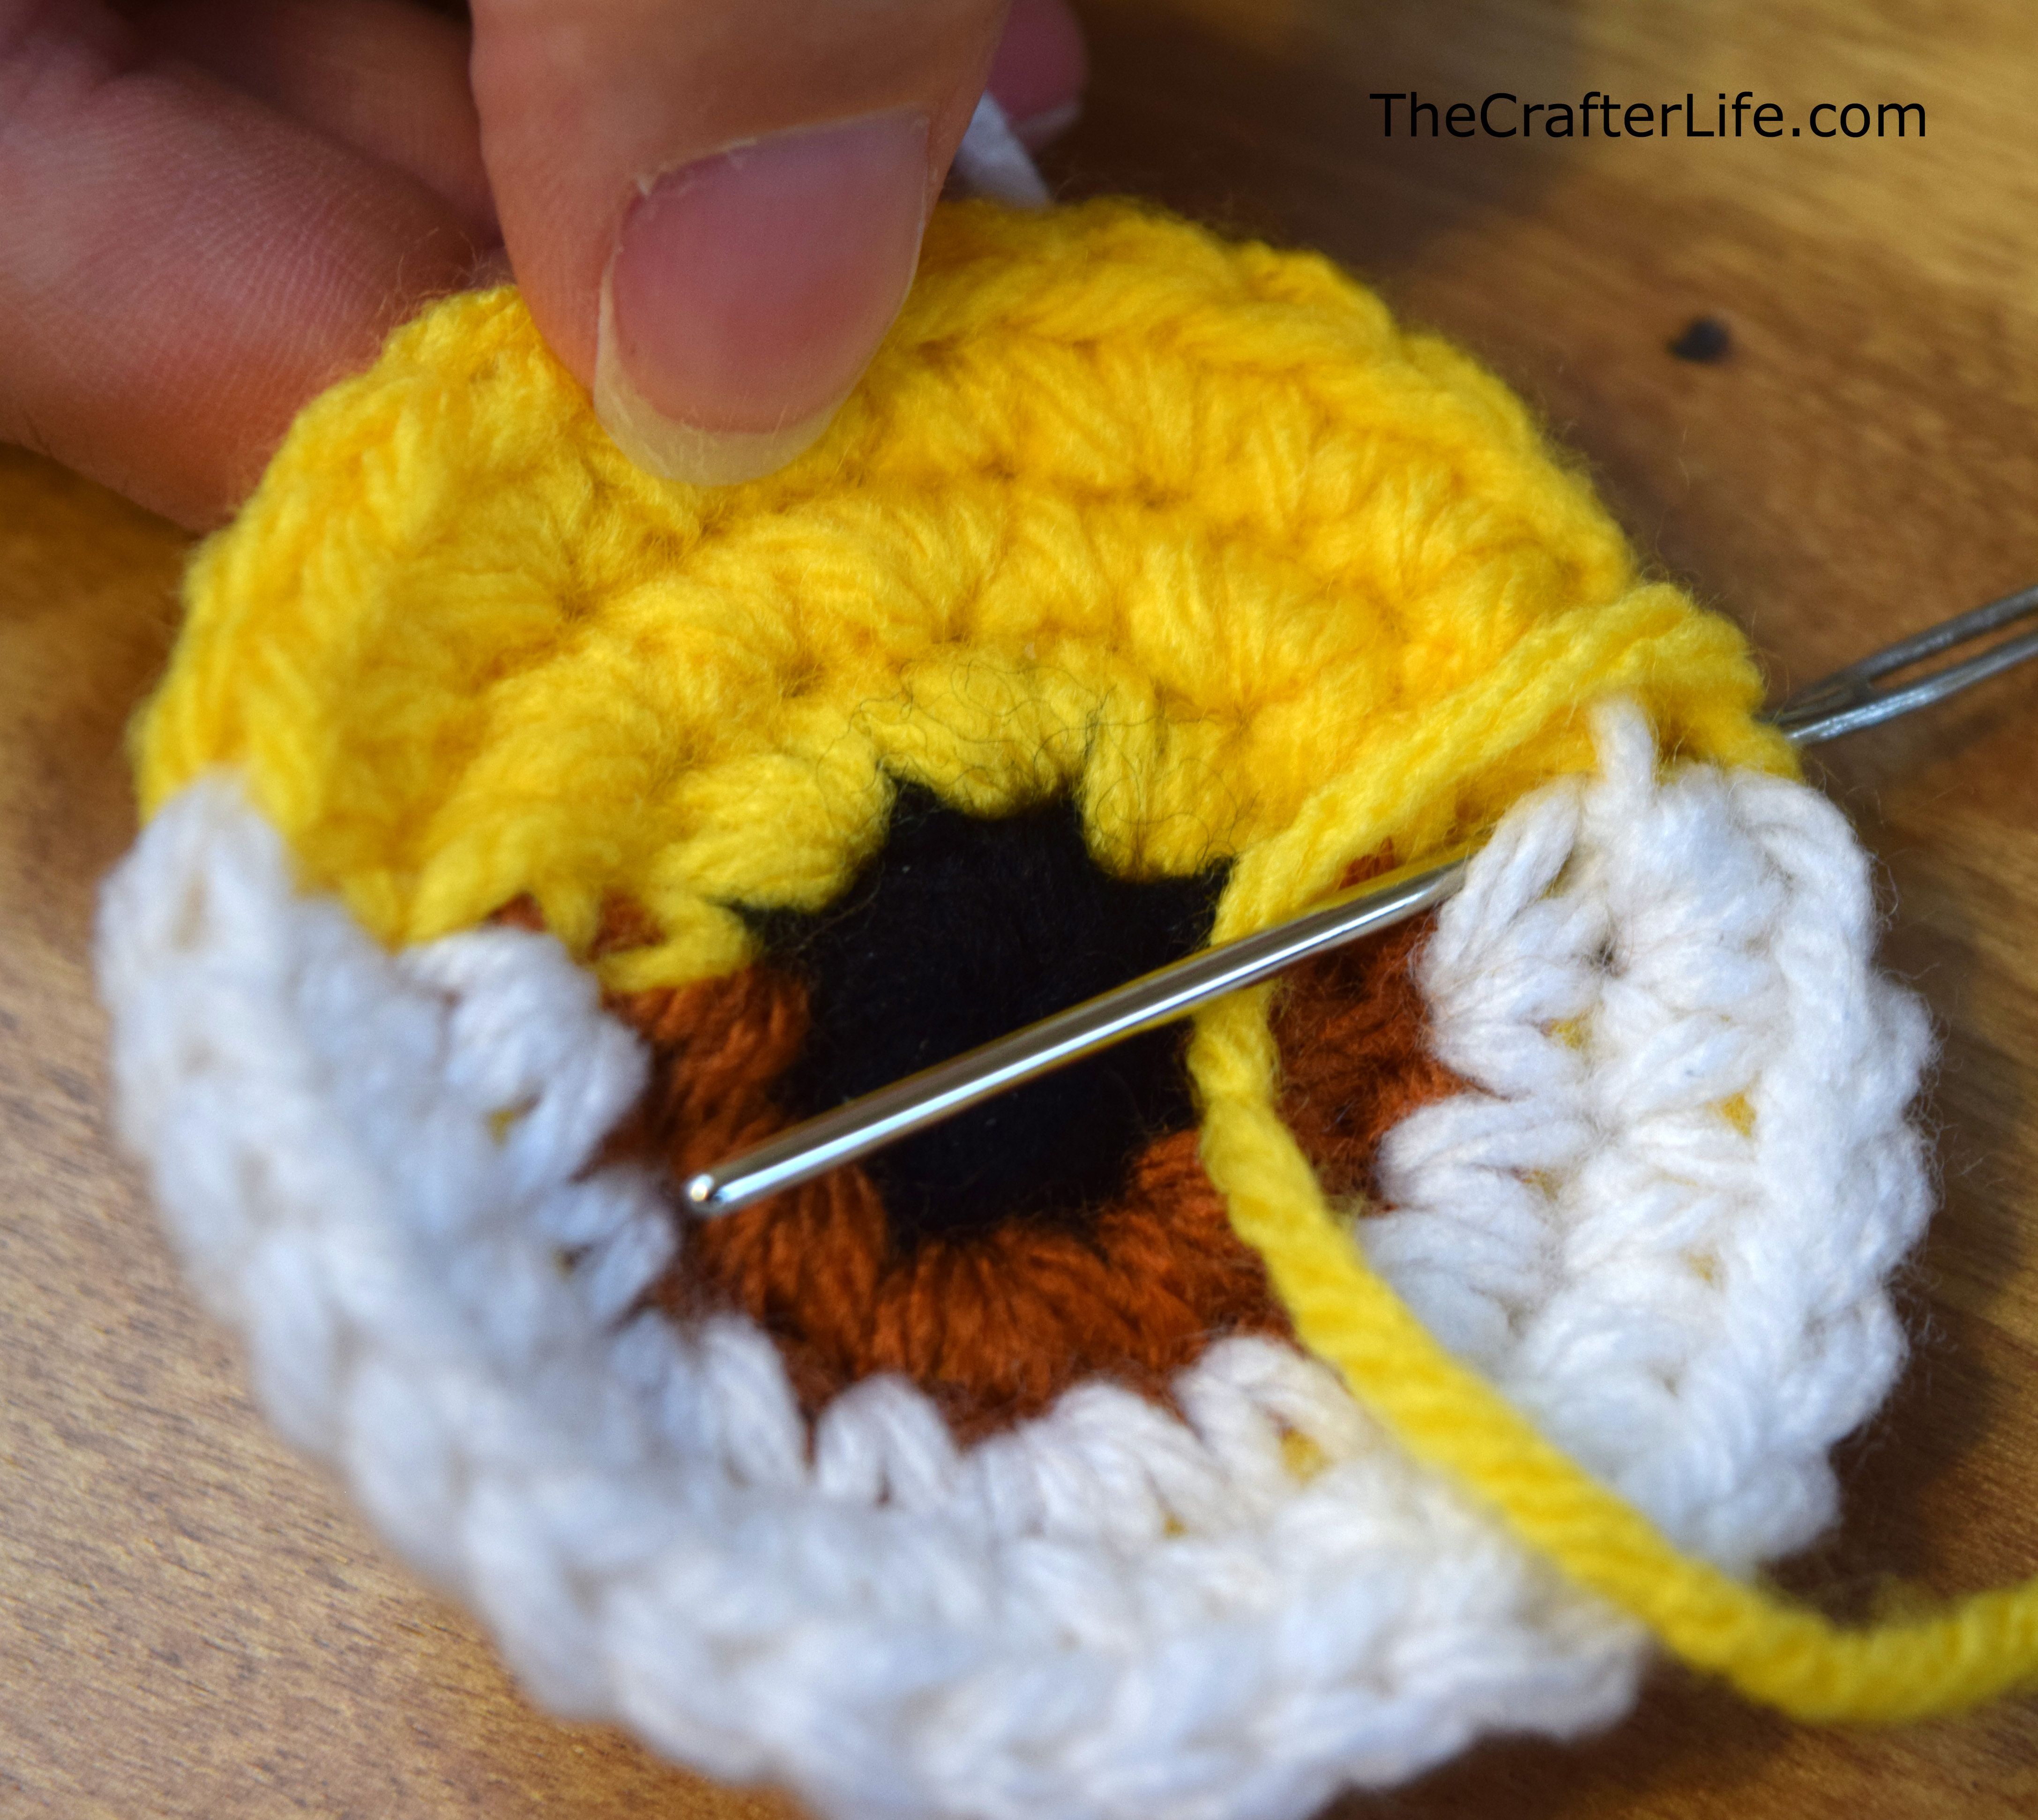
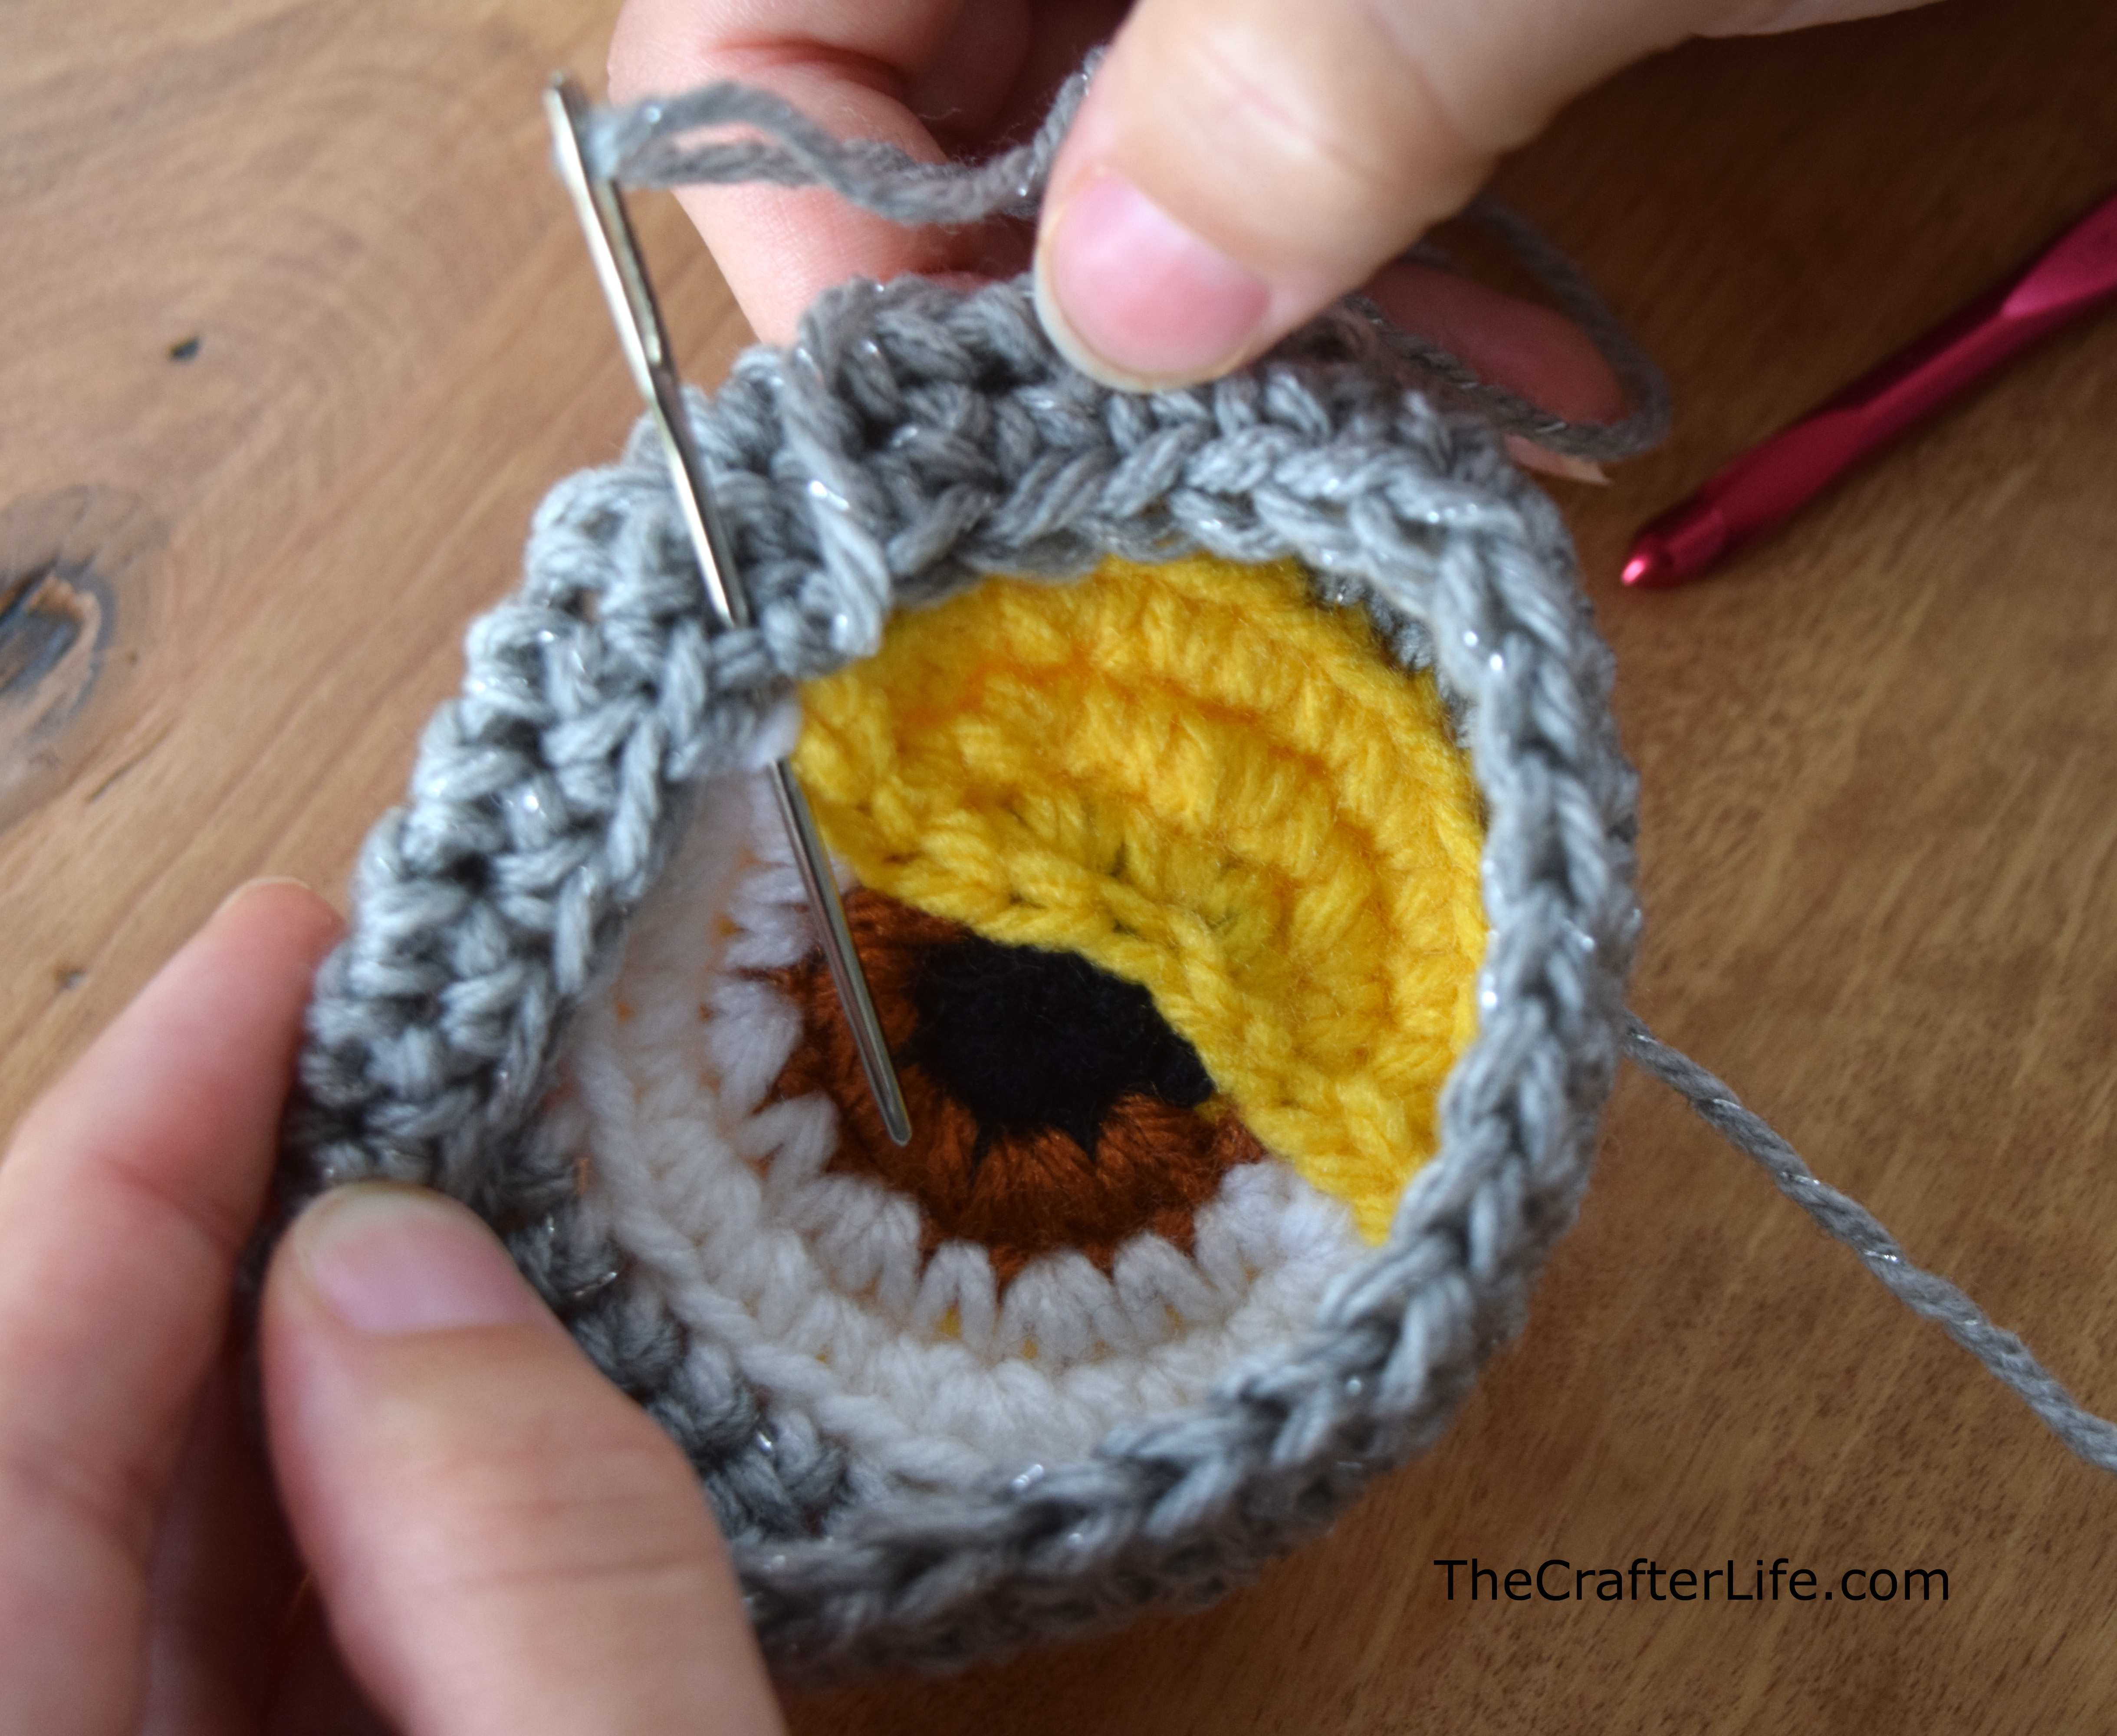
Directions for Eyelid Line: Use a tapestry needle to chain stitch a line across the eye where the yellow section meets the bottom section of the eye. Do this by inserting the needle through the loop made after fastening off, then under the eye and back up through the front making sure to loop the tail end around the needle to create a chain stitch. Continue doing this across the eye by inserting the needle through the loop you just created. See pictures below for reference. Once you reach the end, weave the tail into the back of the eye to secure it and fasten off.
**You can also make the eyelid line using surface slip stitches with your crochet needle instead of fastening off and using a tapestry needle. There are tutorials around the web on how to surface slip stitch in crochet. I just prefer to use a tapestry needle to do this.

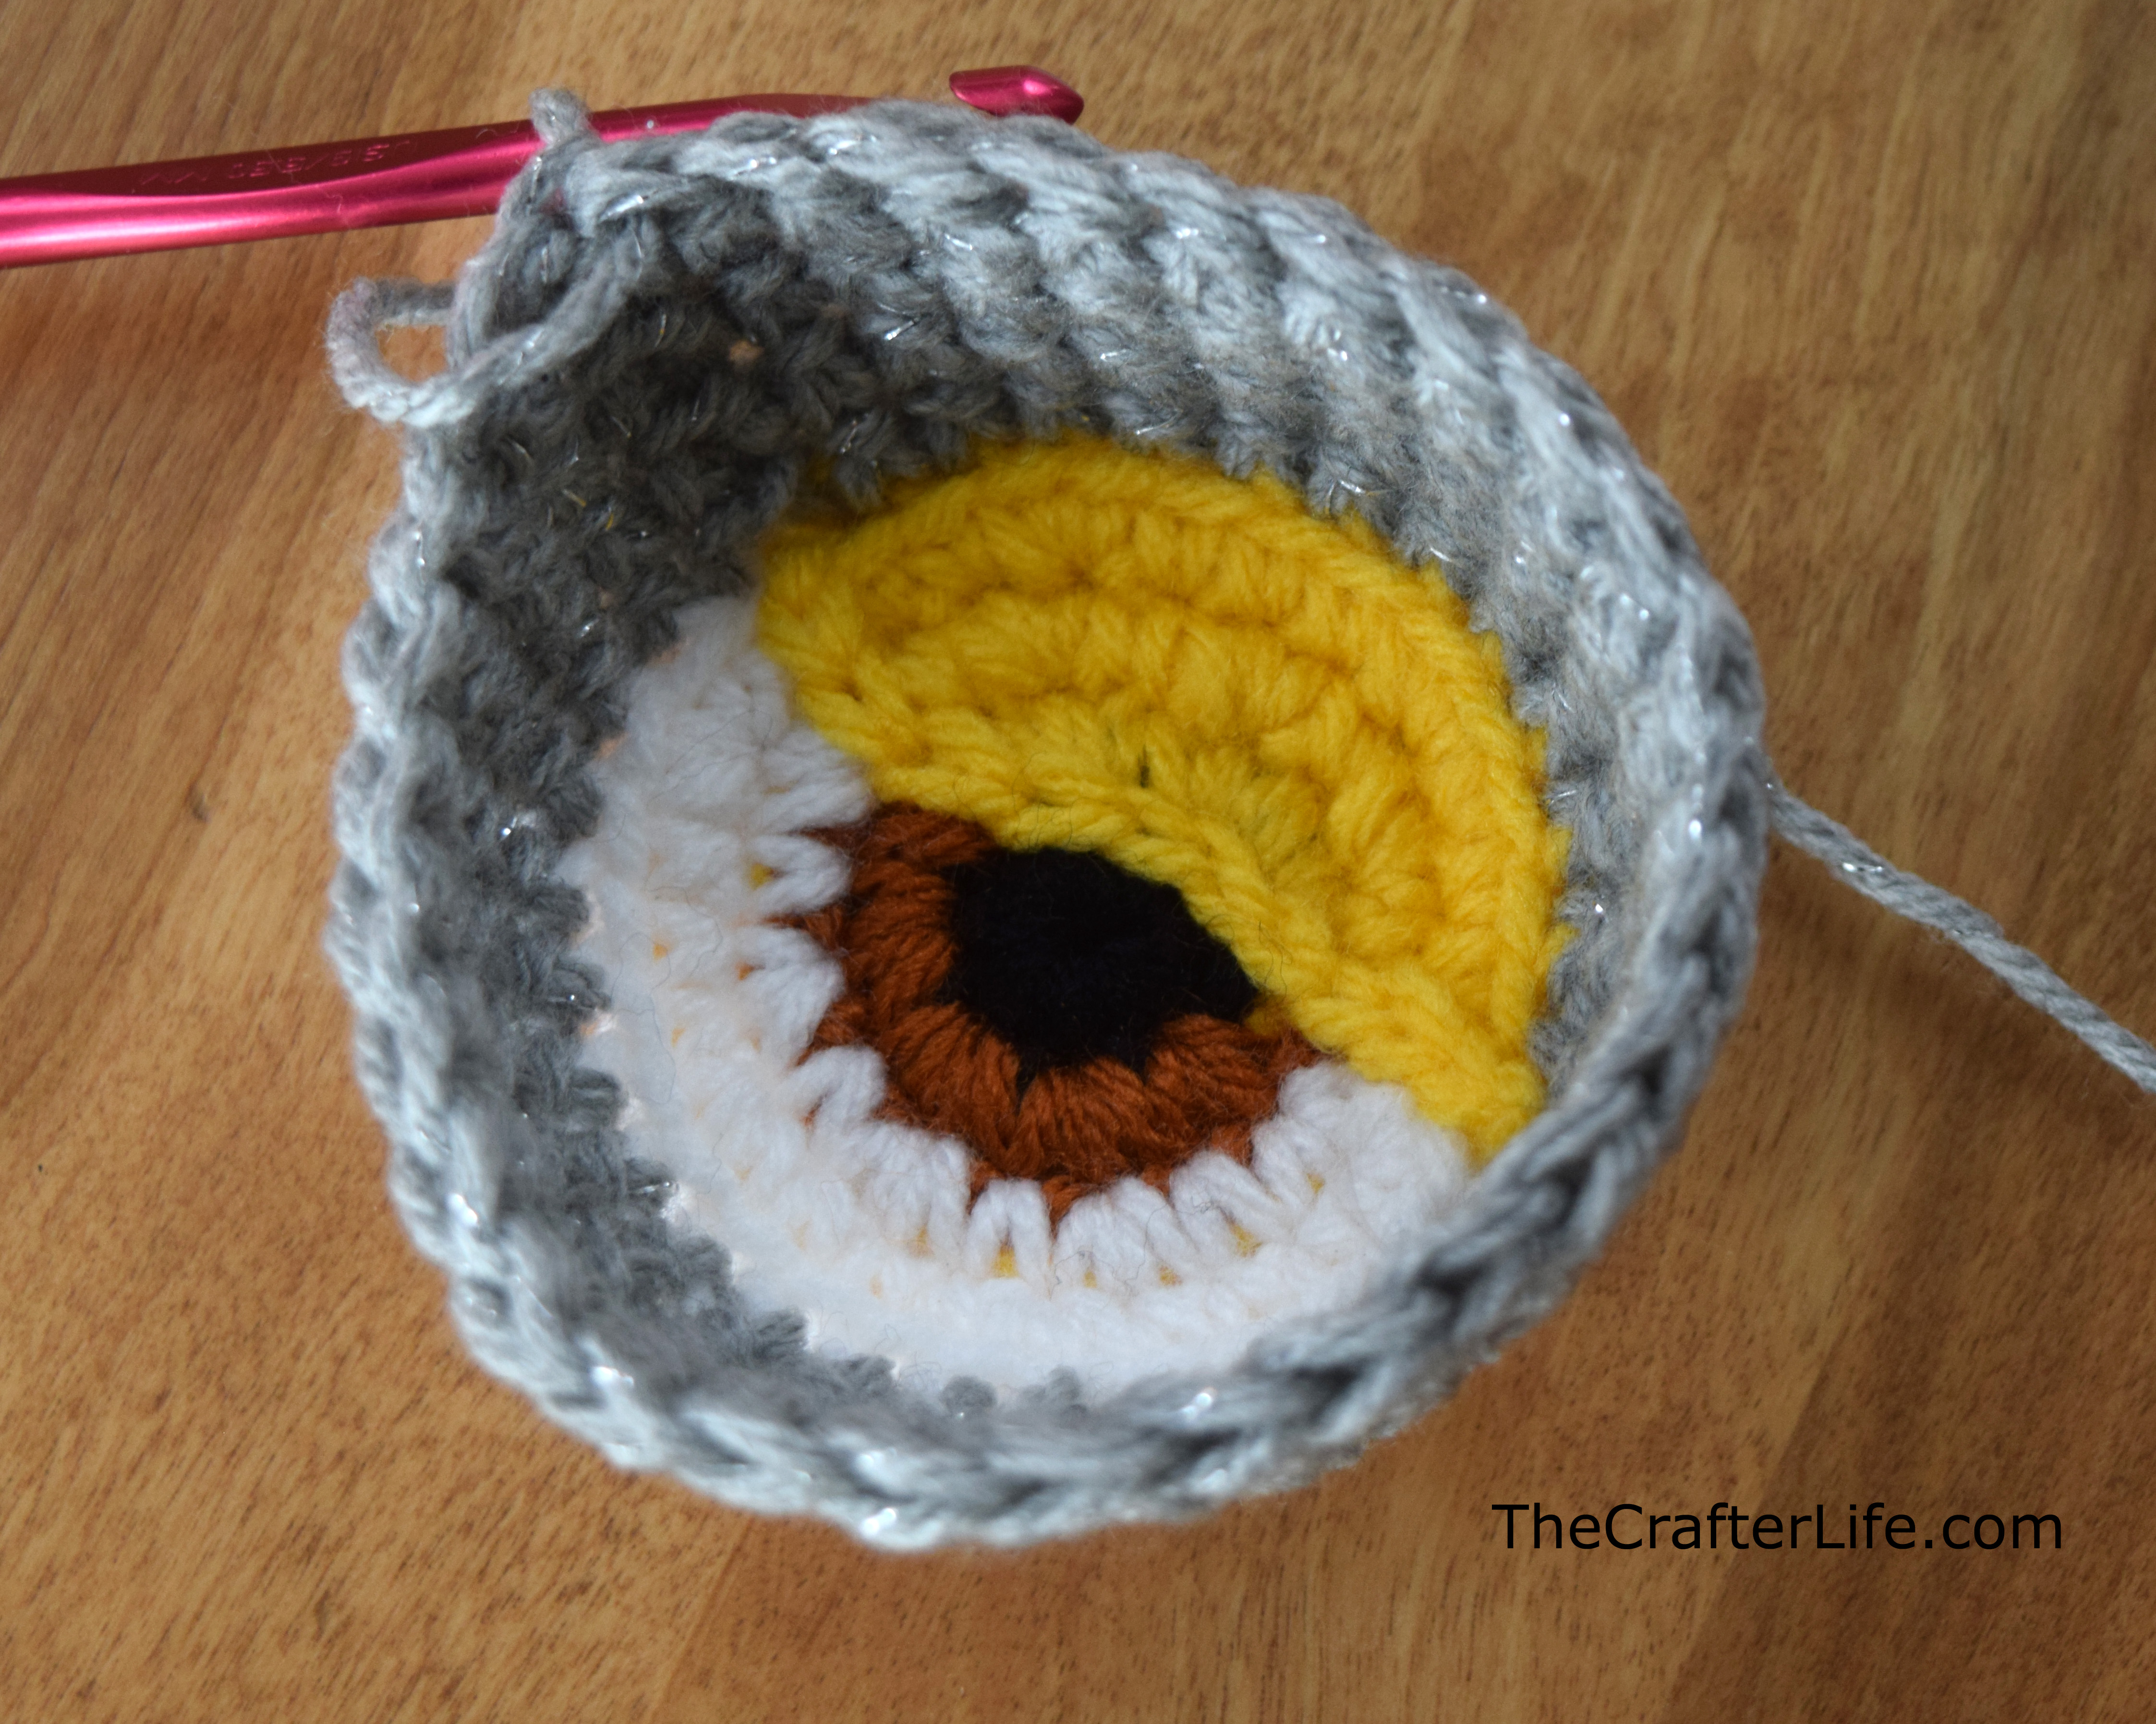
***Round 5 starts the goggle frame. Make sure to crochet the rounds of the frame so that the back of the eye is face up. The right side of the work (goggle frame) should end up on the back of the eye so that when you fold the frame over to sew it, the right side ends up on the outside. Refer to the pictures for guidance.
Rnd 5: Turn the eye over so the back is on top (this is so the right side ends up towards the back of the eye). Attach silver sparkle yarn to the front loop only (which is actually the back loop if you are looking from the front of the eye) of a stitch from the last round (round 4). Ch 1, sc in the front loop only of same stitch and in the front loop only of each st around, slst to first st of round. (30 sc)
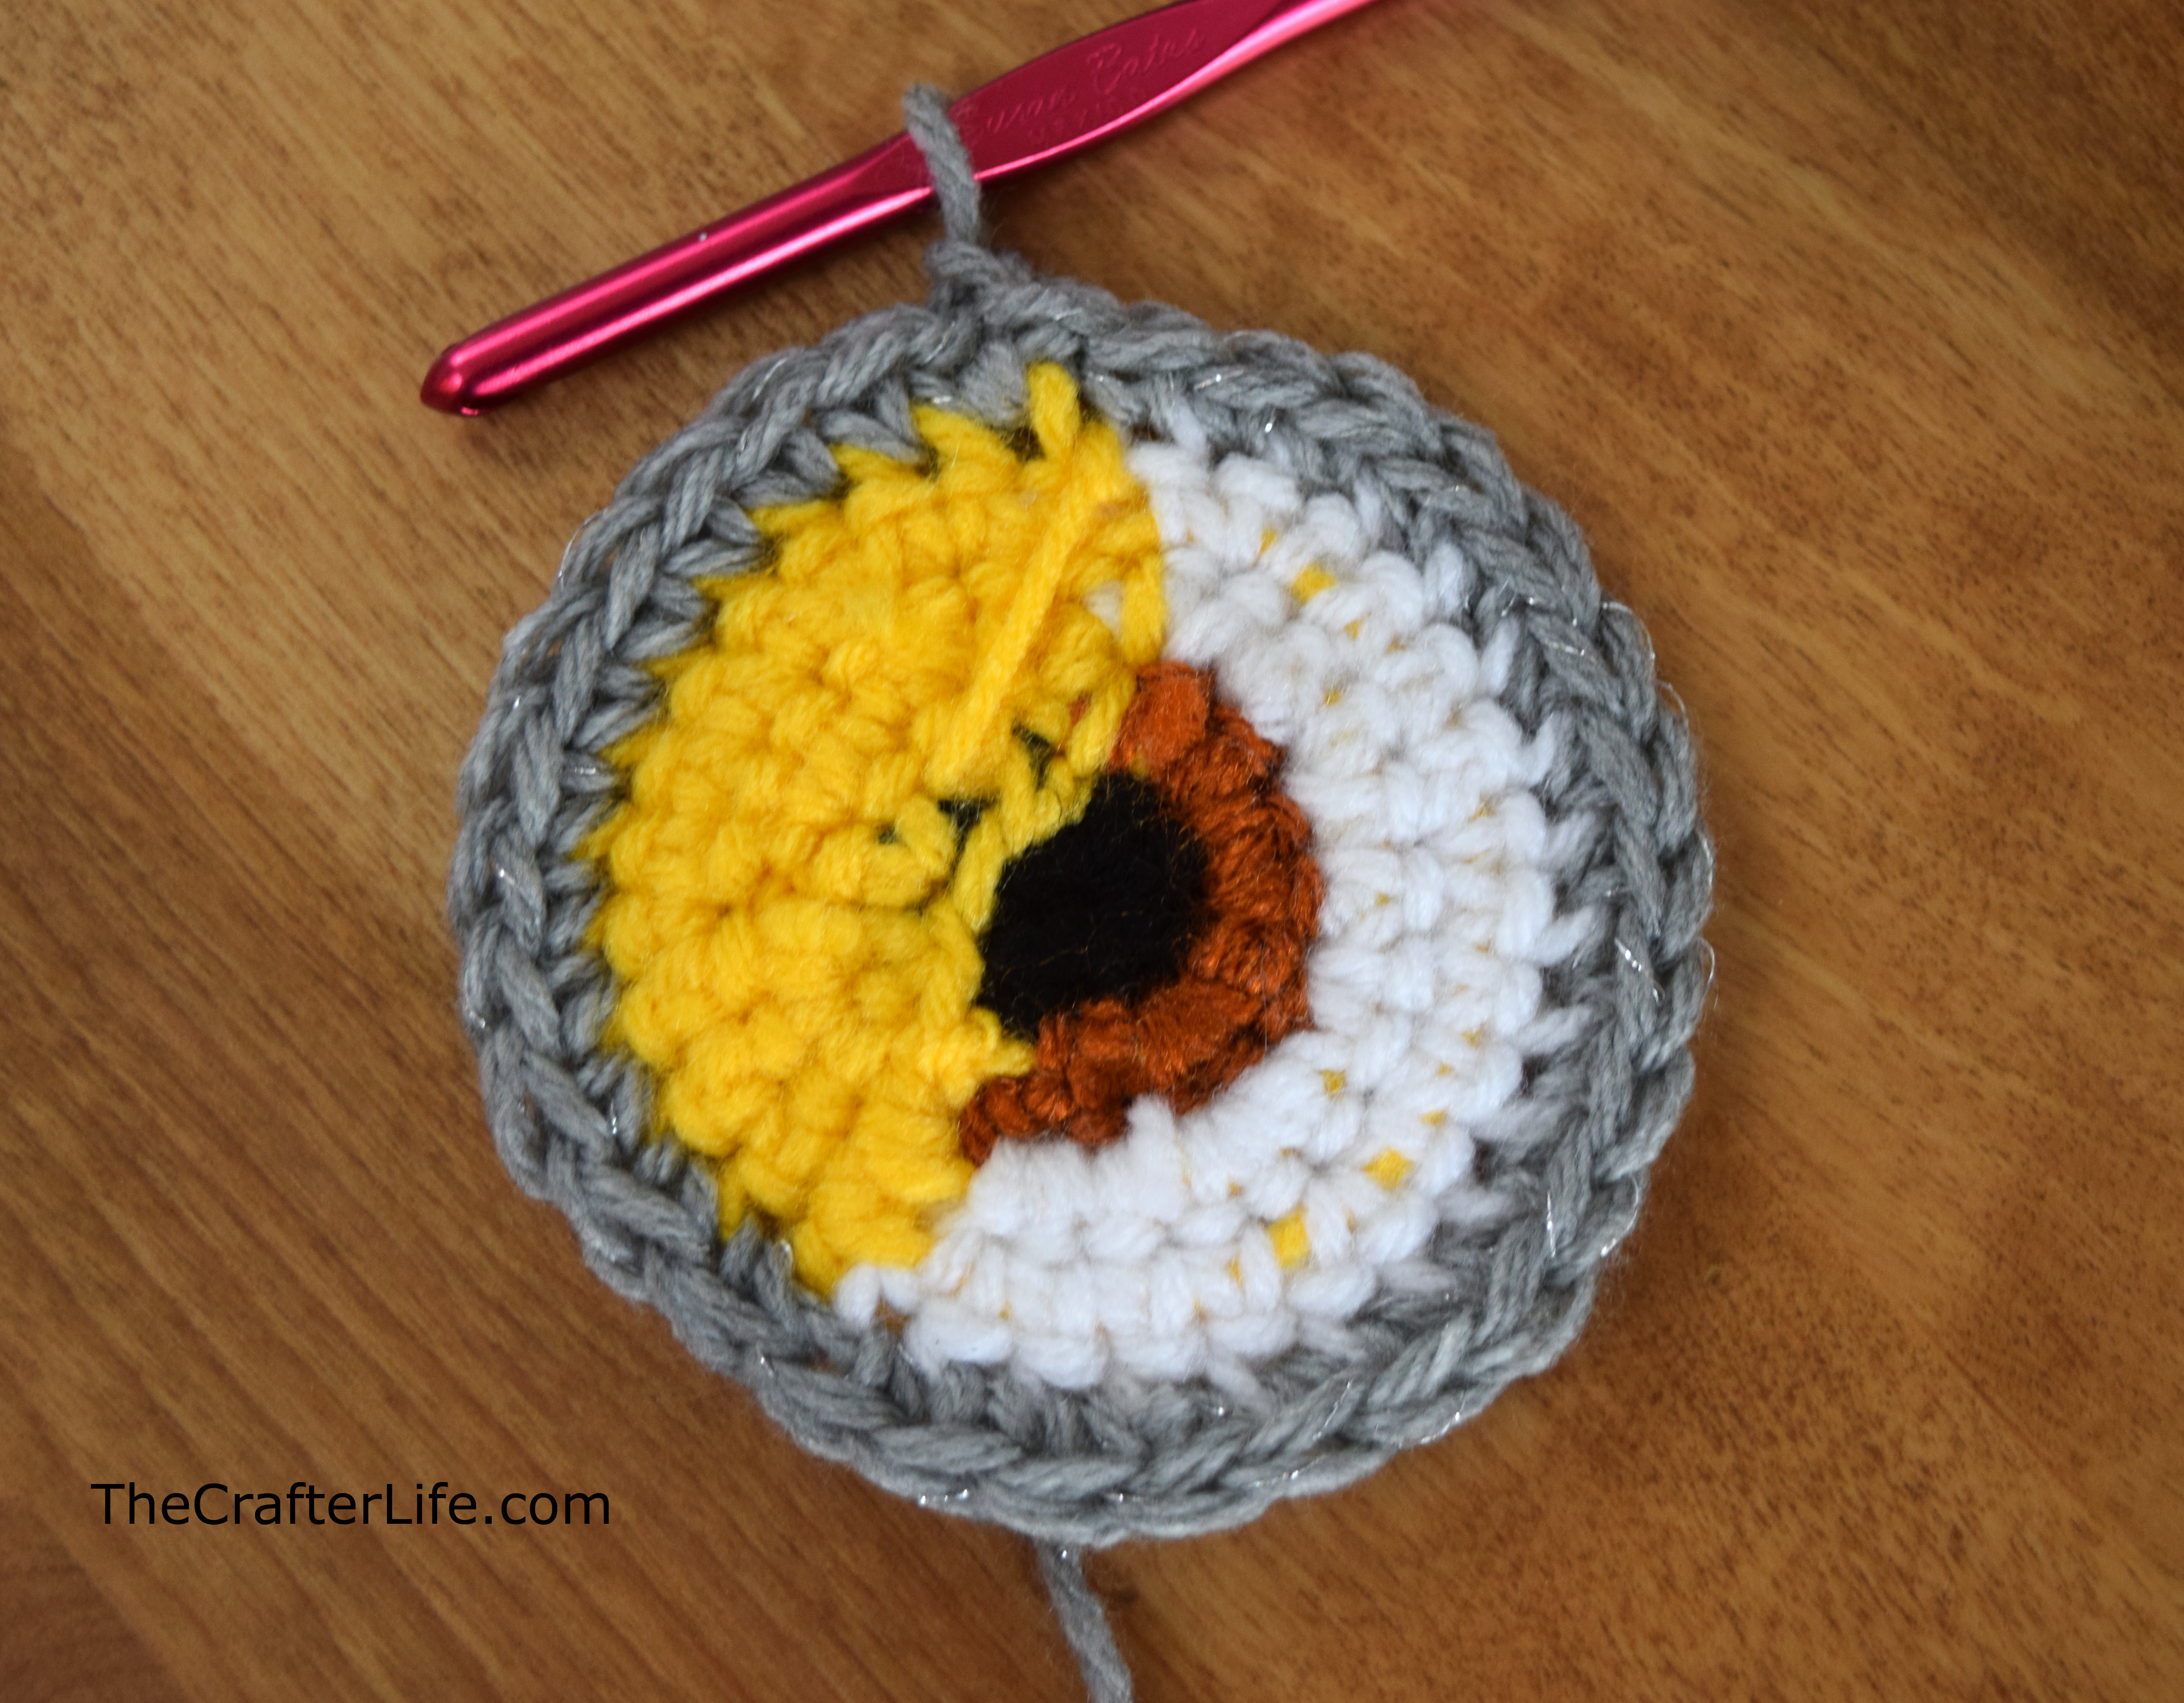
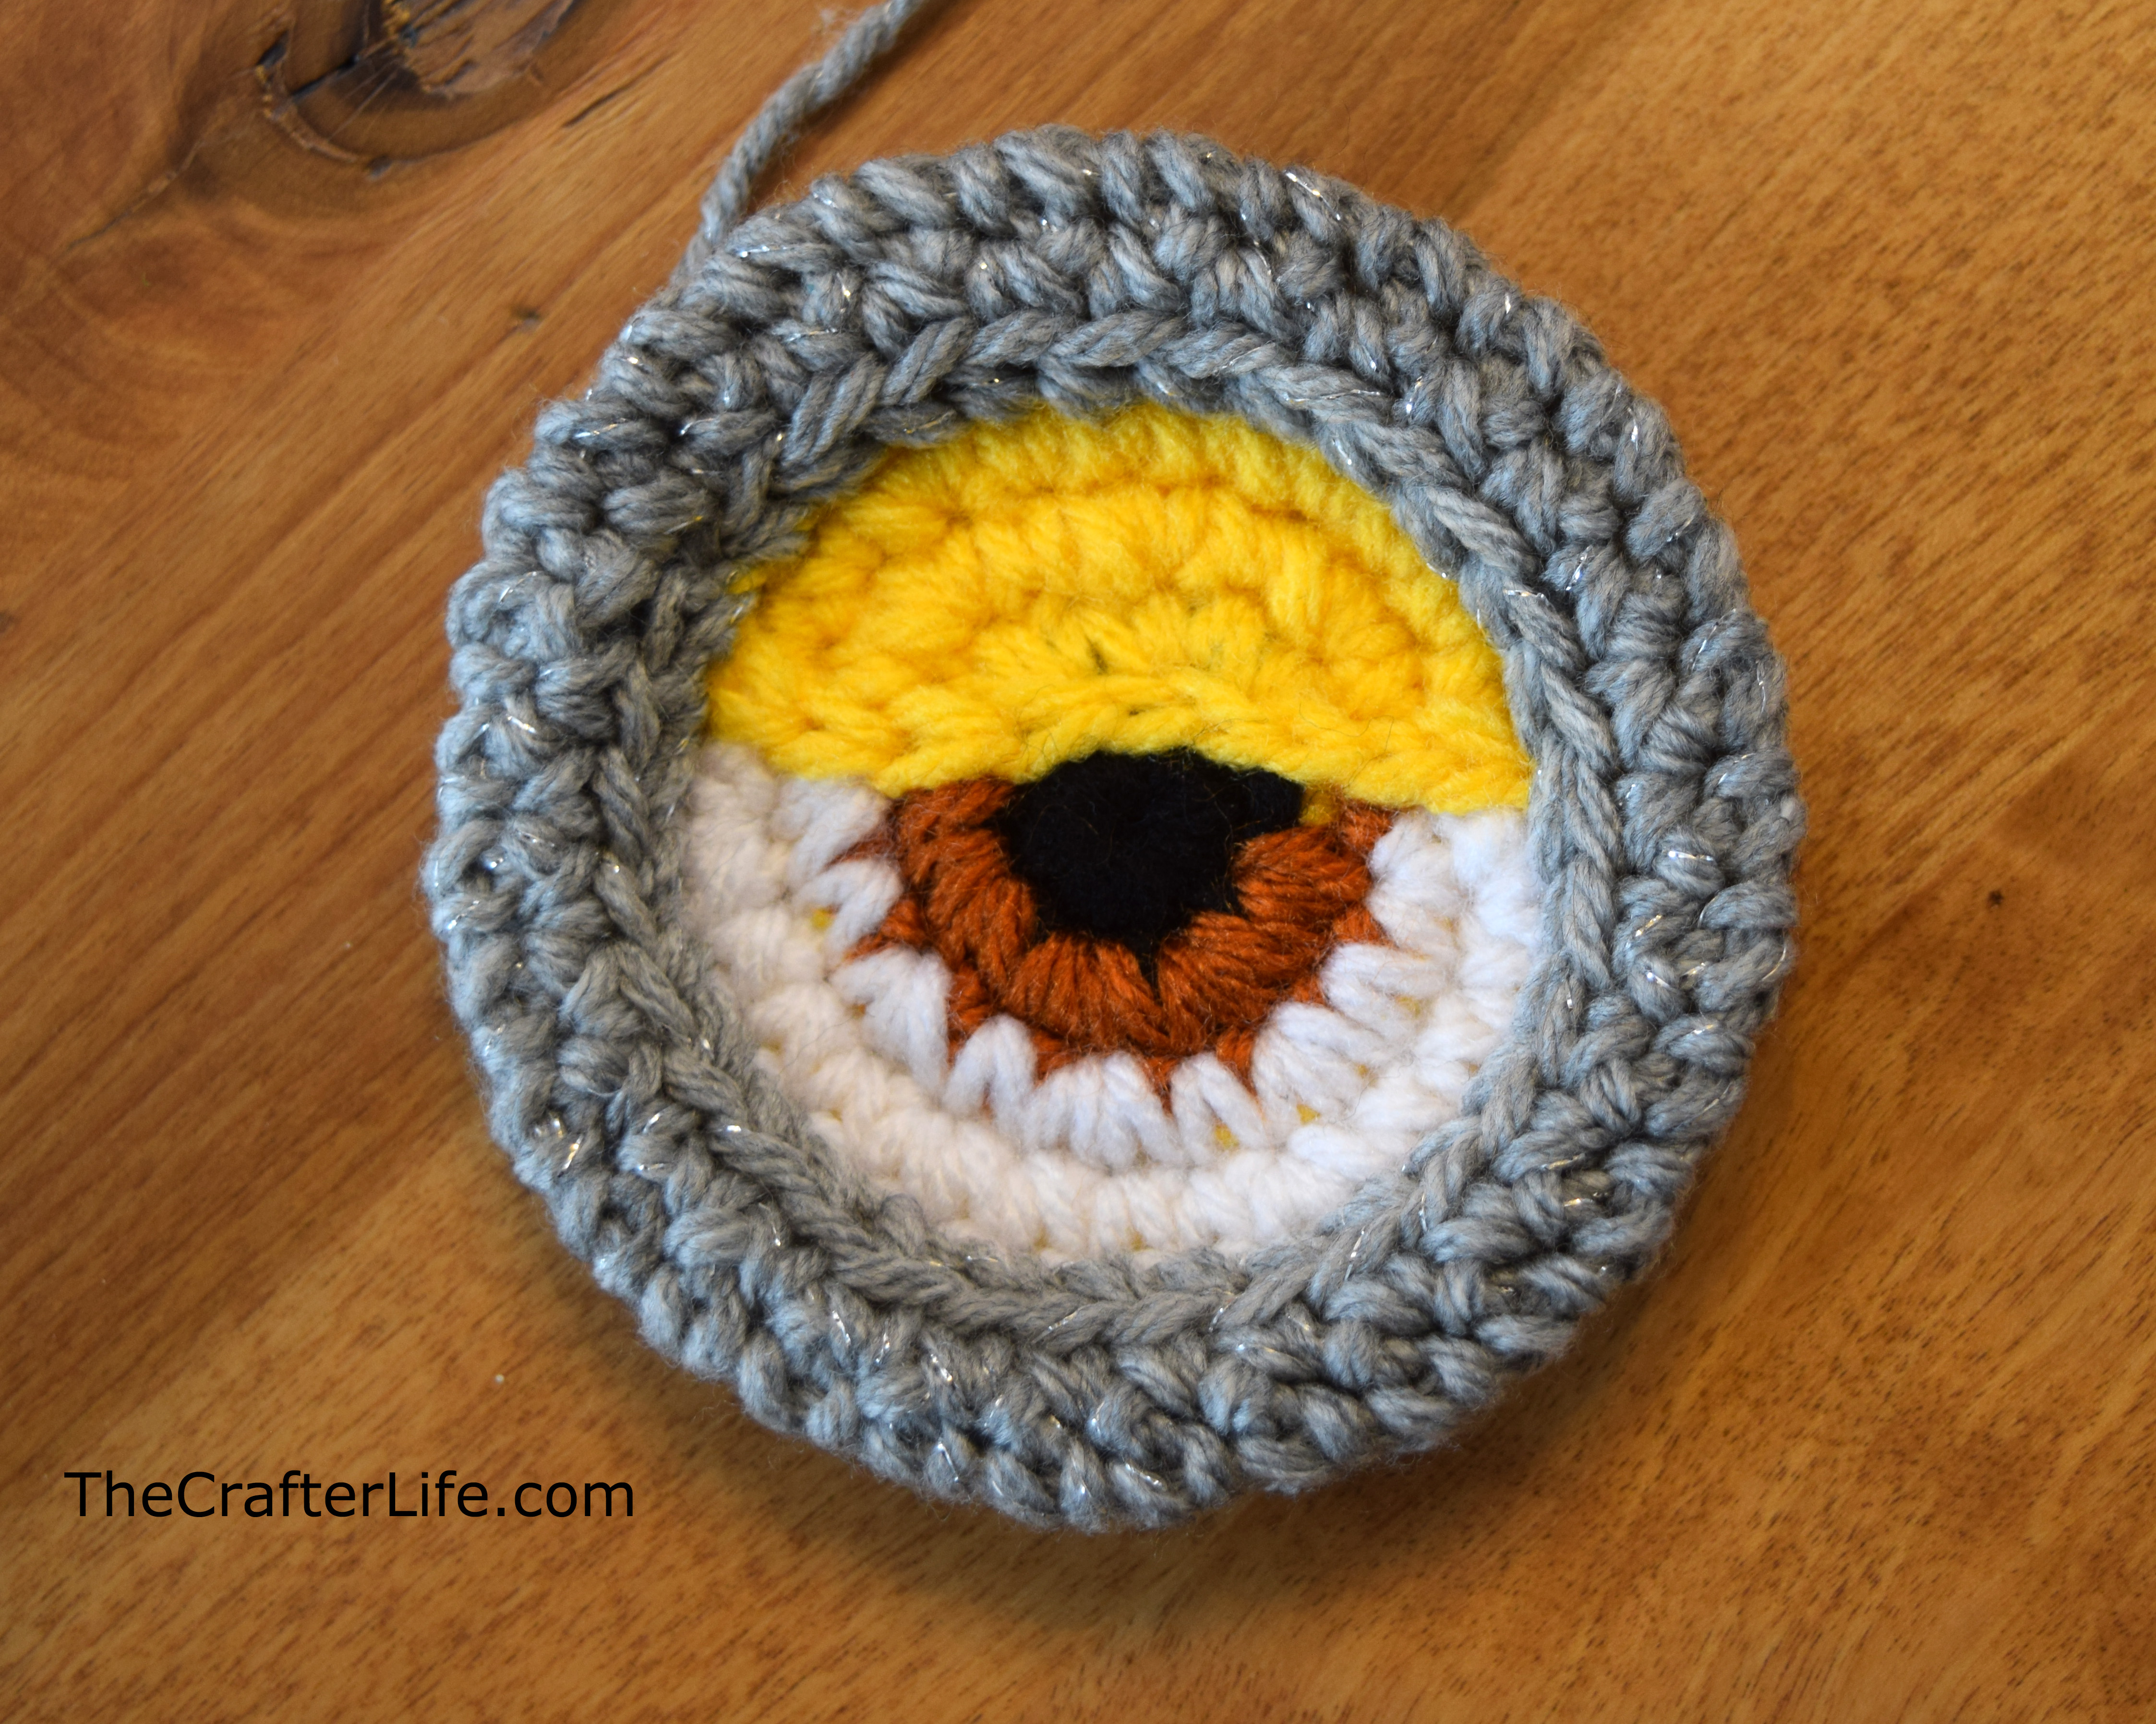
Rnds 6-8: Ch 1, sc in each st around, join with a slst to first st of round, fasten off, leaving a really long tail to sew the goggle frame together and to sew the entire eye onto the hat. (30 sc)

ASSEMBLY
Goggle Frame Assembly
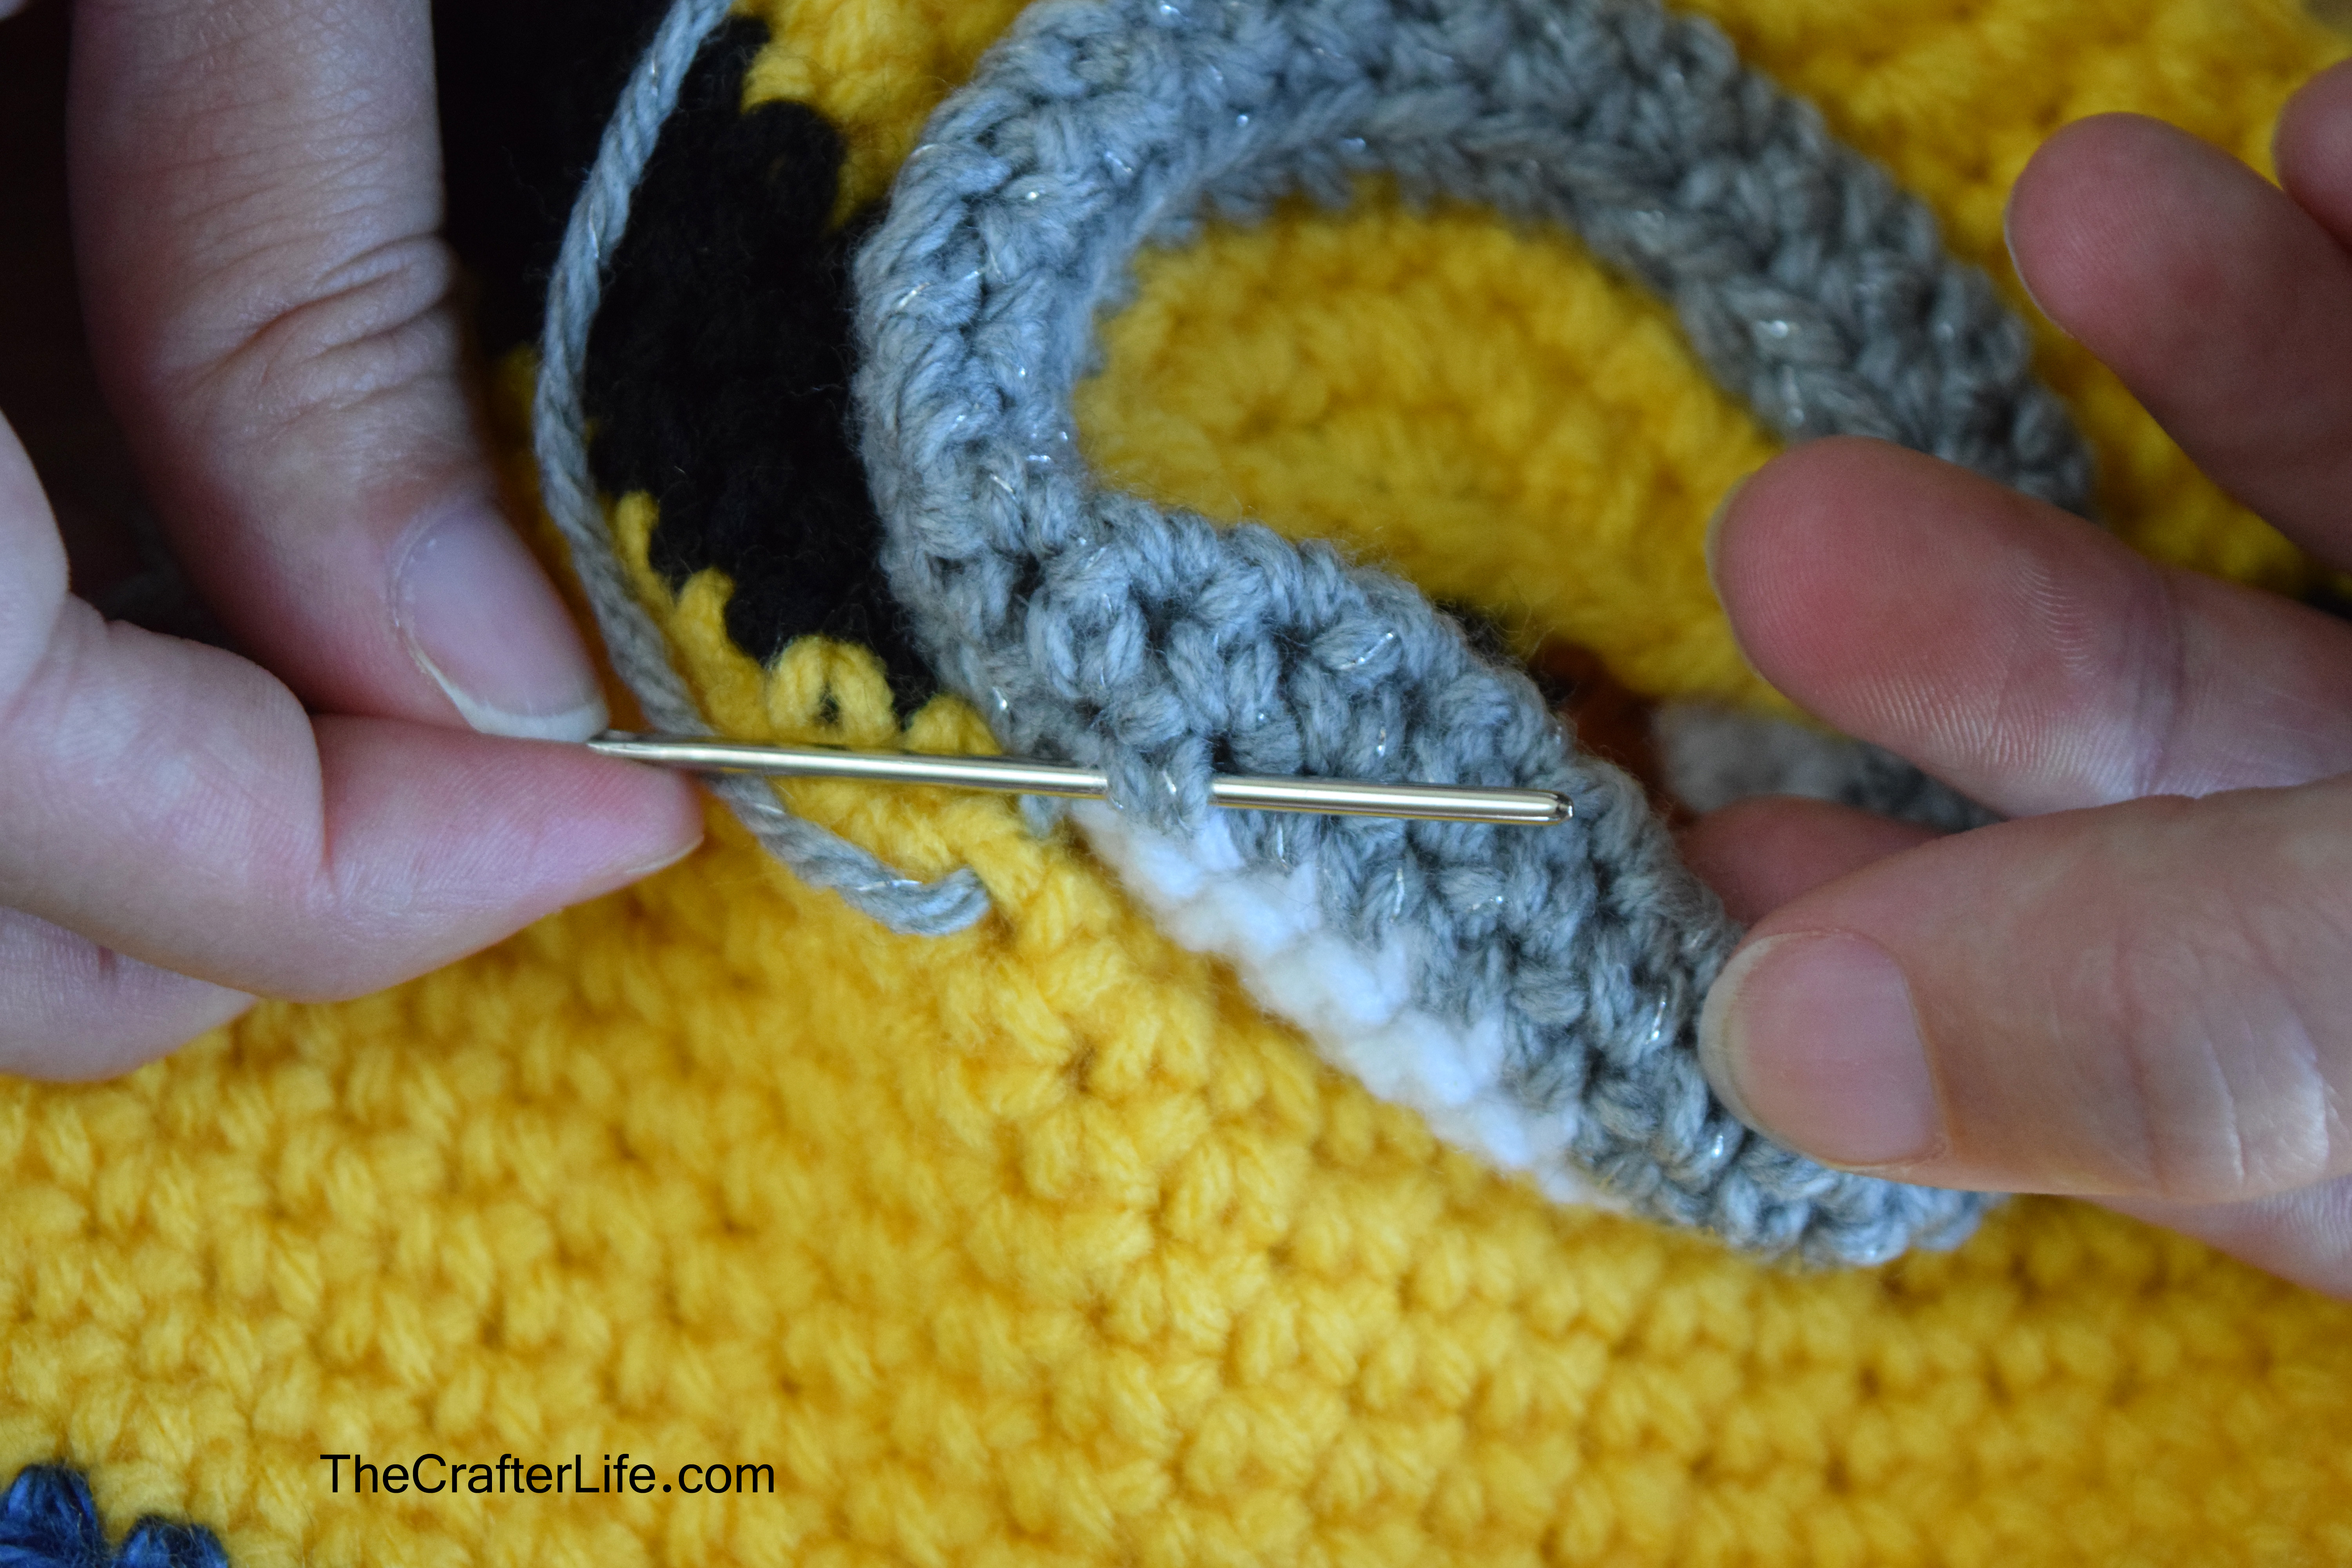
Using a tapestry needle, fold the frame in toward the front of the eye and sew the front loop of each stitch of the last round of the goggle frame to the corresponding front loop of each stitch from the last round of the eye. When you finish sewing around the entire frame, do not fasten off. Leave a long tail for sewing the entire eye to the hat. See pictures below.

Hat Assembly
Sew the eye onto the front of the hat in the center of the black strip (the goggle strap) using your leftover tail of the silver yarn by going under the stitches from Round 5 (the first round of silver) on the back of the eye. Secure the yarn on the inside of the hat when you are finished sewing completely around the eye and cut off the remaining tail.

Mouth
Using your tapestry needle and black yarn, stitch a mouth onto the hat using the back stitch into whatever expression you want for your minion. I thought a grin would be cute. Secure your yarn on the inside of the hat and cut off the remaining tail.

Hair
To do the hair, use your crochet needle (or a latch hook) to latch hook 5 different pieces of black yarn to the top of the hat and then trimmed them down so they stood up straight. If you are unsure of how to latch hook, all you do is fold a piece of yarn in half, pull the loop end under and up through a stitch in the top of the hat, and then pull the two cut ends through the loop (make sure to pull them hard enough so the loop tightens around them).
***If you sell products using my patterns or mention my patterns please link back to my site. Please do not sell my patterns or claim them as your own.***
Feel free to post comments here or on my Facebook page!
**If you like what you see, feel free to pin, share, and link back to my site. Thank you for visiting!

Birth Weights Baby Dumbbells

