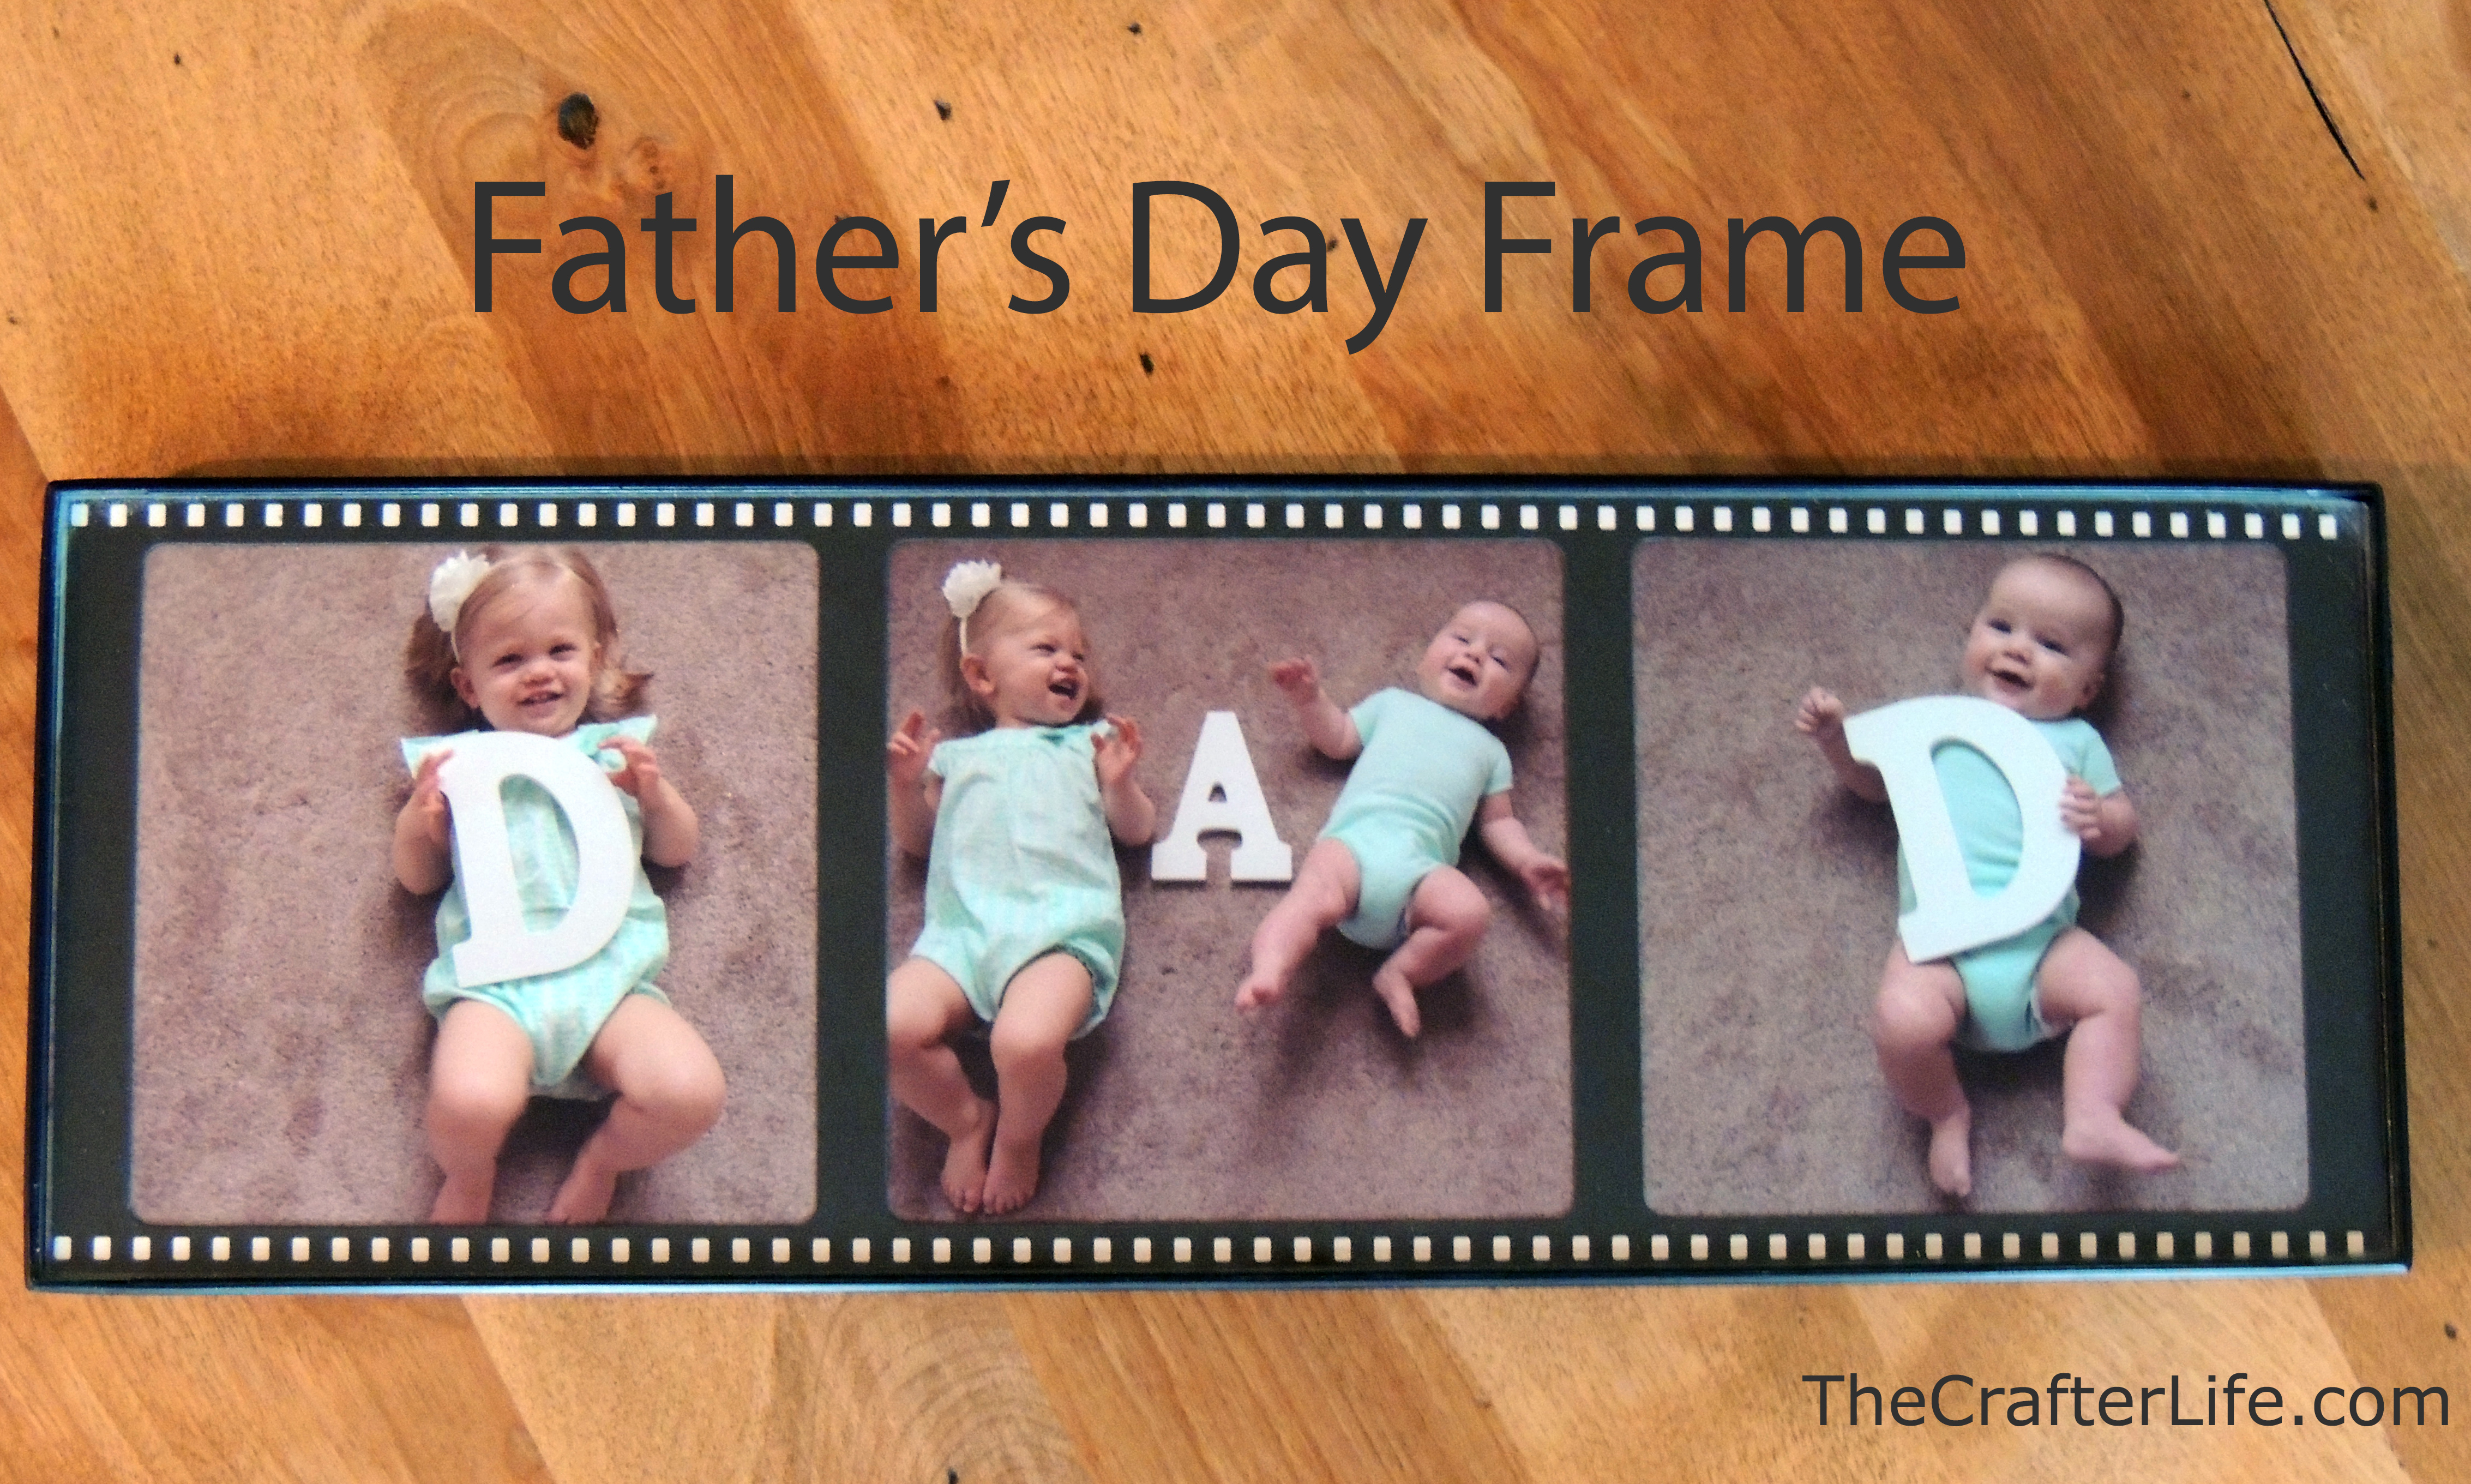
Baby Footprint Frames
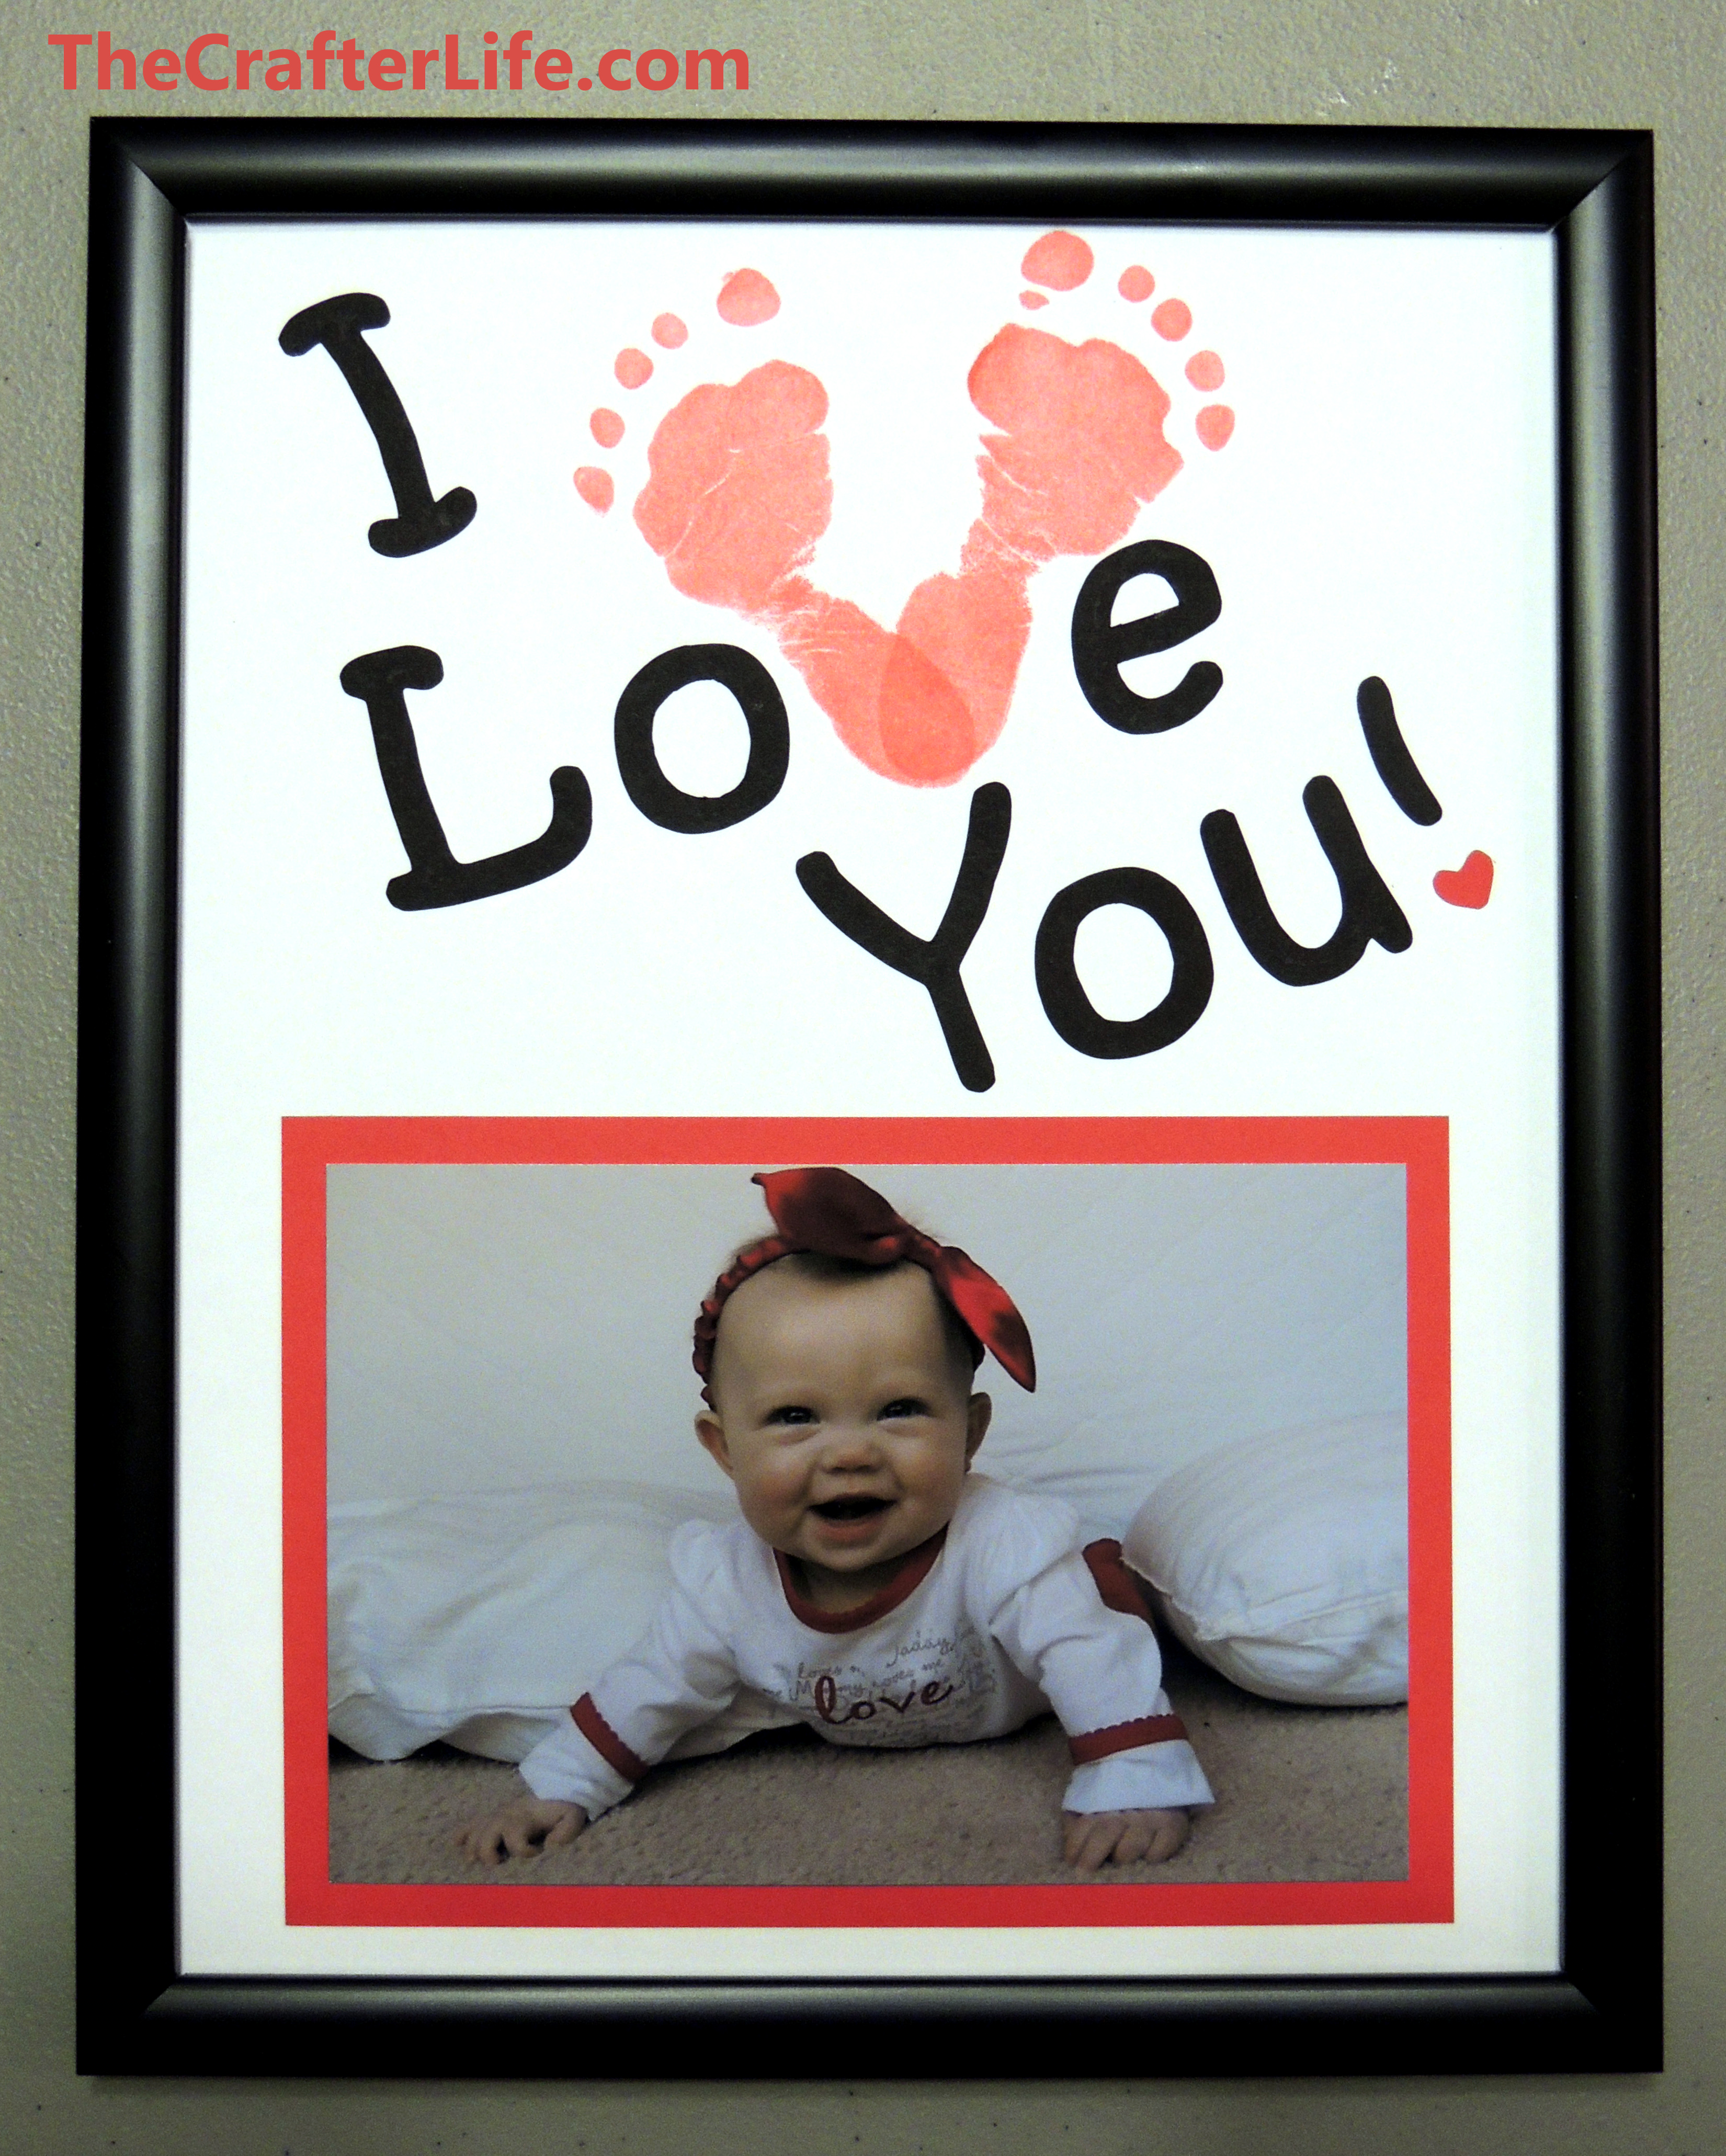
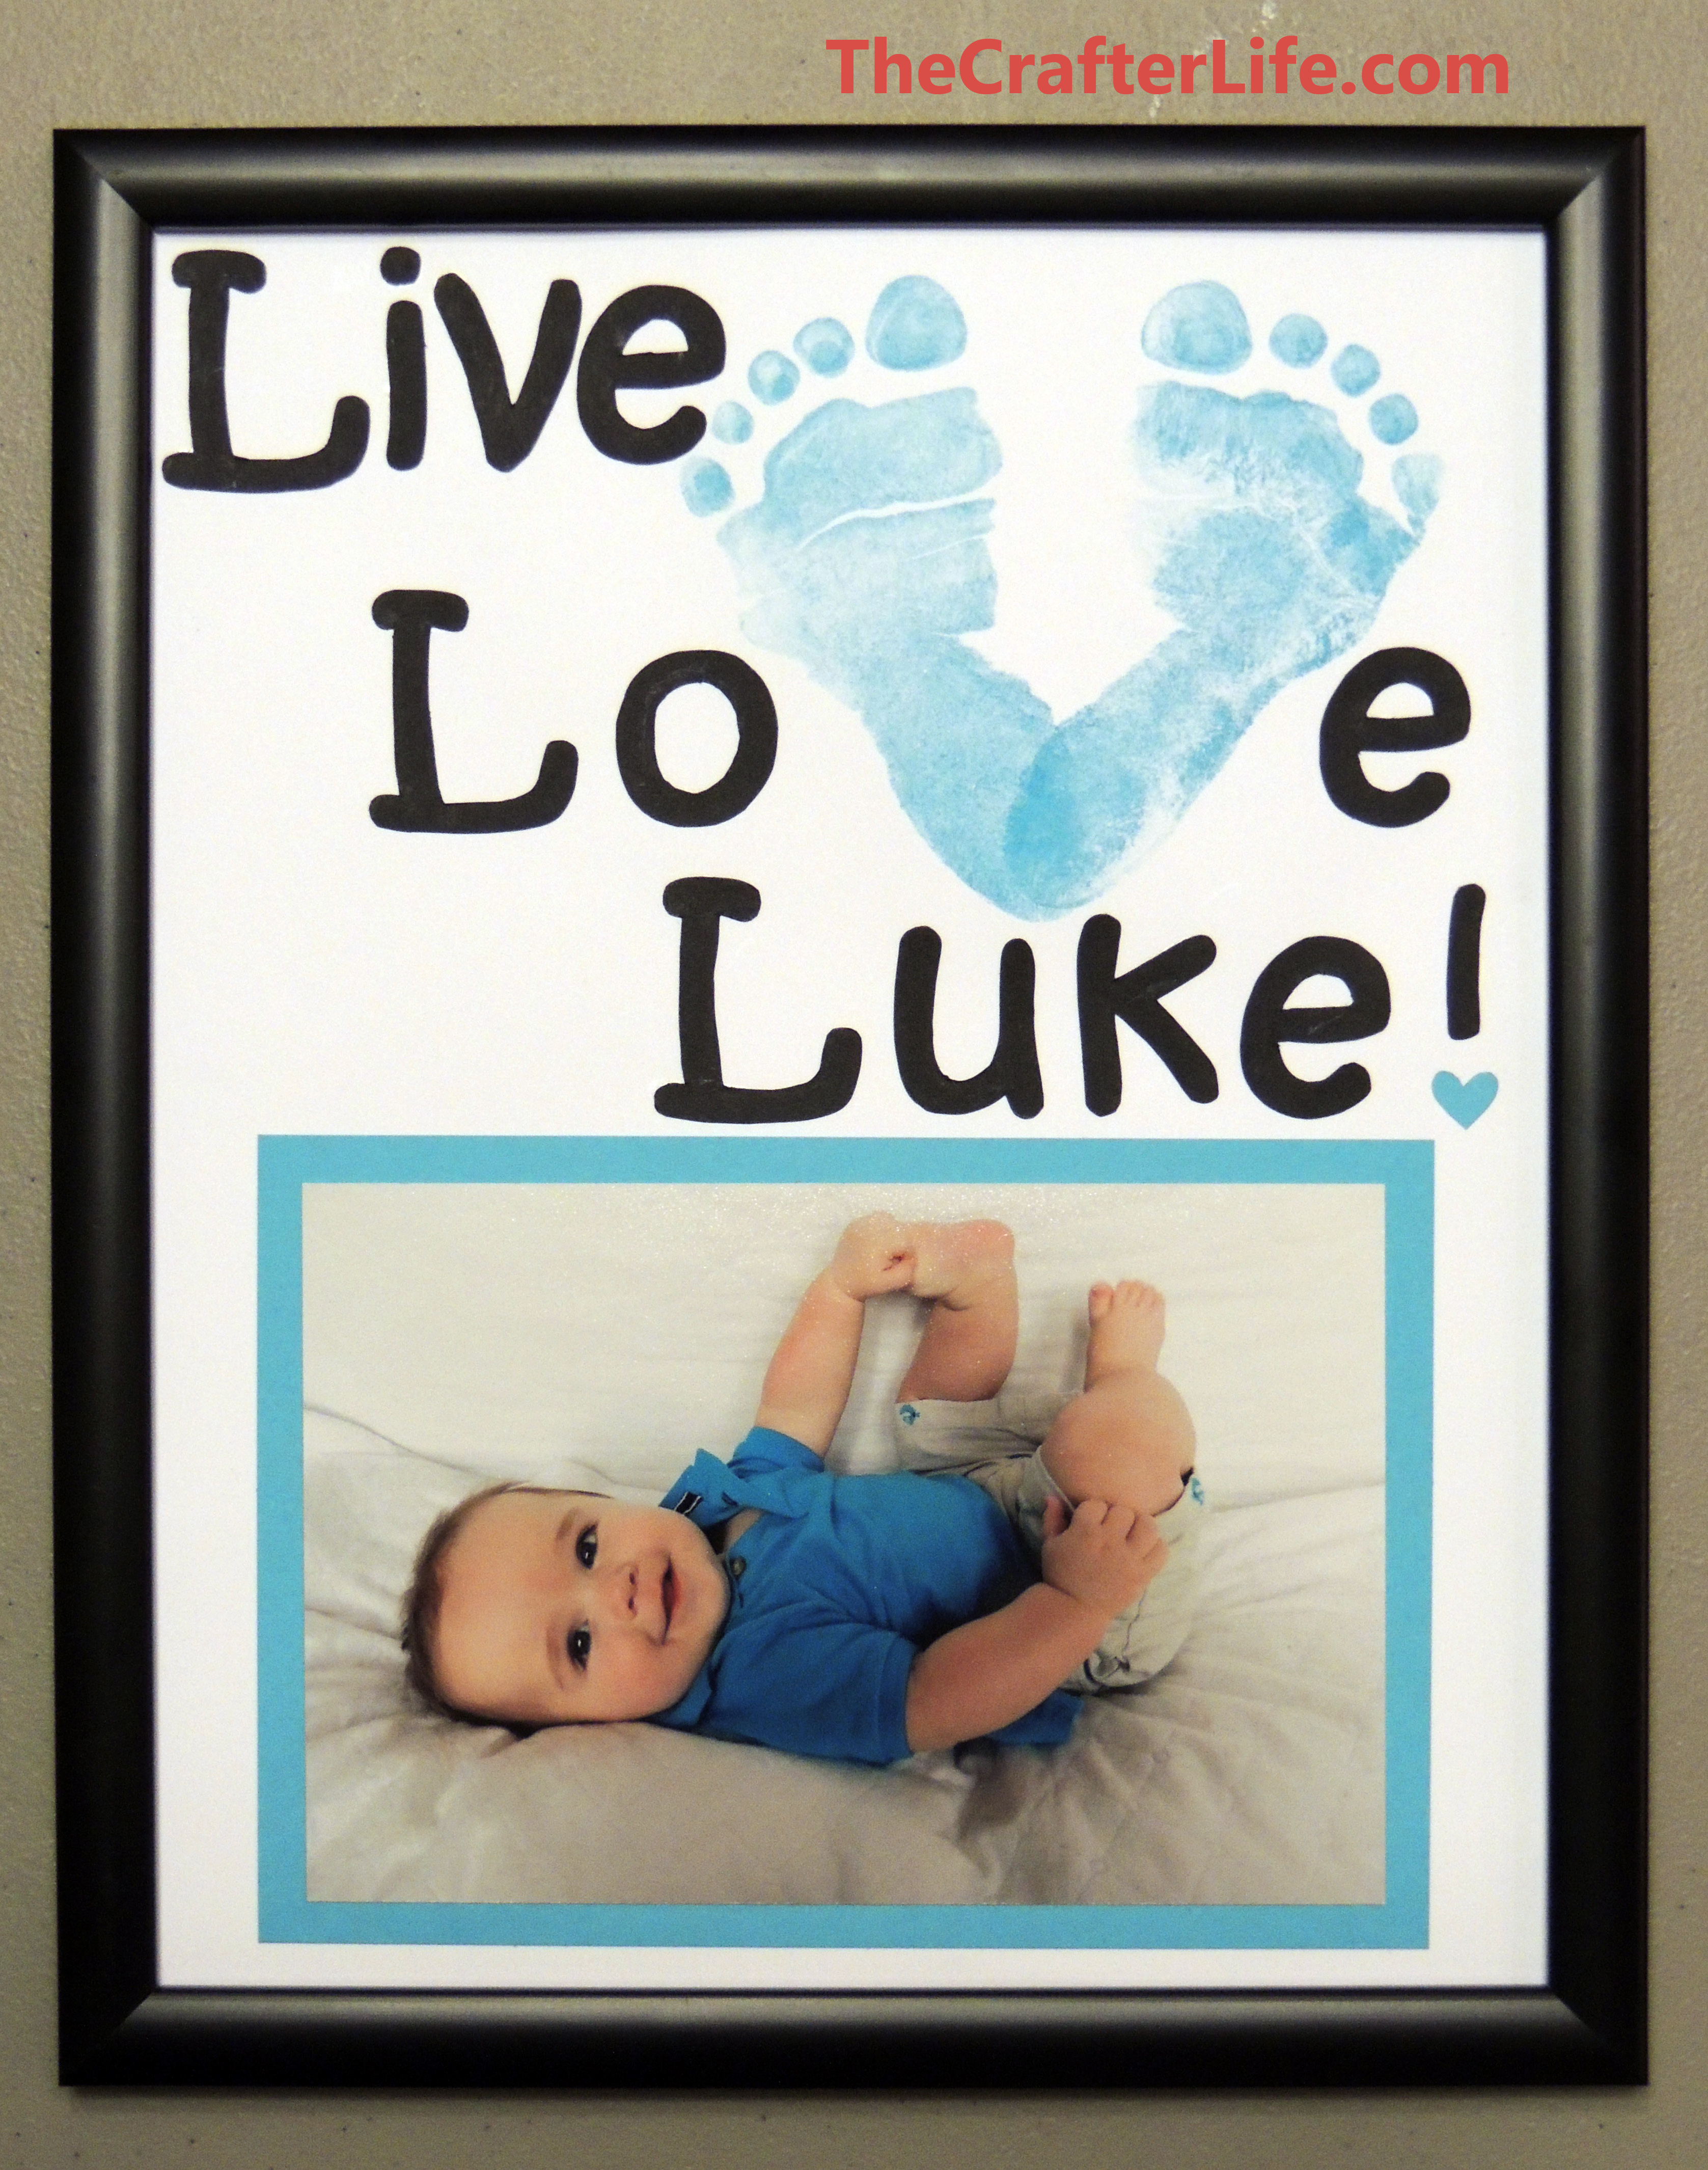
I love footprint crafts! Aren’t baby feet so cute?! This footprint picture frame (above) that I made with my daughter back in February 2013 was inspired by supermomsteph.blogspot.com. We were living in Texas at the time and I thought it would be a great gift to send to the grandparents back on the east coast for Valentine’s Day. Instead of using canvas and writing the words with marker, I decided to frame a piece of cardstock and cut out the letters (I didn’t want to risk messing up the writing and having to re-take the footprints). Since my son recently turned about the same age that my daughter was in the picture, I decided to make one with him (below) so everyone would have one to hang beside my daughter’s picture on the wall. I wanted to make his a little different, so I used a different saying and I had him pose differently. Since the holidays are approaching, these would make great gifts and really aren’t that costly to make. Read below to see how I made these frames.
Materials:
– 1 (8×10) picture frame
– 1 piece of photo-safe/acid-free white cardstock (cut to size 8″x10″)
– Non-toxic ink pad (color of your choice – I used red for my daughter’s and turquoise for my son’s)
– Black cardstock
– Letter stencils
-1 piece of Photo-safe/acid free cardstock cut to size 4.5″x6.5″ (match the color to the ink pad color)
– The 4″x6″ photo that you want to display
– Clear glue (preferably a kind meant for scrapbooking – I used Elmer’s Craft Bond clear dual tip glue pen)
– Double-sided tape used for scrapbooking
– Ruler
– Scissors
Directions:
1. You first want to figure out where to place your footprints on the white sheet of cardstock based on the wording you are using and the size of your baby’s feet. My son’s feet were a lot larger than my daughter’s so it was challenging to fit the wording in with them.
2. After marking where you want the footprints to be, use the ink pad to cover the bottom of one of your baby’s feet in ink, then press to the white sheet of cardstock. Then you probably want to immediately wash off your baby’s foot (unless you are doing more than one frame, in which case it would be easier to do all the prints of the first foot on each sheet of cardstock).
3. Now take the ink pad and use it to cover the bottom of the opposite foot. Place the foot on the cardstock so that the heel matches with the other heel print from the first foot to make a “V” shape and press down. If you are satisfied with the footprints, wash off your baby’s foot. It may take several tries and several pieces of cardstock to get it right.
4. Trace the letters you need on the black cardstock and cut them out. I used the font Kristen ITC from Microsoft Word to type my letters. Then I printed them, cut them out, and traced them onto the cardstock. I plan on explaining this in further detail in a future post.
5. Arrange the letters on the white piece of cardstock how you want them. Also, place the piece of colored cardstock that will be behind the photo on the bottom half of the white cardstock so you can make sure that everything will fit.
6. Glue the letters onto the white sheet of cardstock. I used a toothpick to put the glue on the letters since they were pretty thin.
7. Use double-sided tape to adhere the colored piece of cardstock to the white cardstock. I found that using double-sided tape on the colored piece of cardstock is neater than using glue.
8. Use double-sided tape to stick the 4″x6″ photo in the center of the colored piece of cardstock.
9. Place the white cardstock in an 8″x10″ picture frame and admire your work!
**If you are doing this with an older baby, or a baby with larger feet, you may want to use a larger picture frame and a larger piece of cardstock so it is easier to fit everything.
I would love to see your footprint picture frames. Feel free to comment here or post a picture on my Facebook wall!
Craft Bundle Available!!
I provide a craft bundle for this project. It will include a black 8″x10″ picture frame, three sheets of white cardstock cut to 8″x10″ (in case you make a mistake with the footprints), a red ink pad, a red piece of cardstock (cut to 4.5″x6.5″), and two sheets of black cardstock. Thank you for ordering!
**If you like what you see, feel free to pin, share, and link back to my site. Thank you for visiting!